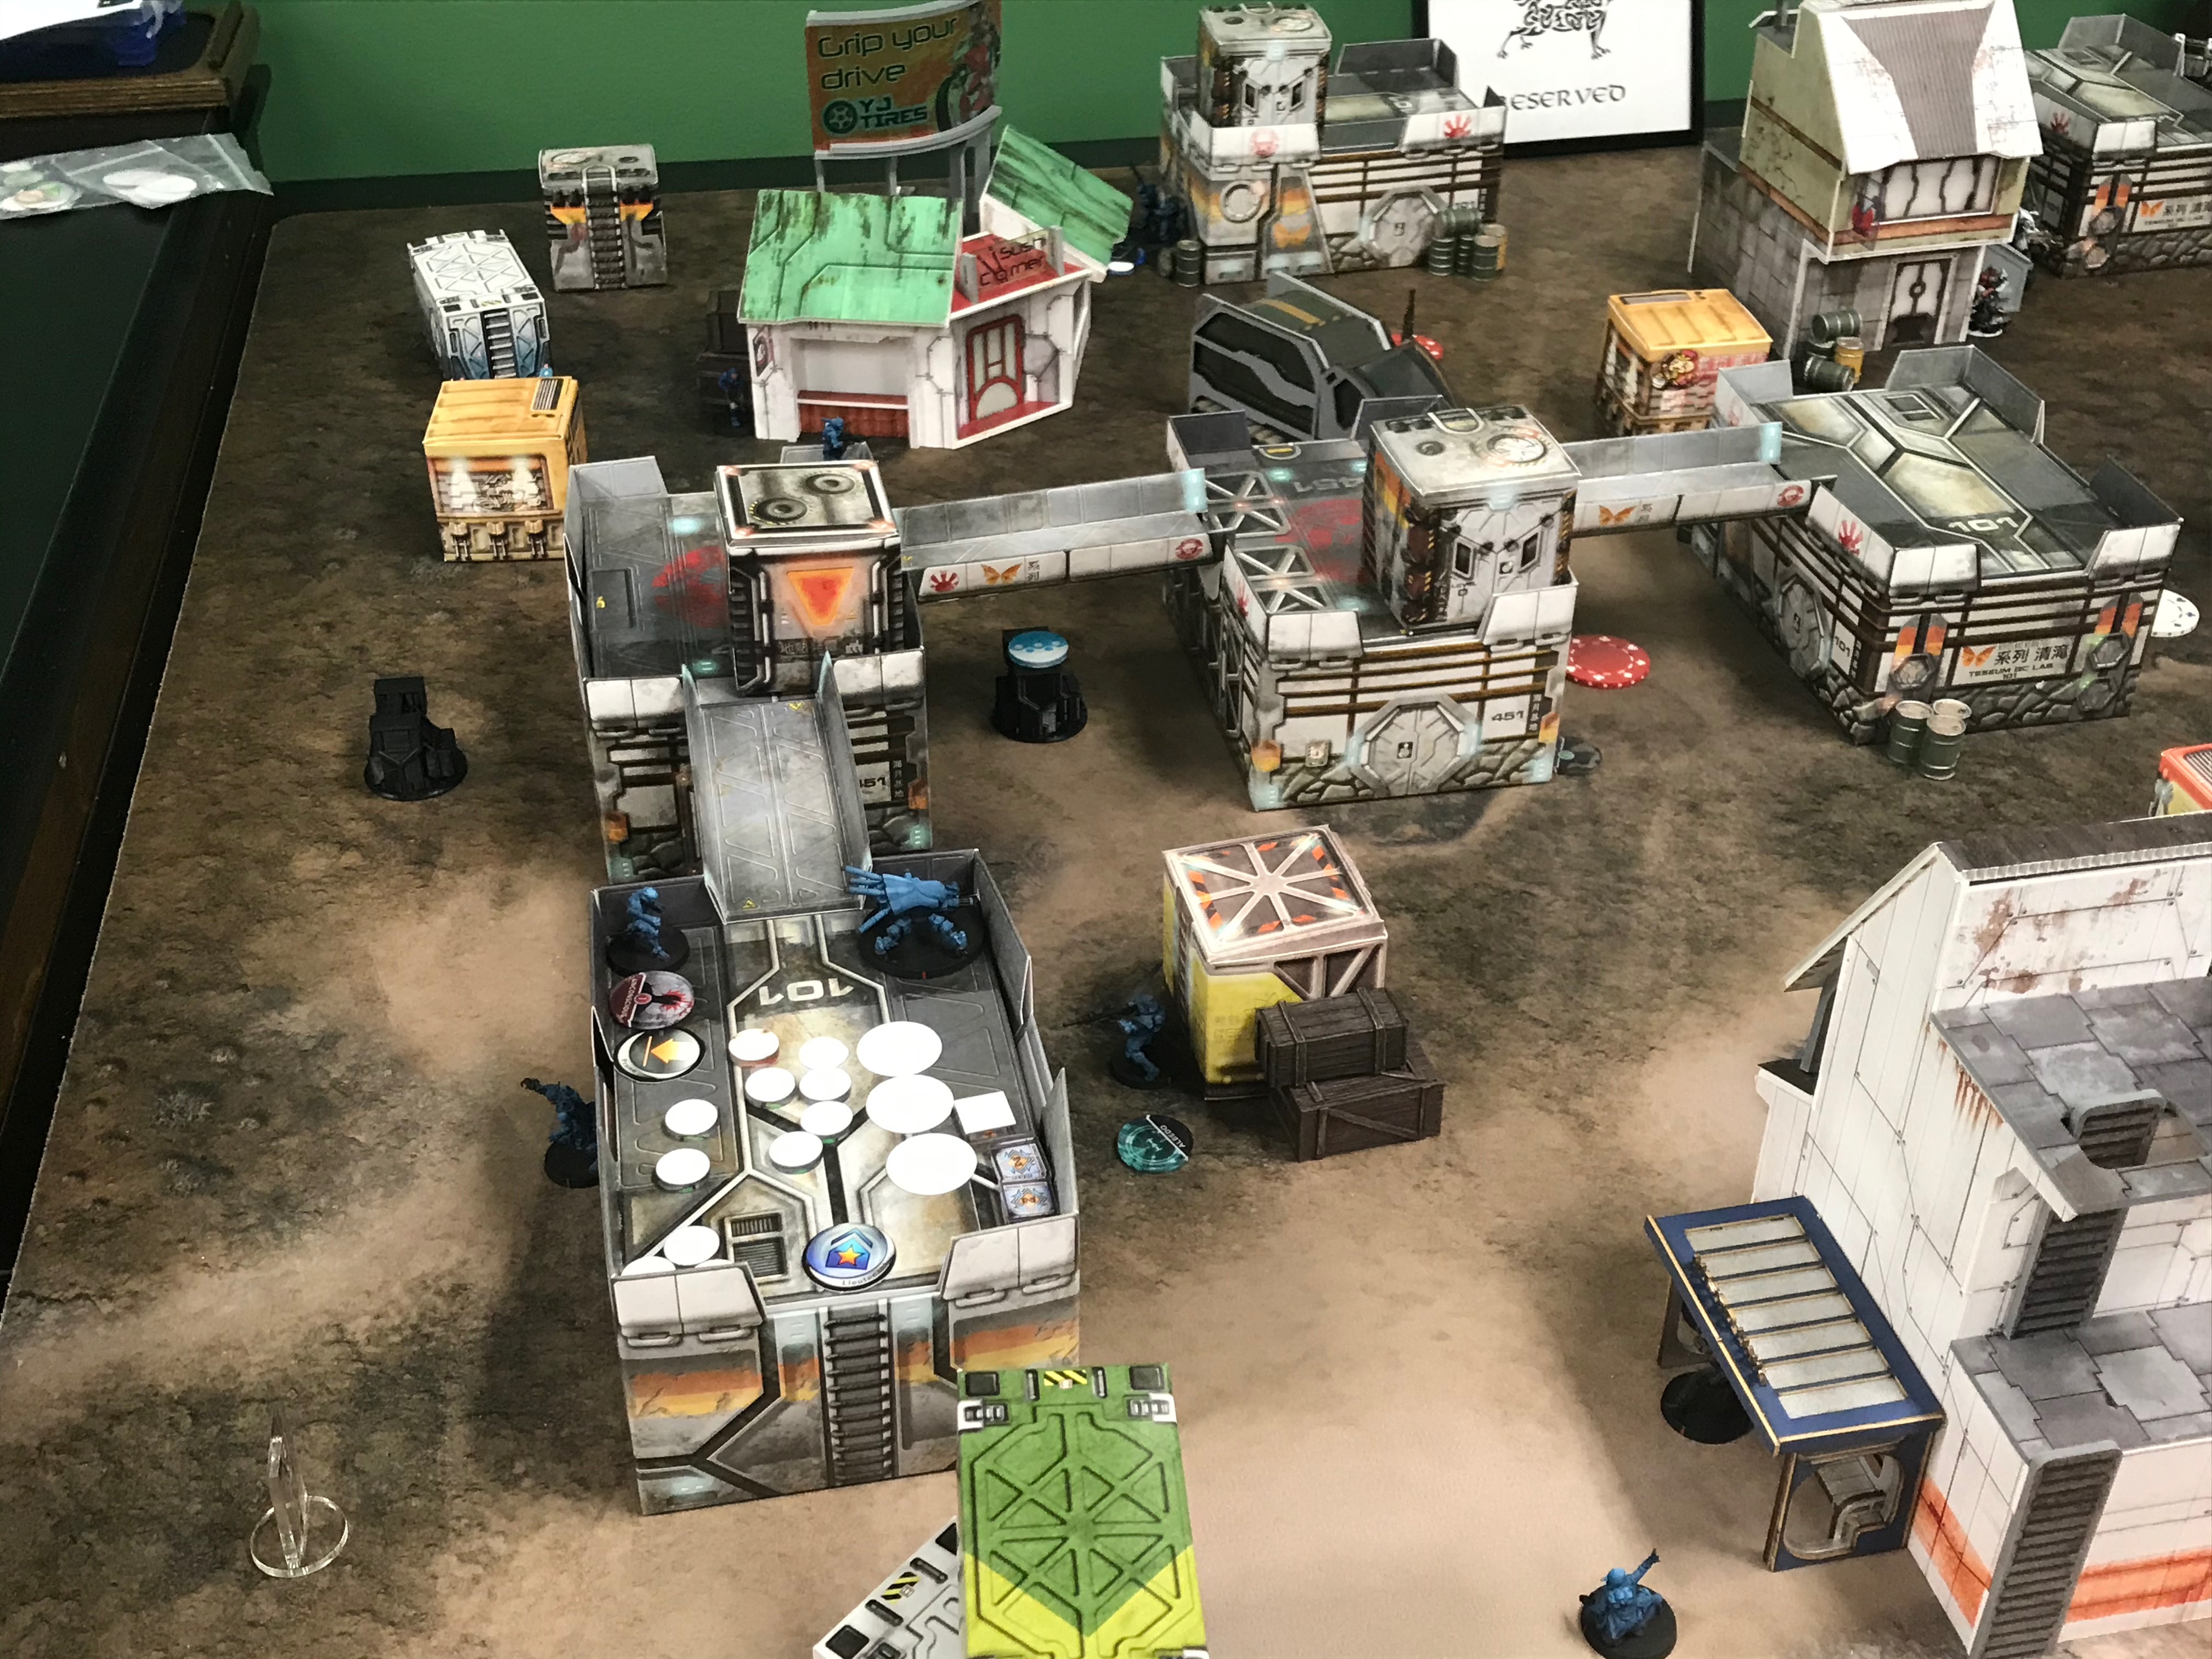
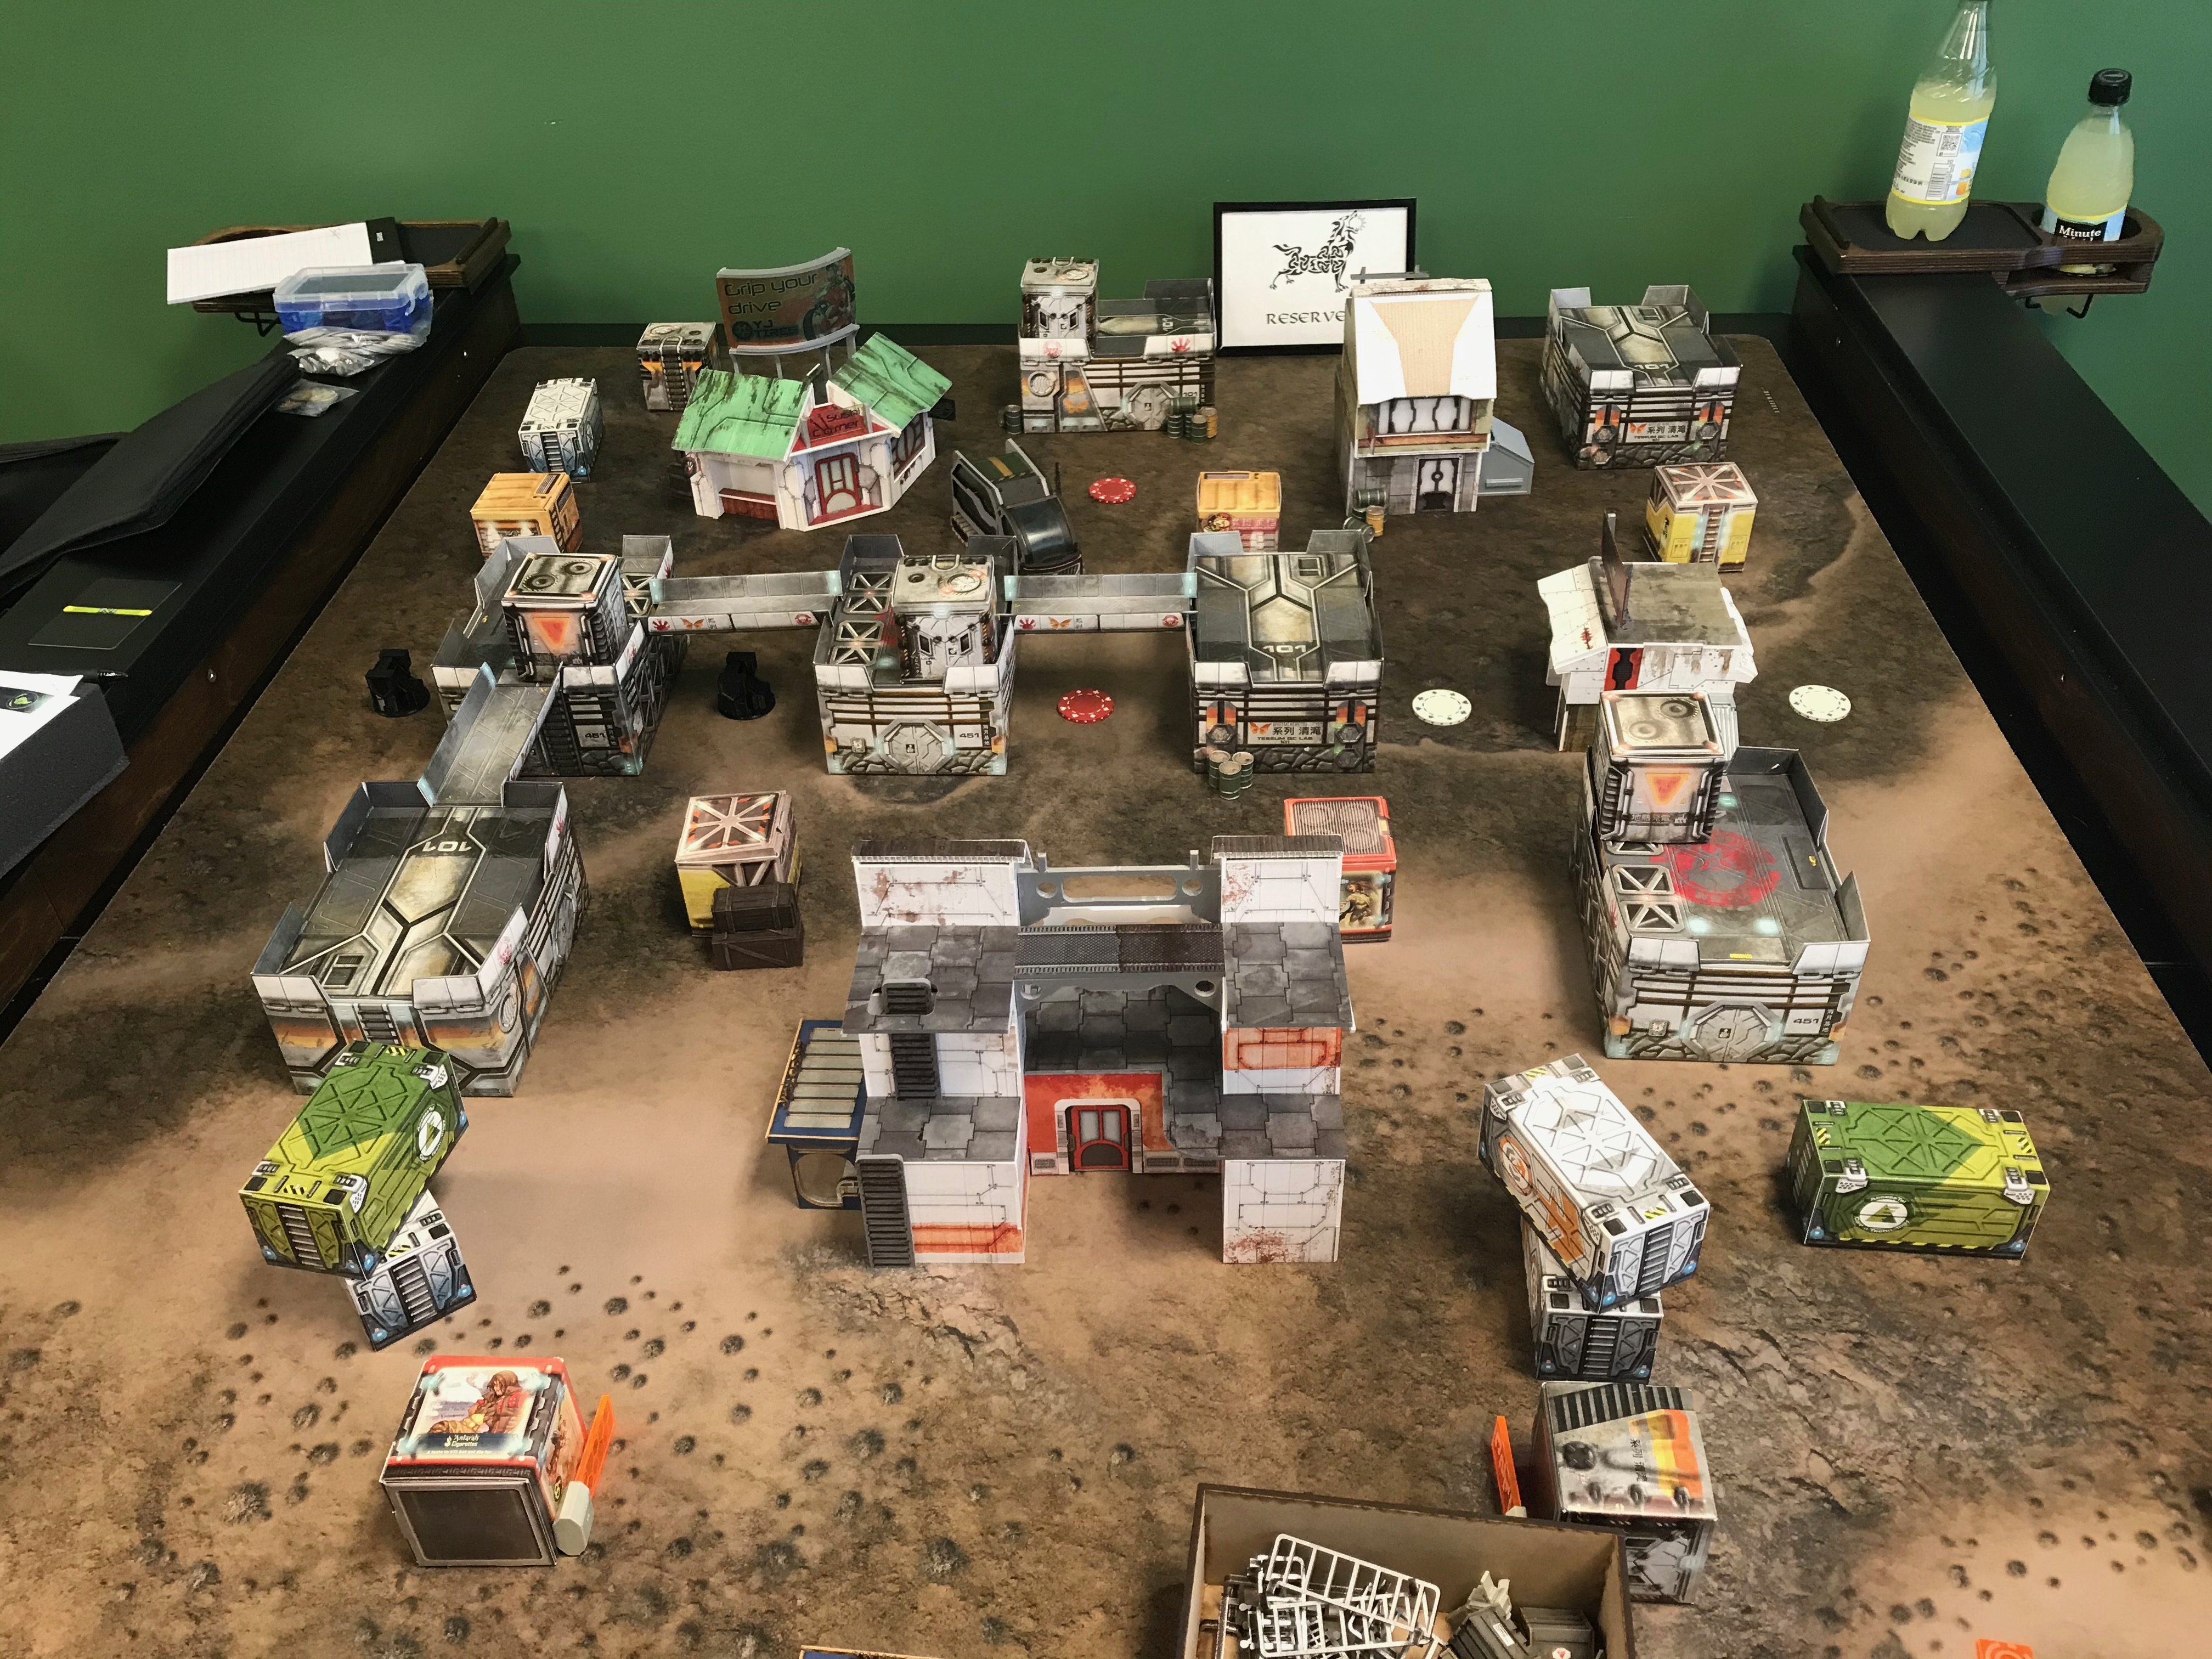
Fought At Jiyuan Open-Pit Site: Operations Hub
1672 days 1 hours 53 minutes ago
Bloody Pit
View Linked Report - CLICK HERE 300 POINTS-----Engagement Report-----
After an initial success, TaskGroup Rebound Spear, this time under the command of Superior Warrior Officer Kornak Gazarot, confronted PanOceanian forces at the mining site. While this battle took place in the surrounding built environment, per EI report standards, the reference grid is to the Open-Pit site. The engagement unfolded as follows.
---Contact---
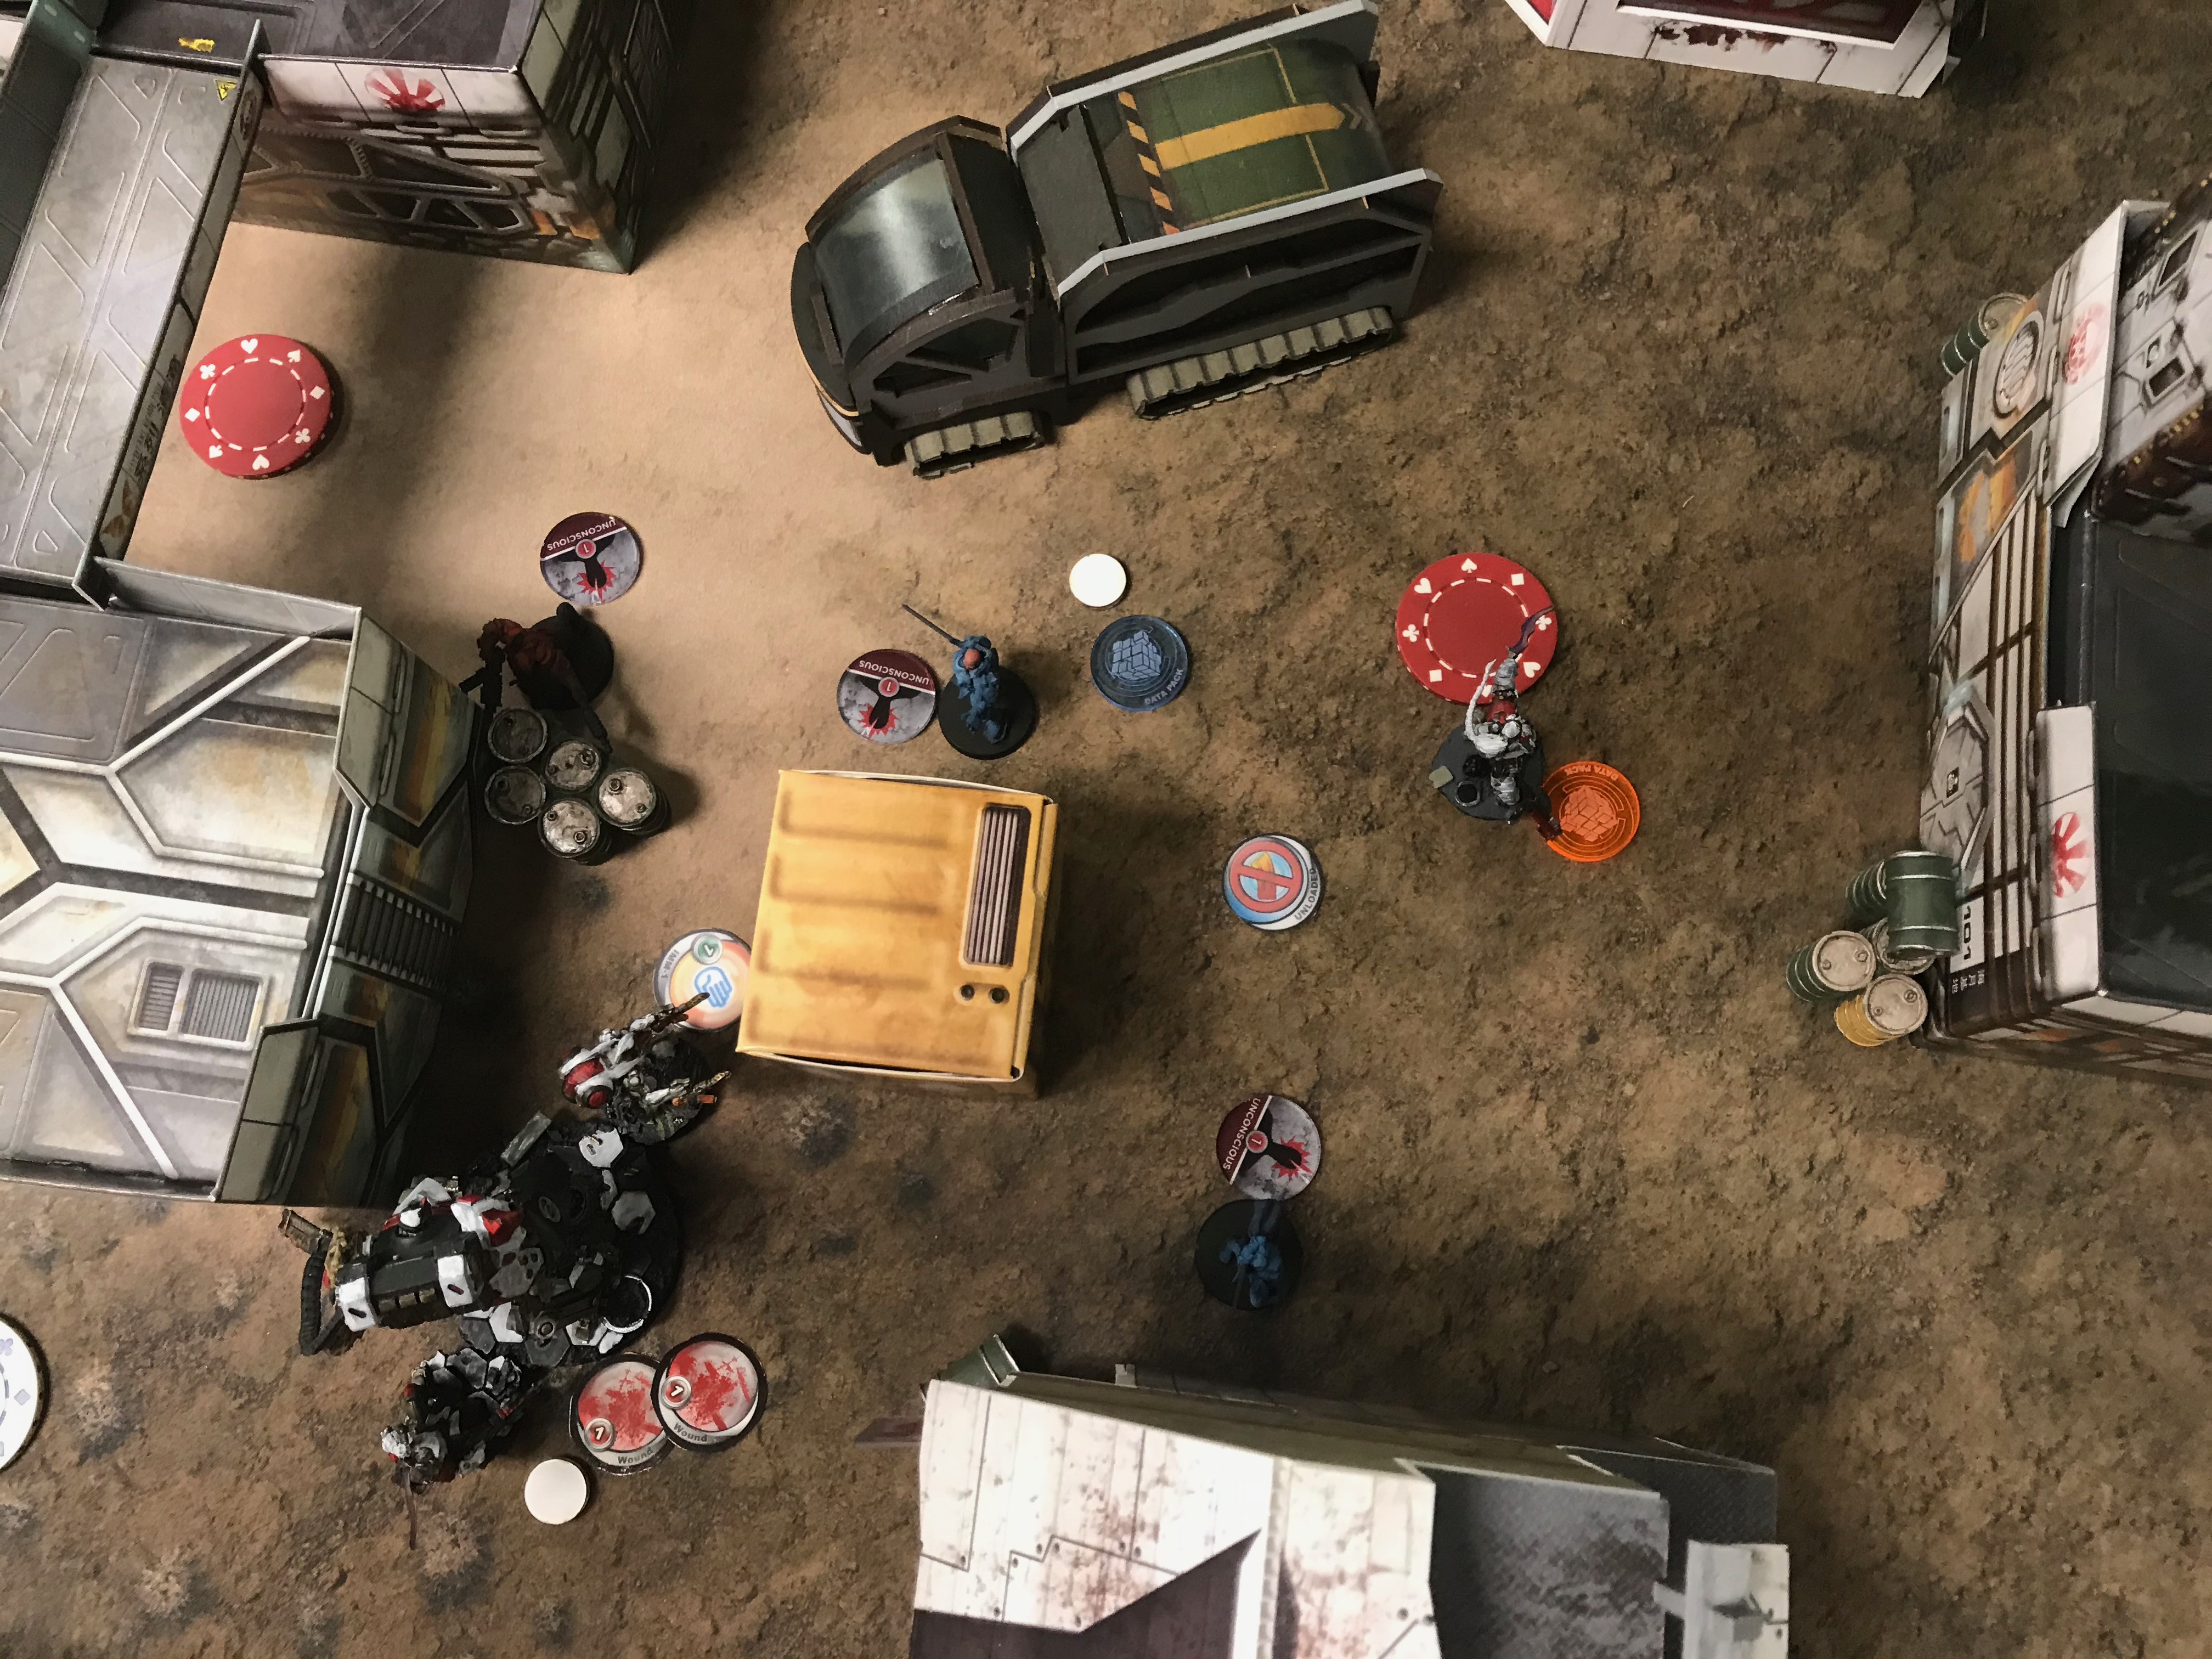
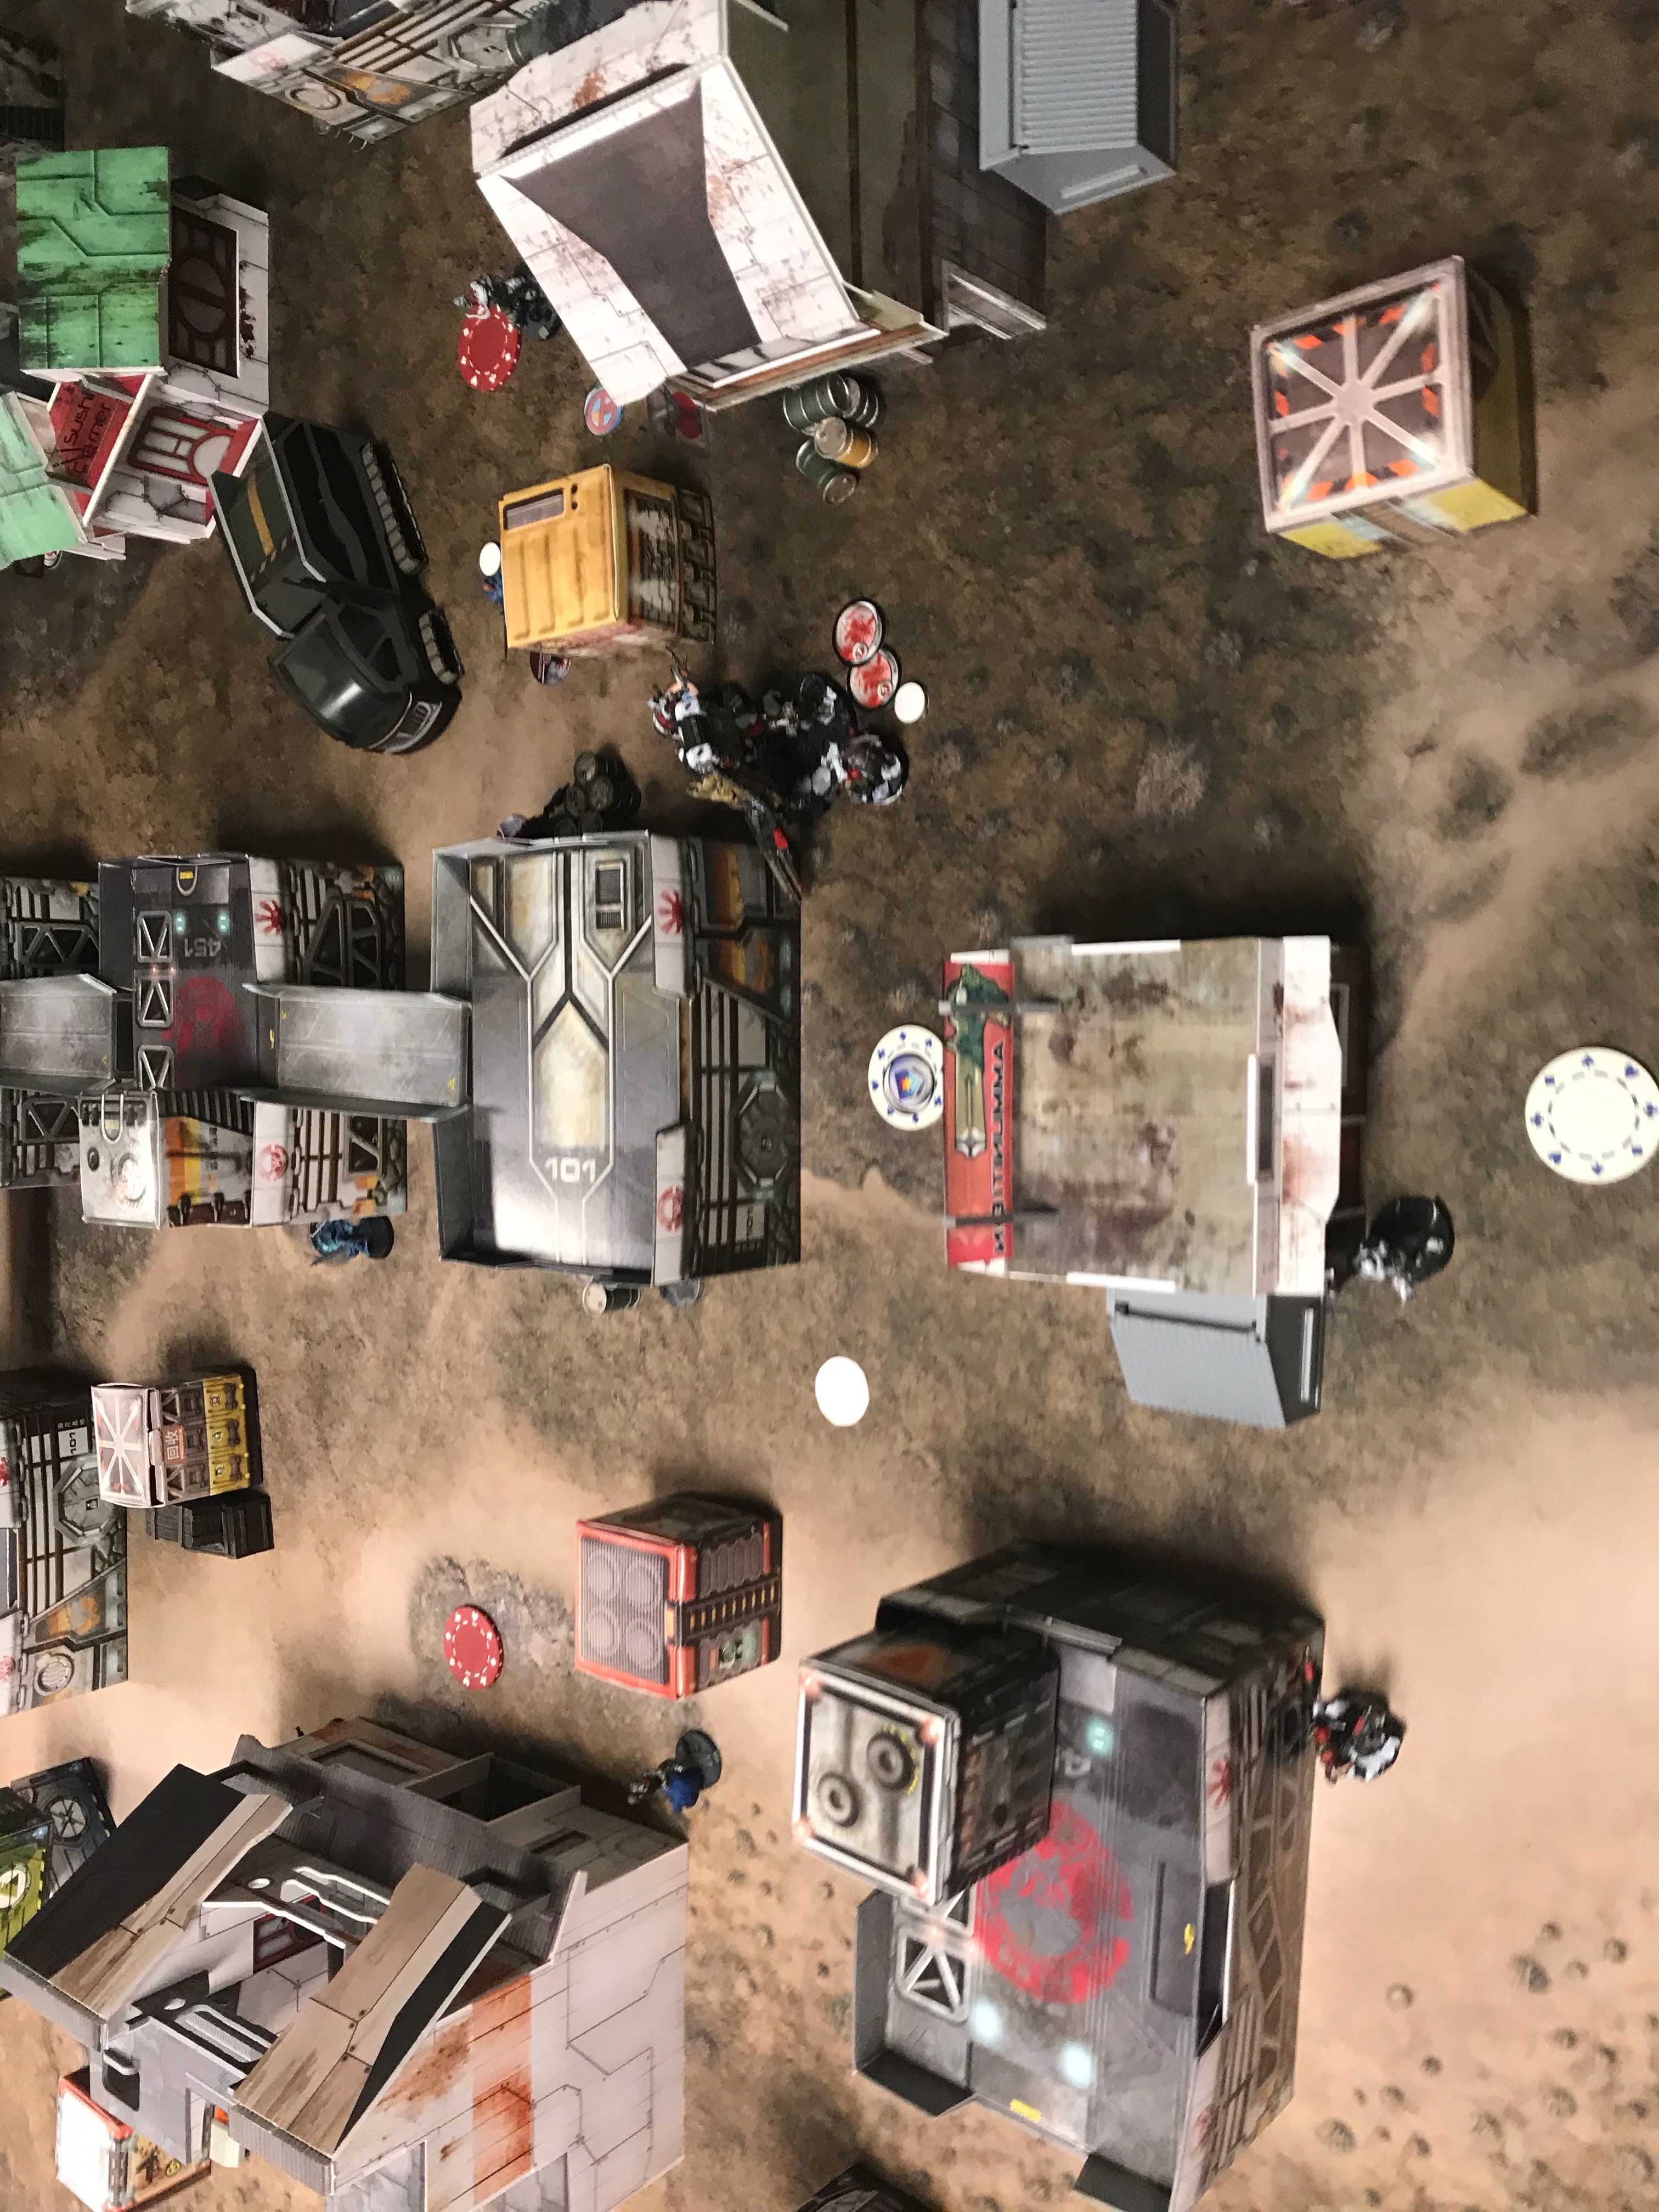
PanO forces established a strong defensive front covering two lines of advance. The PanO advance of knights was covered on one side by a Kamau sniper. The other side, covered by a Sierra Dronbot initiated contact with a covering Q-Drone. Several exchanges of fire saw a supporting Palbot rendered unconscious from a plasma burst, but the Q-Drone was rendered useless at limited loss to the Sierra. Under that cover, a Trauma-Doc advanced along the urban landscape. On the opposite flank, Father-Officer Gabriel DeFersen and a Magister-Knight advanced on the central command nodes. A Fusilier observer, and later several others, made a co-ordinated advance to the command nodes. The observer, upon reaching a heating unit, given the bitterly cold vacuum conditions, activated its elements, providing some needed heat to that sector after fumbling in the cold.
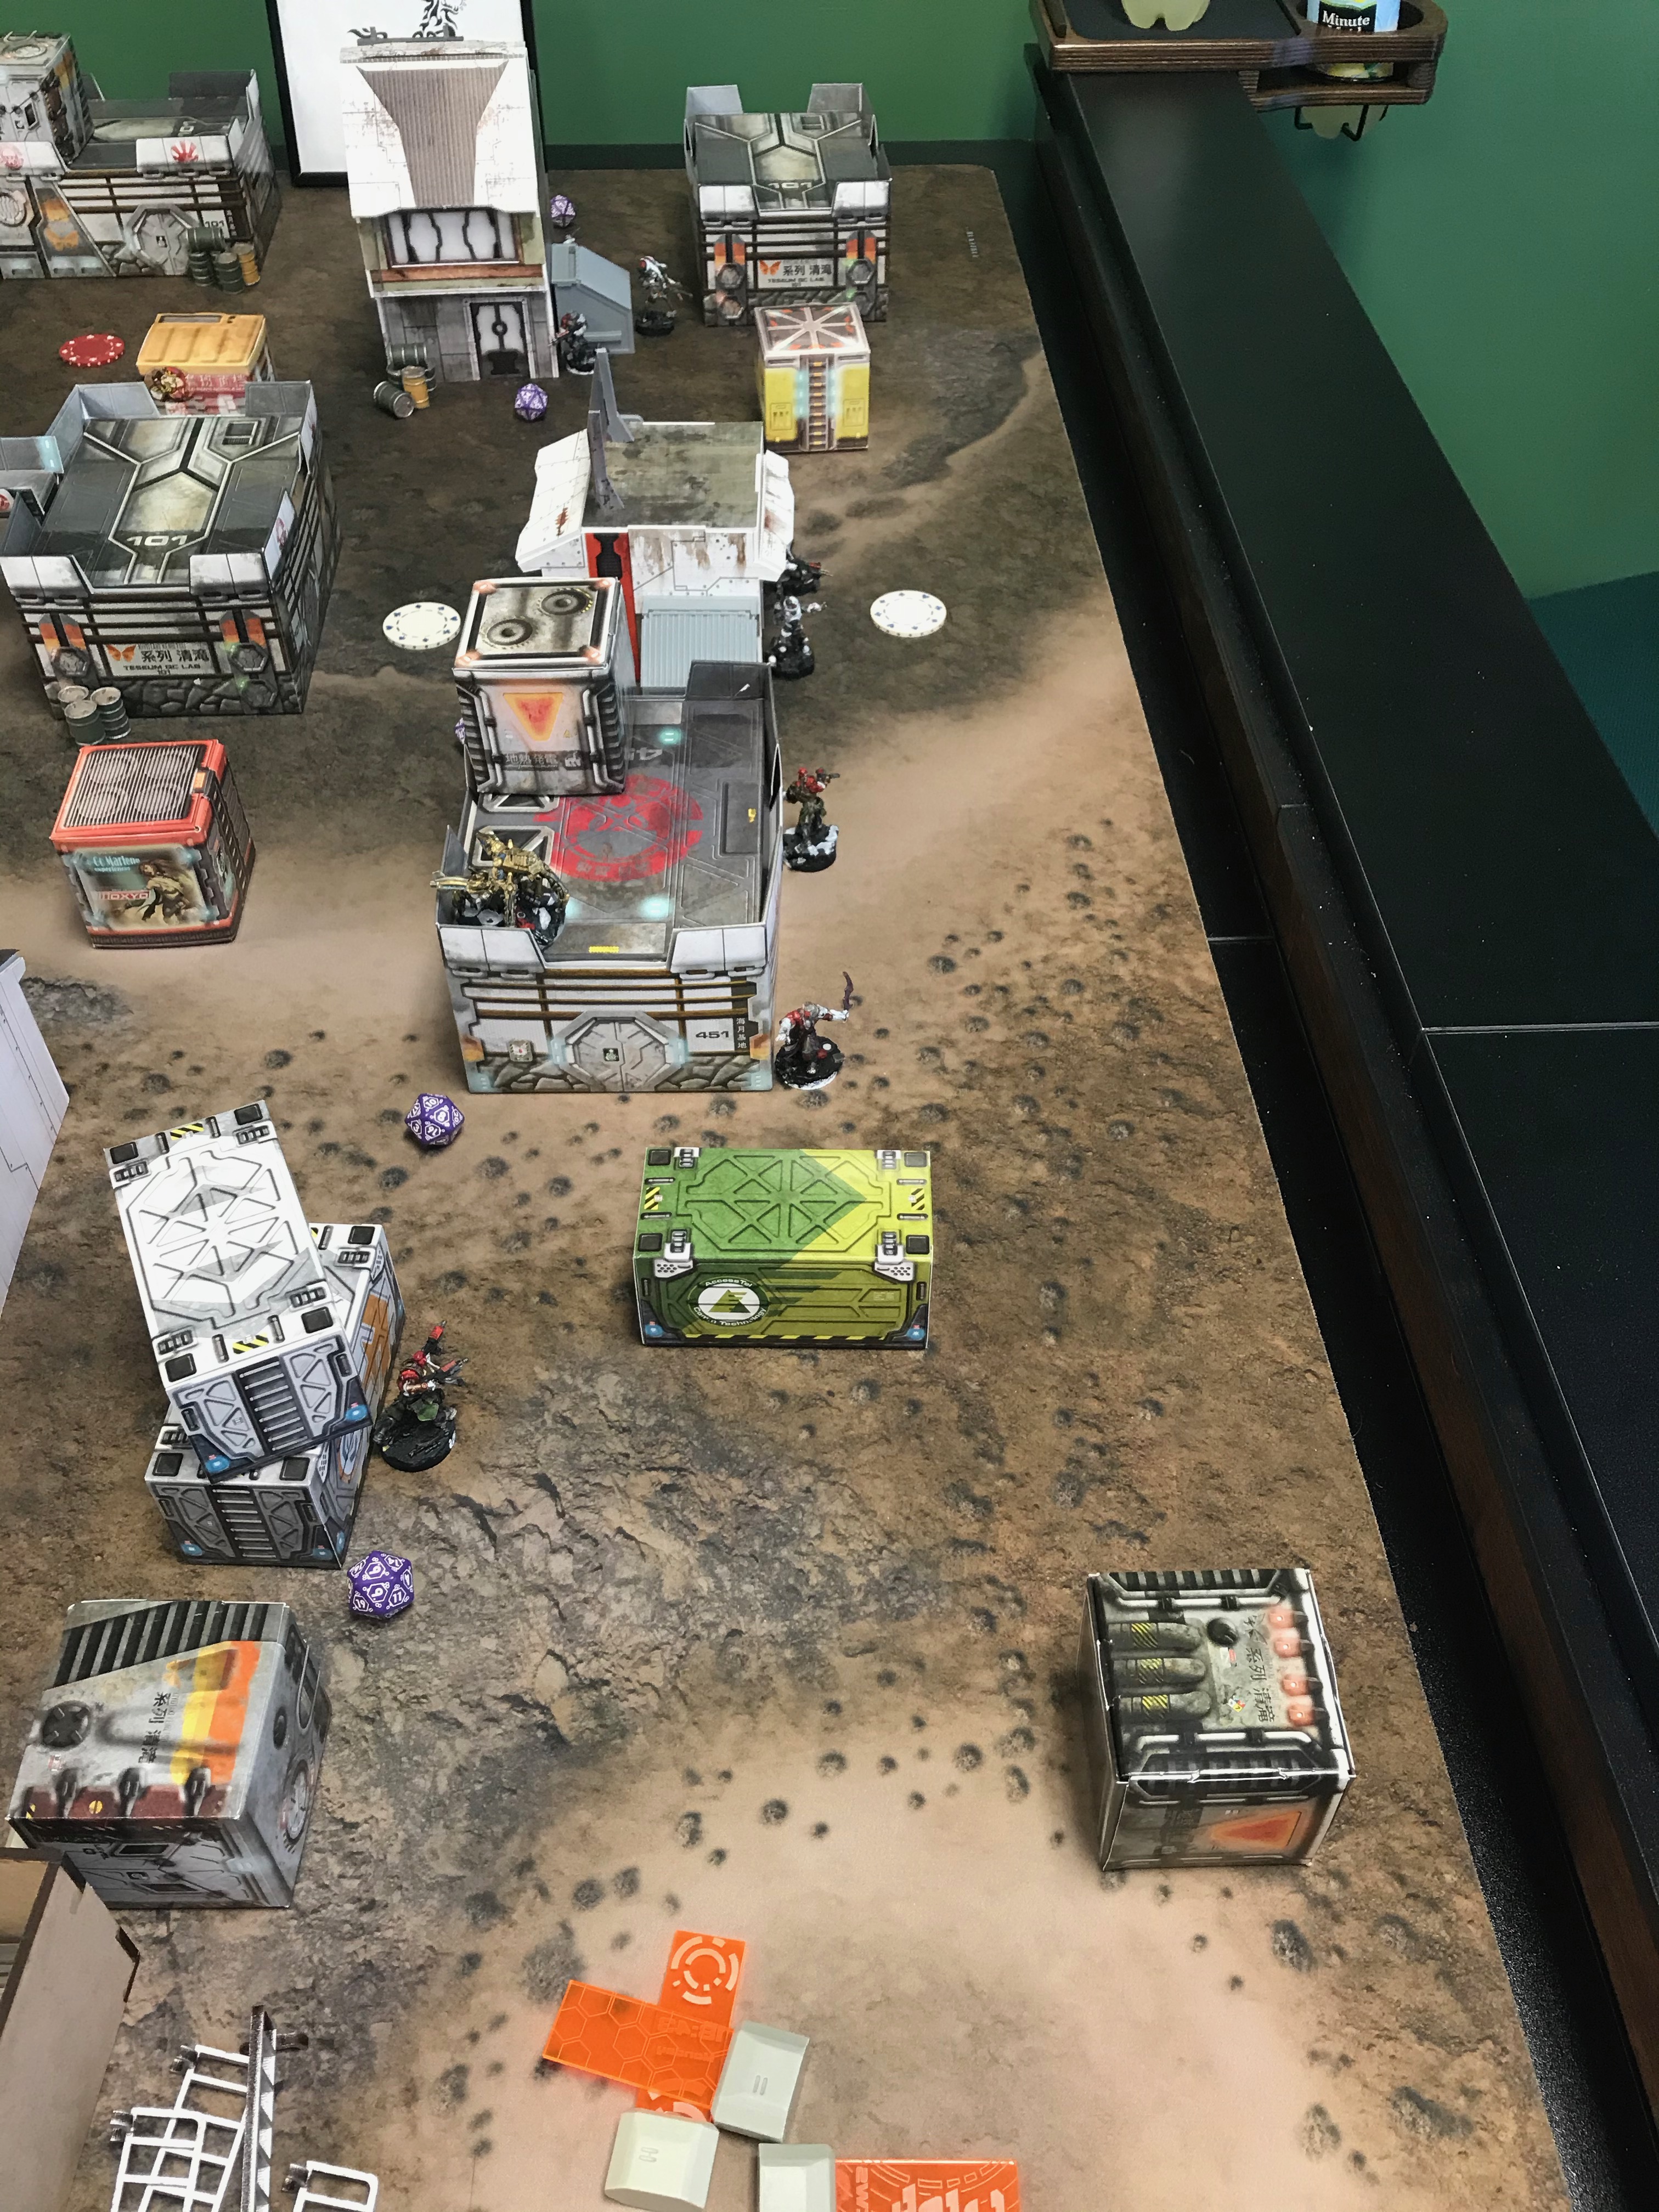
In response to the advance of the knights, successful deployment of a Rasyat diplomat resulted in the close engagement of a Fusilier by the Rasyat, despite substantial defensive fire from DeFersen, the Magister-Knight, a Fusilier, and engaged Fusilier. The defensive fire was for naught and the Fusilier briefly resisted the aggressive diplomacy of the Rasyat until his ultimate submission. Daturazi attempted to flush a Krakot Renegade on the opposite side of the engagement area to no effect. Given the substantial defensive fire provided by the Kamau sniper, a Raicho Armored unit was deployed. The Raicho committed to an extended exchange of fire with the sniper. While it took time, the end result was assured in the comparison of Morat multi-heavy machine gun to a multi-sniper rifle, the Kamau being neutralized.
---Active Engagement---
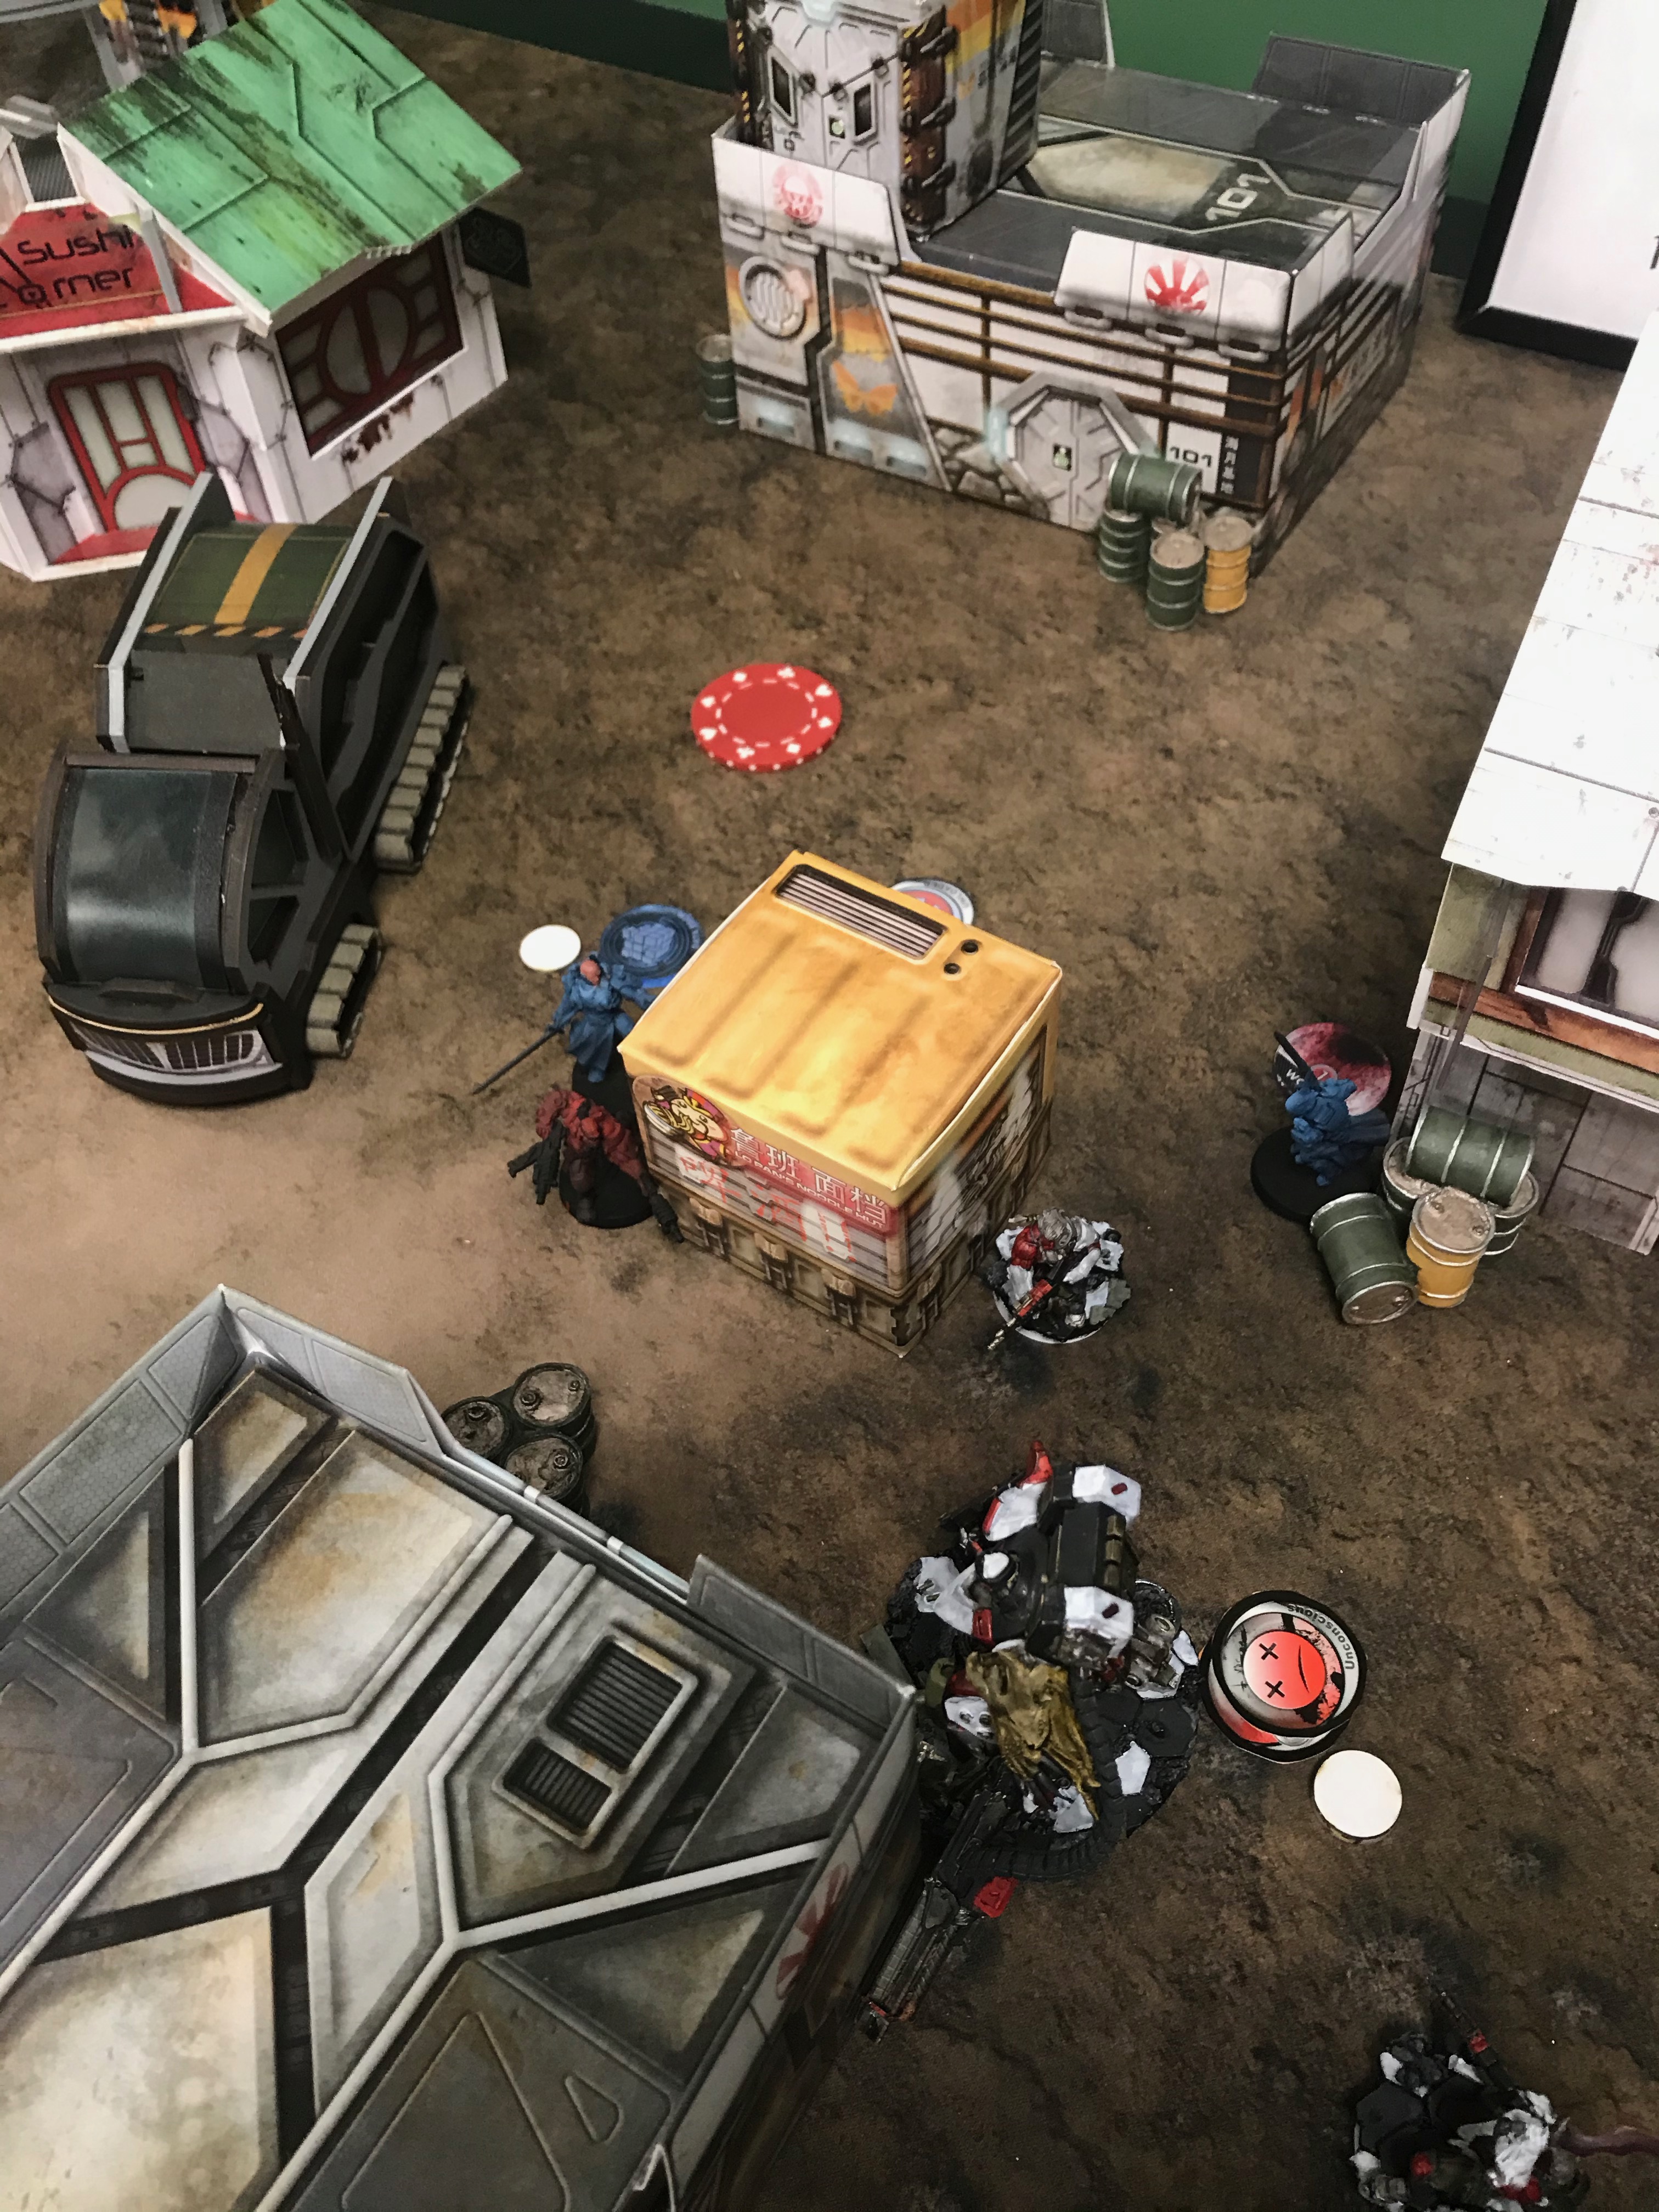
In response to the failure of initial defensive fire against Morat diplomacy, the Magister-Knight moved against the Rasyat, killing it. After that success, the Magister-Knight moved and engaged the Raicho, knocking it out of service. This failure of the Raicho to withstand the attack of the Magister is due to damage taken in the extended duel with the Kamau. Damage taken in that engagement rendered it vulnerable to a Panzerfaust strike. After that, the Magister-Knight advanced on a Daturazi, and was wounded by fire from the Kurgat Engineer accompanying the Raicho. Father-Officer DeFersen further advanced on a console and succeeded in activating it.
In response to the advance of the Magister-Knight, an Ikadron accompanying Kornak stepped into the fire zone. The Ikadron proceeds to then render the Magister-Knight to a burnt pile of flesh with its flamethrowers. The Kurgat Engineer(Note: future engagements utilizing a Raicho should include the services of a Kurgat as opposed to the Obsidon Medchanoid due its superior fire capability) fires on the Krakot to no effect, but completes sufficient repairs to the Raicho via blunt force impact to reactivate the TAG. Thusly reactivated, the Raicho engages the Krakot Renegade and DeFersen, neutralizing them both. Kornak, whose path to a console has now been cleared by the Raicho, is attacked from cloak by a PanO CrocMan, whose boarding shotgun is answered by Kornak's light flamethrower. Kornak is injured, but refuses to go down, while the CrocMan is rendered to ash. Due to his injuries, Kornak is slow to activate a console and engage a heating unit, but he eventually does so.
---Resolution---
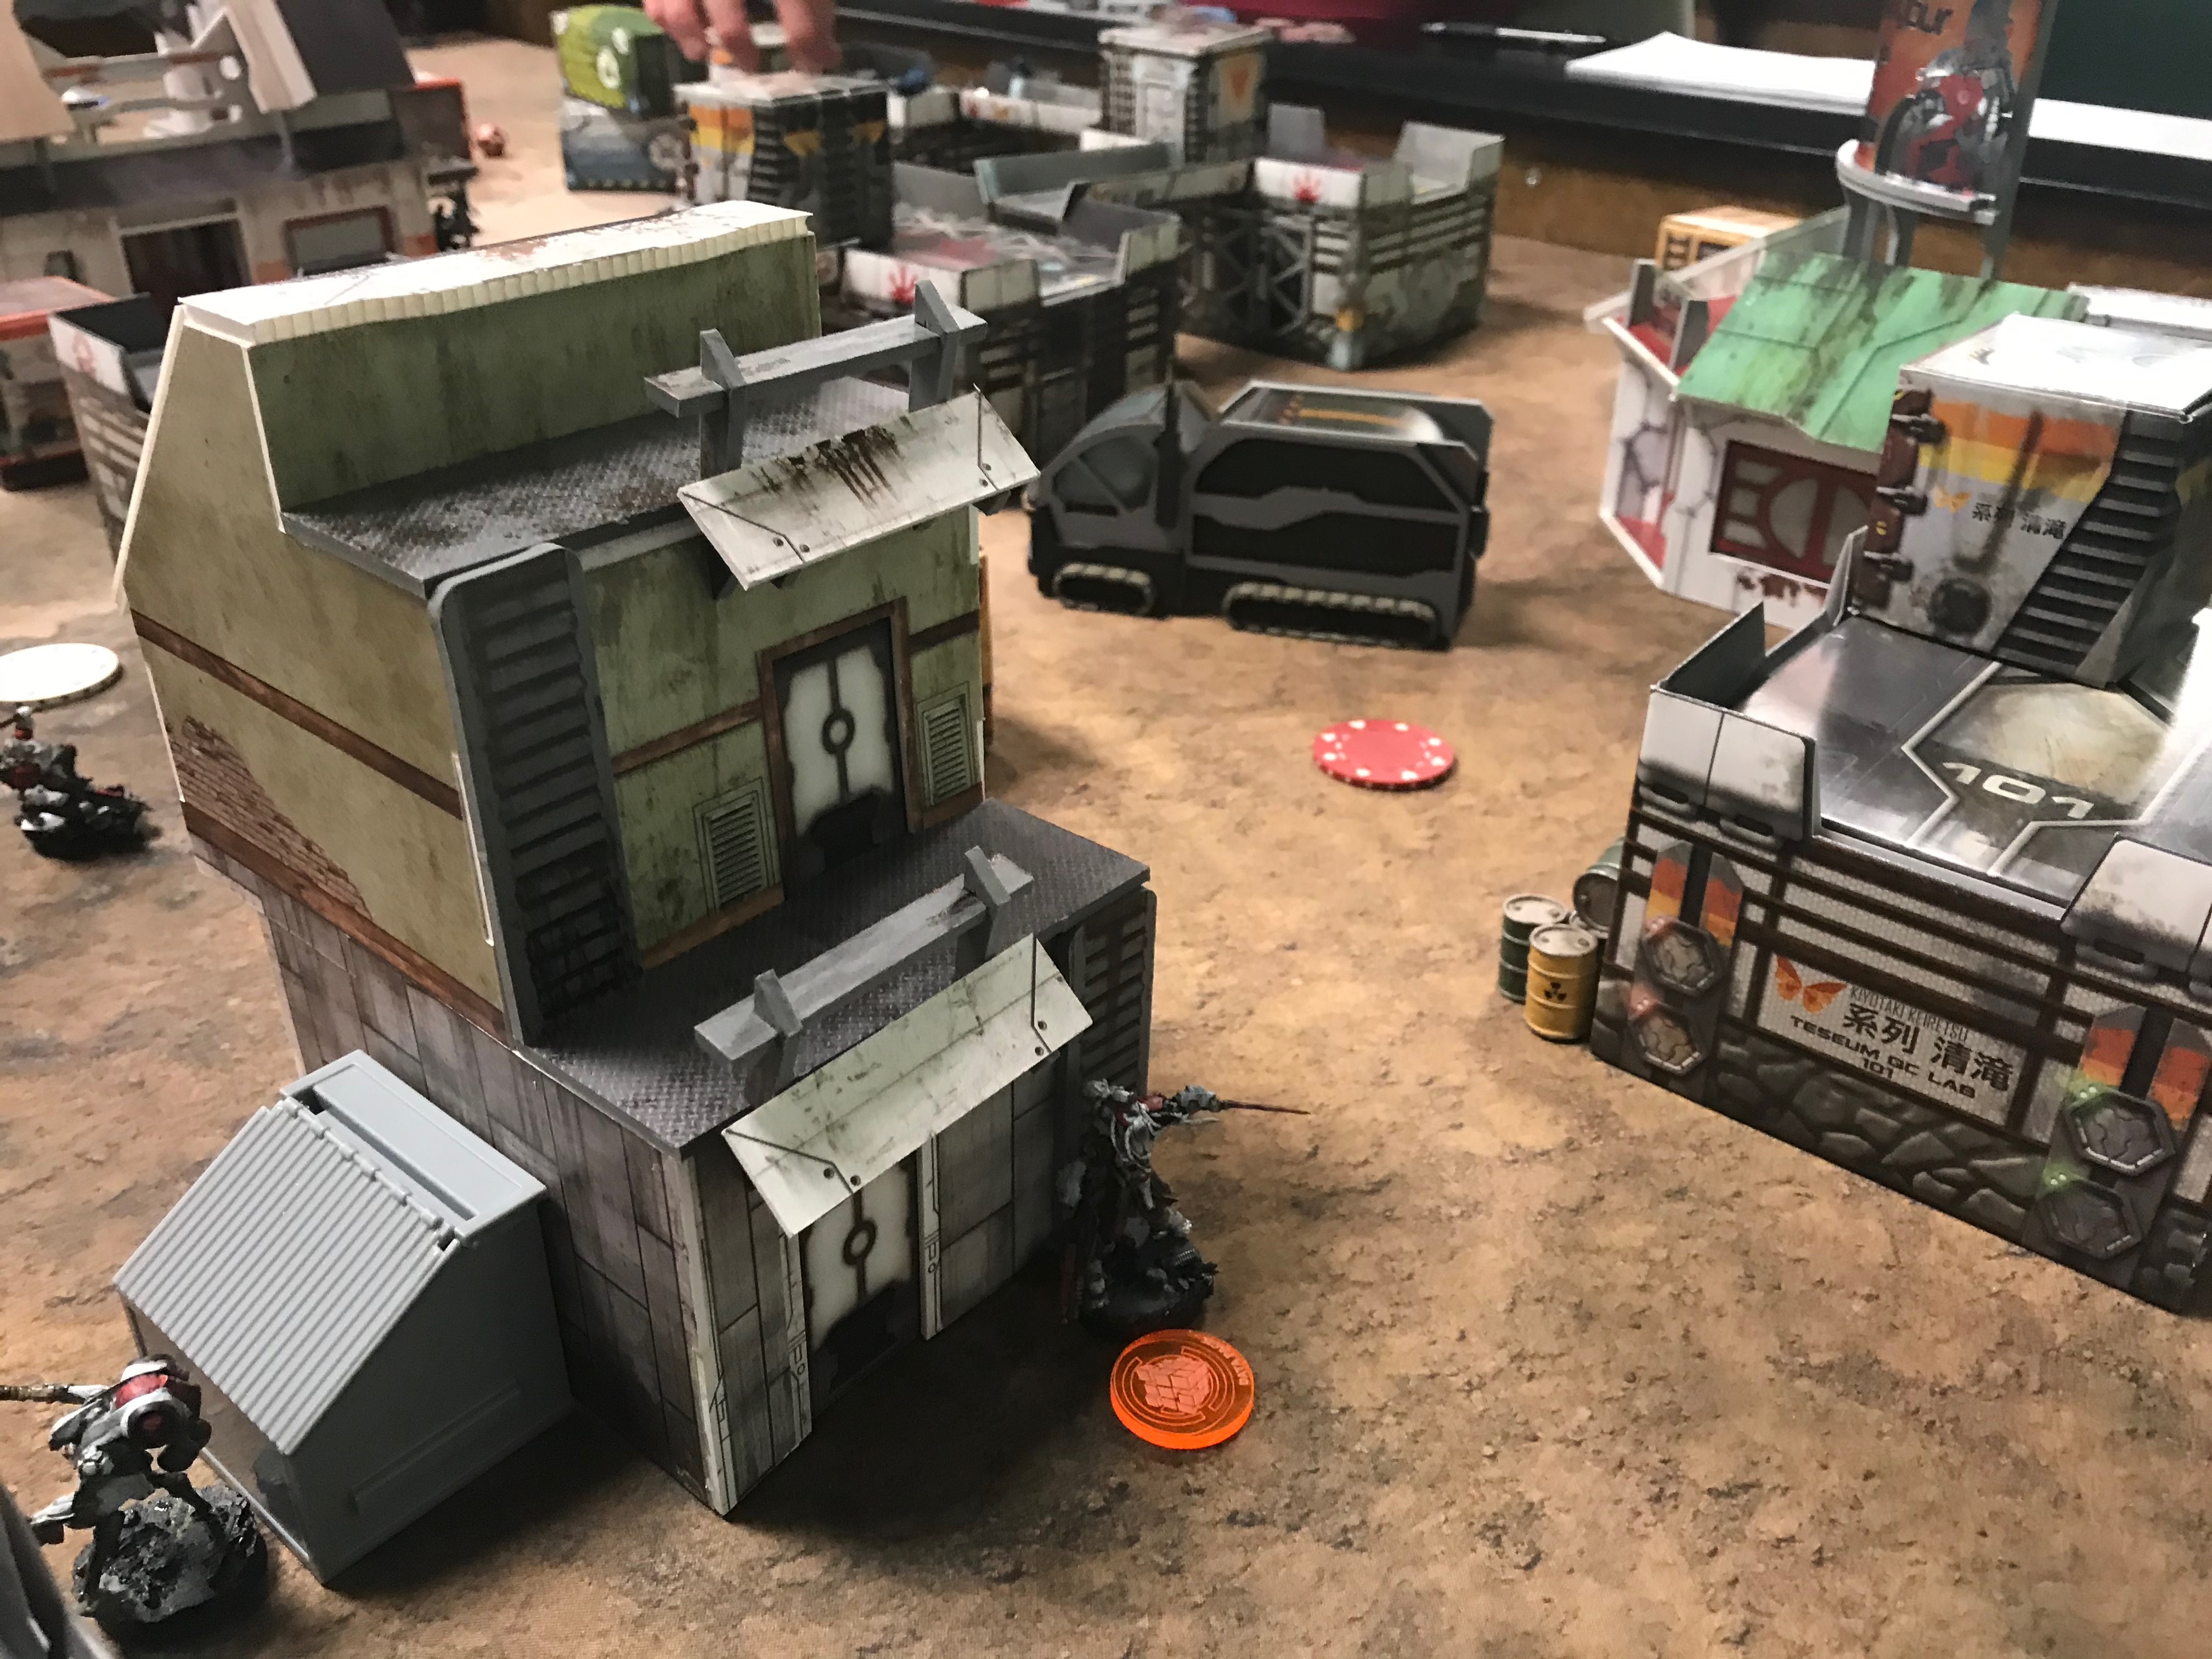
With the engagement essentially closed out, PanOceanian forces proceed to secure safe places to shelter from the bitter cold. Enemy fire knocks out the Raicho, however, most energies are spent securing safety from the environment.
MAF forces repair the Raicho, and others move to secure a warmed area for rest. One Rodok fails to do so, but other surviving forces reform in safe areas.


Battle Report Author


Recommend Commander For Commendation
Share this battle with friends
StoneJawWins

Against this particular opponent, I’ve been suffering against Kamau snipers pretty regularly. While there are other options, this time, using the Raicho as a beefy gunfighter who can take hits worked pretty well. And I love the model. While not quite the level of bravado as the old sculpt(open top pilot capsule), this one’s got a good feel for stomping forward, guns blazing.
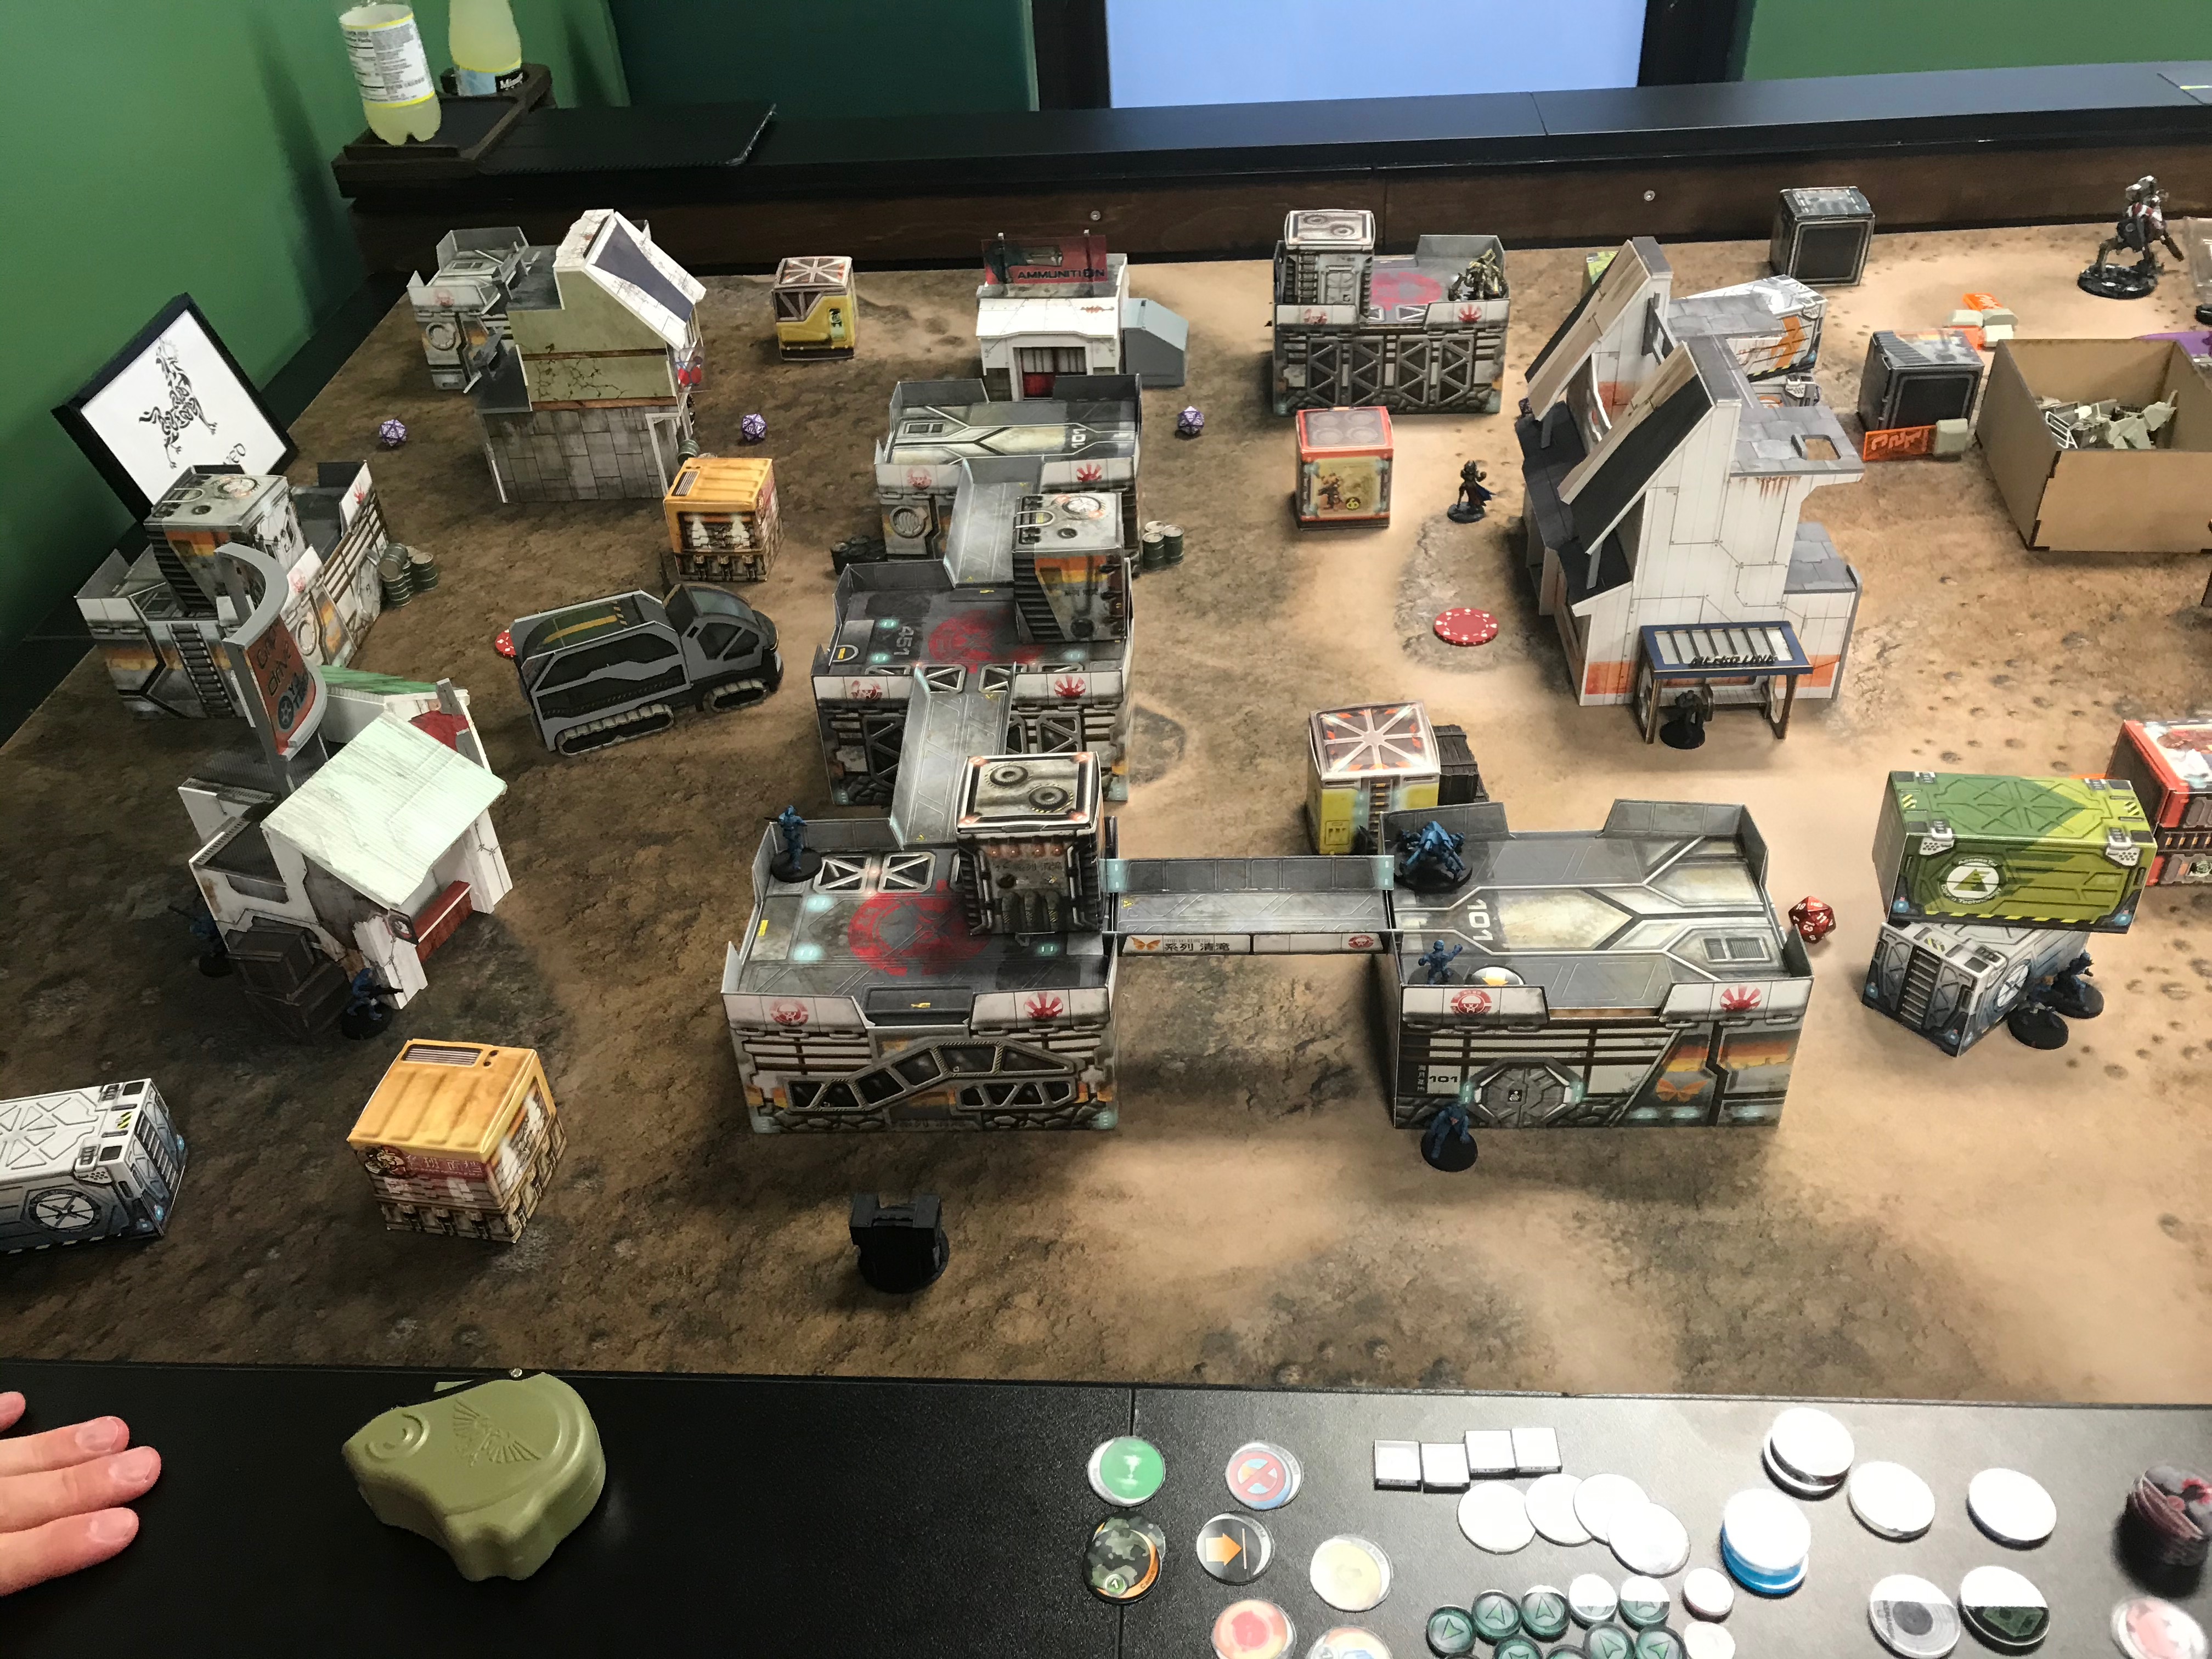
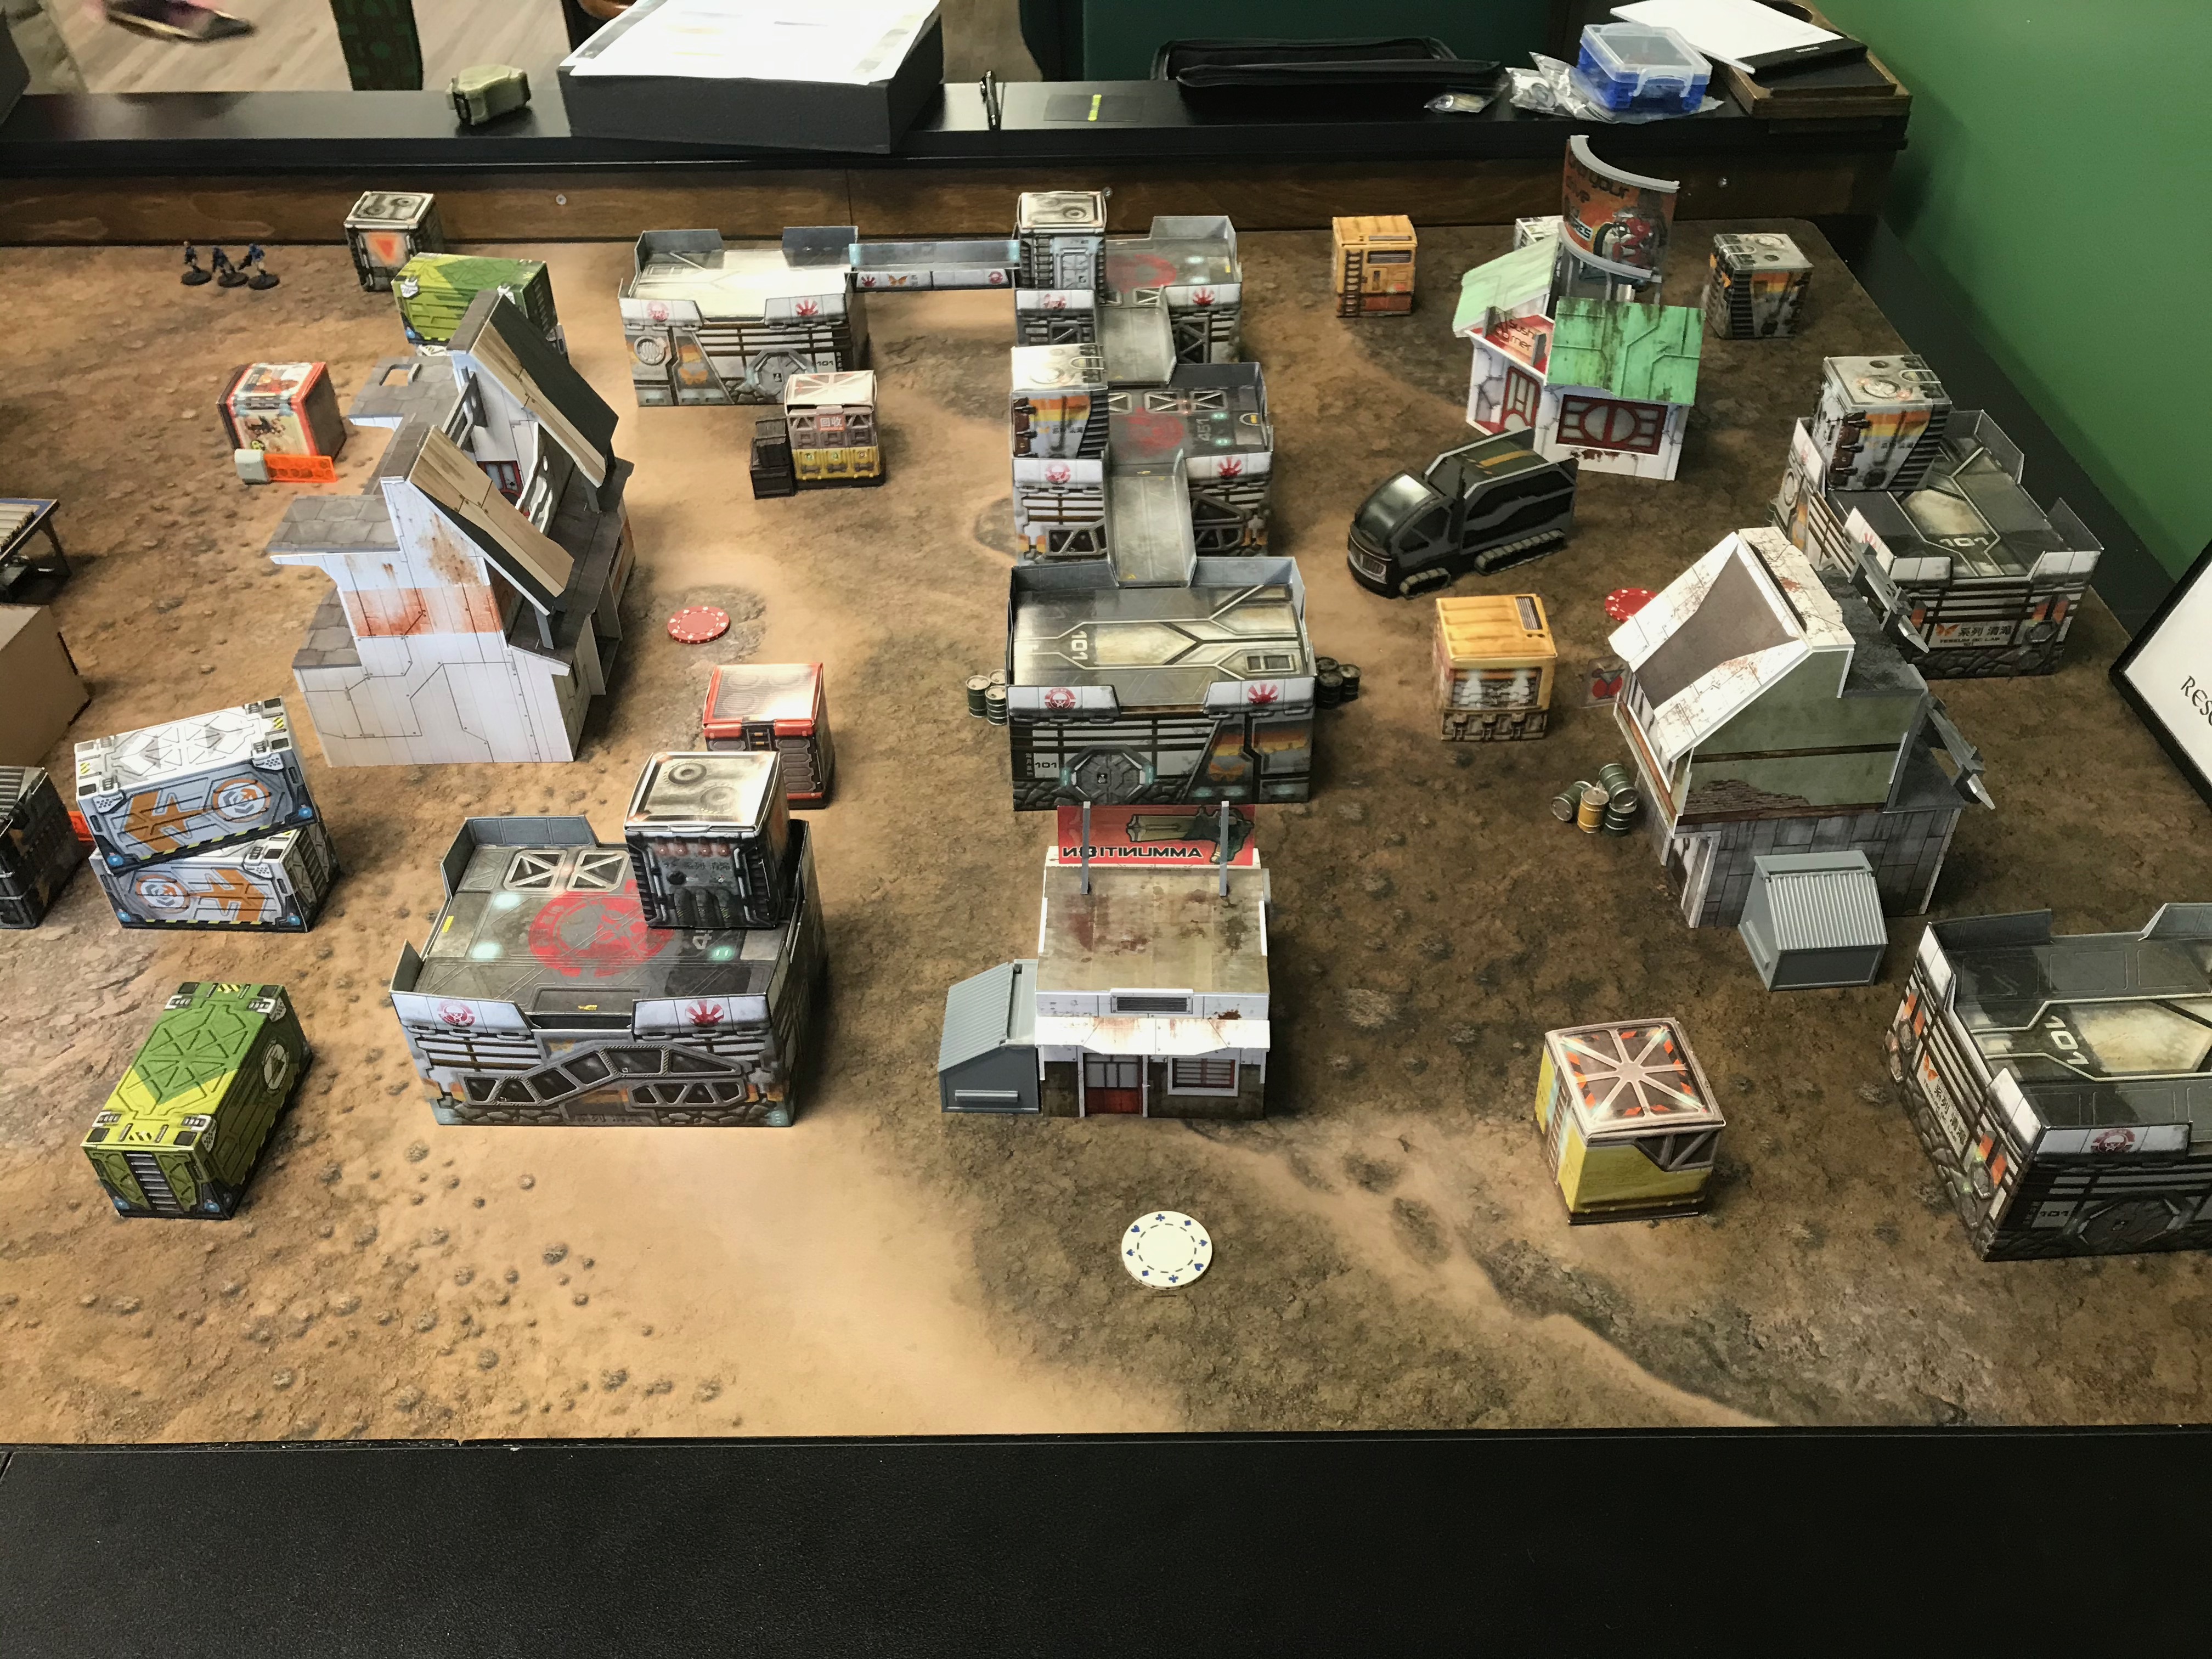
What a great table! I love the little drink trays.
missed that one…some EI love incoming
Raicho is rude.
Why on earth Combined Army is running into the Pit?! lol
Good rep, Seeing live Raicho in action is quite rare.