Fought At Liberty Cargo: Spaceport
1687 days 9 hours 45 minutes ago
JSA v Steel Phalanx: BLUES HARD!
300 POINTSCommander Hiroki Matsuyama stepped up off the elevator and was greeted by an incoming comms. “Matsuyama reporting.”
“Commander”, started the familiar voice of Col Hiroki, “You’ve been tasked with the defense of our interests in the Regolith Planes. CommInts suggest that there is a contingent of Greek-gaijin moving in on our stake. Note that Tetsu-no-monku herself has assigned you to this mission.”
Matuyama’s face went pale. He knew what should await him upon failure. Tetsu-no-monku’s punishments for failure were … legendary.
“Well then, I shall prevail or”, he gulped, “or it will be a bad day to Blue’s Hard!”
Blue Hard is a mid-tier, annihilation battle pitting the forces of the JSA versus the battle-hardened Steel Phalanx. Please note that this report is going to go over the high lights only as I did a full-length, 58 minute battle report that has been uploaded to YouTube … please see the appropriate link.
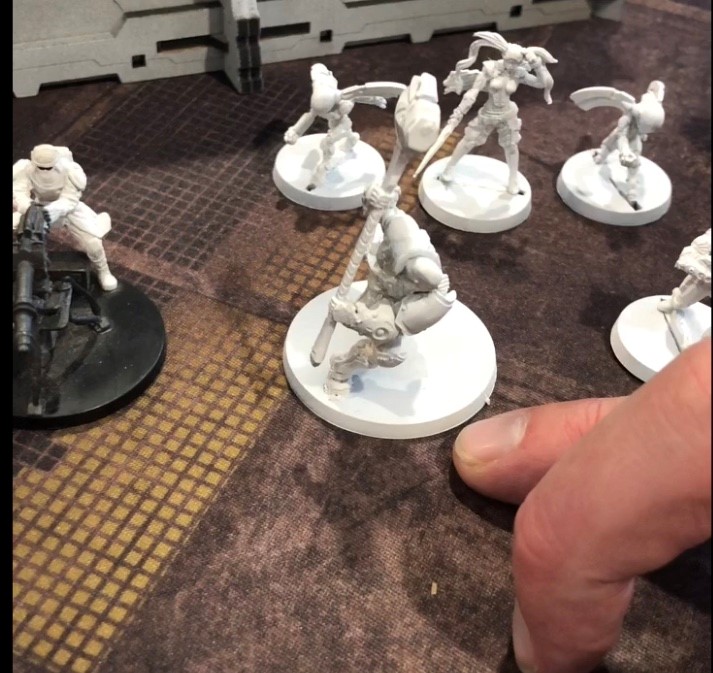
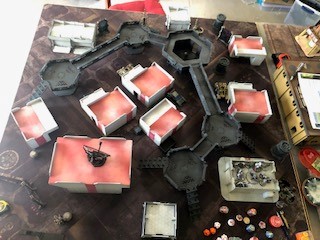
Struggle and the Greeks won the WIP roll, and elect to return turn order, so I toke the close end of the board (or bottom of the board, as seen in the picture below.) He set up his Mymidons with Jax on the left (all directions will be given relative to my side on the board; again, the ‘bottom’ of the pic) and his Thorakitai on the right, in the big tower. They are in a fire team with Hector, who set up on the bottom, out of LOS. The Agema Marksman joined the Thorakitai up in the tower. The REM starts off at the bottom of said tower. Scylla and robot friends set up on the far right.
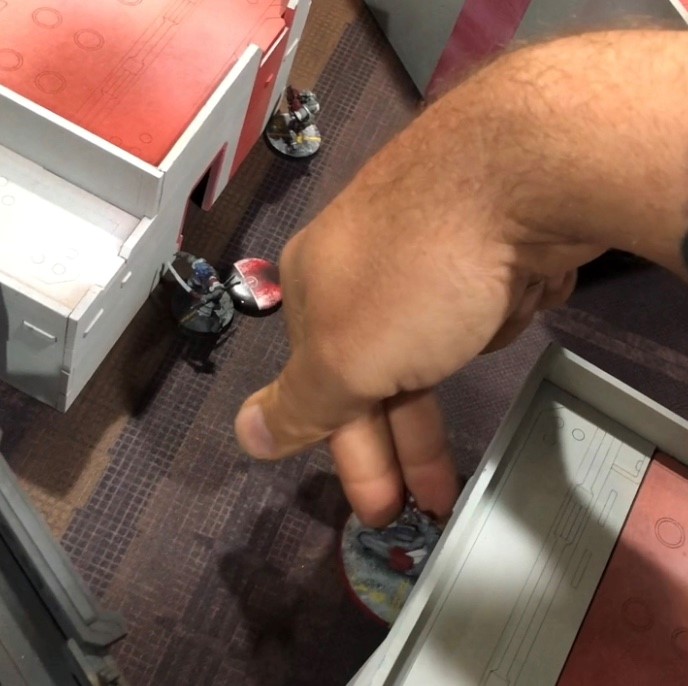
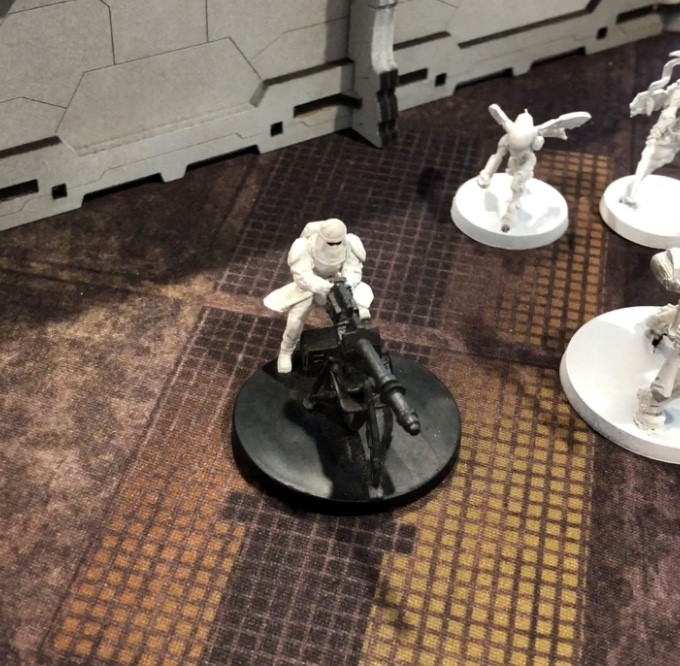
I set up my Spitfire Aragoto on the far left, my Daiyokai and Domaru Haris link behind the large building on the center-left. My Kempeitai and Keisotsu form a mini, three man core team behind the building on the center-right, and my killer-hacker Aragoto on the far right. My ninja sniper start off on the large building the Daiyokai and friends started behind, and Kitsune started off by the tower that Hector is at (IMPORTANT NOTE: I *did* make a phys roll for my superior infiltration, which I thought I had filmed, but apparently did not. We made a lot of rules mistakes I’m sure, but this wasn’t one of them)
SP Turn One: Struggle moves up Jax and the Myrmidons to attack my flank. Once he’s spent a few orders, I pop the Ninja sniper out to take some shots, which amounts to nothing. He then kills the ninja with the Agema. Jax goes up the large building to come around the other side to take shots at my Daiyokai and Domaru, all of whom make lots of dodge rolls and armor saves to avoid the brunt of the damage.
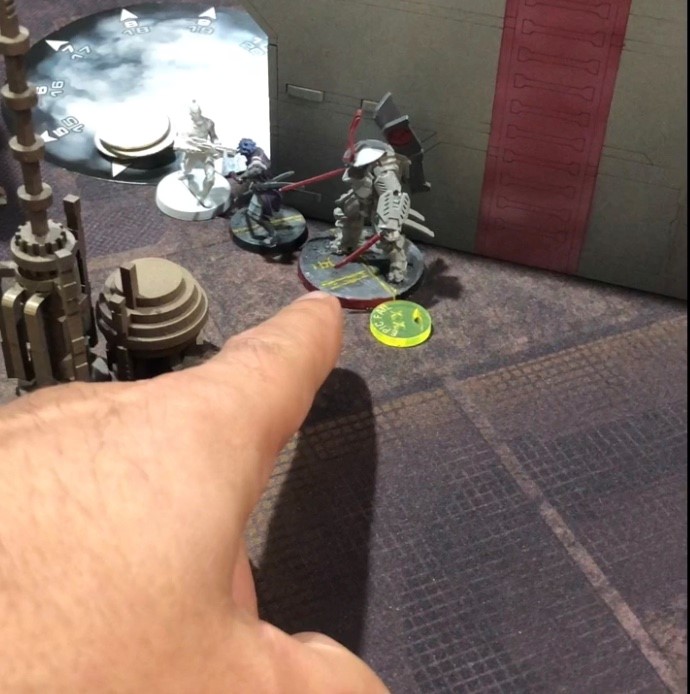
JSA Turn One: The Aragoto with spitfire revs up the side impetuously to put a wound on Ajax. Kitsune comes out to play: she comes around and engages Hector in hand to hand. In outstandingly bad luck, Hector crits Kitsune, who does NOT crit in return. That’s Infinity for you, thanks for coming out! Playing as if to carry on, the Daiyokai gets into a fire fight with Jax, and deletes him. My Aragoto spitfire shoots and fails to kill the Myrmidon in the link. My three-man-core team advances on the Myrmidon Officer and manages to kill her. My last orders are used to move everyone out of fire.
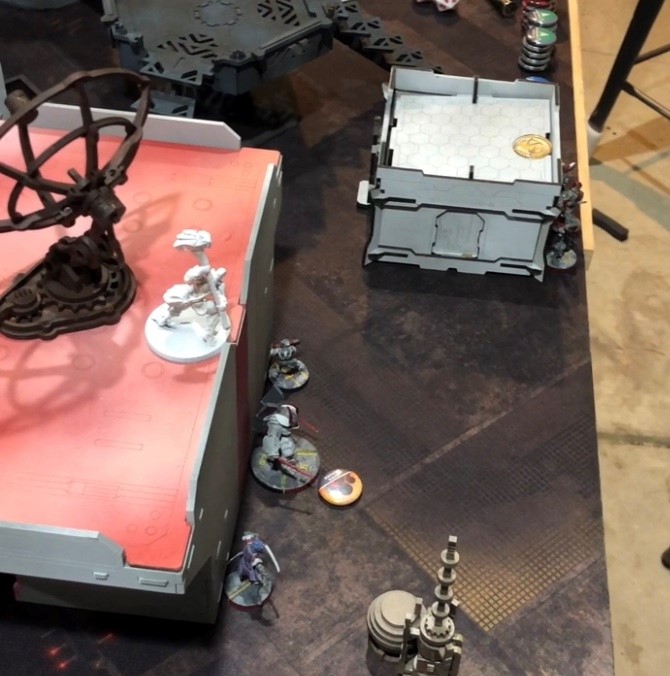
SP Turn Two: The last Myrmidon pushes up with smoke grenades and attempts to intuitive-attack-nano-pulse Daiyokai and Domaru friends. Thanks to baller dice rolls, the Domaru dodge engages the Myrmidon. Struggle decides to leave that be, and presses the attack on the right with Scylla and robot friends. This works out better: my Aragoto killer hacker dodges as the ARO to Scylla’s robot, and precedes to be immobilized. The robot then flamers the poor Aragoto, leaving him as a slag pile. Scylla then comes around and my MSV2 Kempeitai can’t seal the deal – he gets the heavy flamer treatment too.
JSA Turn Two: I start by backing my CoC Kempeitai up, as I really don’t want to spend turn 3 in loss of lieutenant state. I then move out the Daiyokai and friends, taking the long walk up the center-left flank. Despite having a number of orders to kill with, he only manages to take out a lone Thorakitai; for his troubles he takes a wound.
SP Turn Three: Stuggle takes advantage of the biggest mistake I made this match; he brings Hector around to get into a gun fight with the Daiyokai. Dammit, I should’ve moved the big-bubba back. Things go as you would expect: Daiyokai slag for everybody! He pushes Scylla further forward in an attempt to reach my CoC Kempeitai; although he manages to cook my poor Keisotsu, he REM is taken down as well. This pretty much uses up all his orders for this turn.
JSA Turn Three: my last real play is to move up the Aragoto to do damage. He manages to kill Scylla her own self in the impetuous phase. Unfortunately, he gets himself killed by a crit from a Thorakitai. With two orders left I really don’t have a play left, and we call it a game.

Battle Report Author

Army Lists Used In This Battle
Recommend Commander For Commendation
Share this battle with friends
Jeremy (Code Name: 'Struggle'Wins

“That’s Infinity for you, thanks for coming out!”
Right? The real achievement is getting Kitsune electric pulsed…
#BromadFistBump