Fought At Jiyuan Open-Pit Site: Quarry
1681 days 1 hours 17 minutes ago
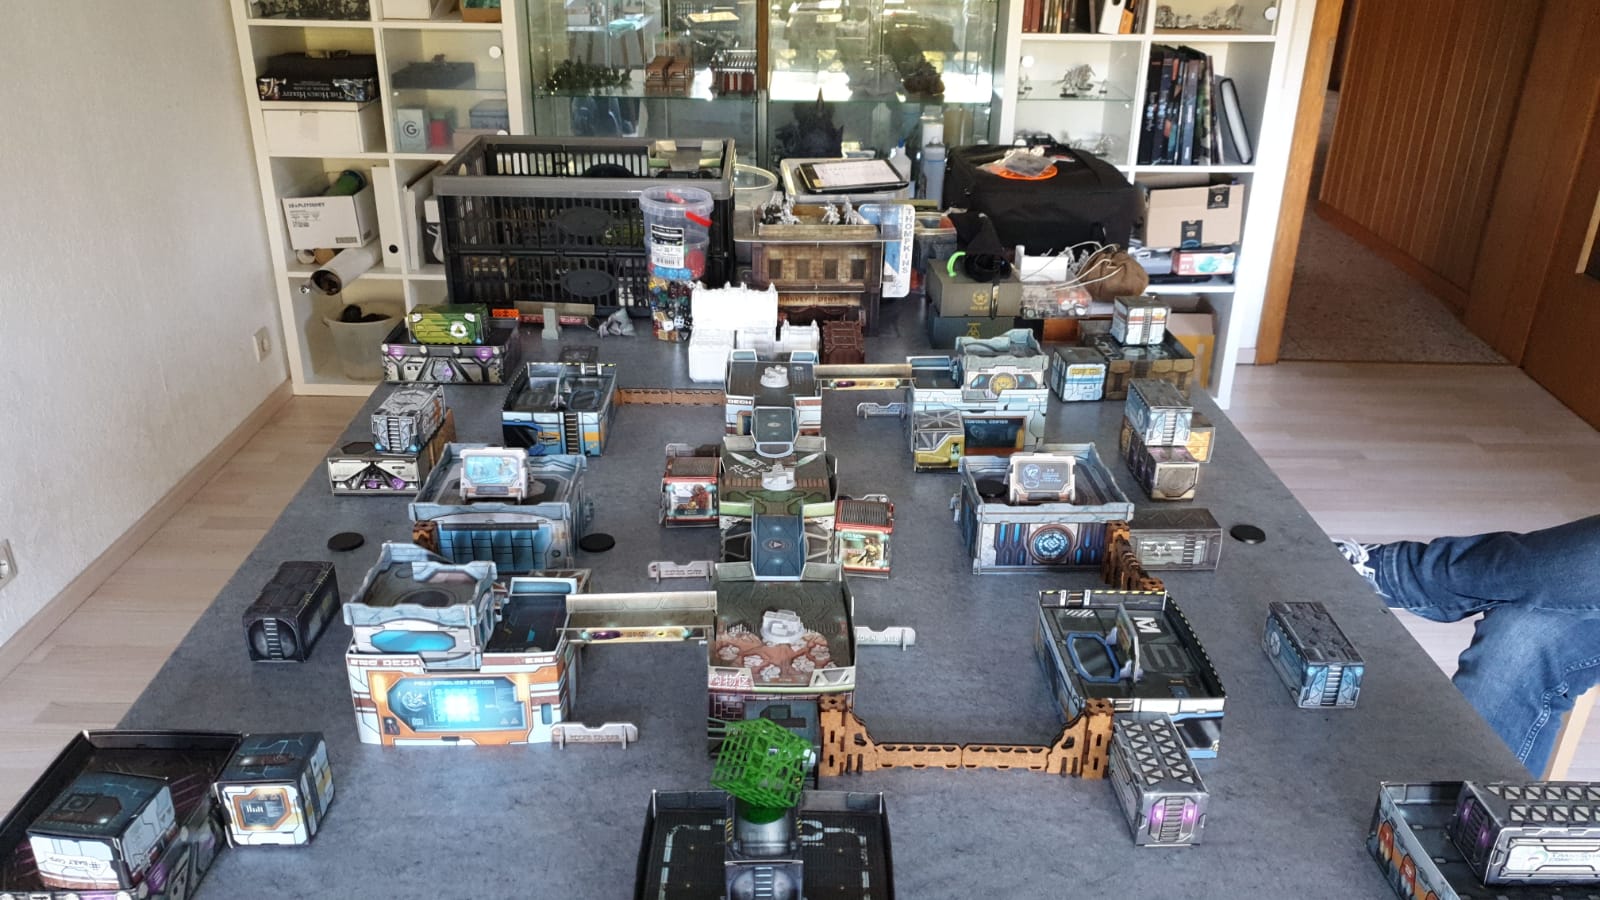
In reaction of the pressure the Yu Jing forces were putting on the Main Strip, it was decided to hinder their operations by performing a strike against the logistical infrastructure at the Jīyuán Open-Pit Site. Lieutenant Kadeem and his Muyib Team had infiltrated the Installation through a section damaged by earlier combat operations and was making his way to the target zone as he heard a voice in his headset. “Careful Lieutenant,” the Farzan who supervised this Operation whispered, “there are hostiles ahead.” “Please onfirm,” Kadeem said. “Are those definitively hostiles? No civilians?” “They are PanO, Lieutenant. Bolts, Remotes and Auxilias. And they are right between us and the target.” “We don’t have time for this. It’s dead cold out here. We have to secure a heating unit, drive the PanOs off and proceed to our main target. Now.” In Reaction to this words, his troops began fanning out taking cover, and were waiting on his command to advance.
After rolling for Initiative I could choose my side and my opponent let me deploy first and wanted me to begin.
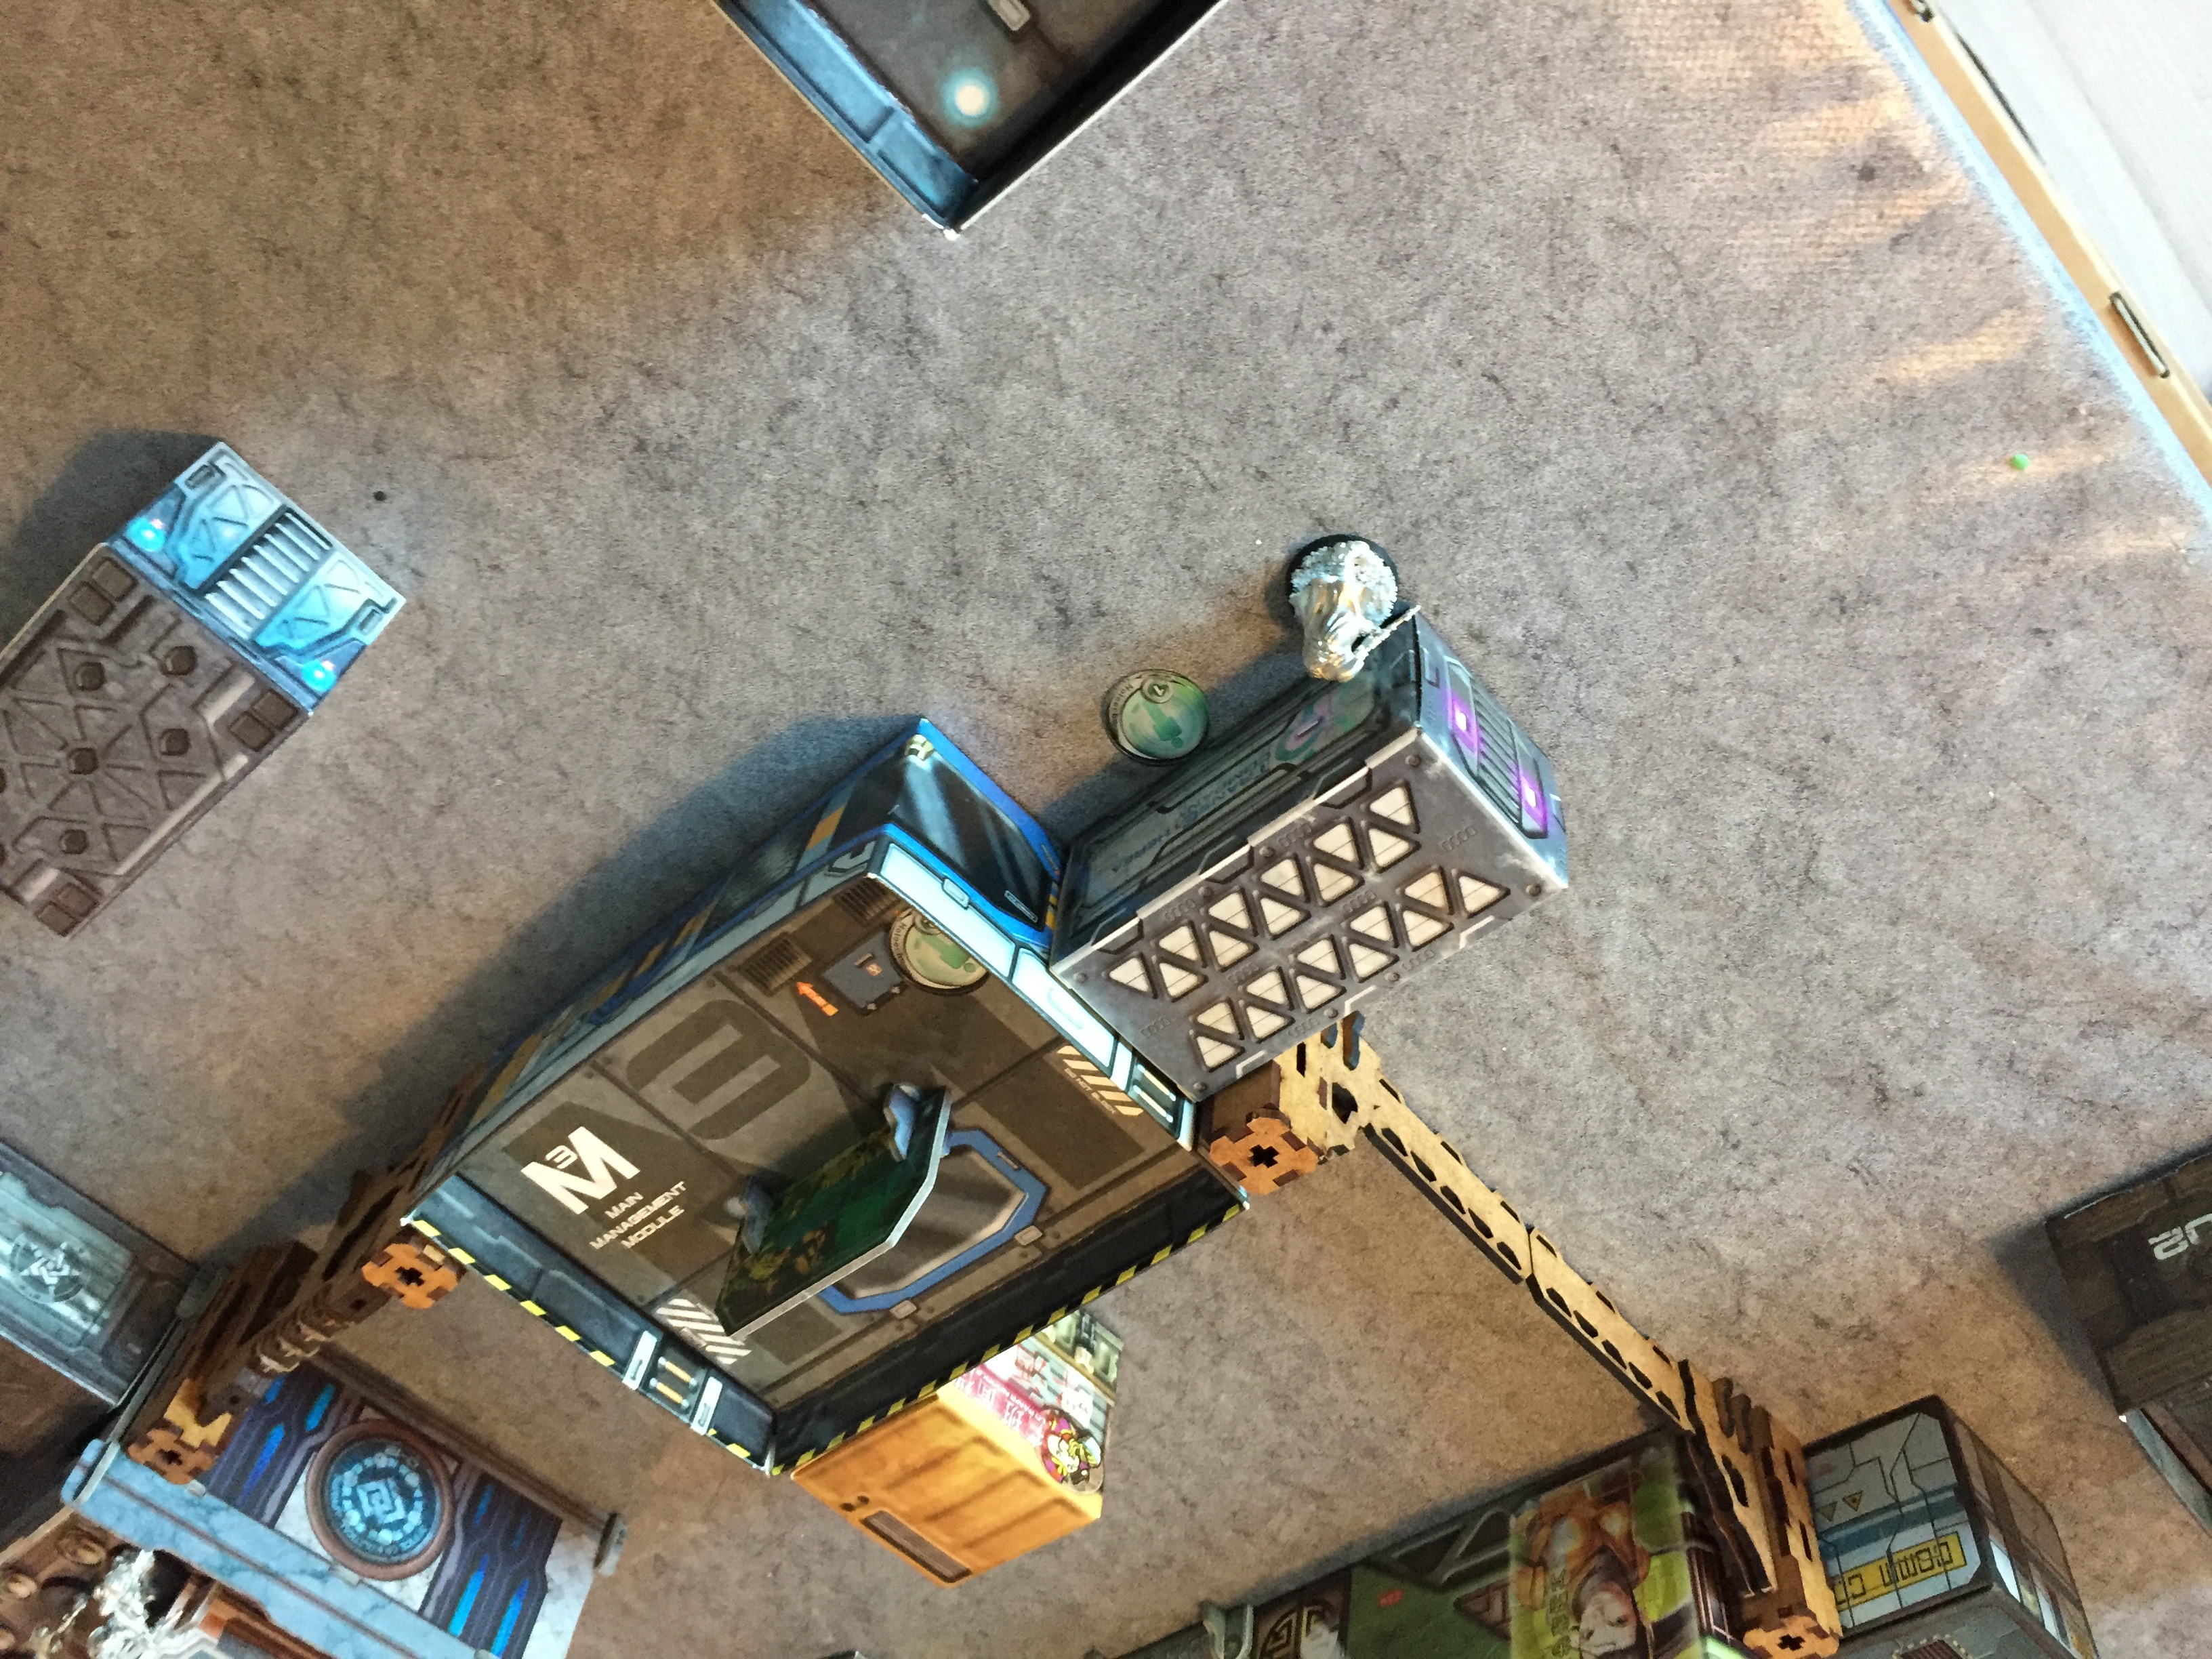
I deployed my Muyib Fire Team deployed mostly prone on a building at the edge oy my deployment zone, The Lieutenant was tucked safely behind the building.
My Ayyar Data Tracker had the left Flank, the Asawira Duo and the Farzen FO (My Liaison Officer) were deployed on the right side of the table. The Fiday was held back and after my opponent had deployed I put him right around the corner of his Bolt Fire Team.
My first turn:
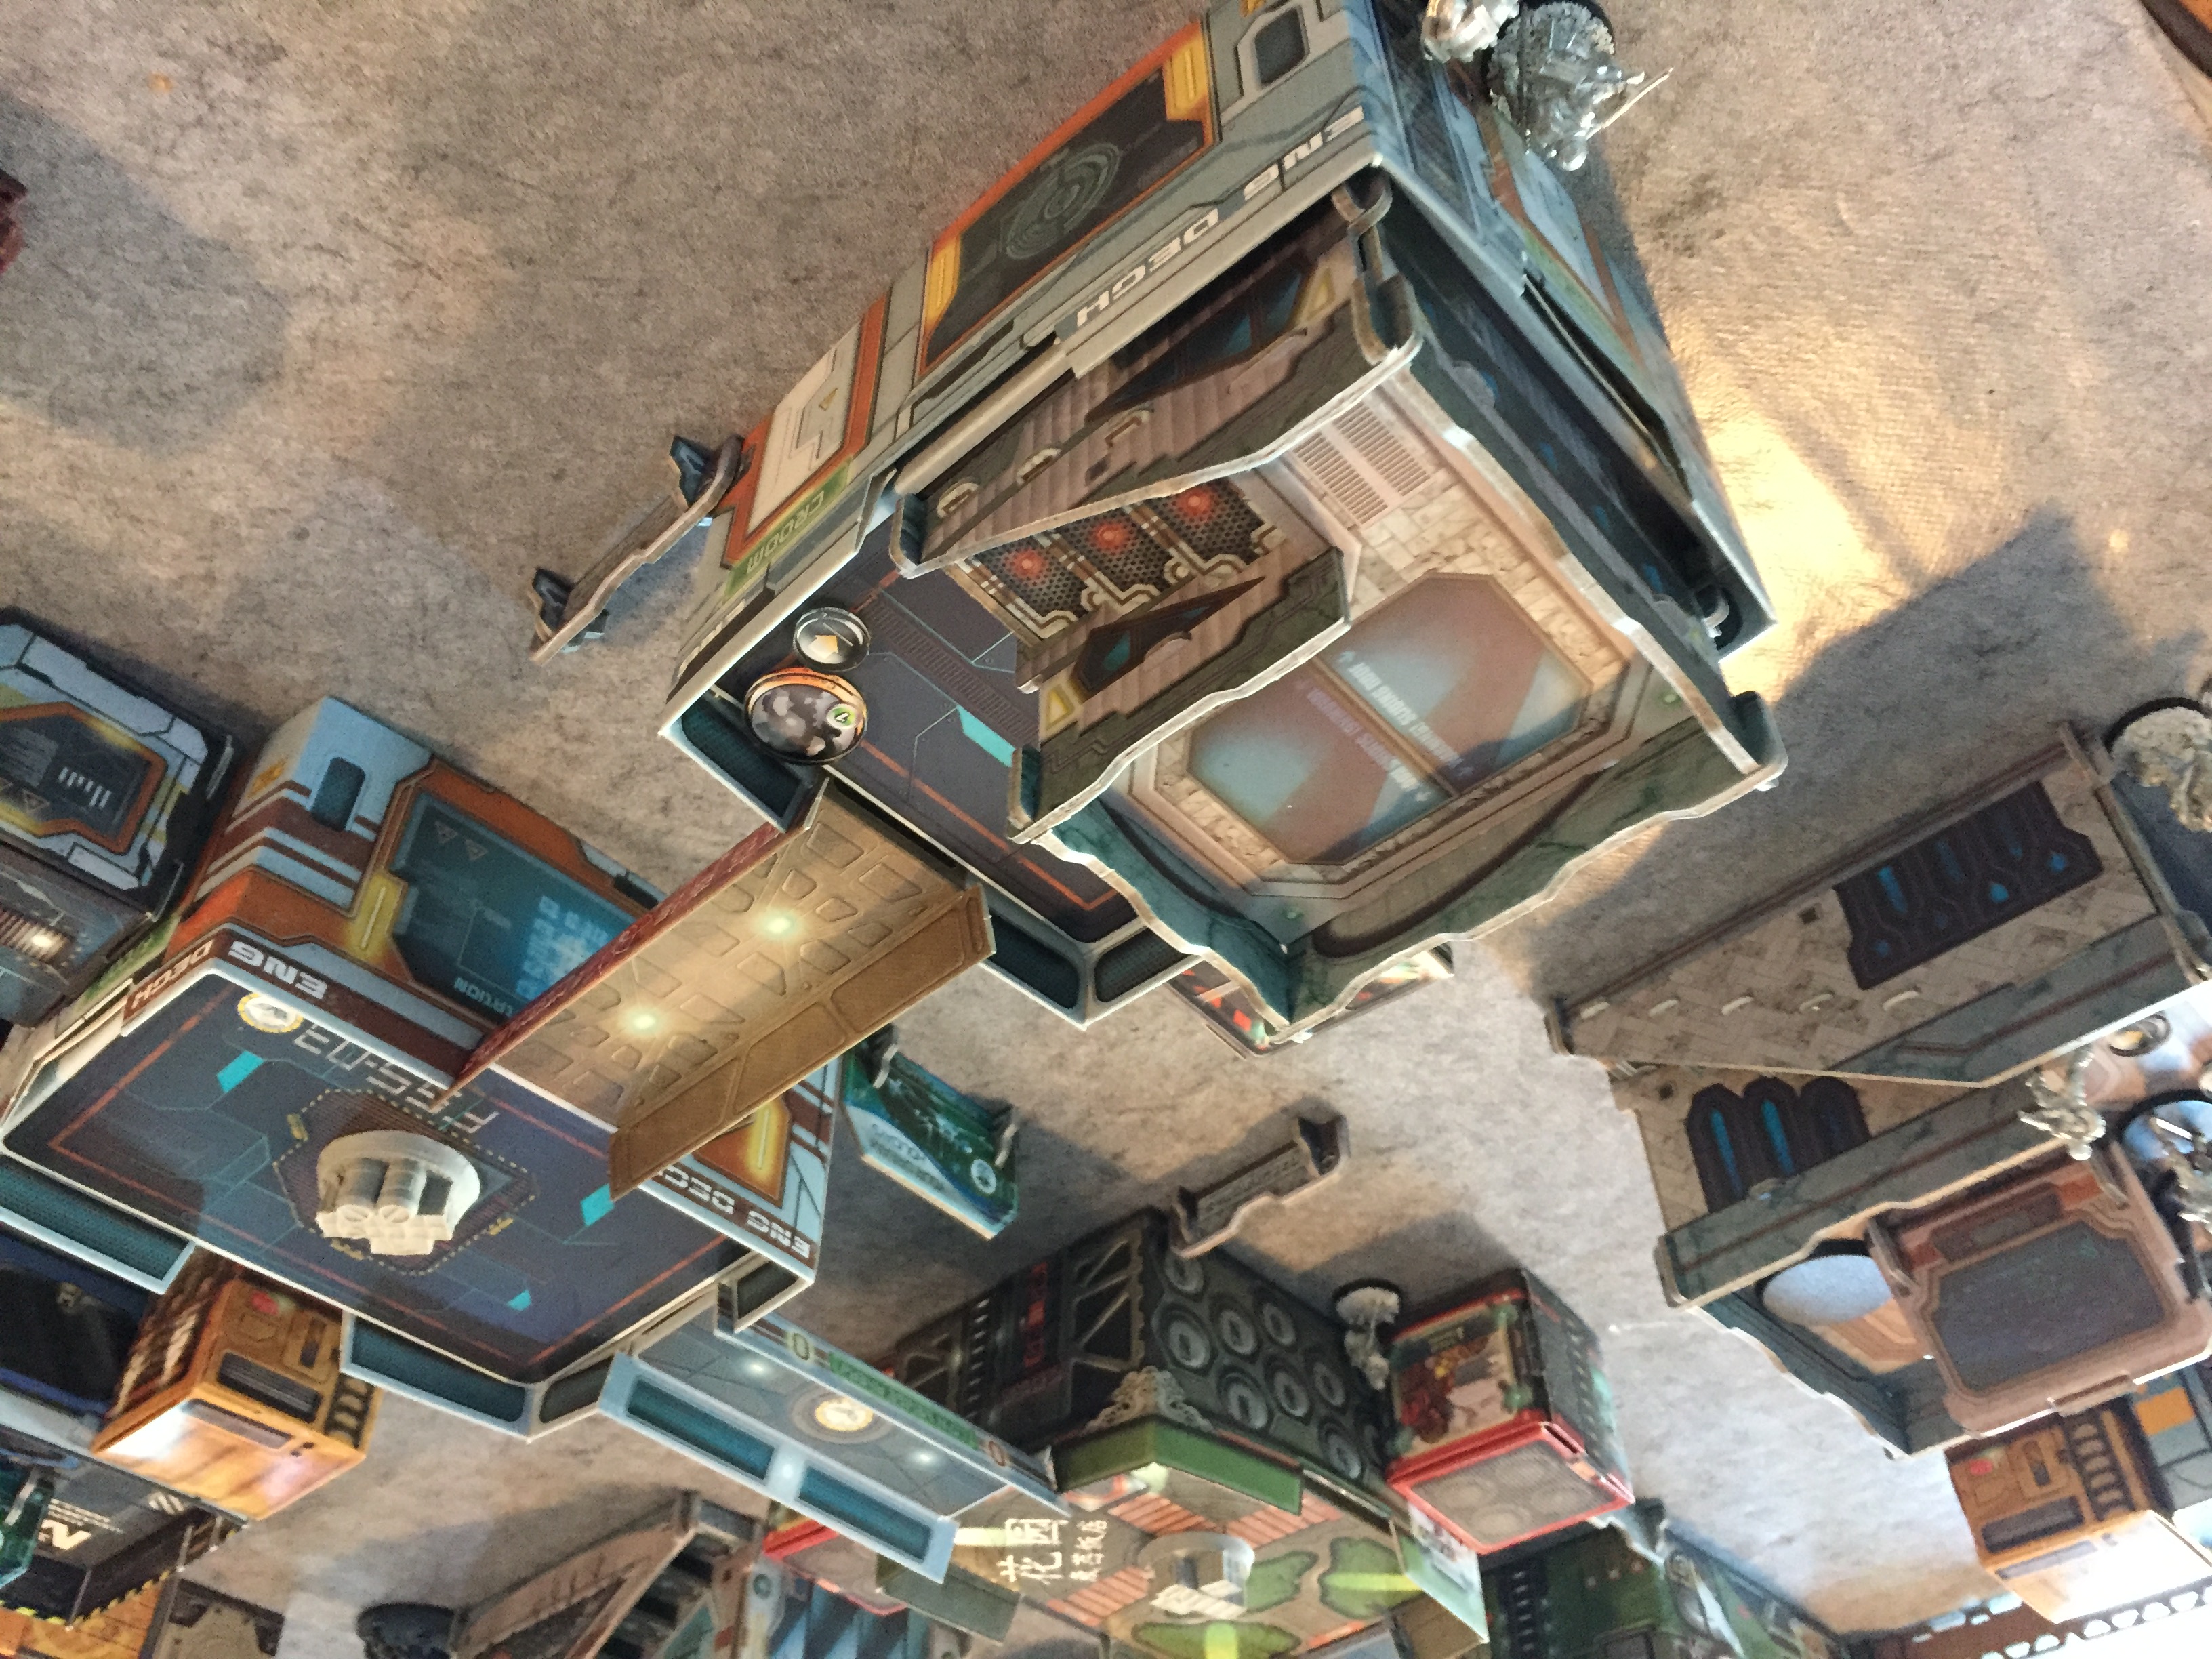
THe Fiday came out of Impersonation by dropping a Smoke Grenade to cover his advance on the Bolts and and Auxilia with a Heavy Flamer Palbot in tow. I moved the Fiday into the Smoke and deployed a mine. As reaction, a Bolt deployed a drop bear to hinder my further advance. The Bolt fire team was split up, three around a corner with the Fiday and his mine directly in front of them, the rest and the Auxilia with his Auxbot behind a wall with a gate in which the drop bear was deployed. I let the Fiday advance further in Base contact with a Bolt with a missile launcher which activated the drop bear and in turn my own mine. I survived the blast as did the Palbot and as my second skill deployed another mine.
Pleased that the Bolts were pinned I let my Muyib with the rocket launcher stand up to open fire at a total reaction remote which was blocking my advance routes. He failed. After two or three misses he lost the roll and went unconscious. I let my doctor crawl up and do his work, which killed the rocket launcher.
Now I let the Asawira team advance on the right flank but could not get very far up because another total reaction drone was covering this side of the table as well. With my last orders I moved my Muyib spitfire in a position to fire on the first total reaction remote. I rolled a hit but could not do any damage. MY very last order was used as a coordinated order to put my Muyib and my Asawira spitfire into supressive fire, breaking up the link teams.
My opponent’s turn:
The Auxilia Auxbot tried to fry the Fiday with his Flamer. The Fiday dodged and the Palbot was sent into unconsciusness by my mine.
Next he activated the Bolt Team. The ones behind the Wall kept their heads down the other three engaged the Fiday in CC, which the Fiday won and killed the Bolt leader and broke the team. Next my opponent used a coordinated order to disengage his surviving Bolts. After that a Swiss Guard HMG came out of hidden deployment on a nearby rooftop and opened up on the Fiday. The Fiday smoke dodged the attacks. Now a Tech Bee was used to repair the unconscious Auxbot which in turn used a intuitive attack to burn the Fiday to death. The Swiss Guard moved a bit sideways and turned its attention to the Muyib Spitfire, which went down unconscious after a short firefight. Having secured his advance lane, my opponent formed his Bolt fire team anew and moved up behind the building in the centre of the table on which one of the consoles was located. His last orders were spent to move the Tech Bee (his Data Tracker) in a positon at the side of the Bolts.
My second Turn:
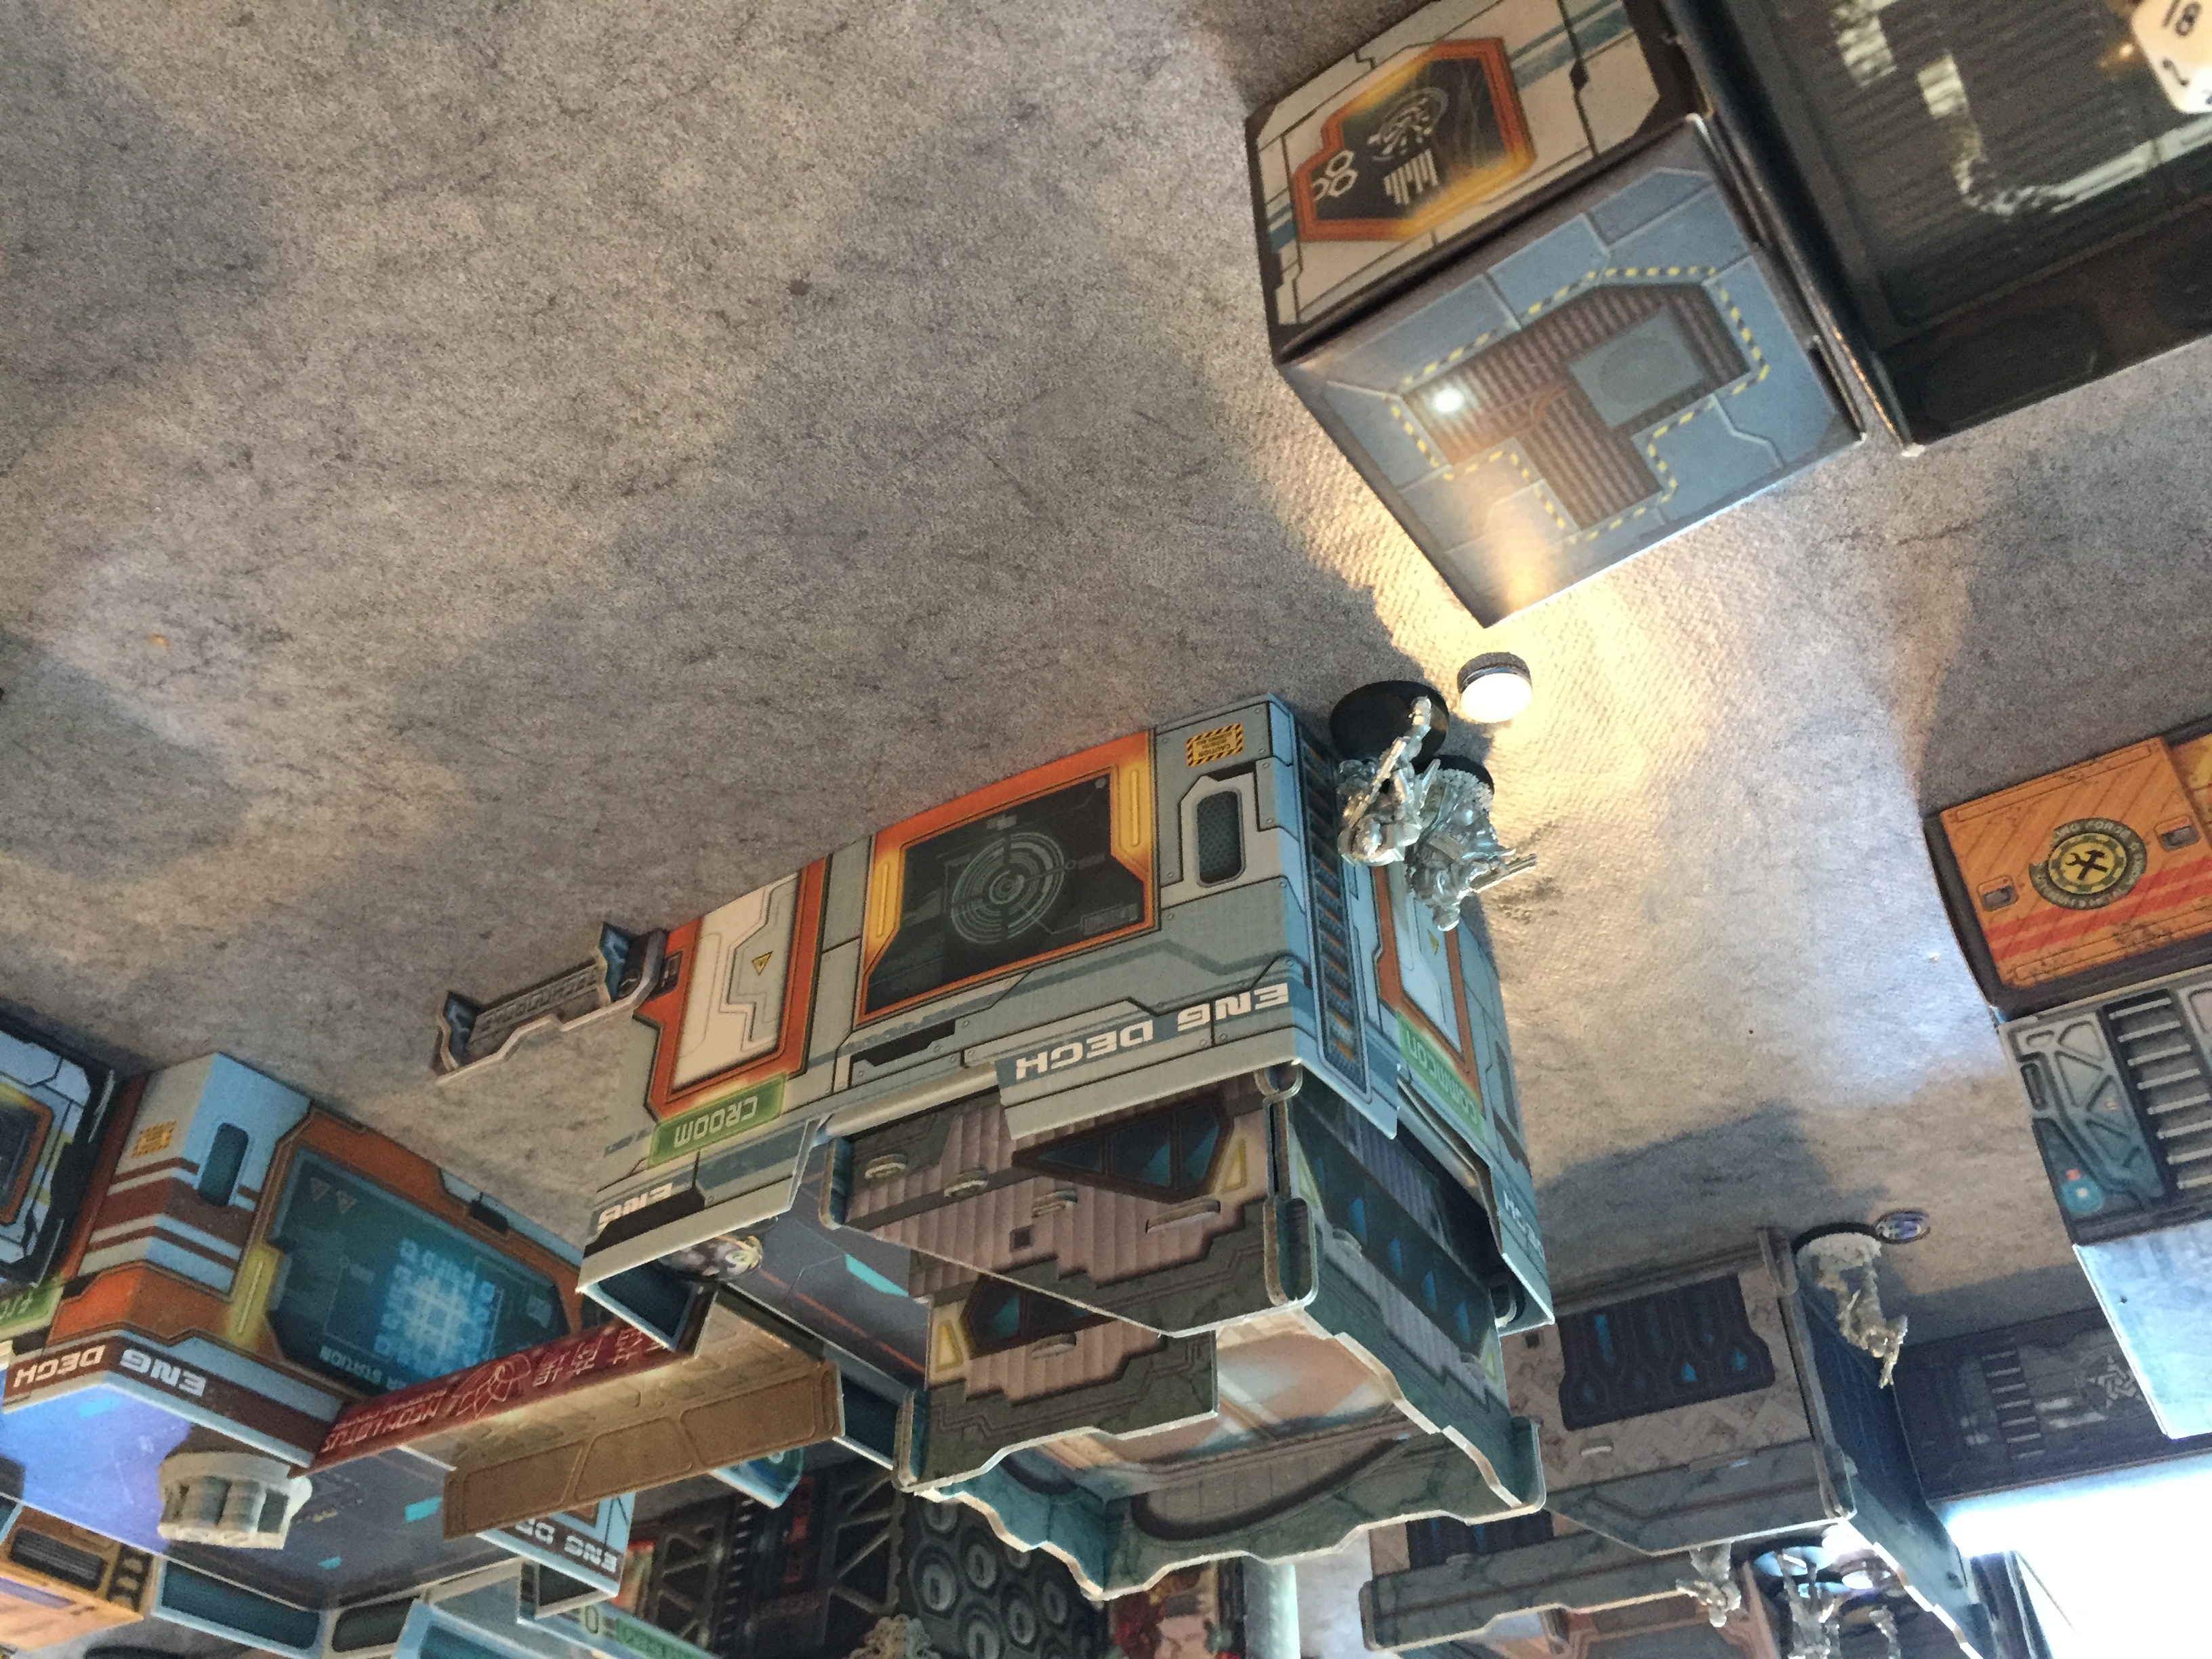
I activated my Doctor and tried to rescue the unconscious Muyib spitfire. Aghain the Doc failed, killing off his teammate. Next my Lieutenant covered his advance with a smoke grenade and was able to move unseen to the far side of the building behind which was providing cover for the Bolts and the Tech Bee.
My next five orders were spent on letting grenades rain down on those models. At the end only one Bolt had survived. With this my turn ended.
My opponent’s turn:
Deus Kalsa used his last Bolt to climb on the building in front of him avoiding any AROs and used the middle console , thus activating the heat unit nearest to his side of the table. The Swiss Guard was given the suprressive fire order. After that he ended his turn.
My third turn:
Feeling the death by the cold creeping ever nearer, my Farzan FO decided to bring ultimate sacrifice. Using a couple of orders for some cautious advances she made contact with the right console without proviking any AROs. She was able to activate the heating unit near the exclusion Zone on my side of the table and rescued the remaining Muyibs from the deadly cold. My last orders were spent on my Ayyar Data Tracker, moving him into the exclusion zone.
My Opponent’s last turn:
Seeing no remaining options to win the match, Deus Kalsa used some of his orders to move his last Bolt into his heated area and ended his turn.

Battle Report Author


Army Lists Used In This Battle
Recommend Commander For Commendation
Share this battle with friends
KoljaWins

Couldn’t you turn the pictures in the right direction ?
Nice report.
Congrats on the win!
Nice short writeup! Keep up the good work!
Well done on the win. The narrative was interesting and informative. May I suggest breaking it into smaller paragraphs for easier reading. Keep up the good work.
Great Narrative.!! maybe pay your journalist more to take some new pics! ; )
good report, please put an effort to improve
@WiseKensai
You obviously haven’t played against me 😛
Good work, but your pictures are jumbled.
Nevertheless Kudos for the Narrative
Wow! Haqq doctor fails… Didn’t expect to see that!
Thanks for writing this up, and good work taking the win!
#BromadFistBump #ShoulderToShoulder