Fought At The Gorge: Cosmika HQ
1670 days 21 hours 23 minutes ago
Cosmika Armory Infiltrated!
300 POINTSThe allegations of Shasvastii infiltration bear fruit in the formerly Nomad owned Cosmika HQ. Hector and a strike team are sent to seize some stockpiled arms, before they can be used to restock the Shasvastii in the coming battles.
──────────────────────────────────────────────────
Notes: We didn’t play the normal mission for the Cosmika HQ. We instead played it as The Armory. Some models have been proxied and that is listed below.
Map: We aimed to make our map a bit narrative, so we assumed that there was a ceiling to the map, hence no tops to buildings. All fences, shipping containers, and walls were considered infinitely tall.
──────────────────────────────────────────────────
Lists:
Steel Phalanx
Profile – Name – Model
Machaon – Machaon – Machaon
Phoenix – Phoenix – Phoenix
Myrmidon (Spitfire) – Theseus – Myrmidon Spitfire
Myrmidon – Phaedra – Myrmidon Officer
Hector (Lieutenant) – Hector – Hector
Thrasymedes – Thrasymedes – Shukra Shotgun
Thorakites (Paramedic) – Maria – Yadu Multi
Thorakites (Forward Observer) – Summer – Dart
Atalanta – Atalanta – Naga Sniper
Netrod – N/A – Netrod
HVT – Thamyris – Thamyris
Shasvastii Expeditionary Force
Profile – Model
———-
HVT – Free-lance Stringer
──────────────────────────────────────────────────
Narrative to be added.
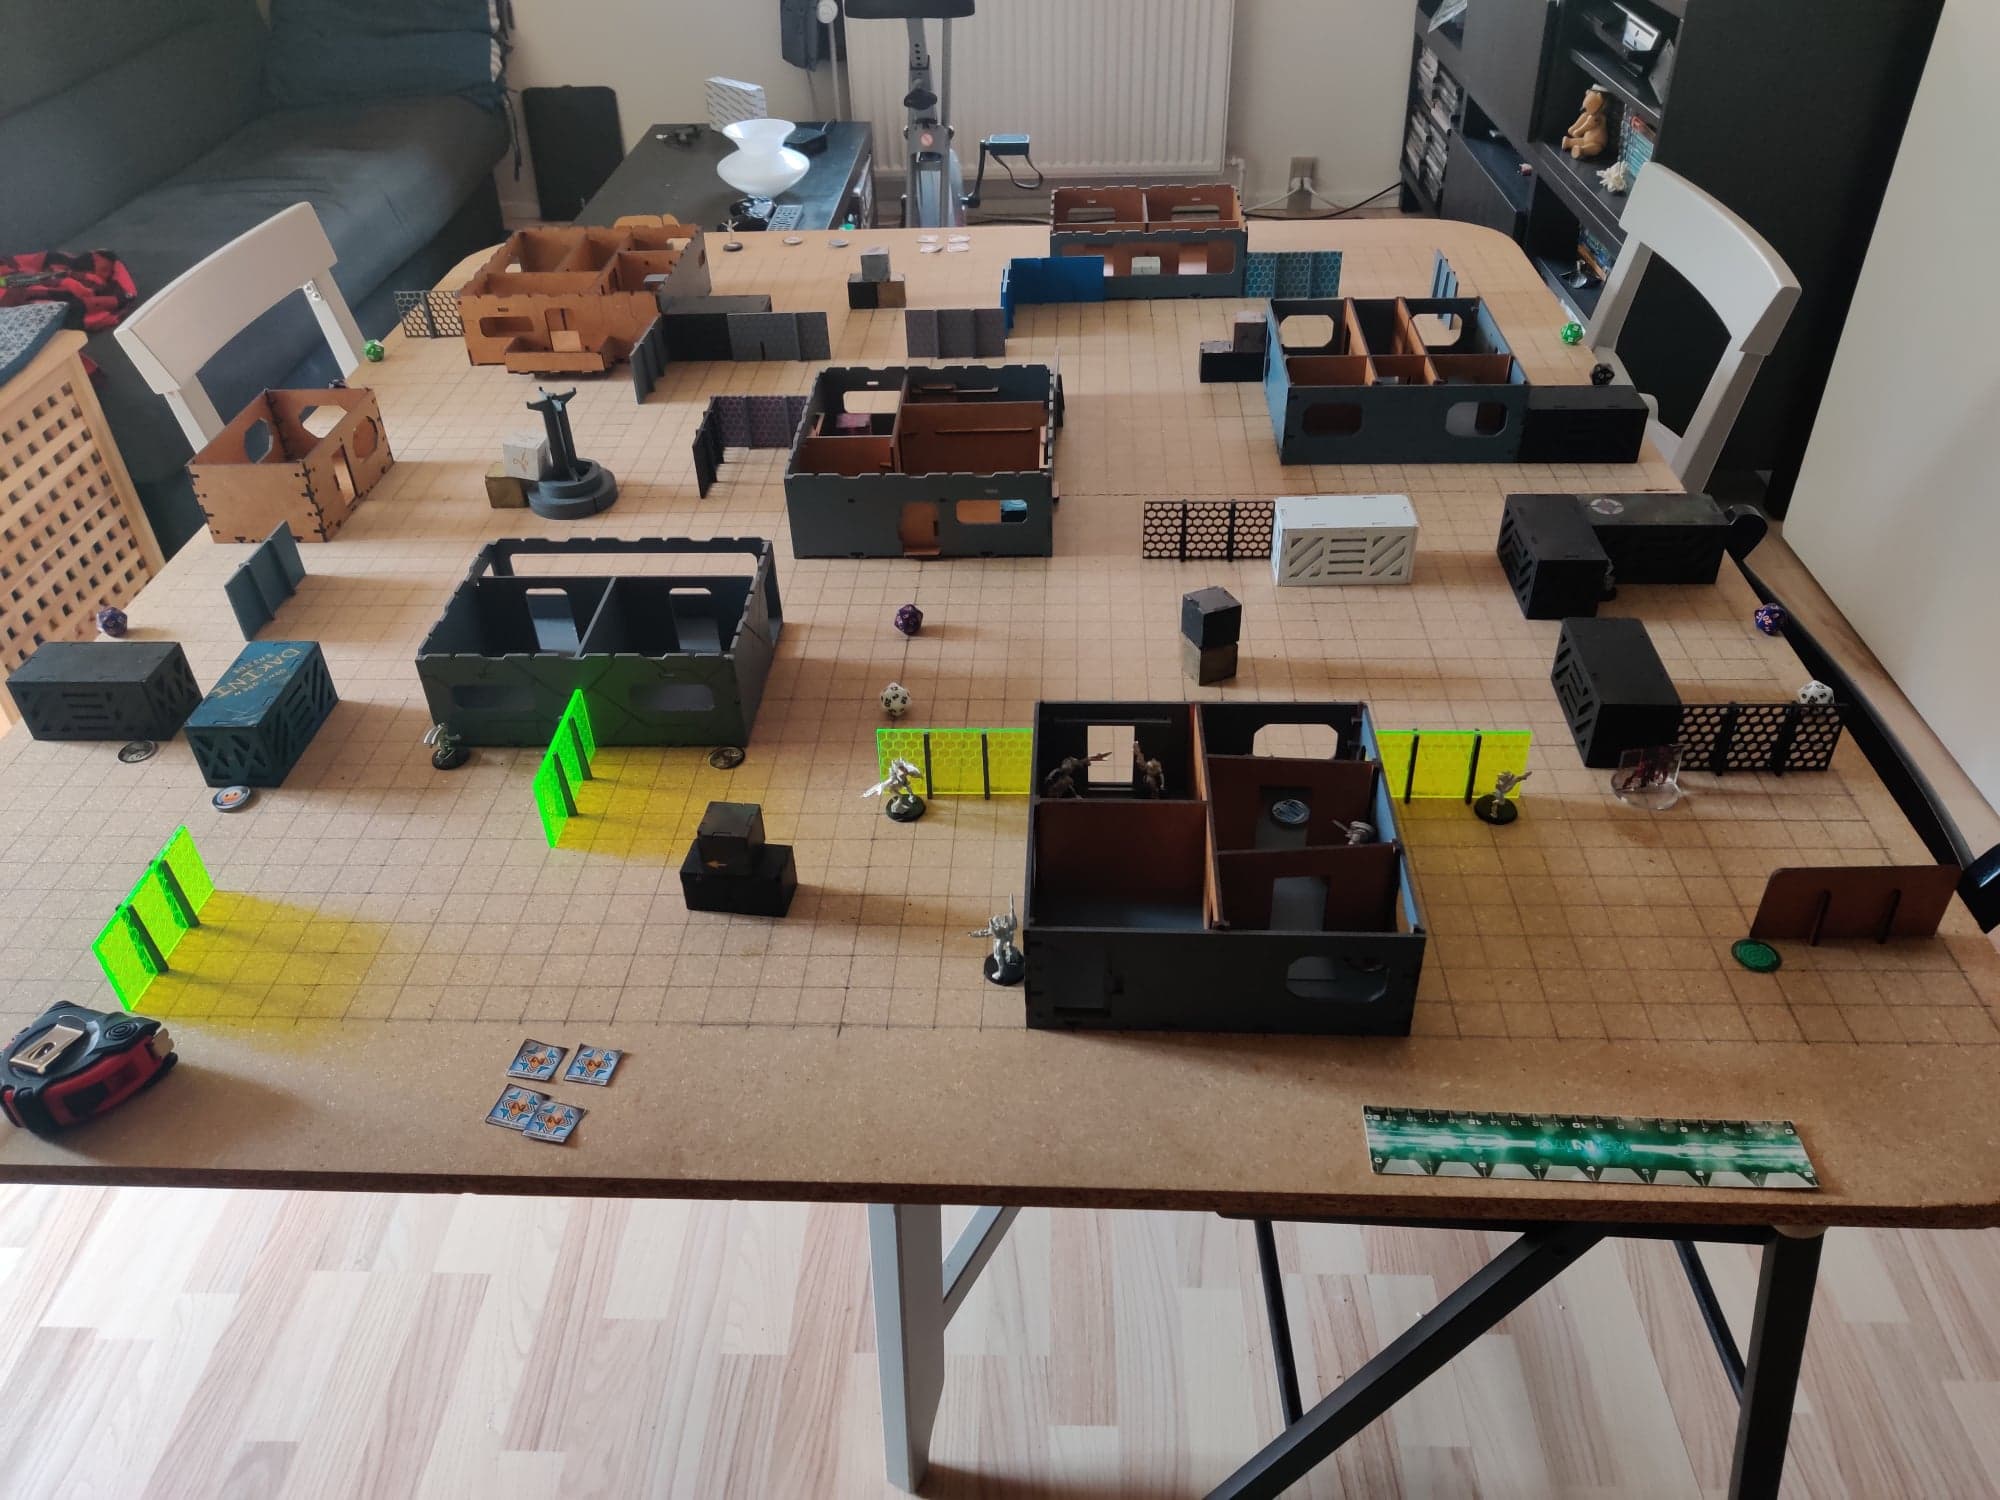 Preparation: To keep things simple and get multiple games in, we decided to keep the map to a single level. We fluffed the battle as being inside tunnels and the like. (Hence no roofs on the buildings.) We also decided to play The Armory, since it seems fun and would result in a lot of blood.
 Initiative and Deployment: Aleph lost the roll off and was given deployment, and took this side. Combined Army took first turn.
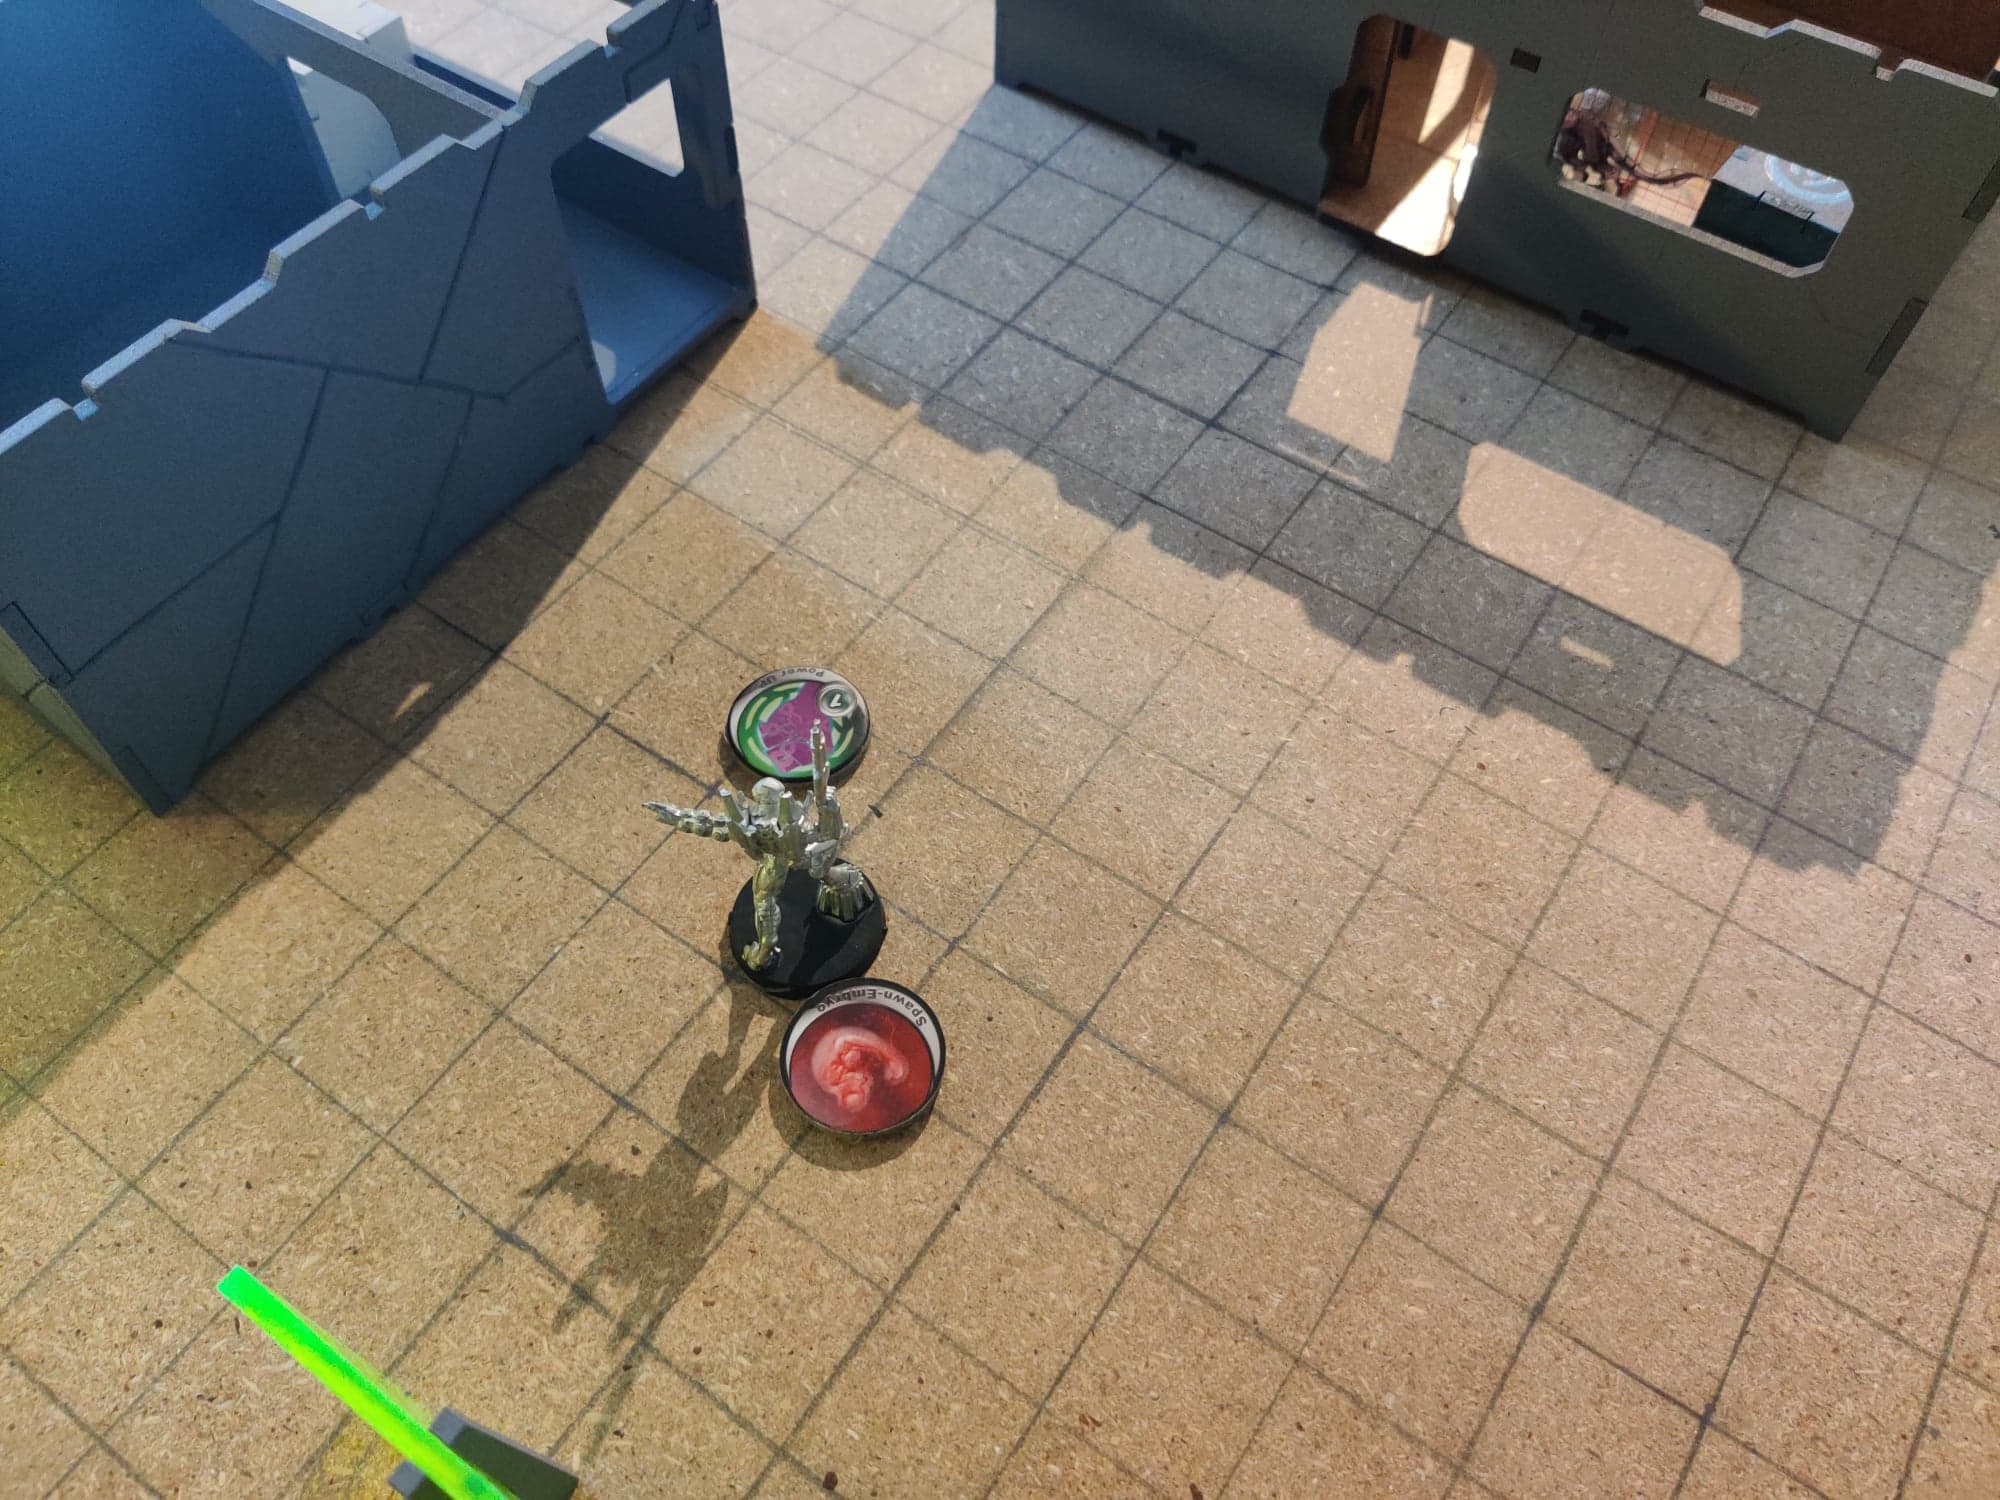
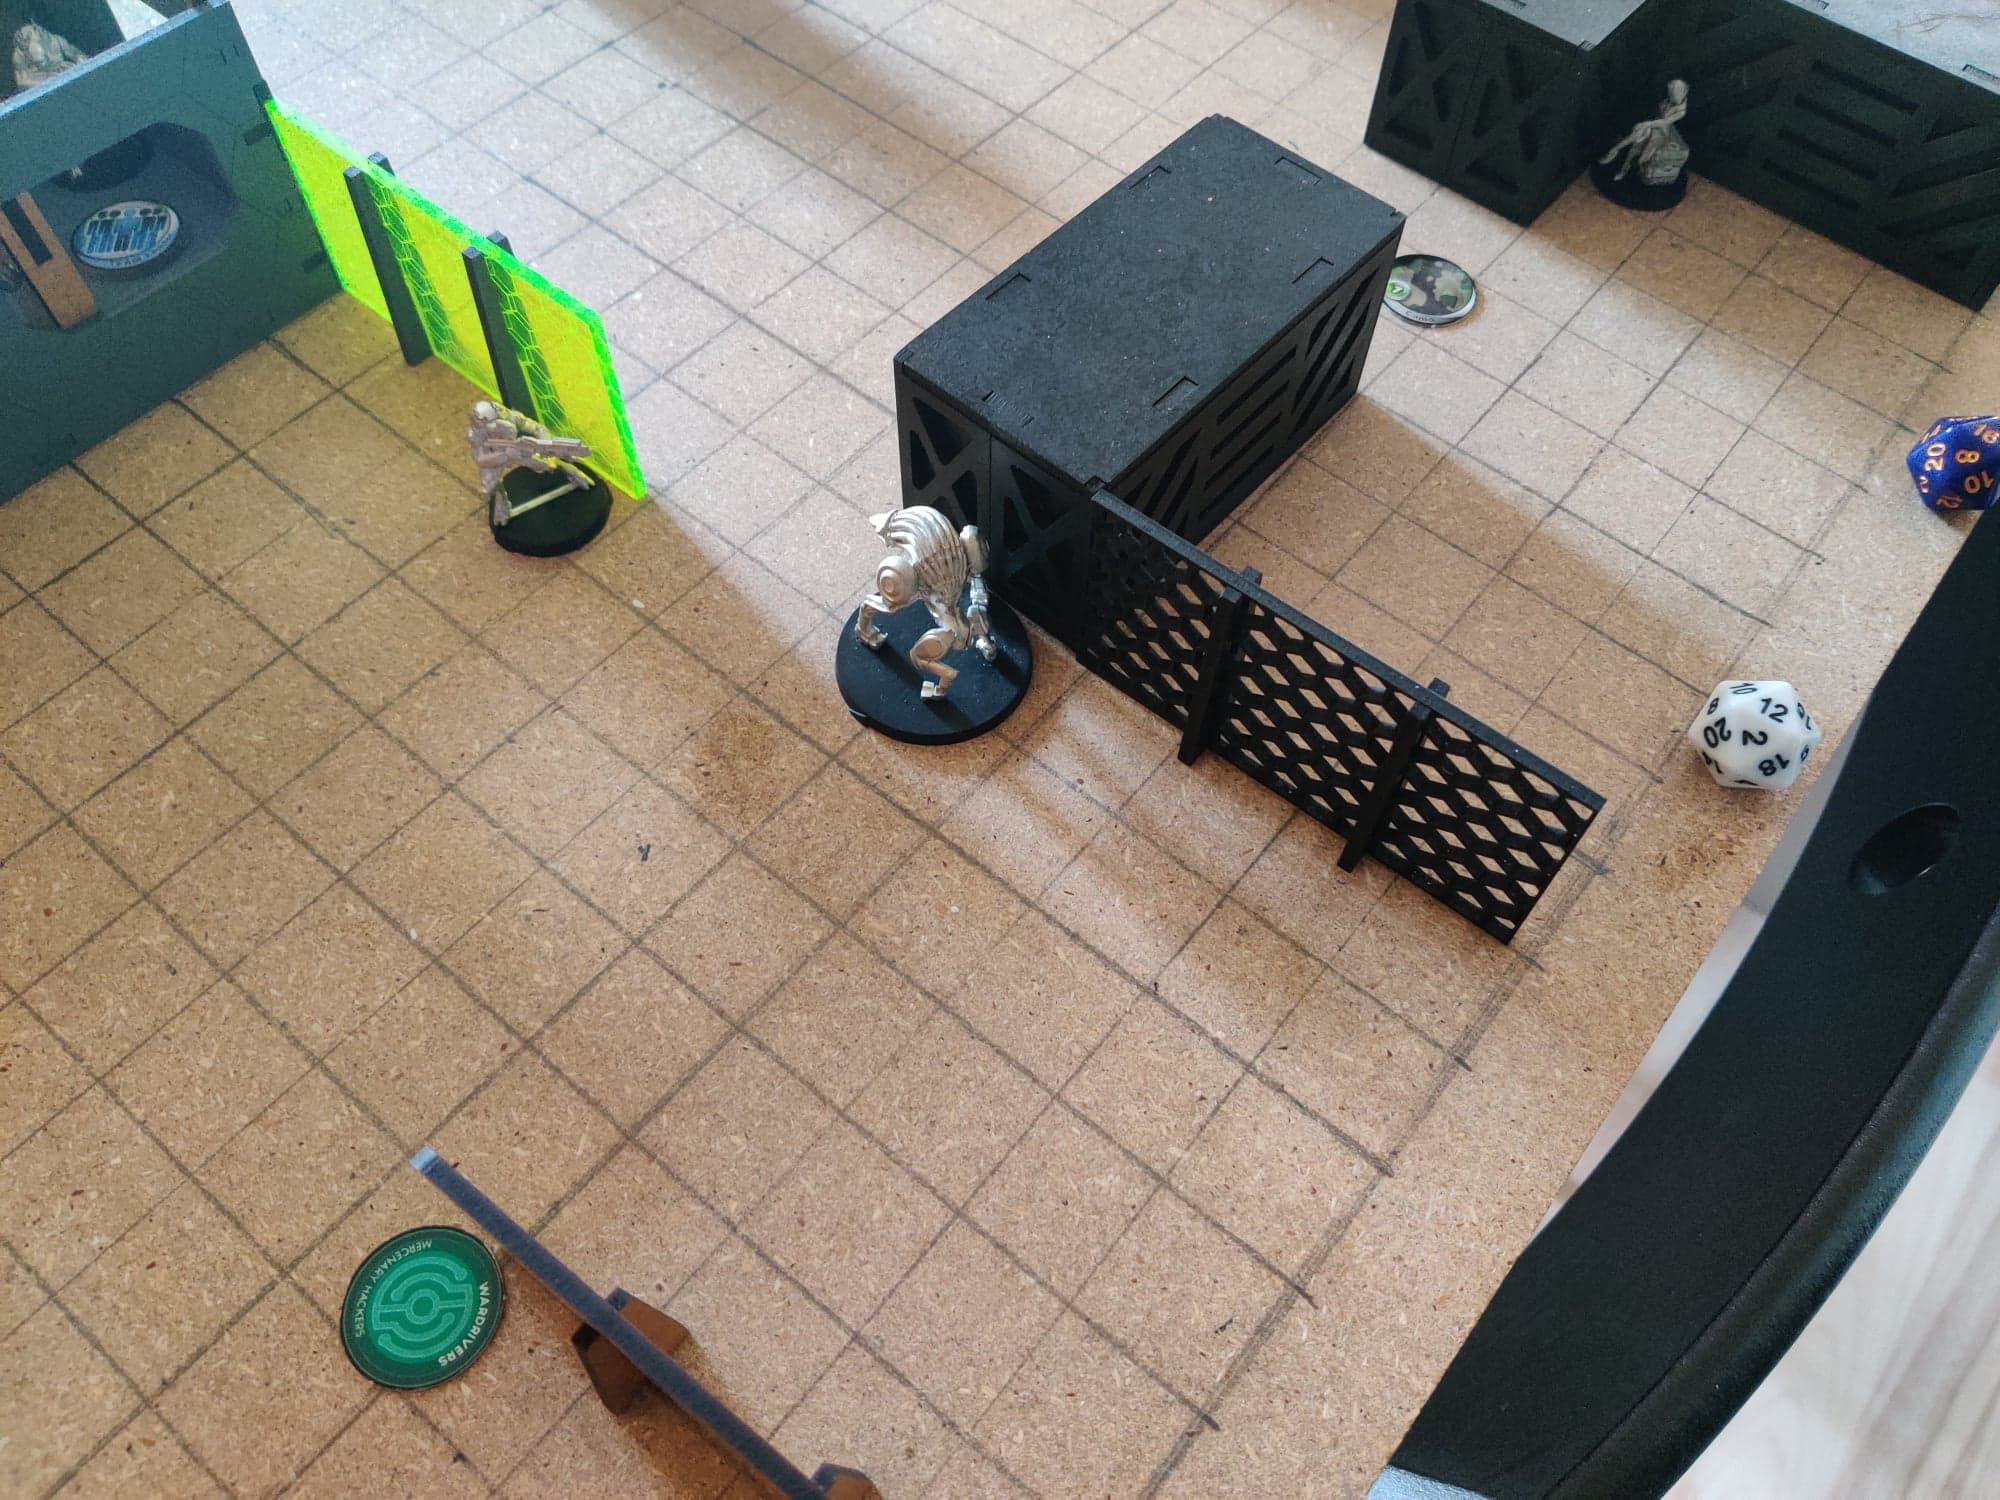 CA Deployment: The Shasvastii commander began by deploying the HVT to the far right flank, hiding it behind some crates. Ready to protect it, and flank Aleph a Shrouded with Boarding Shotgun was deployed in camouflage. A nox trooper was deployed behind a green force field as part of a core in the building, and a Mech-Tech was deployed along side him (attached Slave Drone on the other side of the table.) Lastly, a Seed-Embryo of a Cadmus was placed her. (This one is a decoy.)
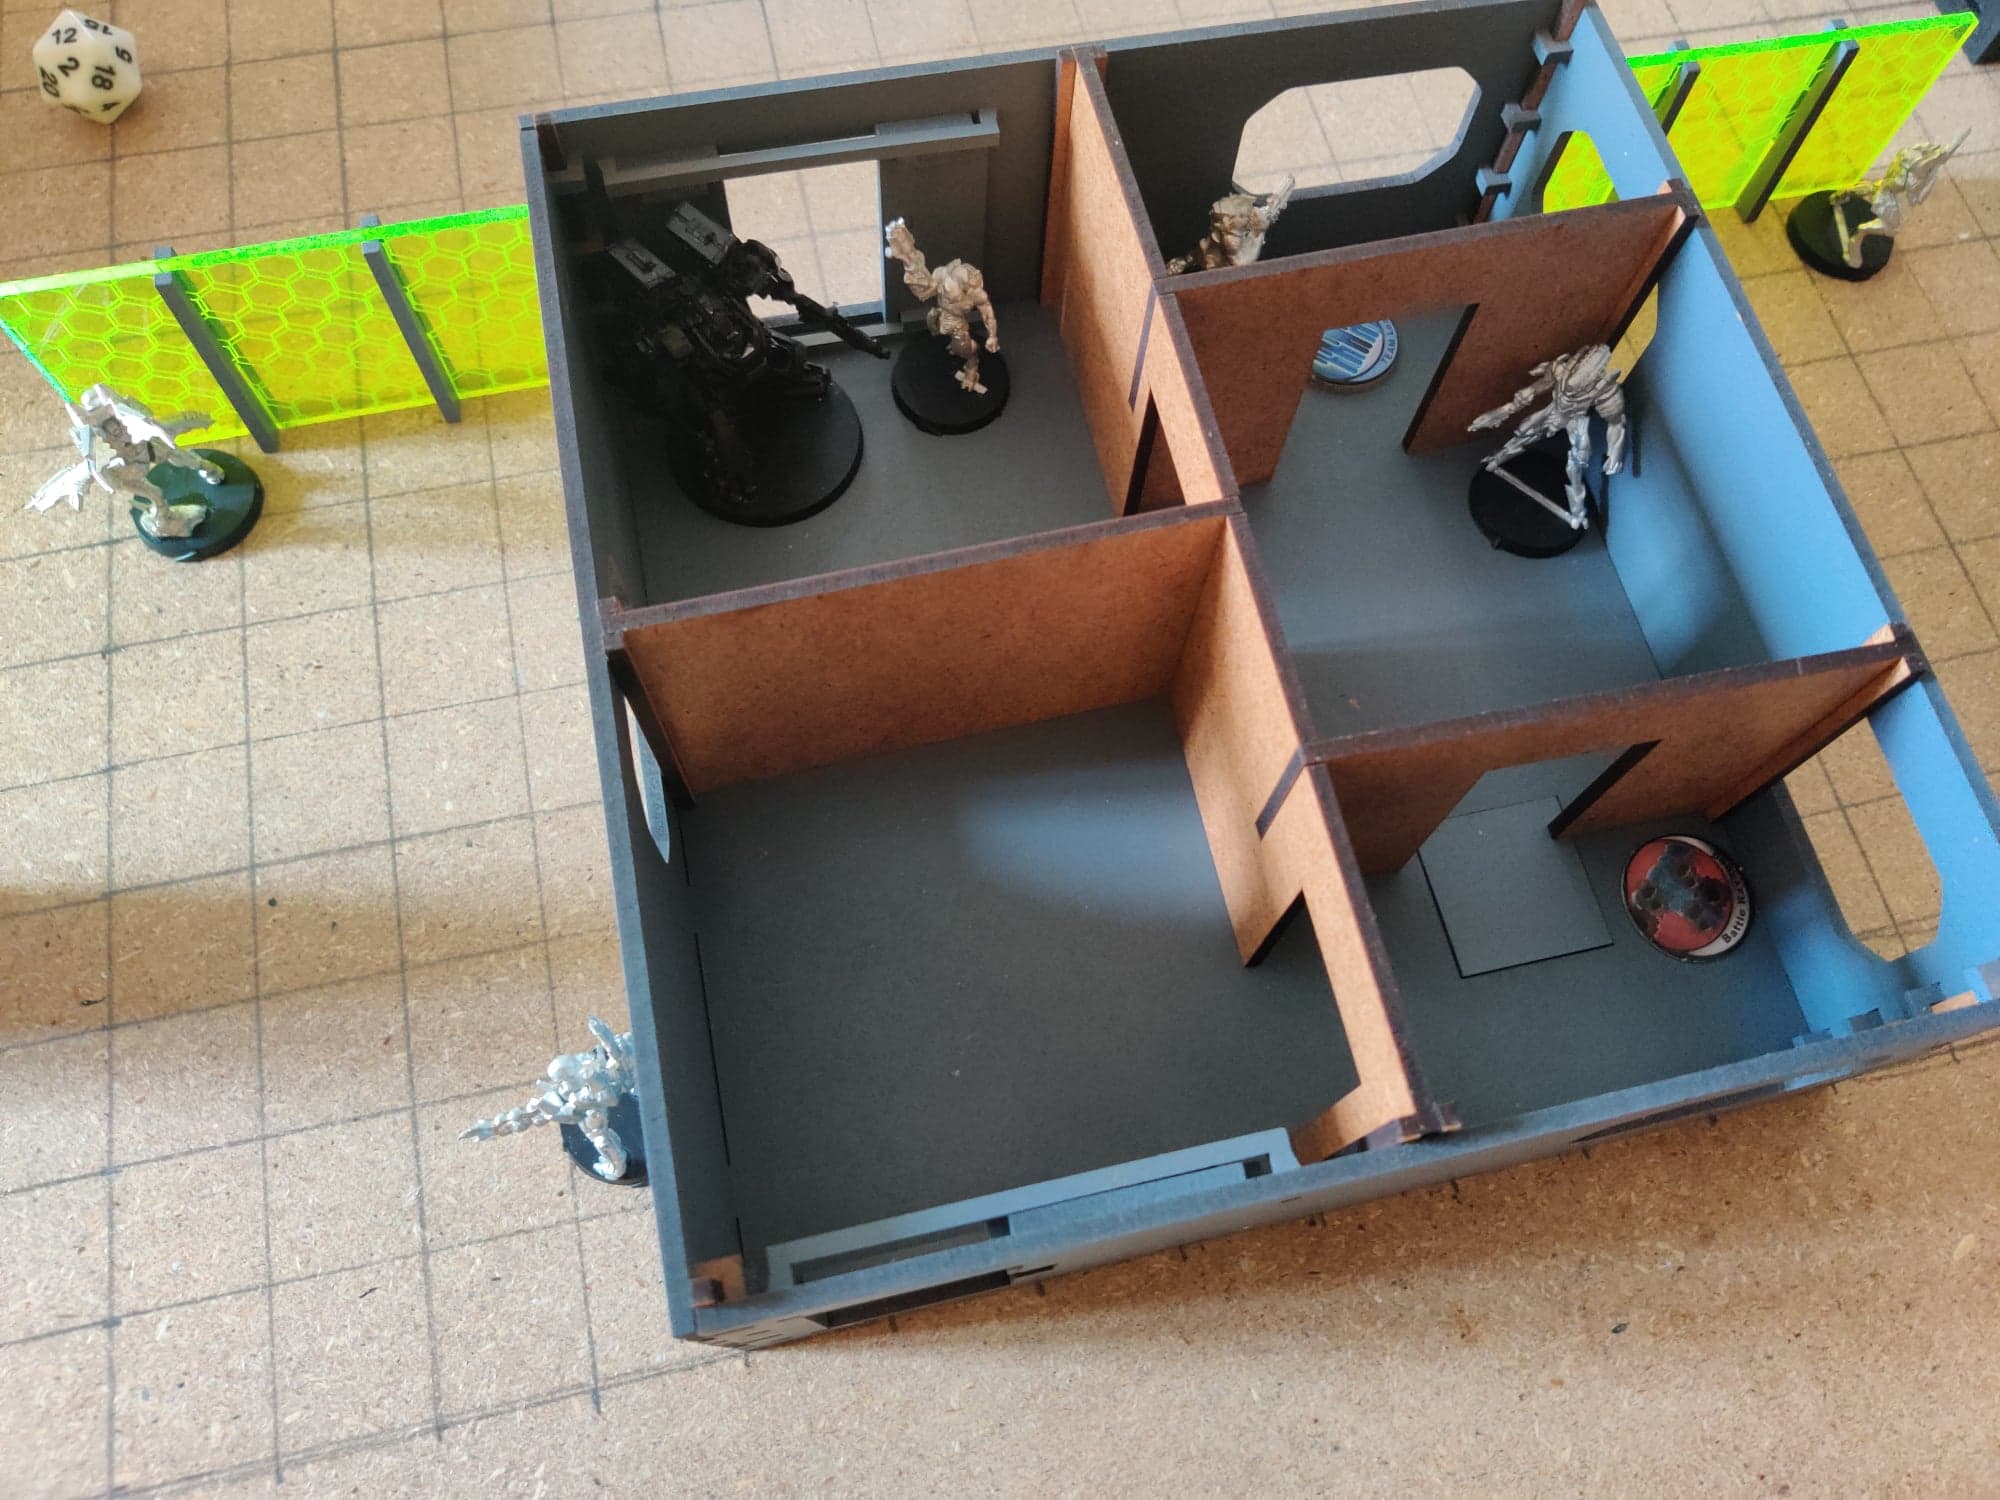 Inside the building on the right flank, the Shasvastii deployed a T-Drone watching the door, a regular Nox trooper next to it, a Nox sniper covering the window, and a Nox Medic behind the sniper. Behind the fireteam core is a Seed-Embryo (also a decoy) and outside the building near the edge of the map was the real Cadmus Seed-Embryo. Behind the other force field is located the Gwailo lieutenant.
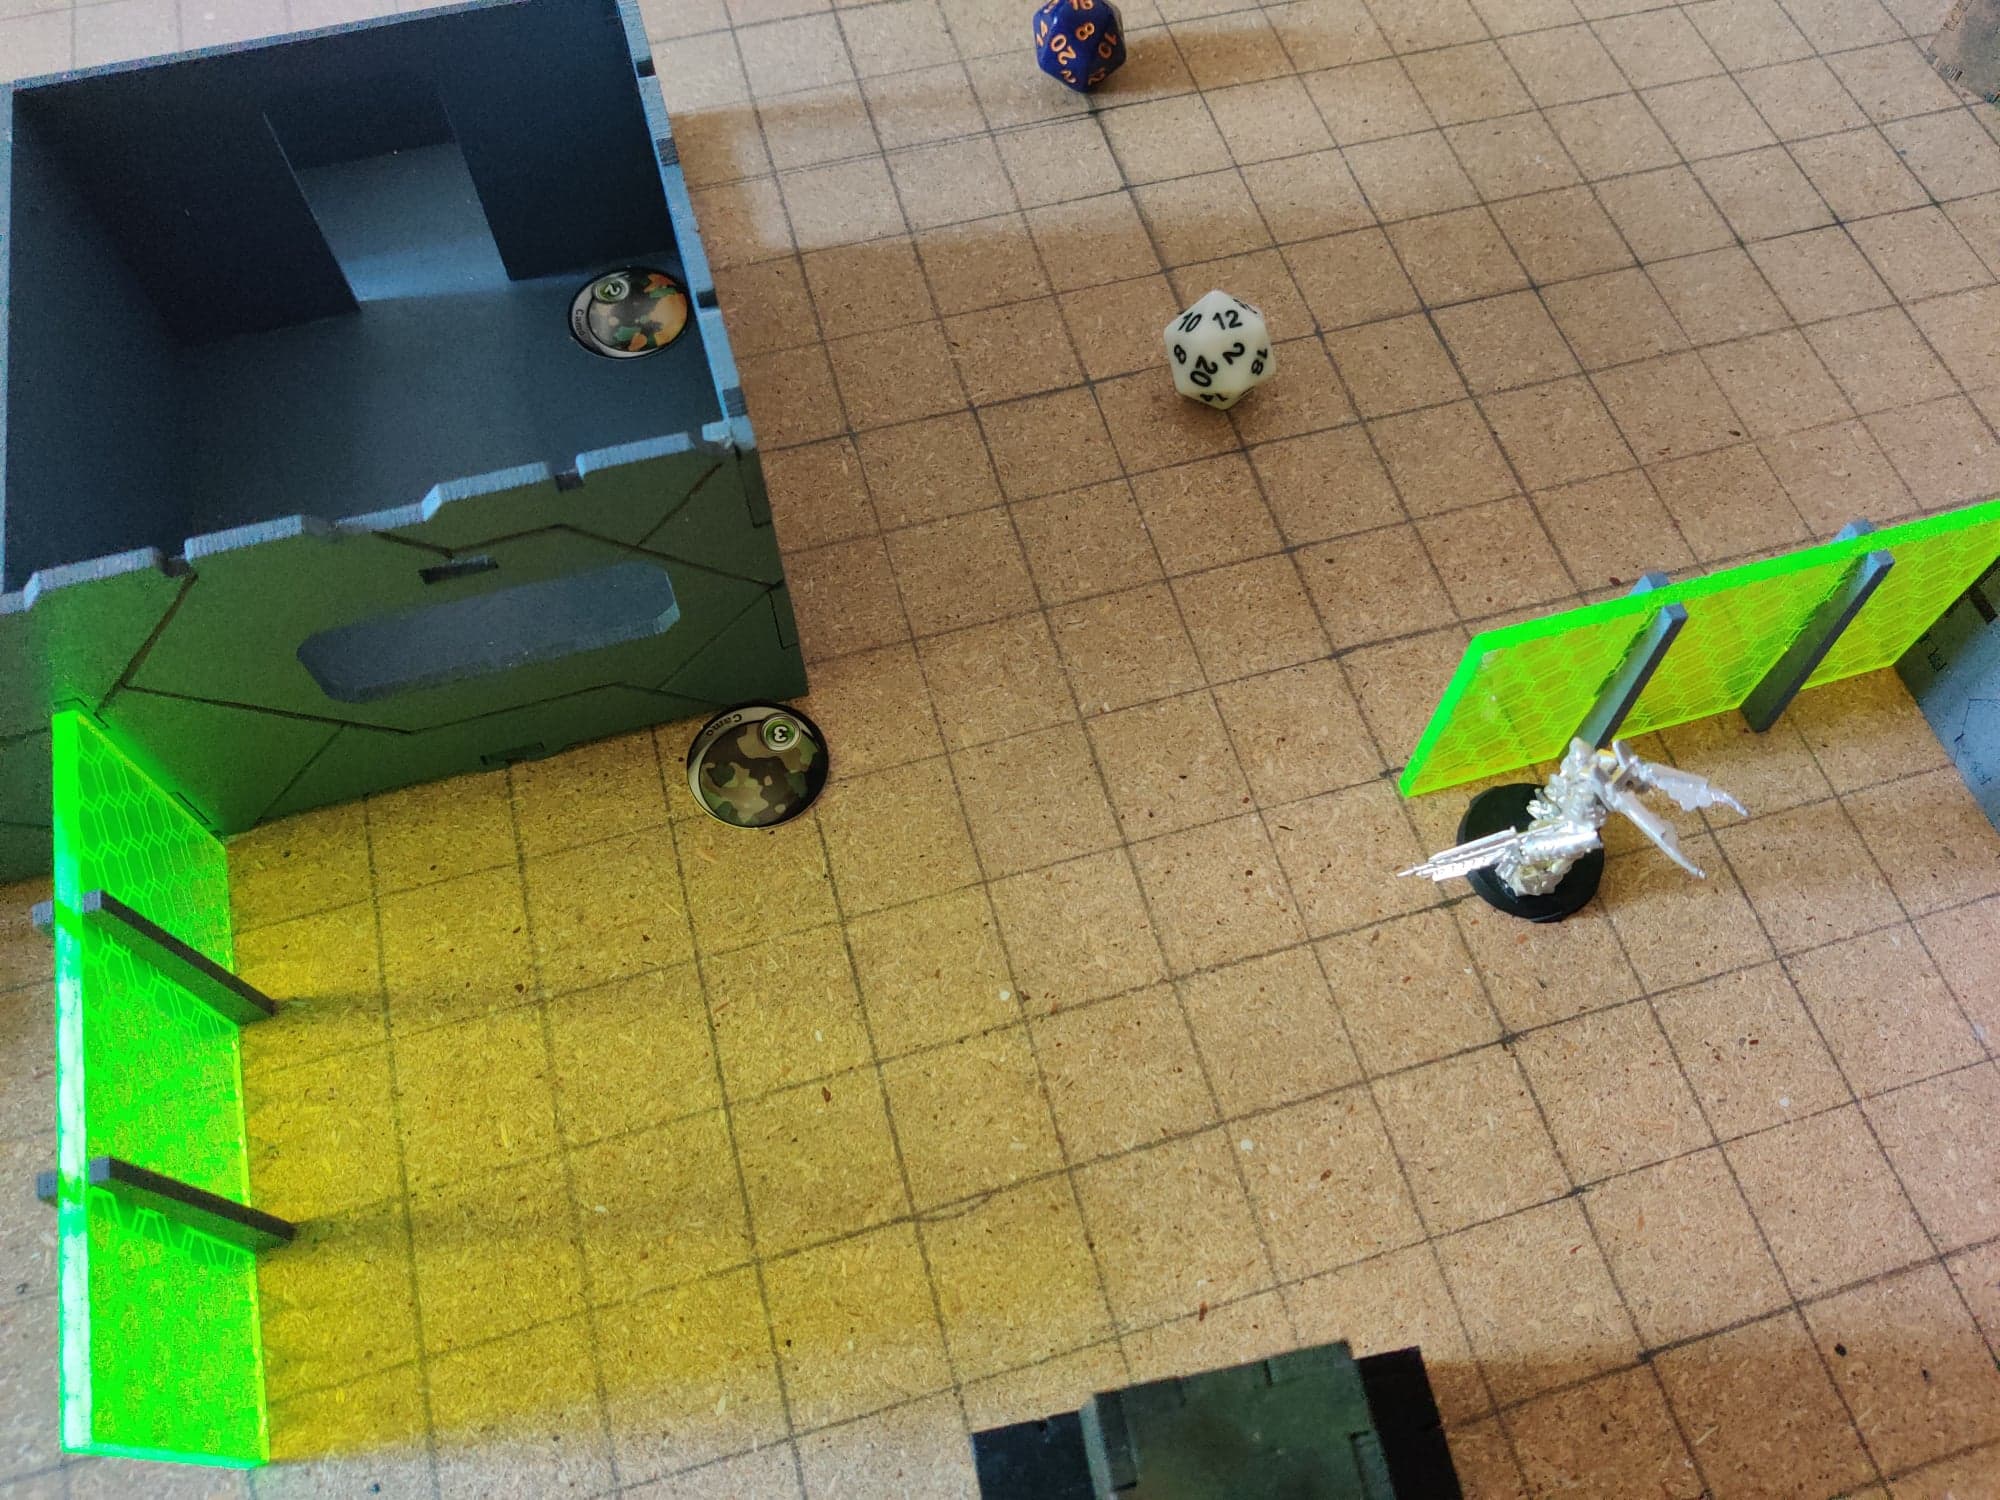 Inside the Building in the center of their deployment, the Shasvastii deploy a Mentor Hacker in camouflage (this is the real one), with a Shrouded Killer Hacker behind the building.
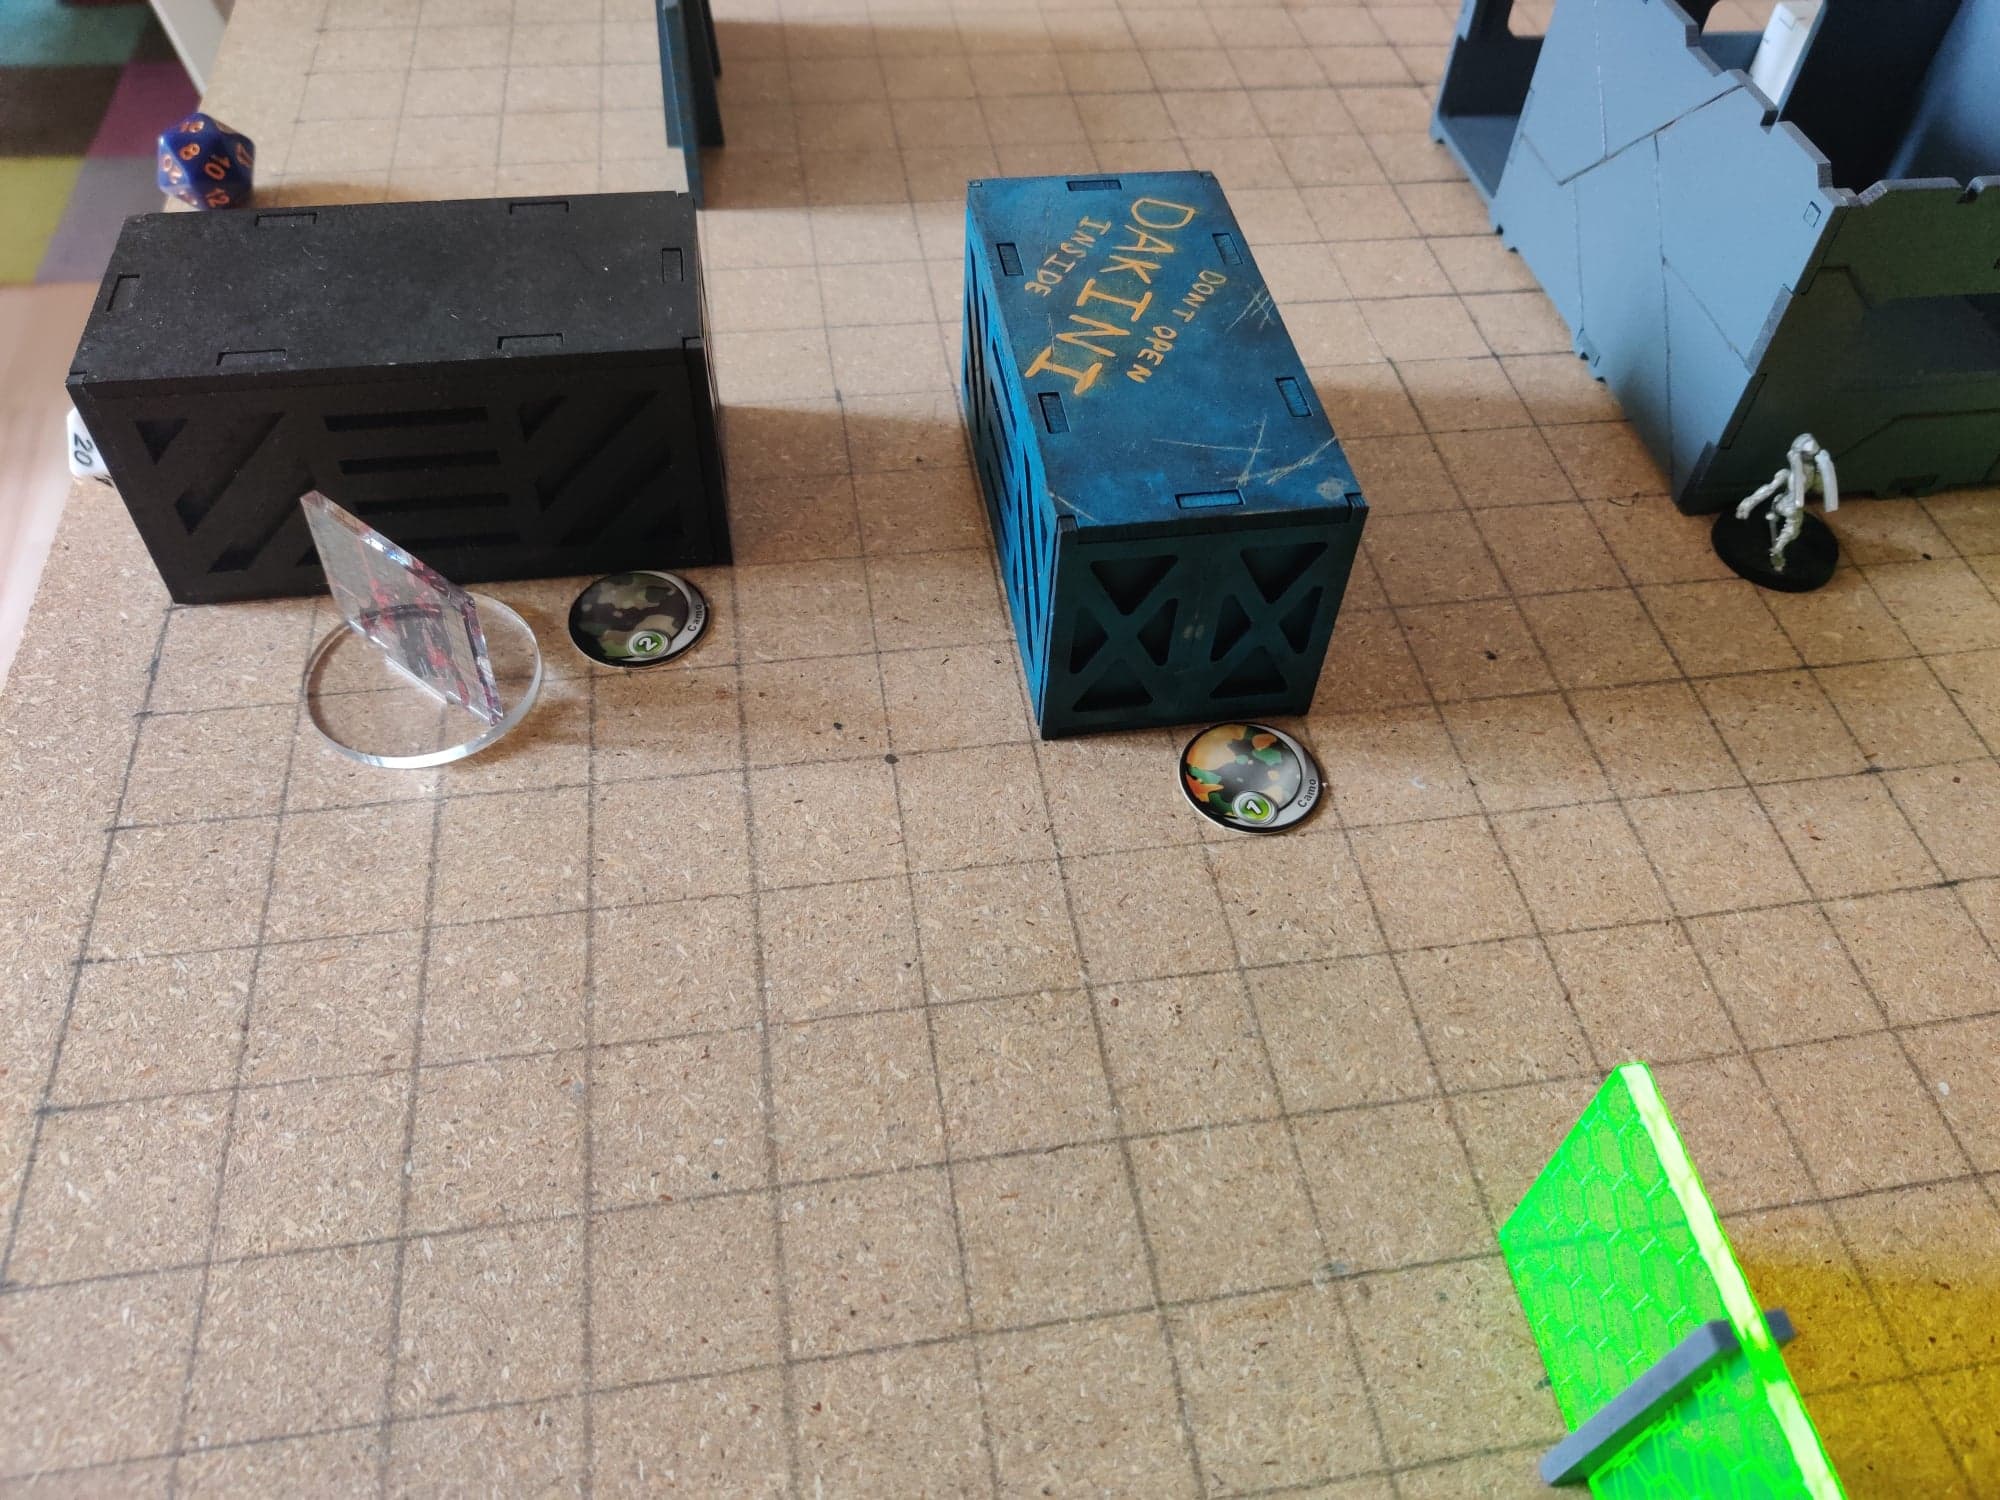 On the left flank, a Slave drone was behind the building with the Mentor in it. Behind crates on the far left flank were a Caliban (the camouflage marker behind the blue crate. Lastly the fake camouflage marker from the mentor is placed next to an R-Drone. (We noticed after that it was too far away from the real one, but my opponent being new, did not realize this at first.)
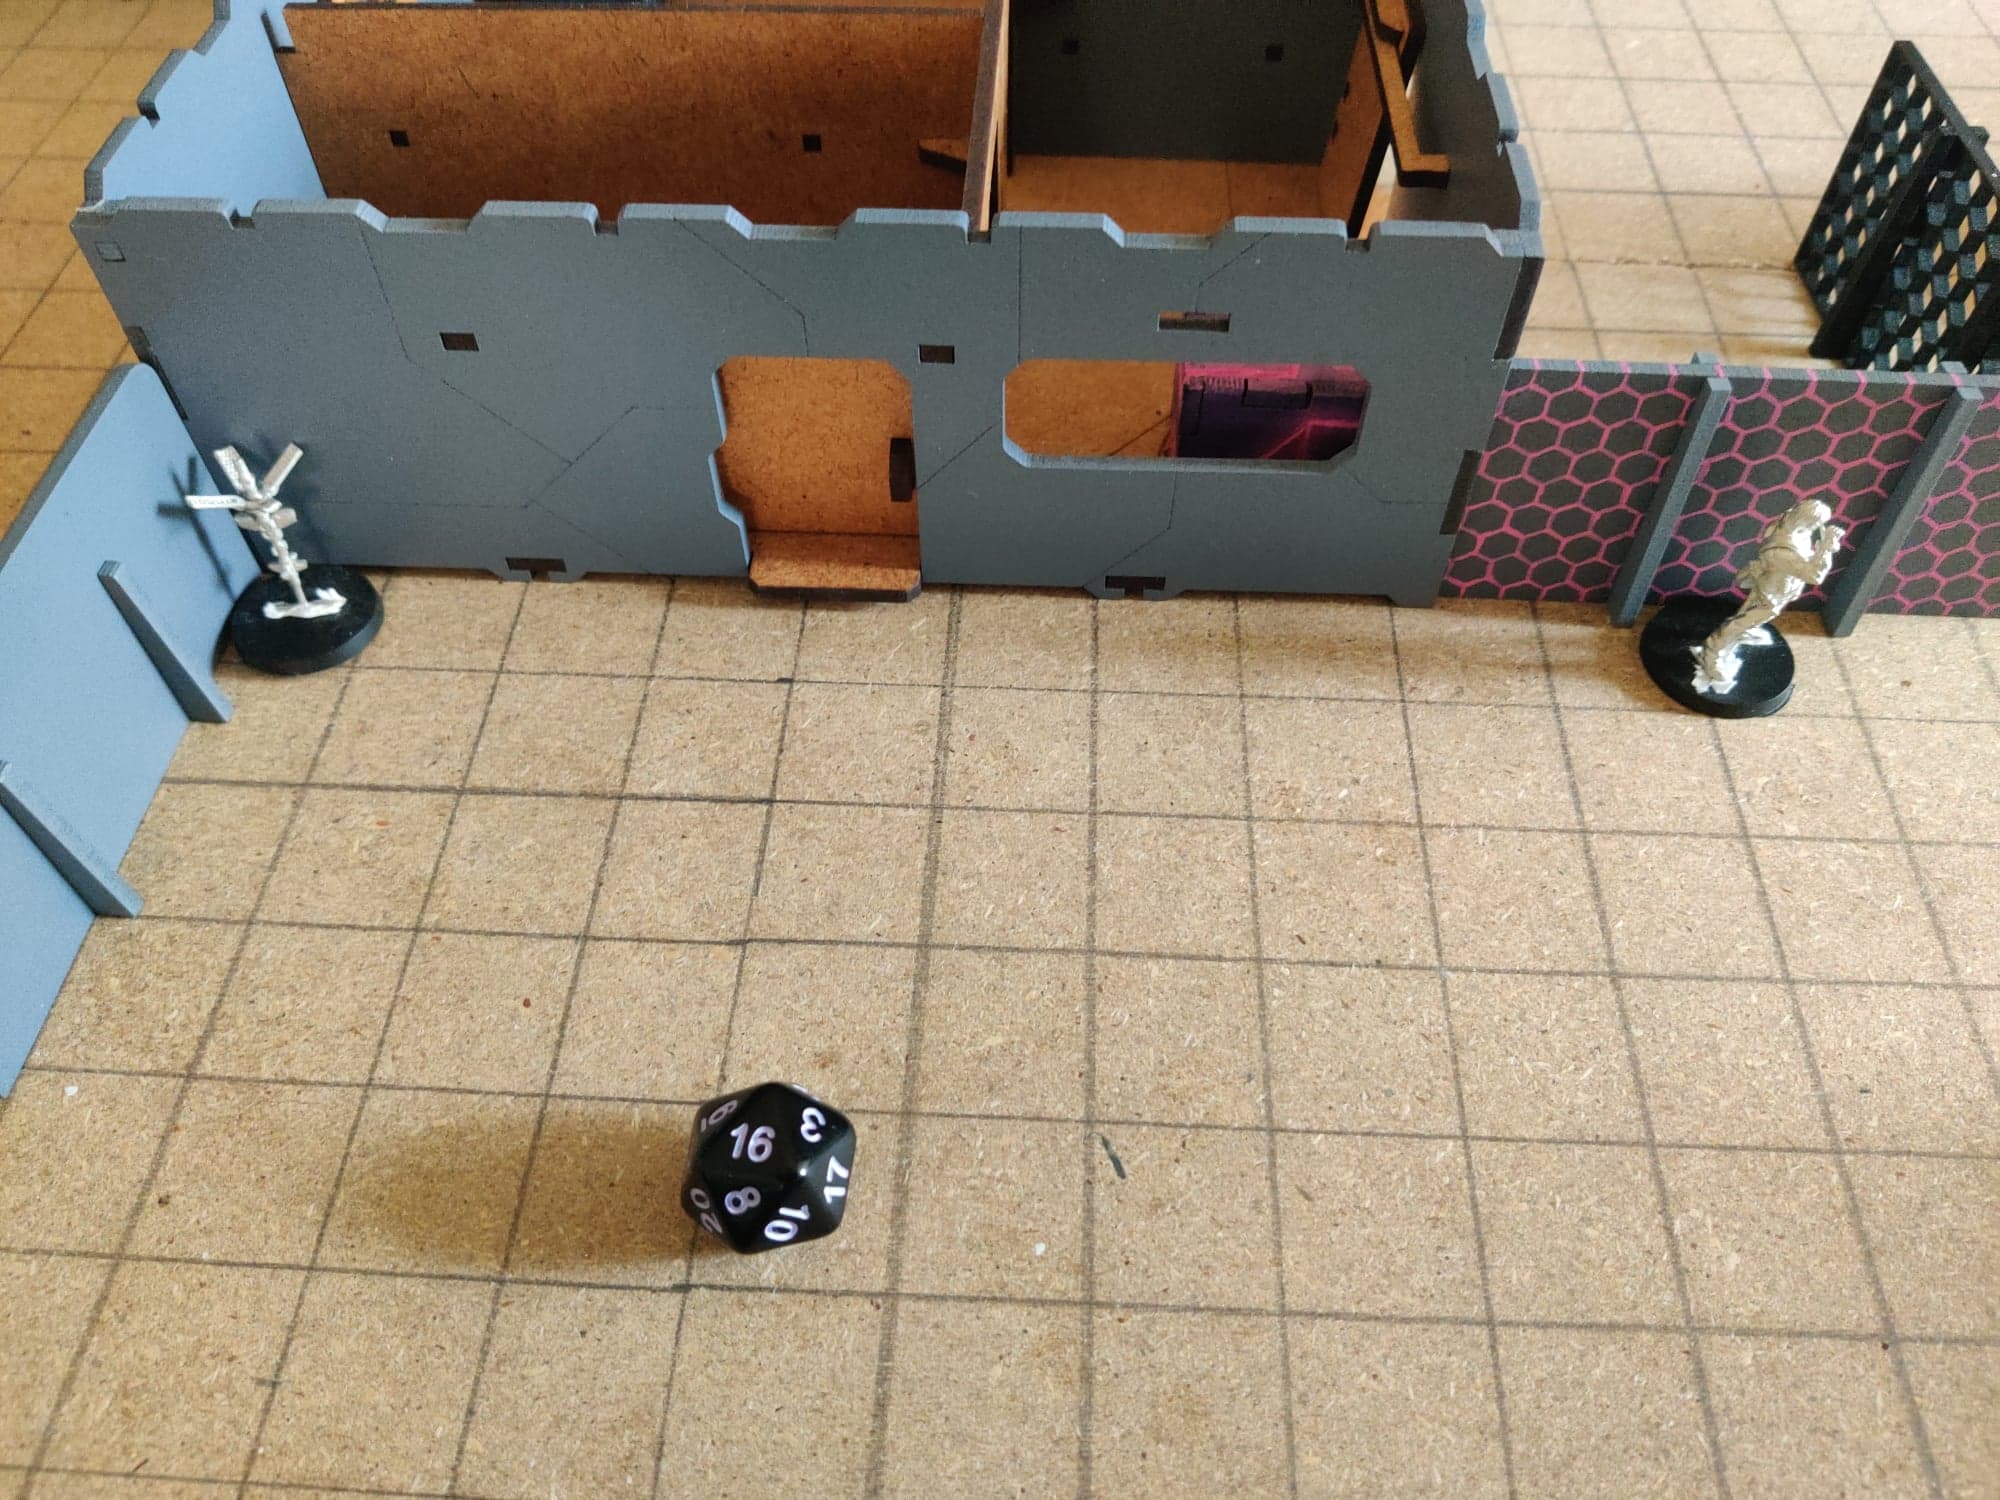 Aleph Deployment: Next to the Armory, Aleph deployed their HVT, Thamyris, and scattered an AI beacon up to the Armory.
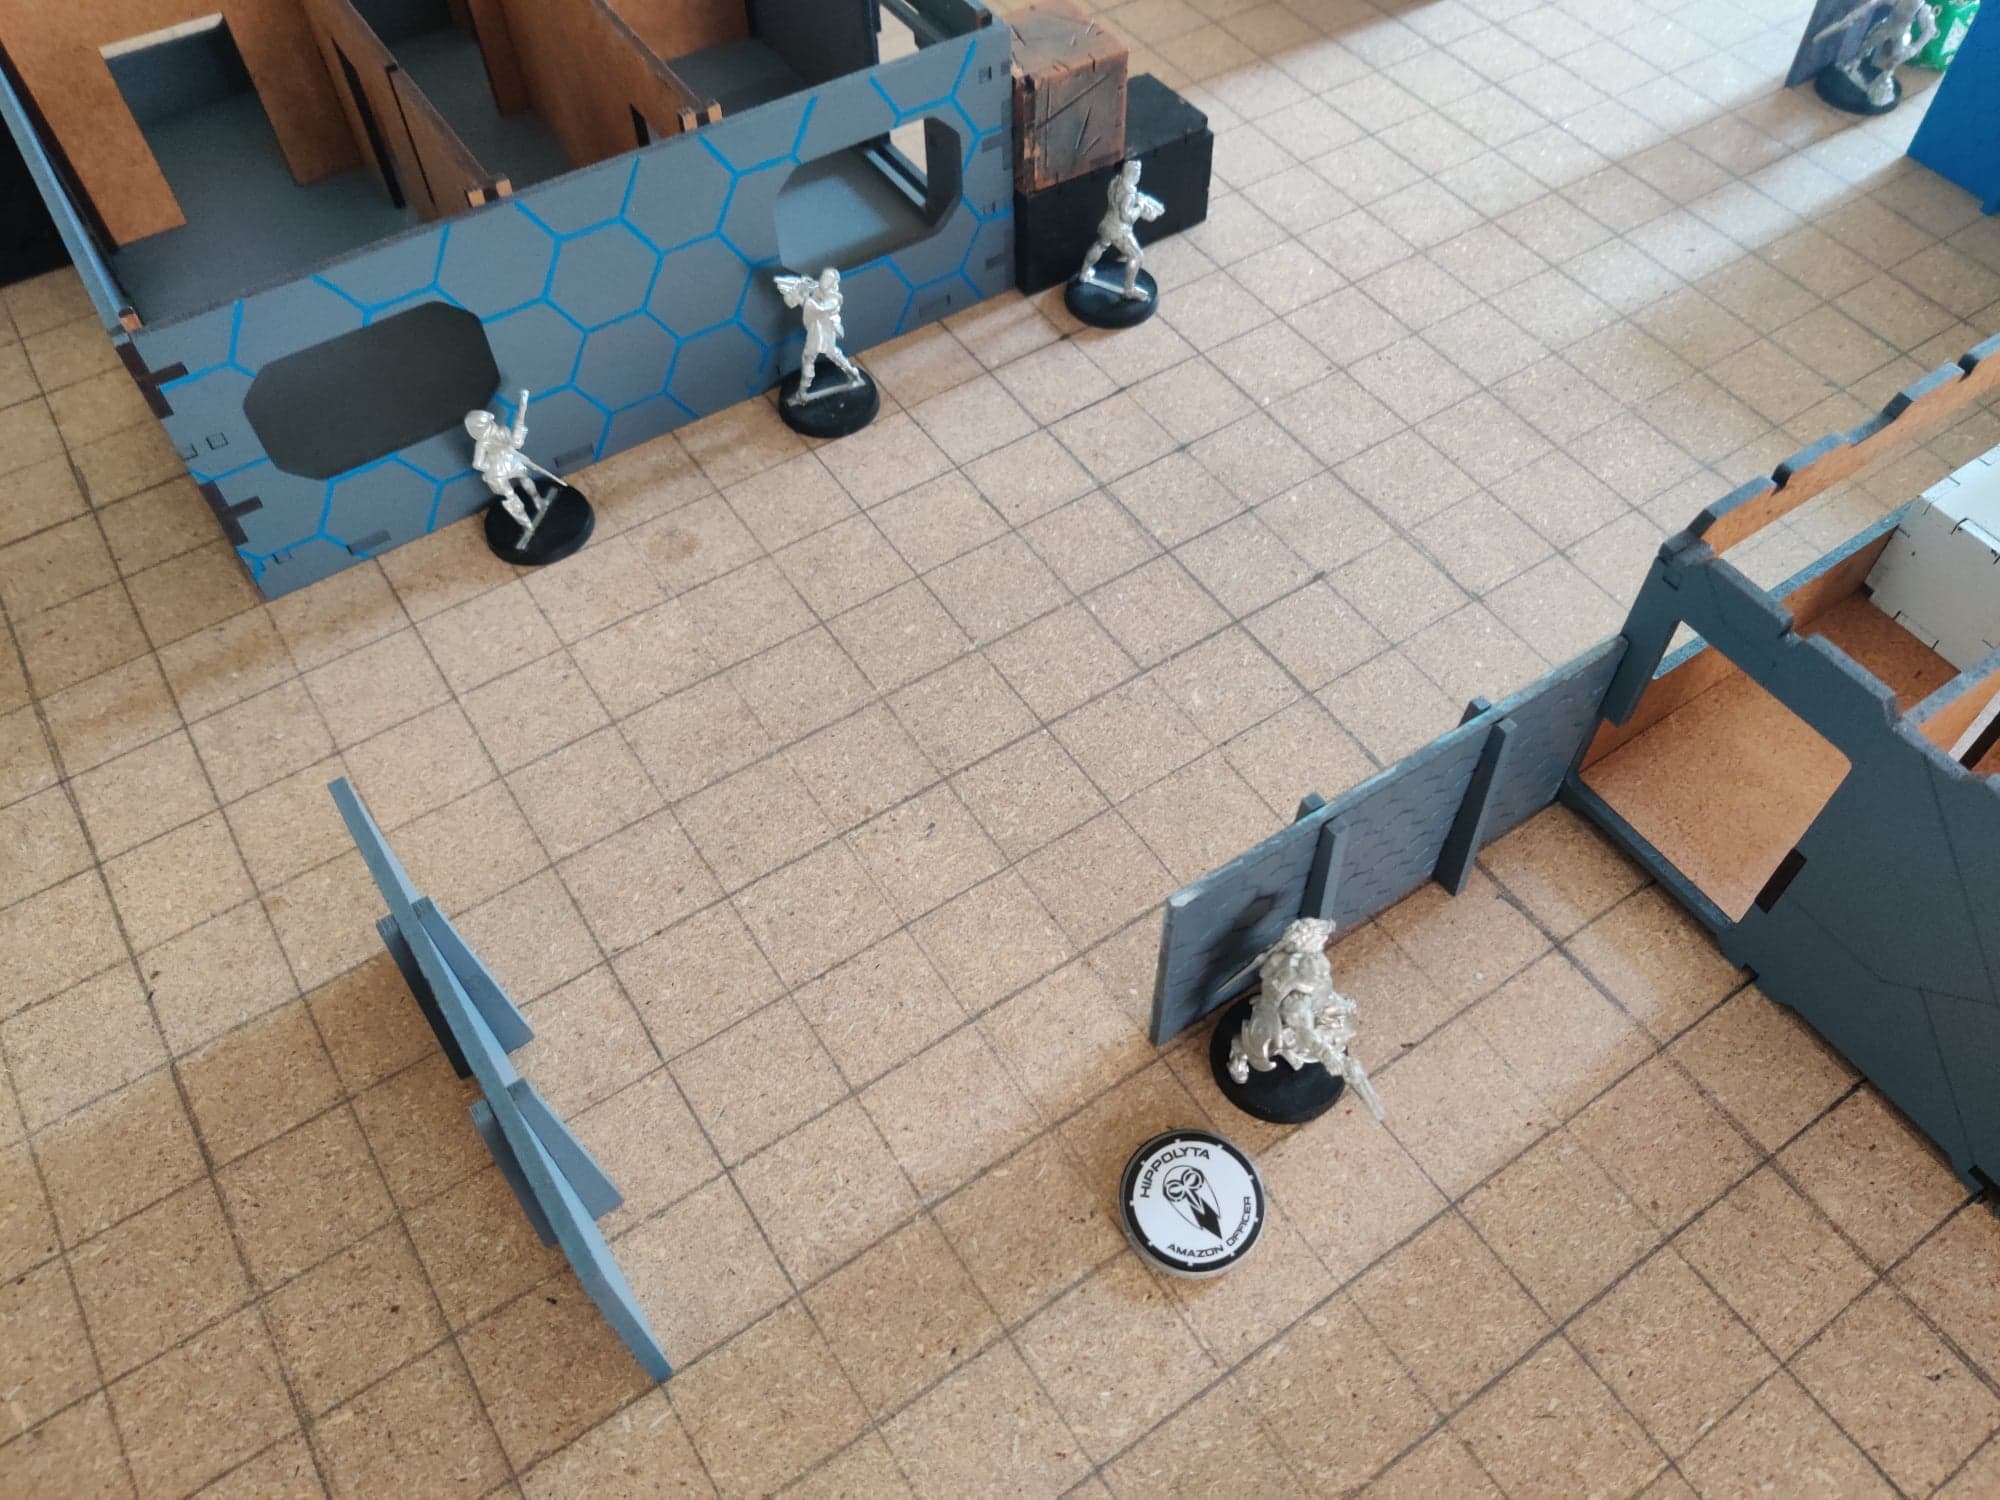 On the left flank, Aleph placed a Thorakitai Enomotarchos, led by Hector. Thrasymedes was placed to watch the T-Drone and the area next to the Gwailo, in case it moved. Lastly, an Forward Observer Thorkites was deployed to cover the windows and a paramedic behind the wall, new the center to help cover the team.
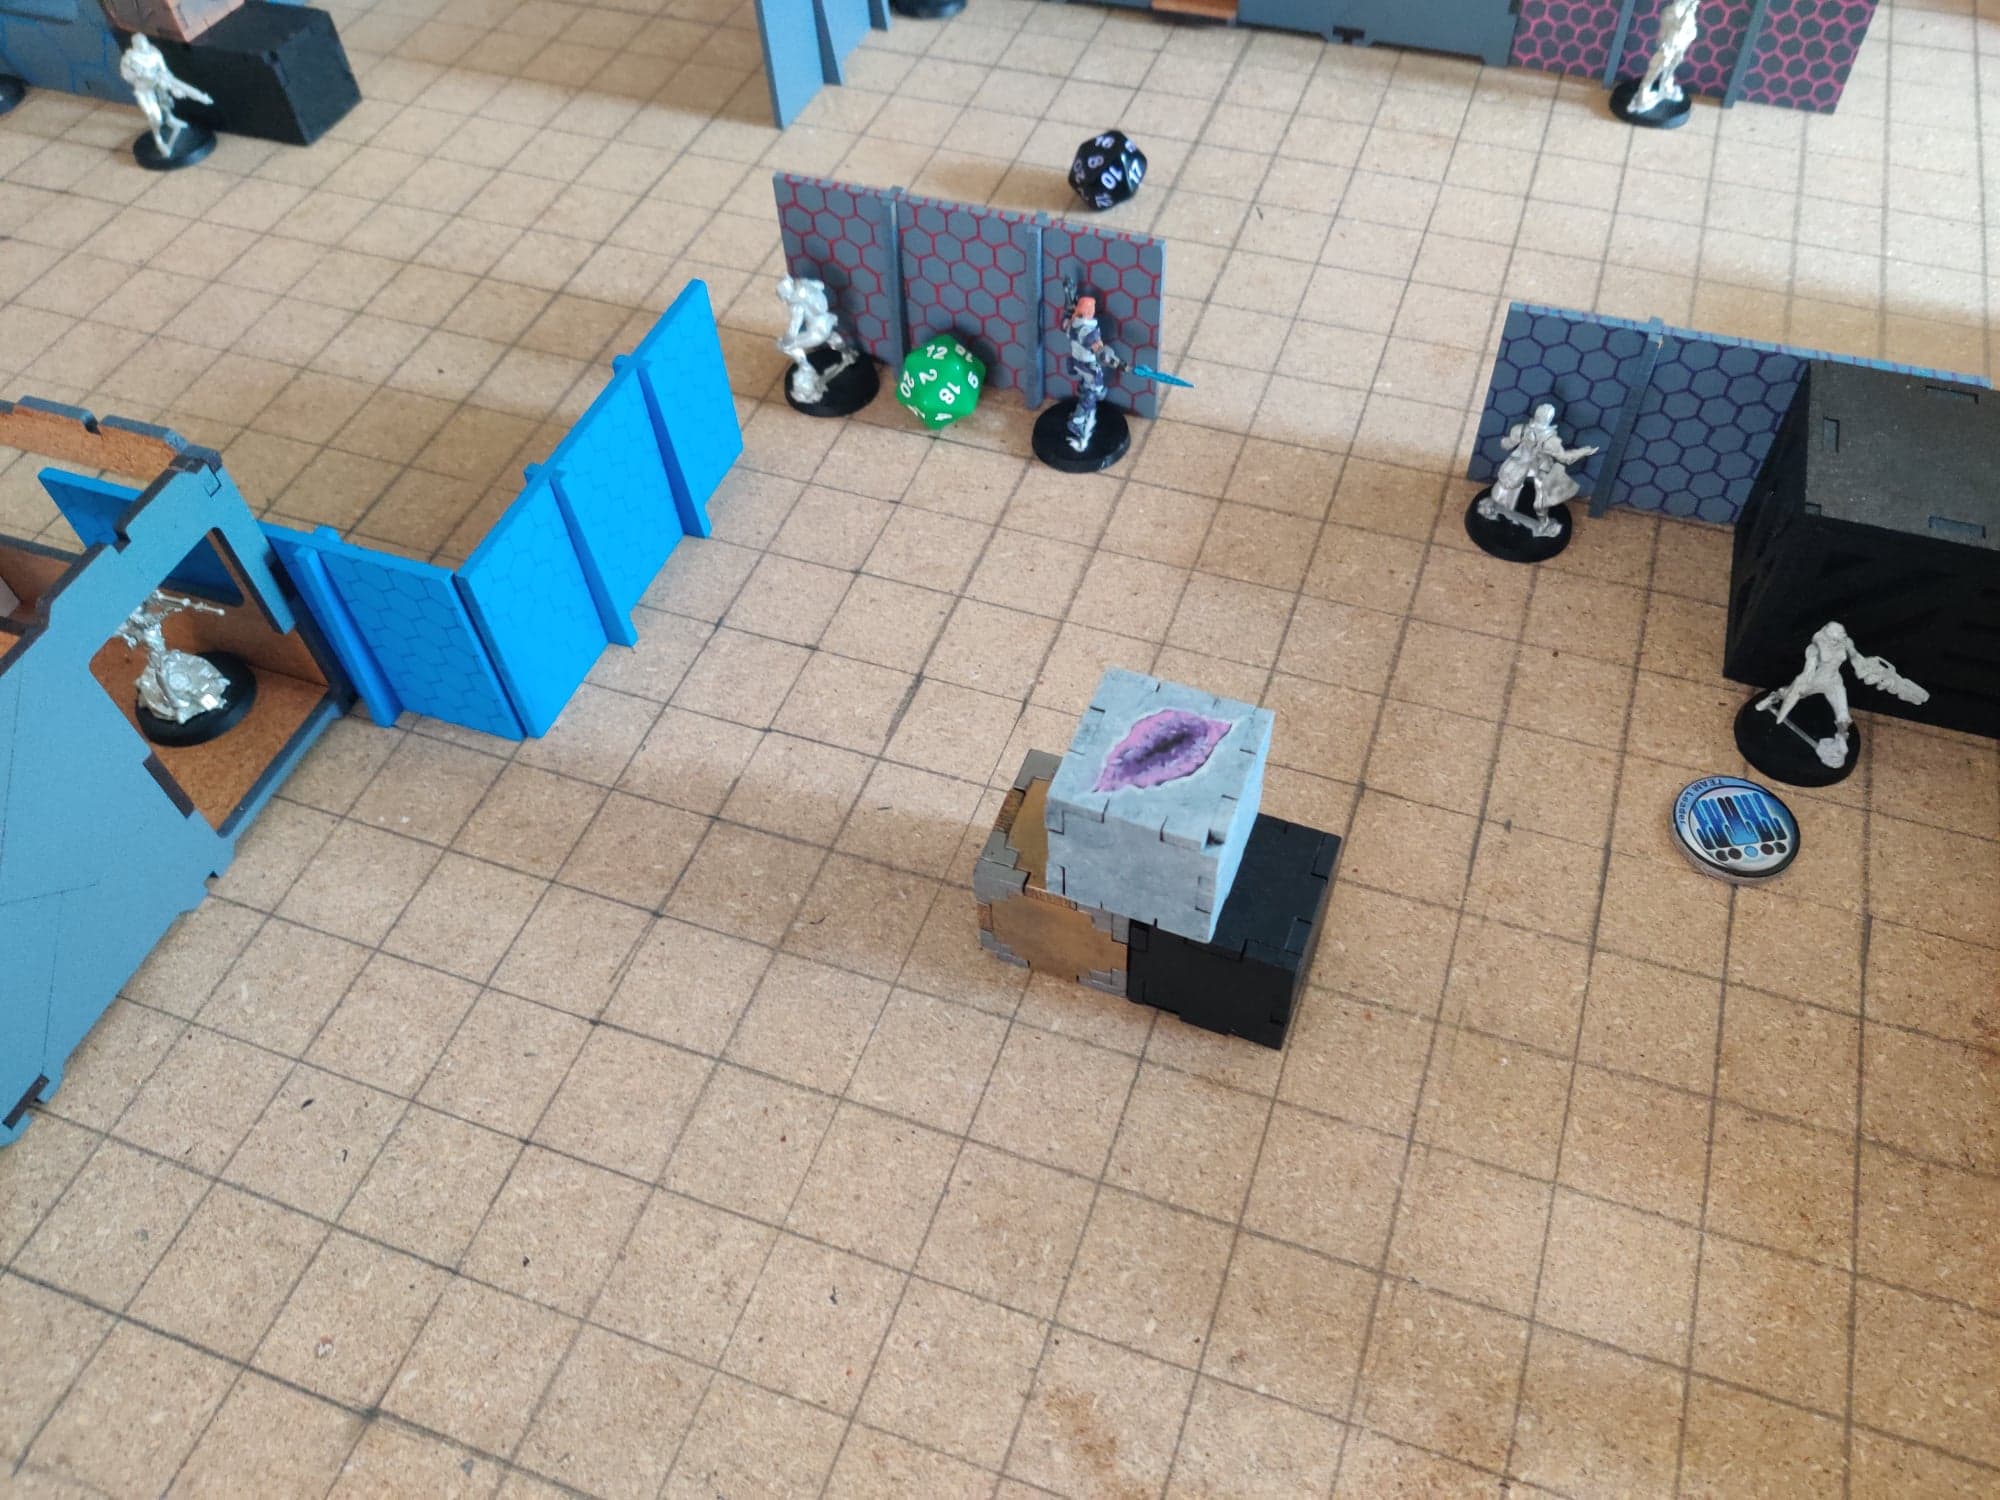 In the building next to Hector, Aleph deployed Atalanta, the famed sniper, covering the T-Drone as well. In the center of the board, Machaon, Phoenix, a Myrmidon Spitfire, and regular Myrmidon were deployed, ready to storm the Armory.
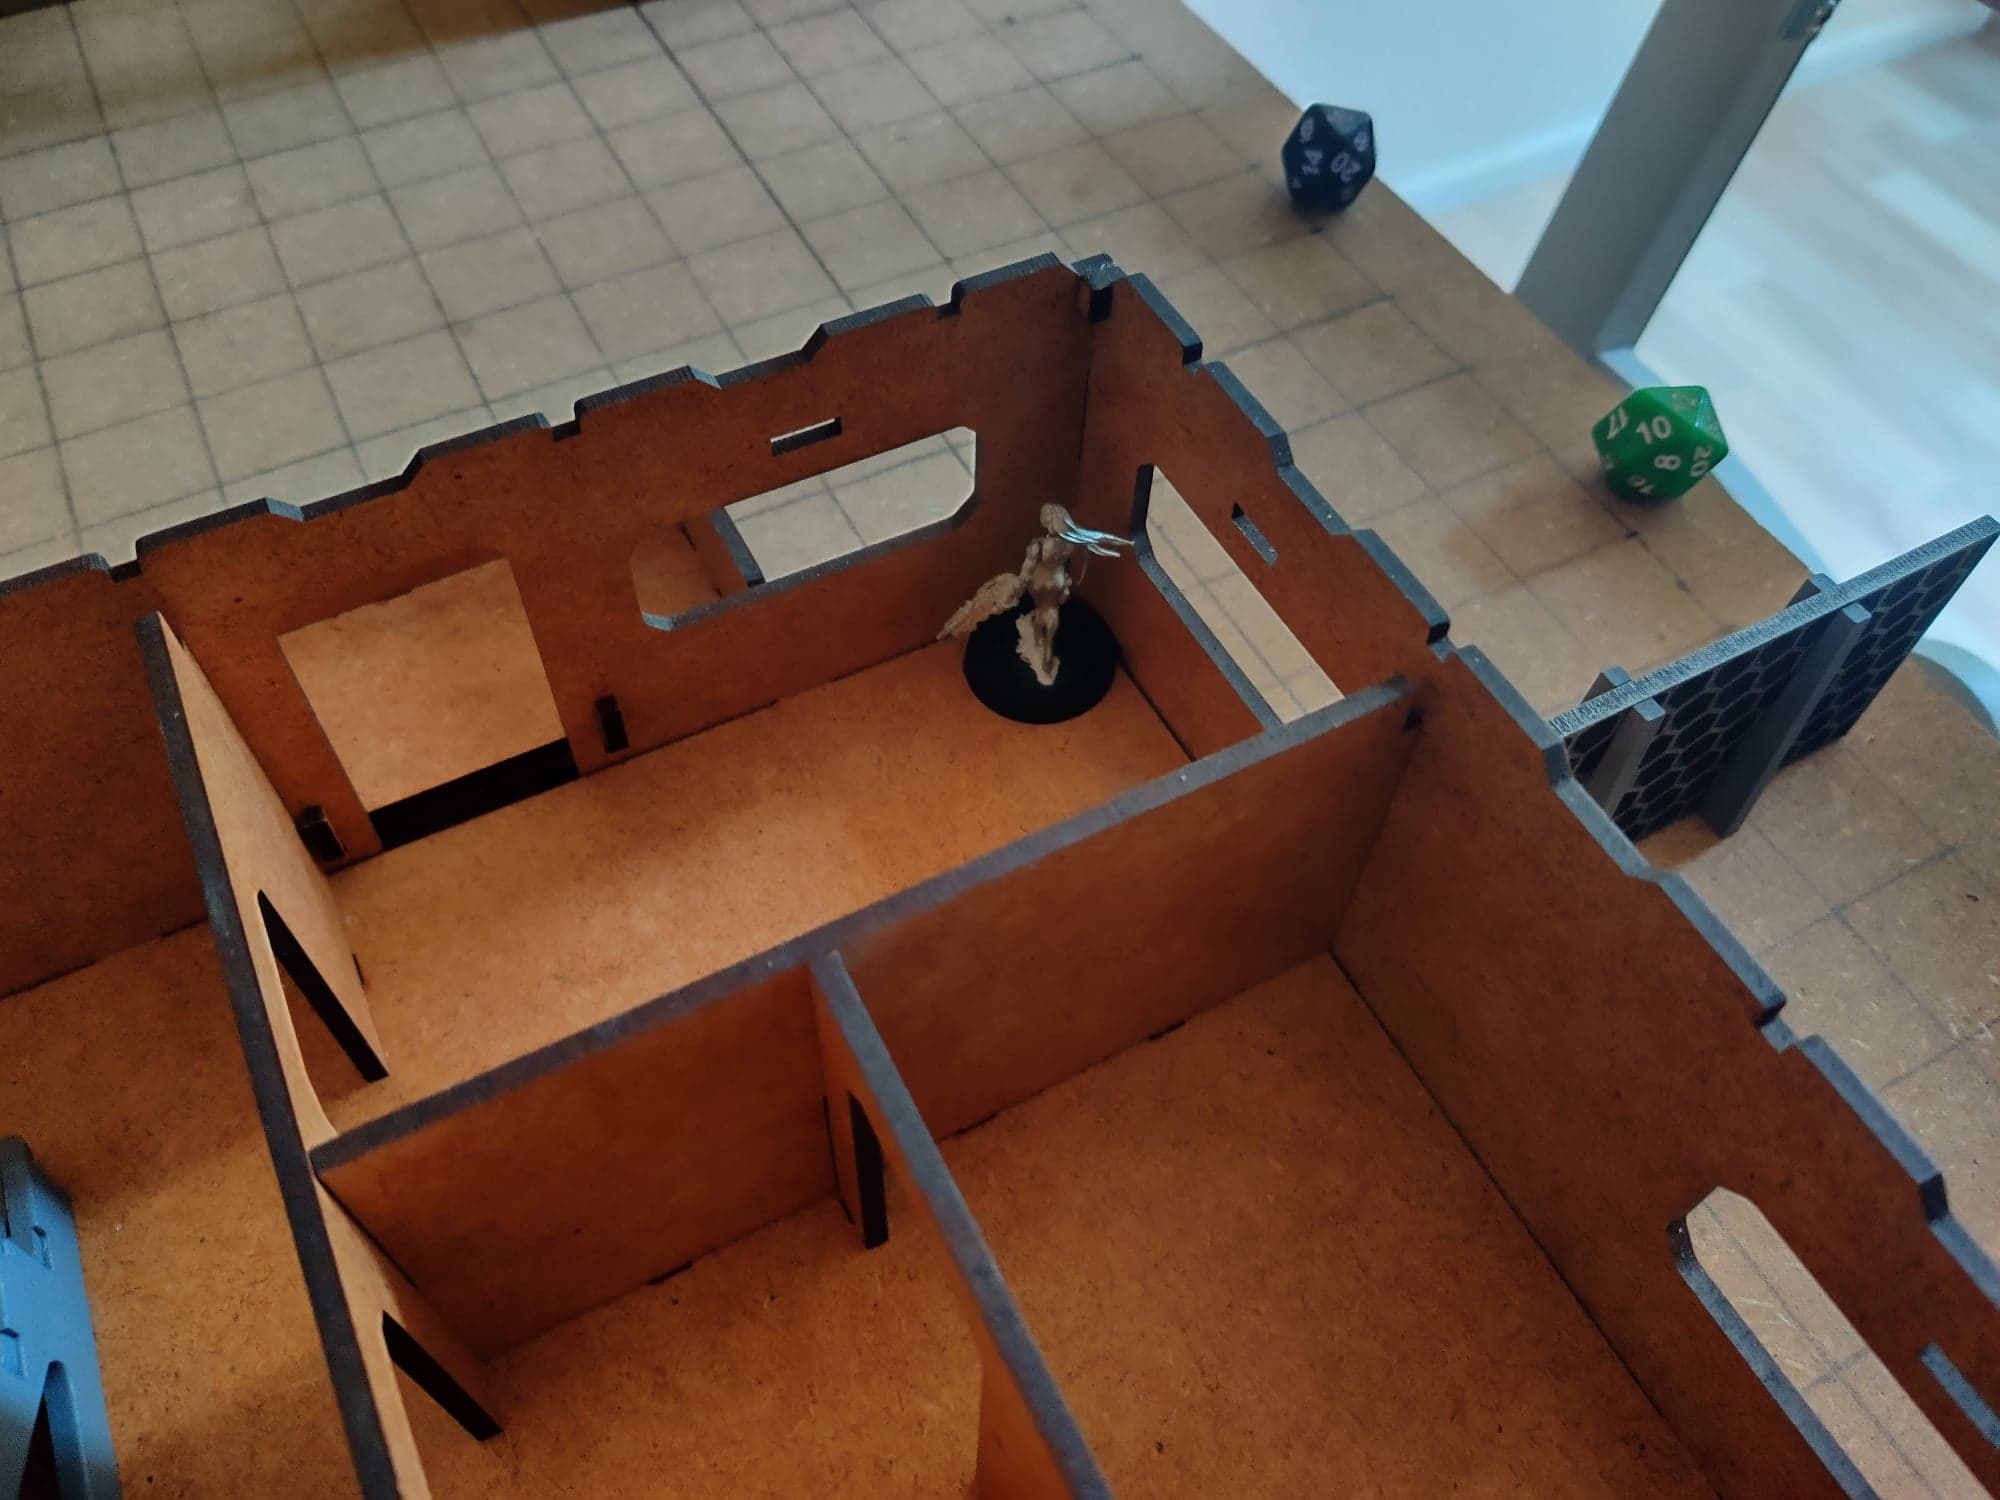 Lastly, a Warcor was deployed to the far right flank inside a building, covering the right from moving too much without trouble.
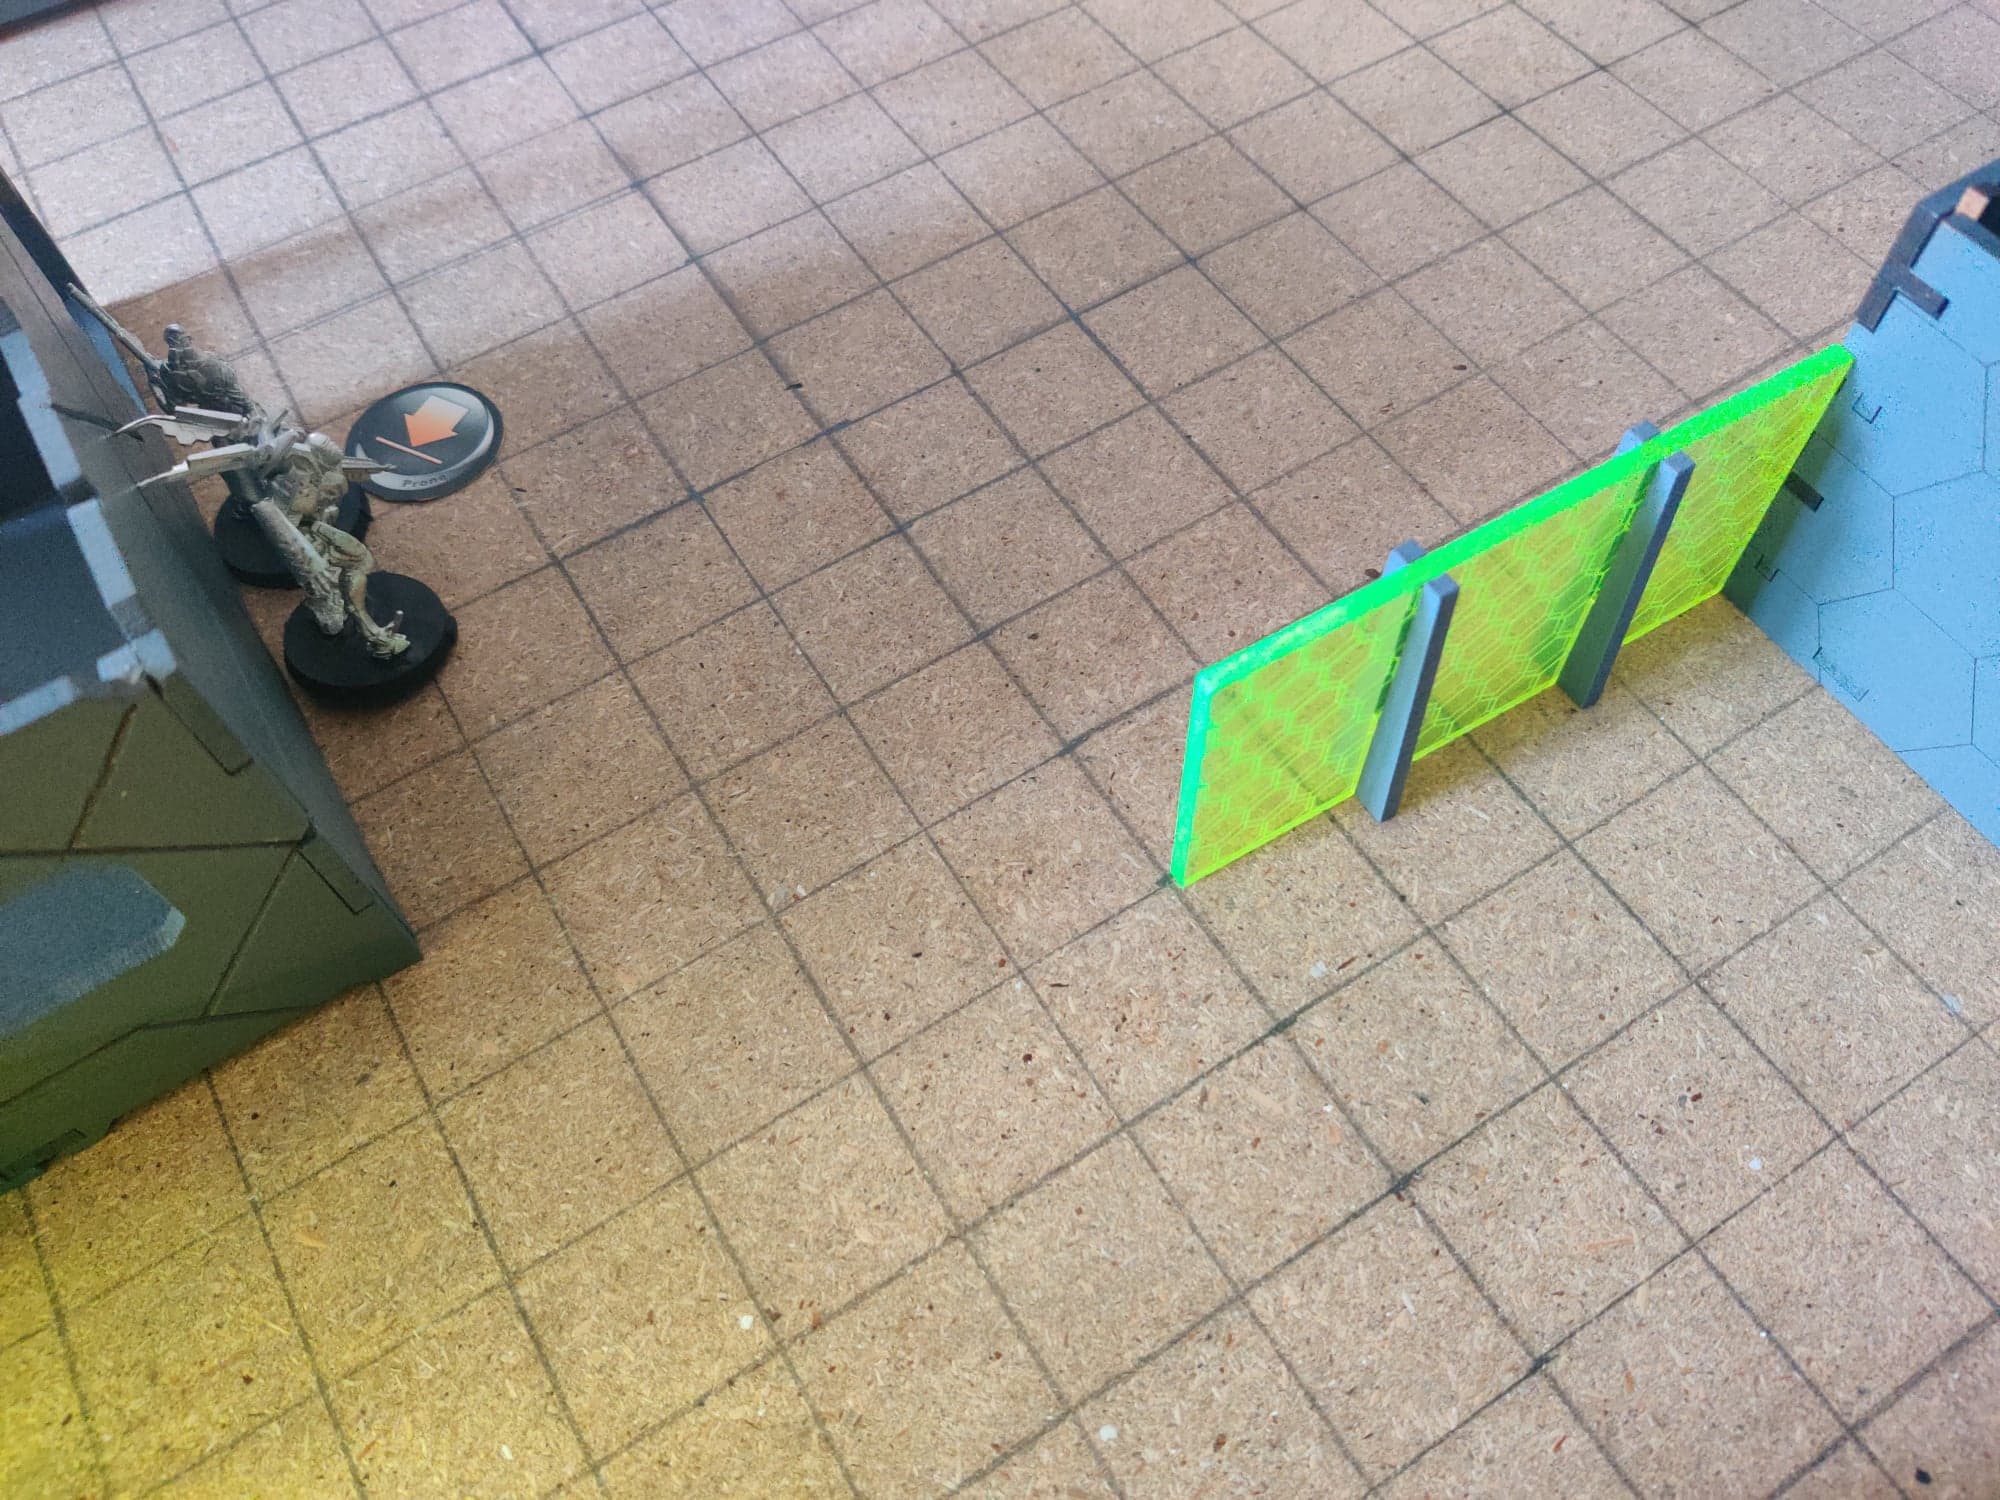 CA Turn 1: To start, the Shasvastii commander, moved the Mentor to attempt to Lockpicker the door on his side of the armory, only to fail a few times before pulling it off. The Shasvastii Gwailo, confident in his Nanoscreen and MSV2, moved out to approach the armory, only to be hit by Thrasymedes' rockets. While they did not hurt him, they still burned away his Albedo and Nanoscreen.
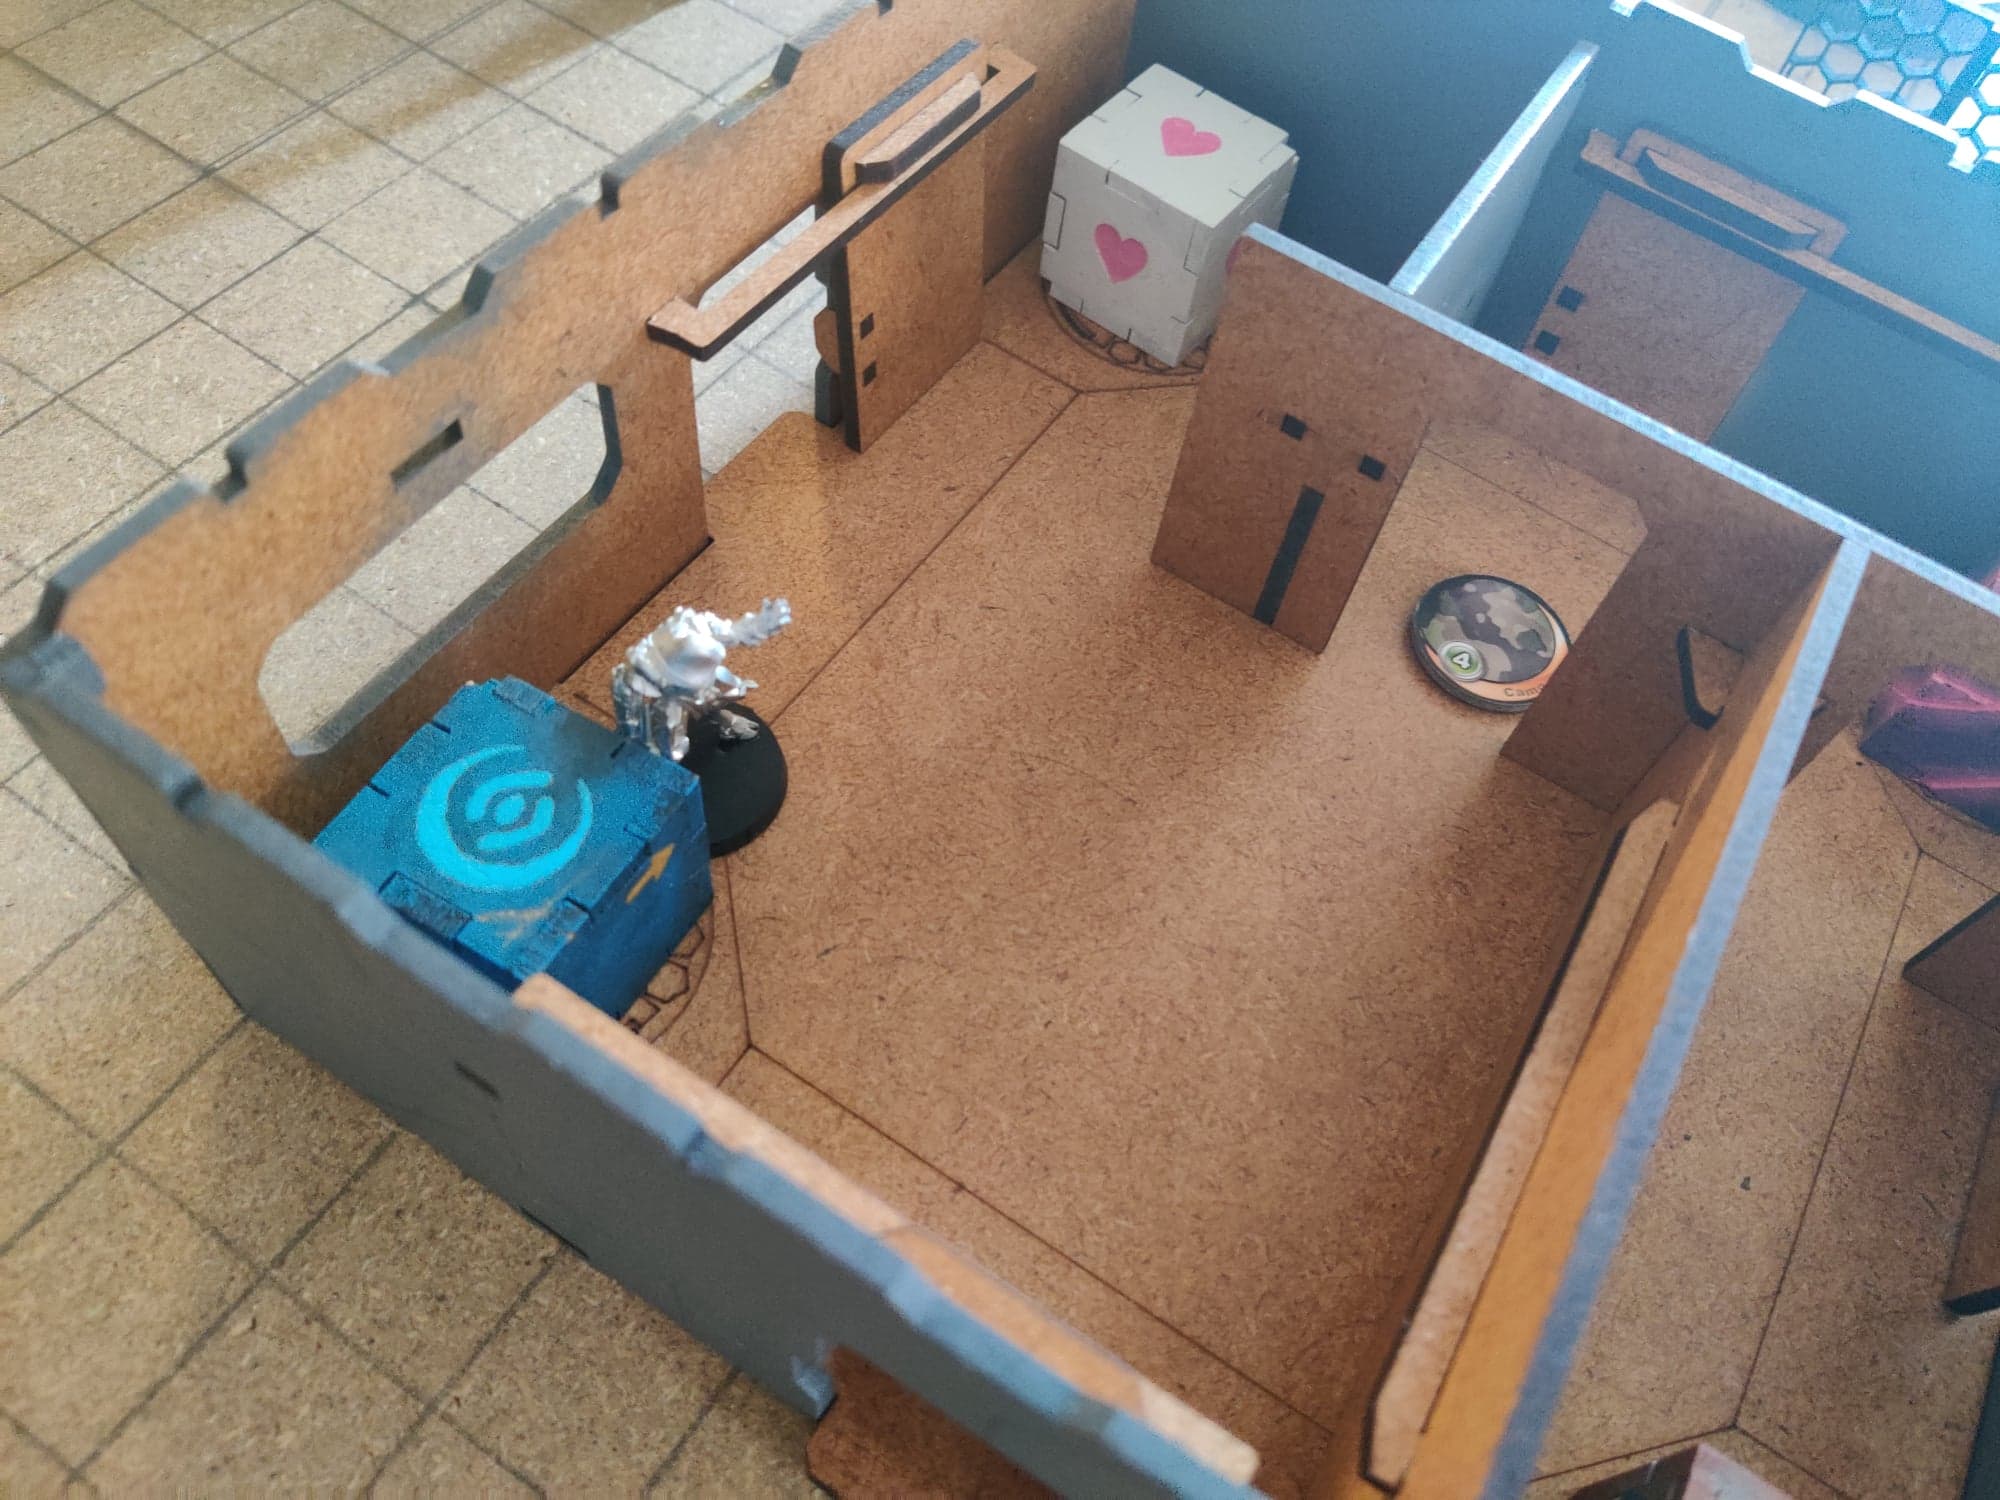 With the door open, the Shrouded Hacker ran into the armory, placed a mine, then retreated to claim the first loot from the panoplies, an HMG.
 To help cover the Armory, the second Shrouded, without hacking device, moved across the crates, near the Armory to get closer.
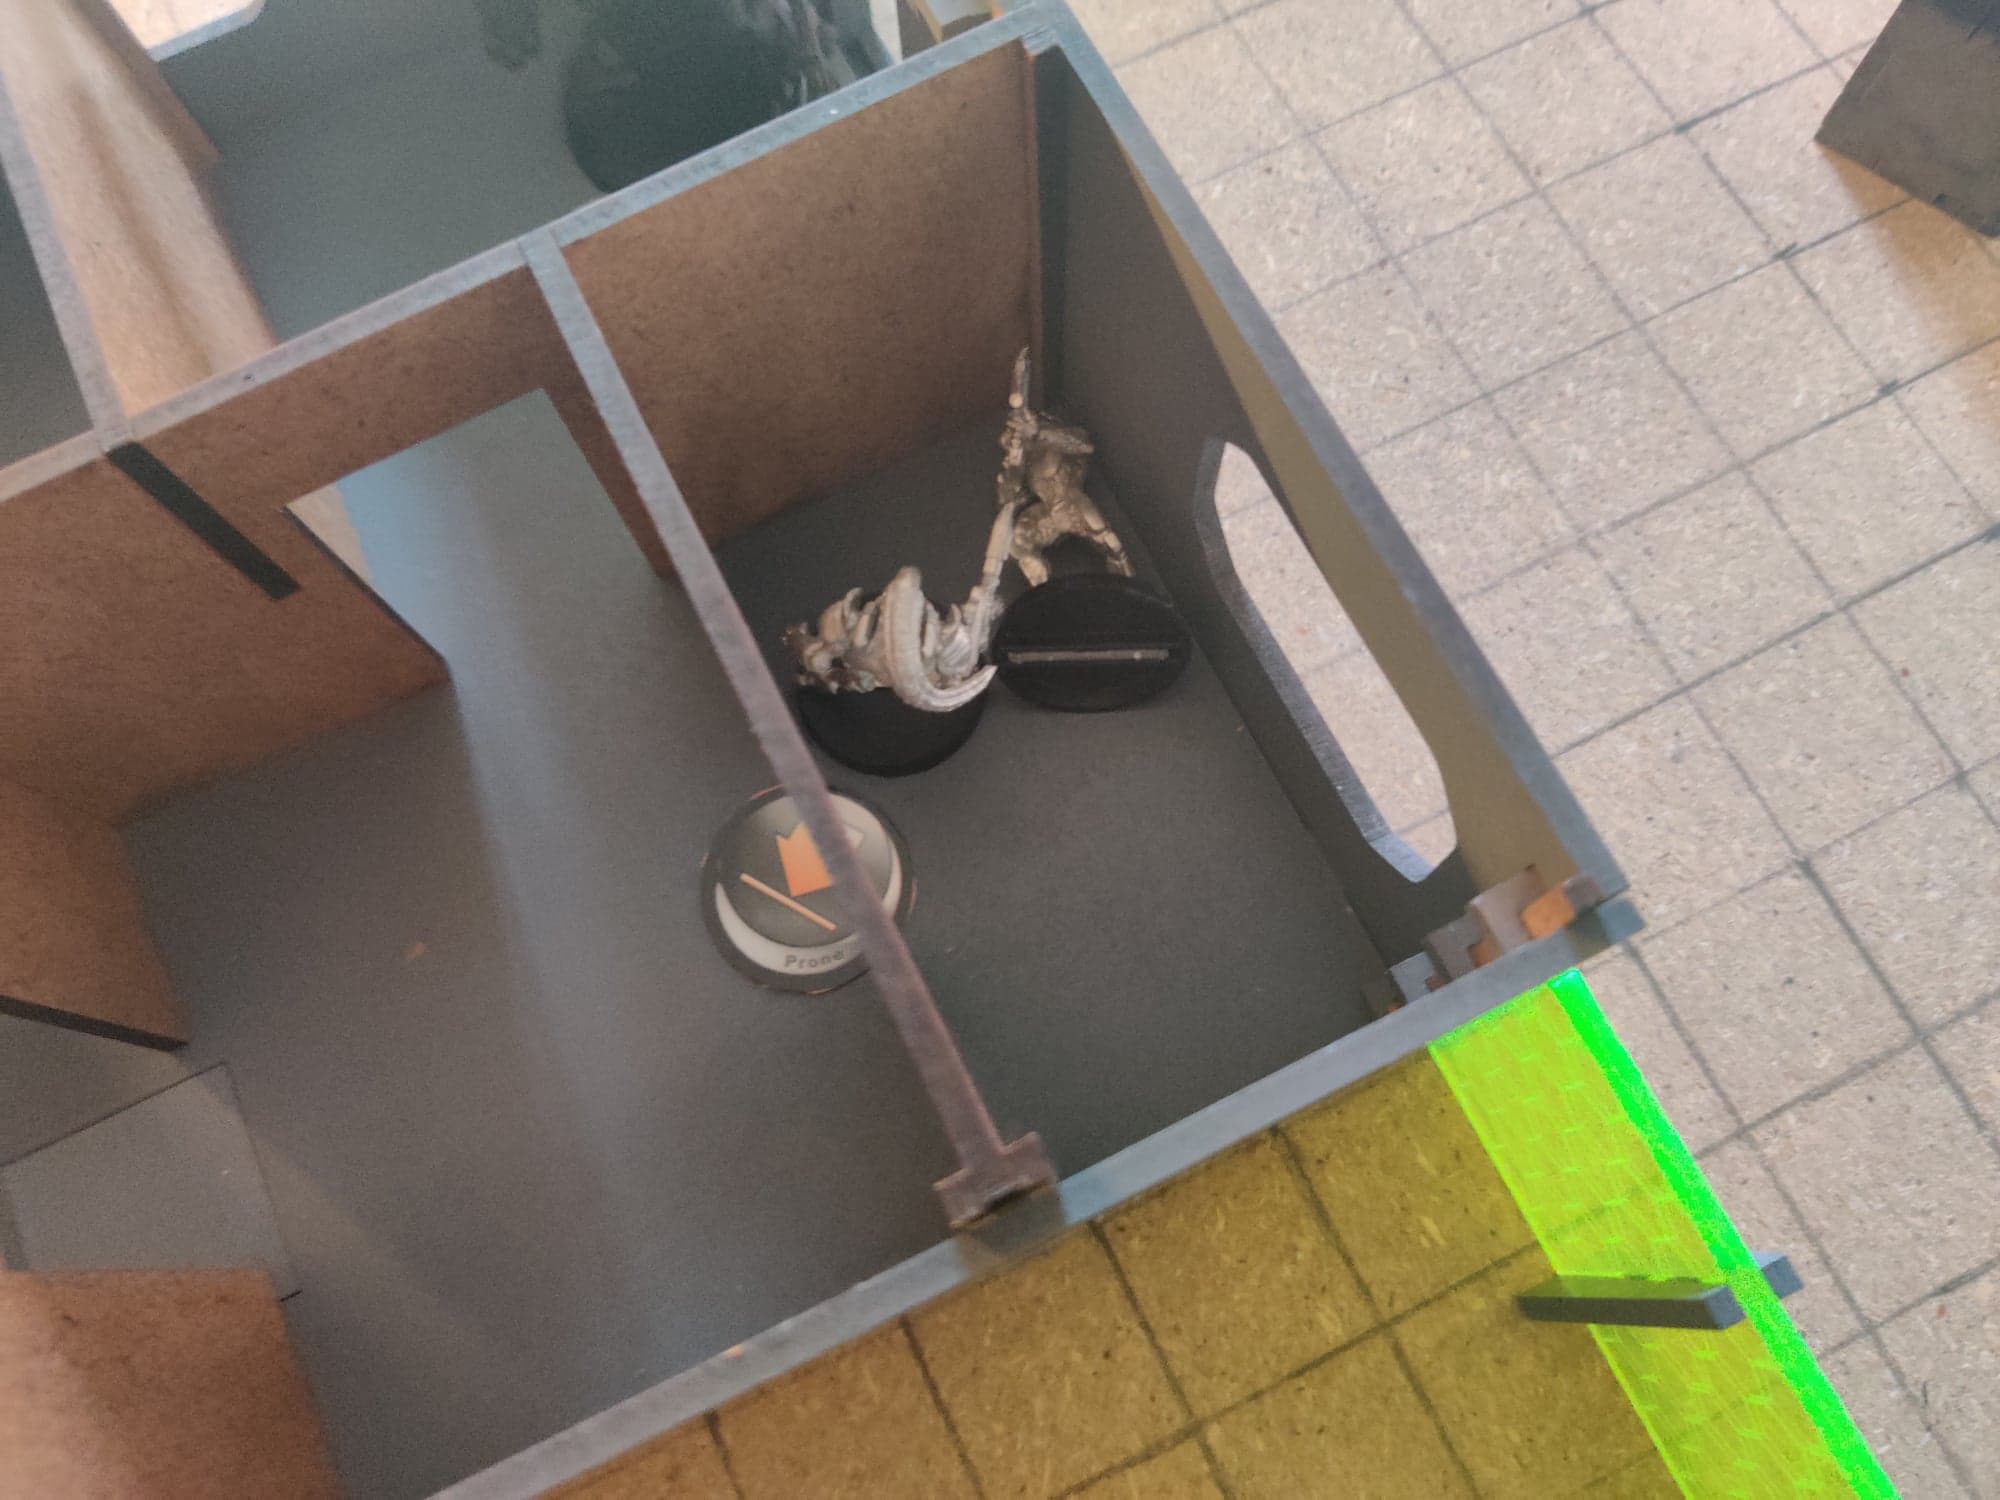
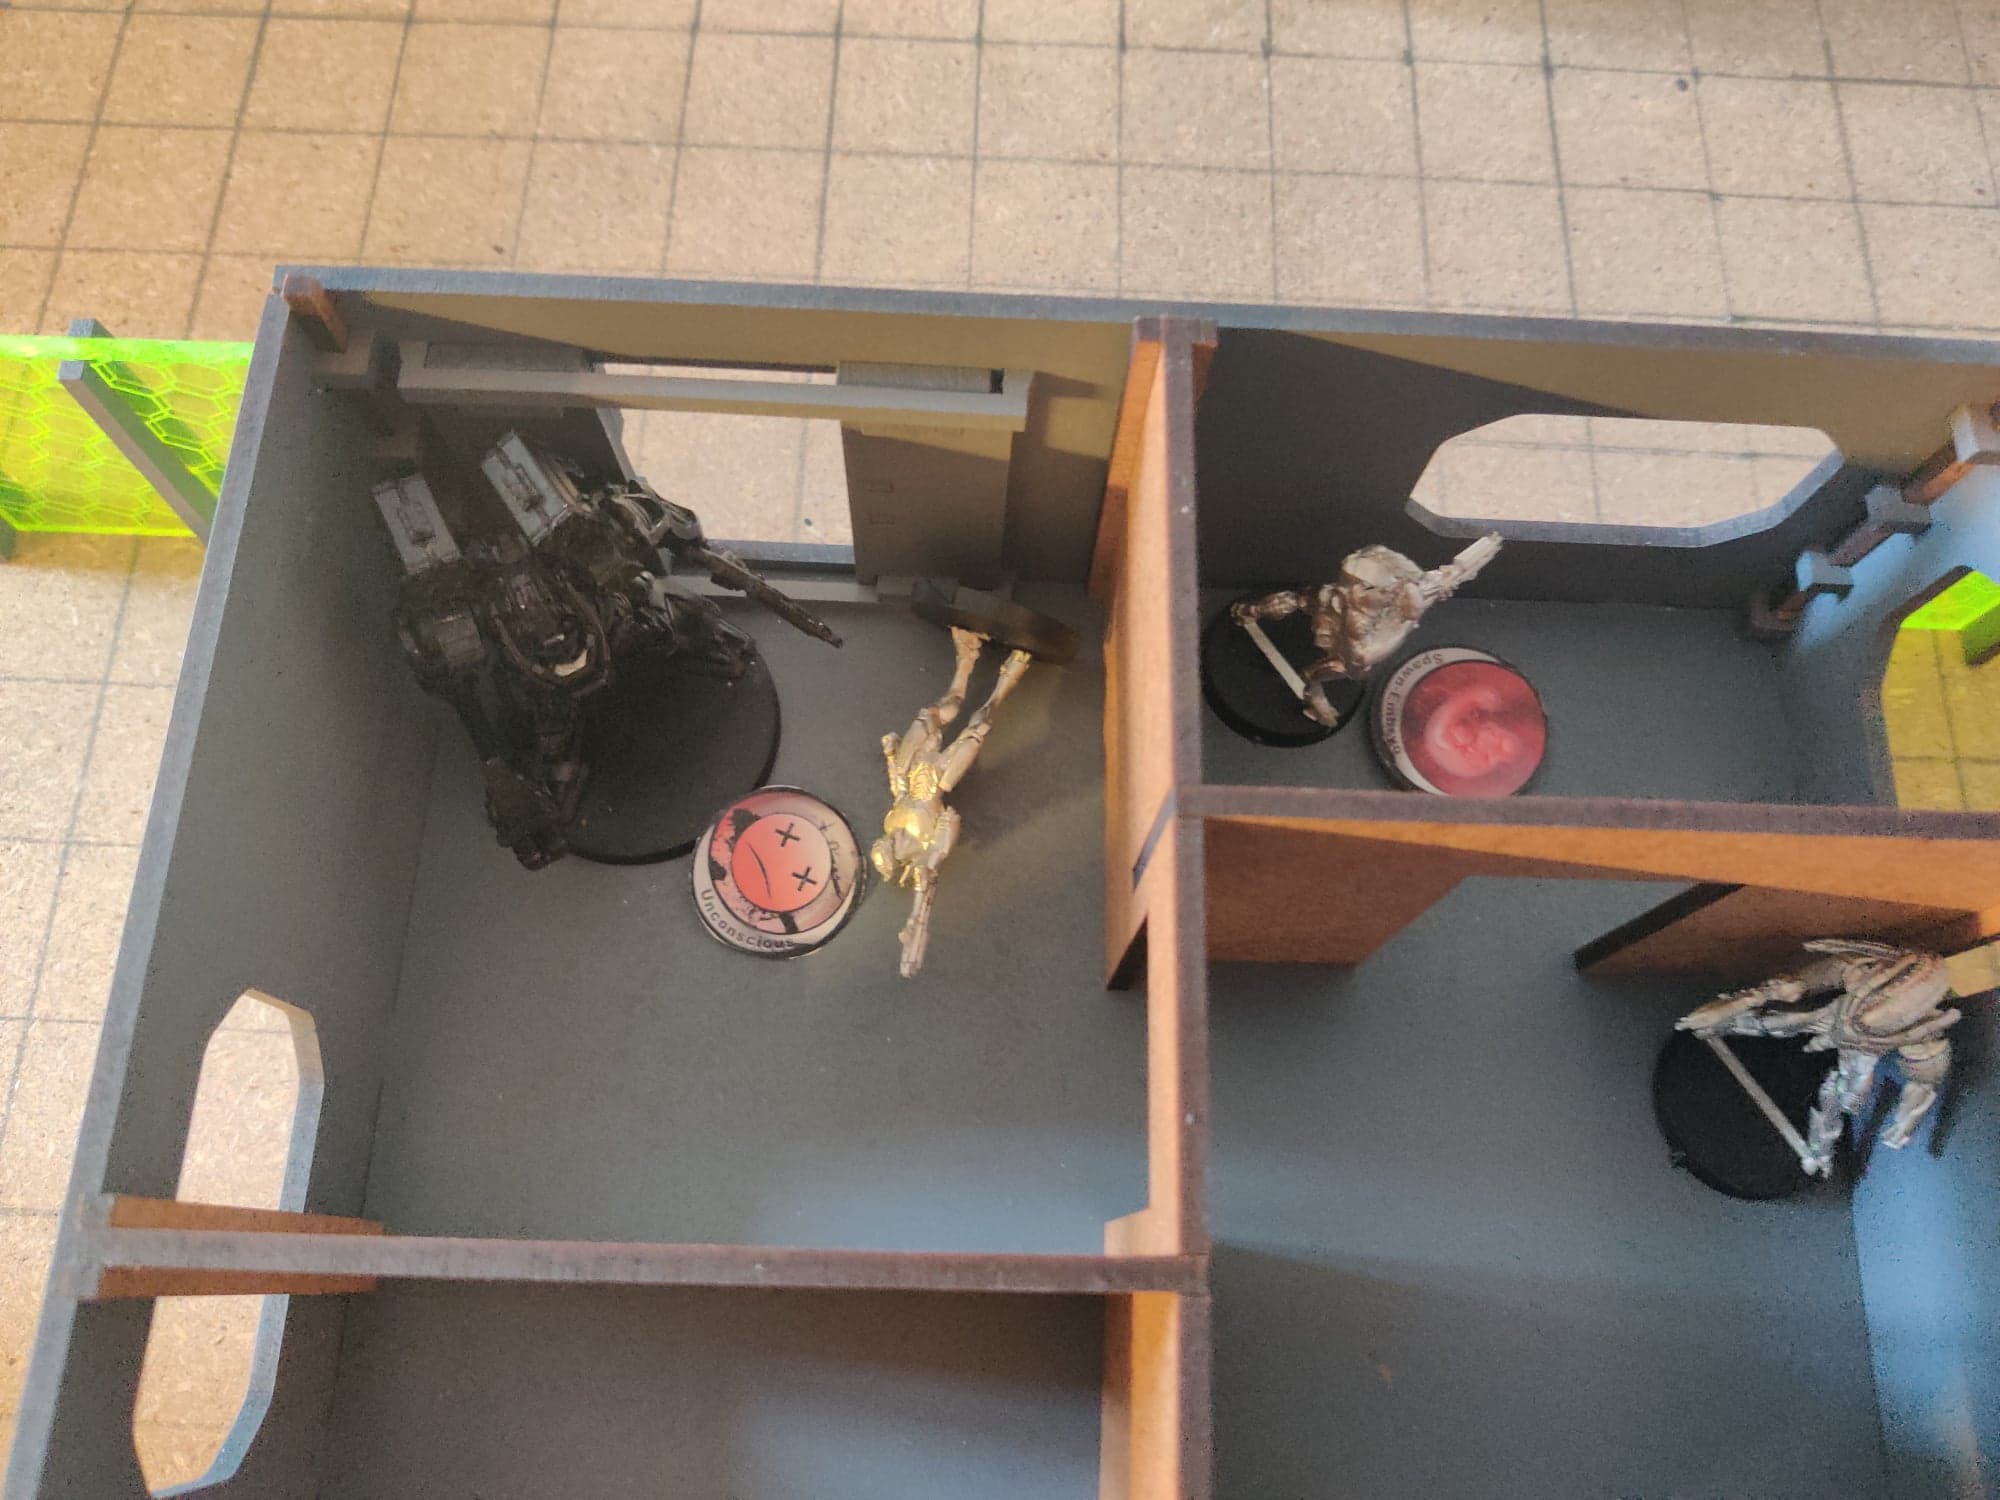 Aleph Turn 1: Starting the Aleph turn, Thrasymedes, fired rockets at the T-Drone, who returned attacks with its Missile Launcher. While the T-Drone, did successfully down Thrasymedes, the Nox trooper next to it, did not survive the volley of rockets. The team weaked, Atalanta disables the T-Drone and downs the Nox Sniper, breaking the team.
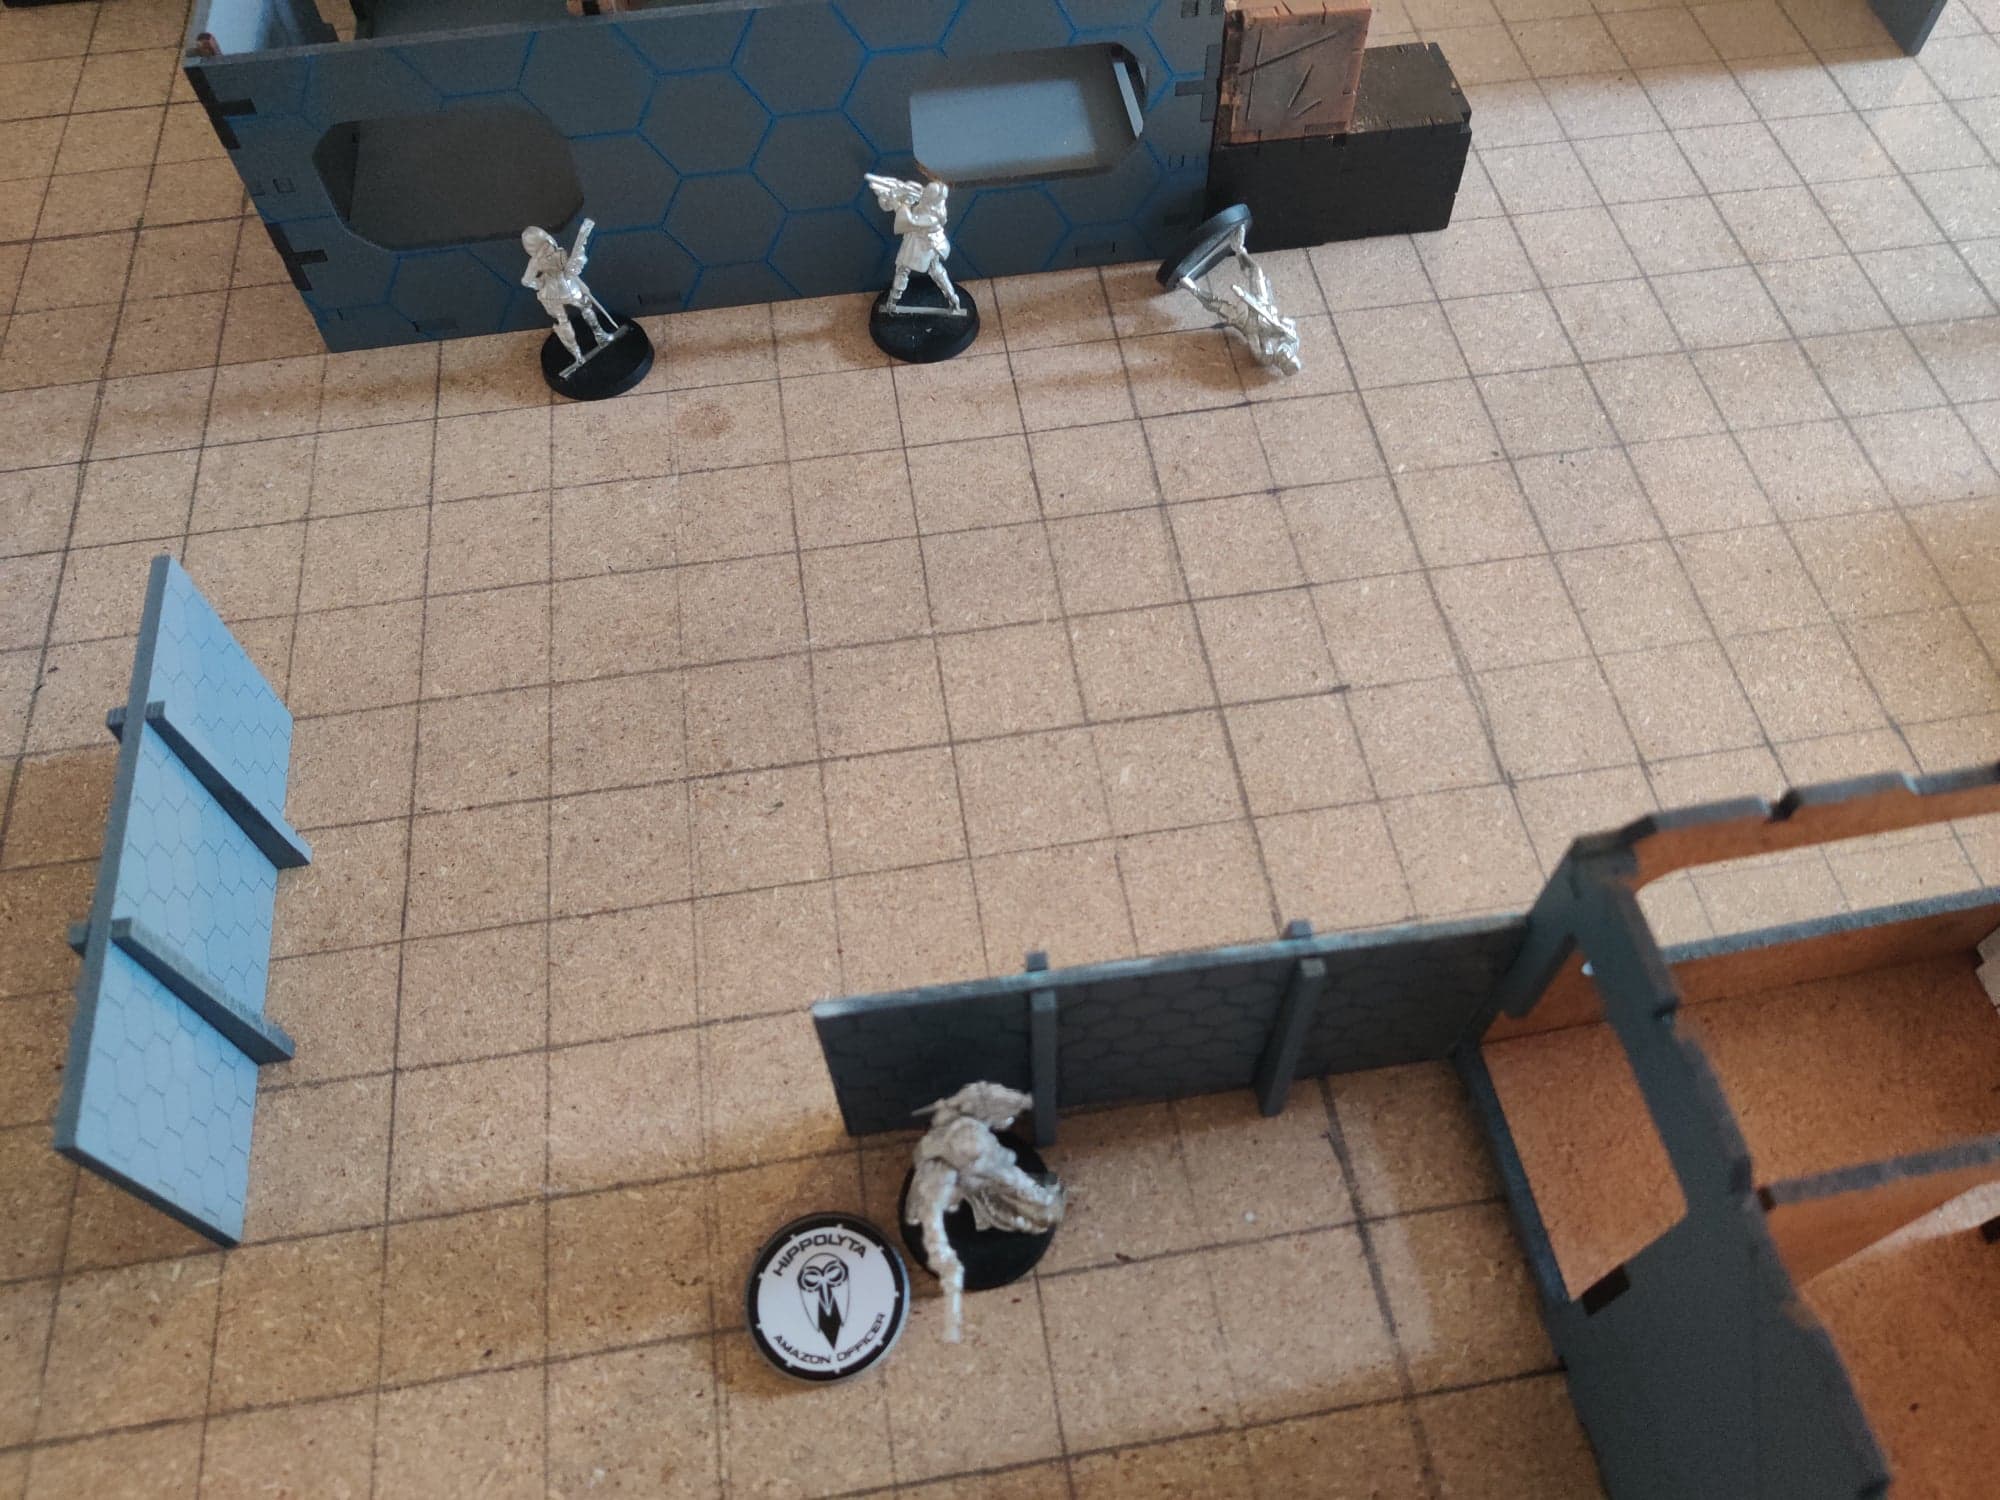
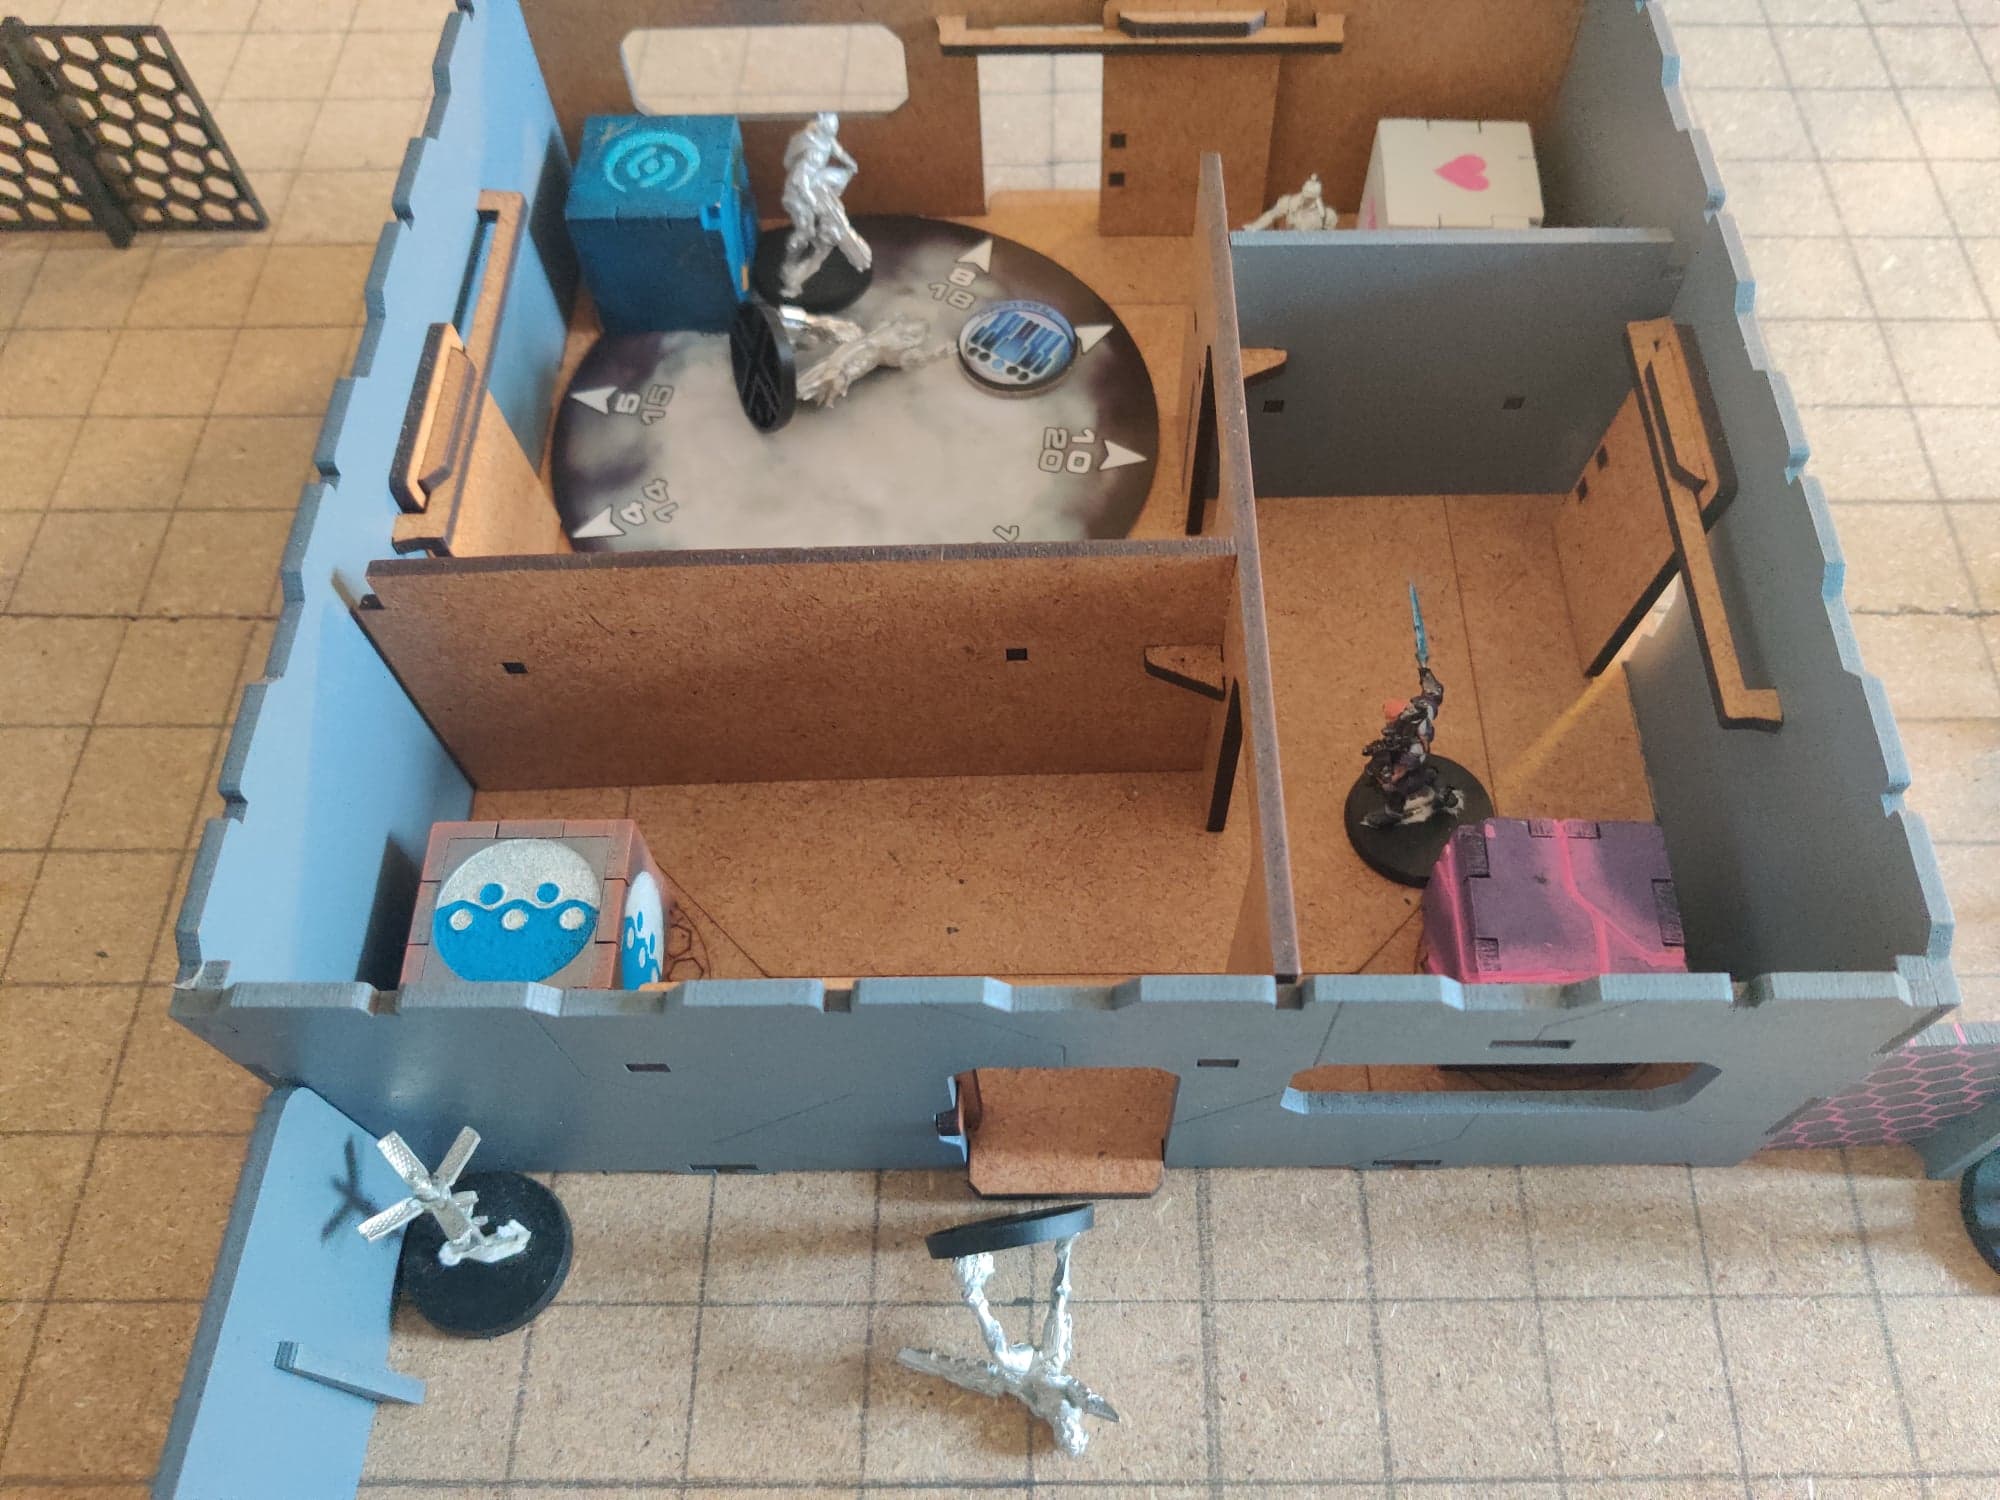 Pushing up the center, the Myrmidon team, led by Phoenix cuts open the door to the armory and send the regular Myrmidon in first, which dies to the mine. Taking over lead, Machaon drops an Eclipse grenade on the Shrouded, before charging into melee and killing him. The team then each loots a different crate. Machaon find better armor, the Myrmidon finds mimetic armor, and Phoenix finds a spare nanopulser. (I was laughing at these terrible rolls.)
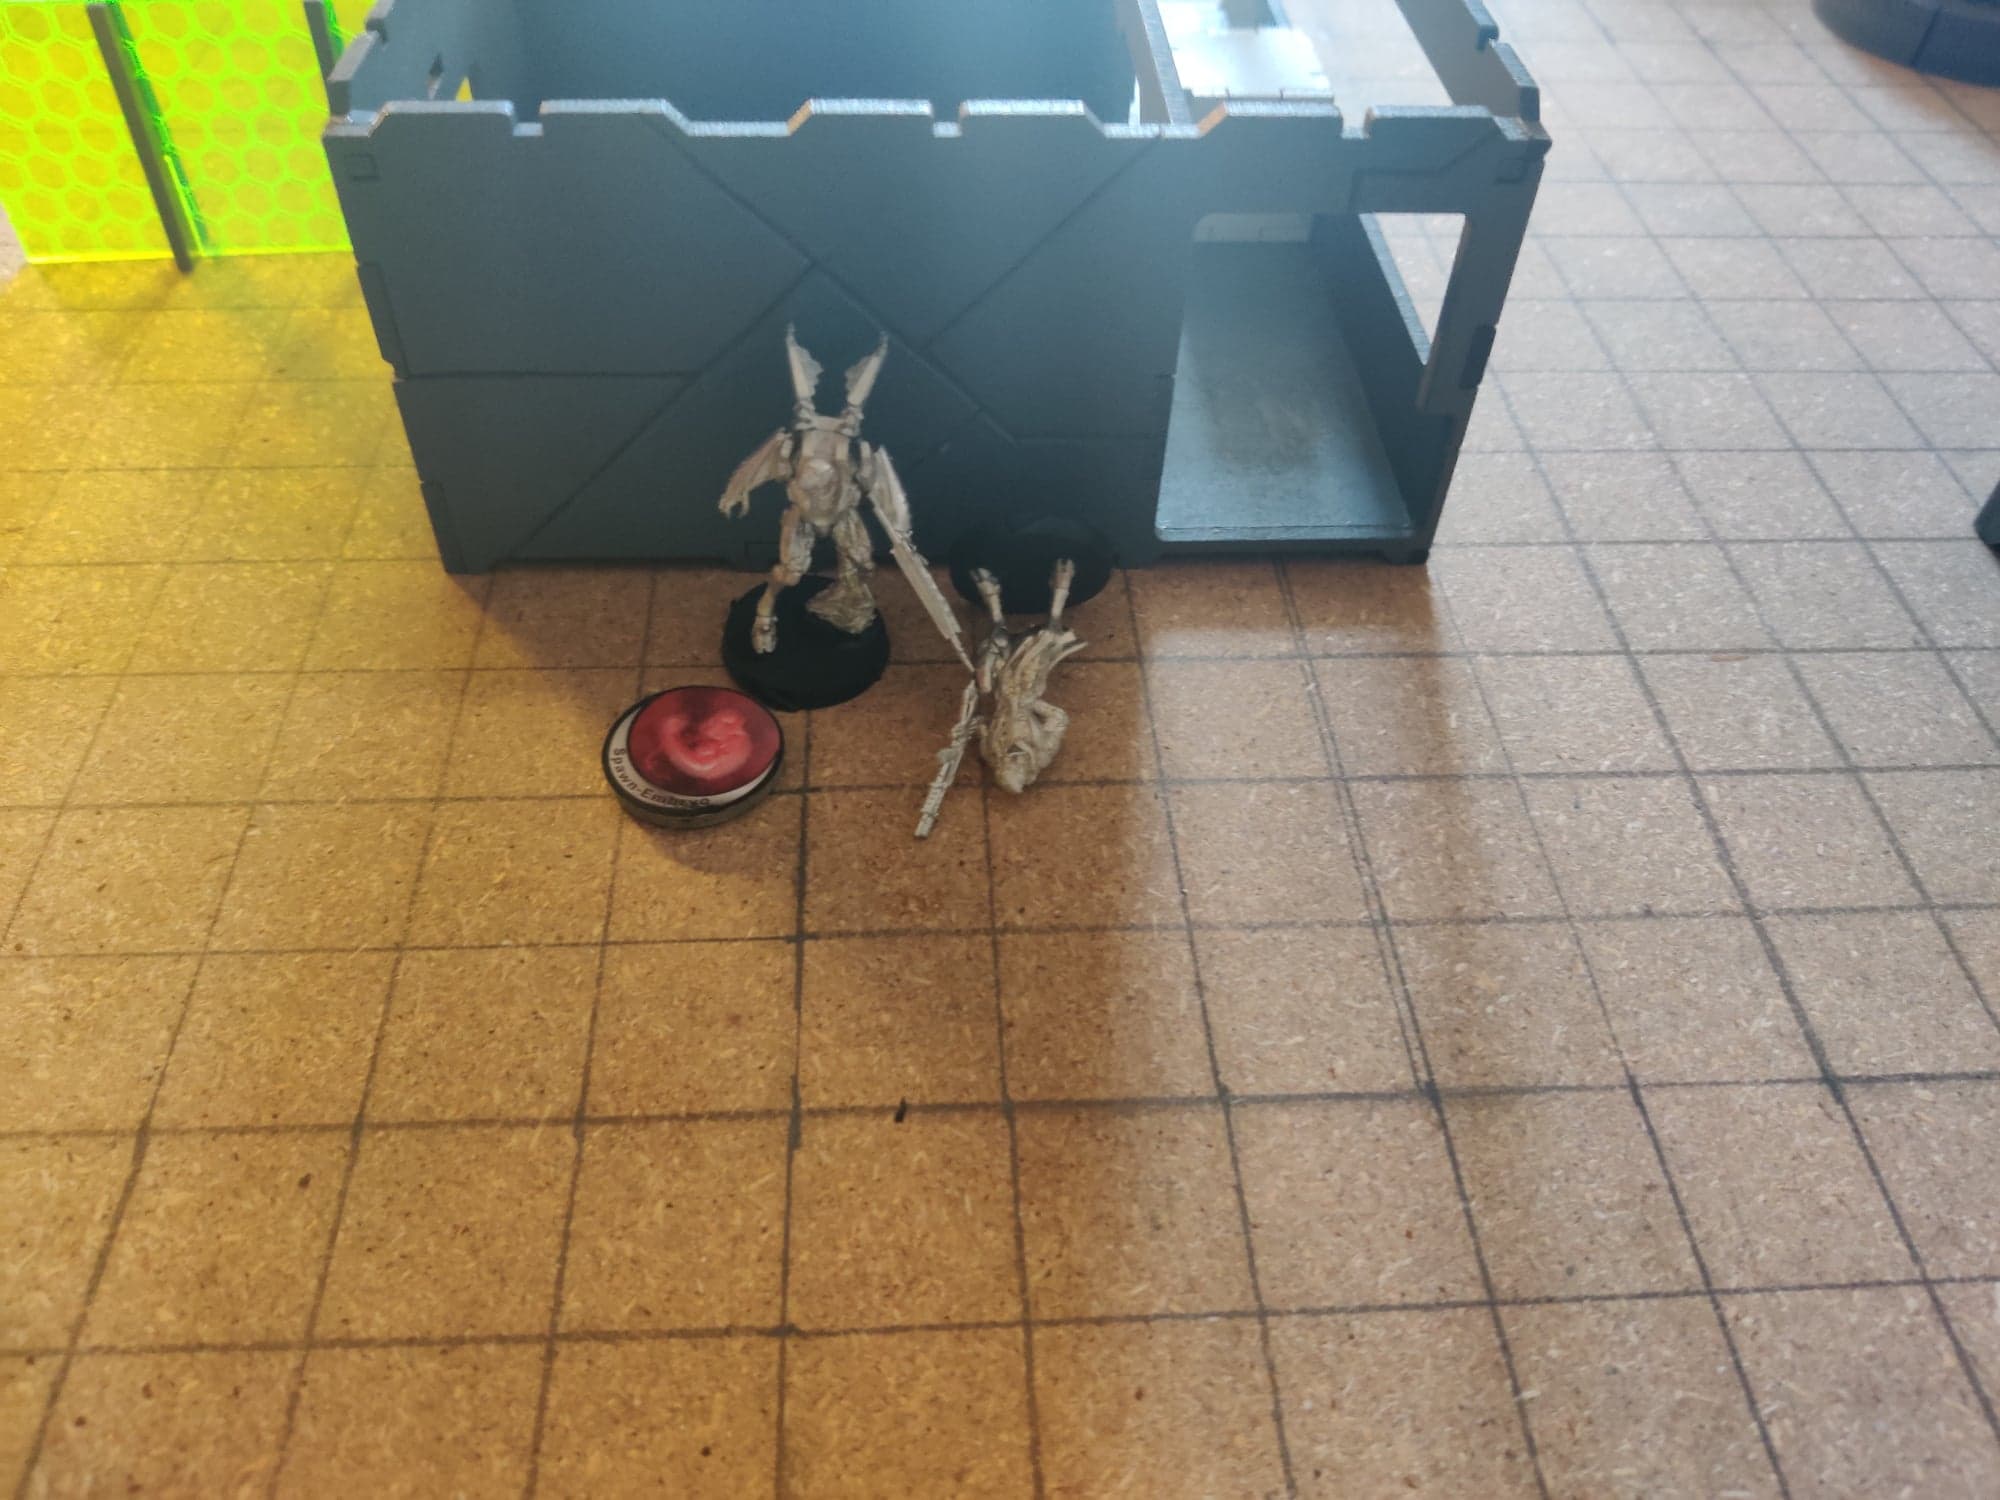 Poking out of the smoke, the Myrmidon with spitfire then proceeds to kill the Mentor and disable the Gwailo lieutenant, before retreating to better cover.
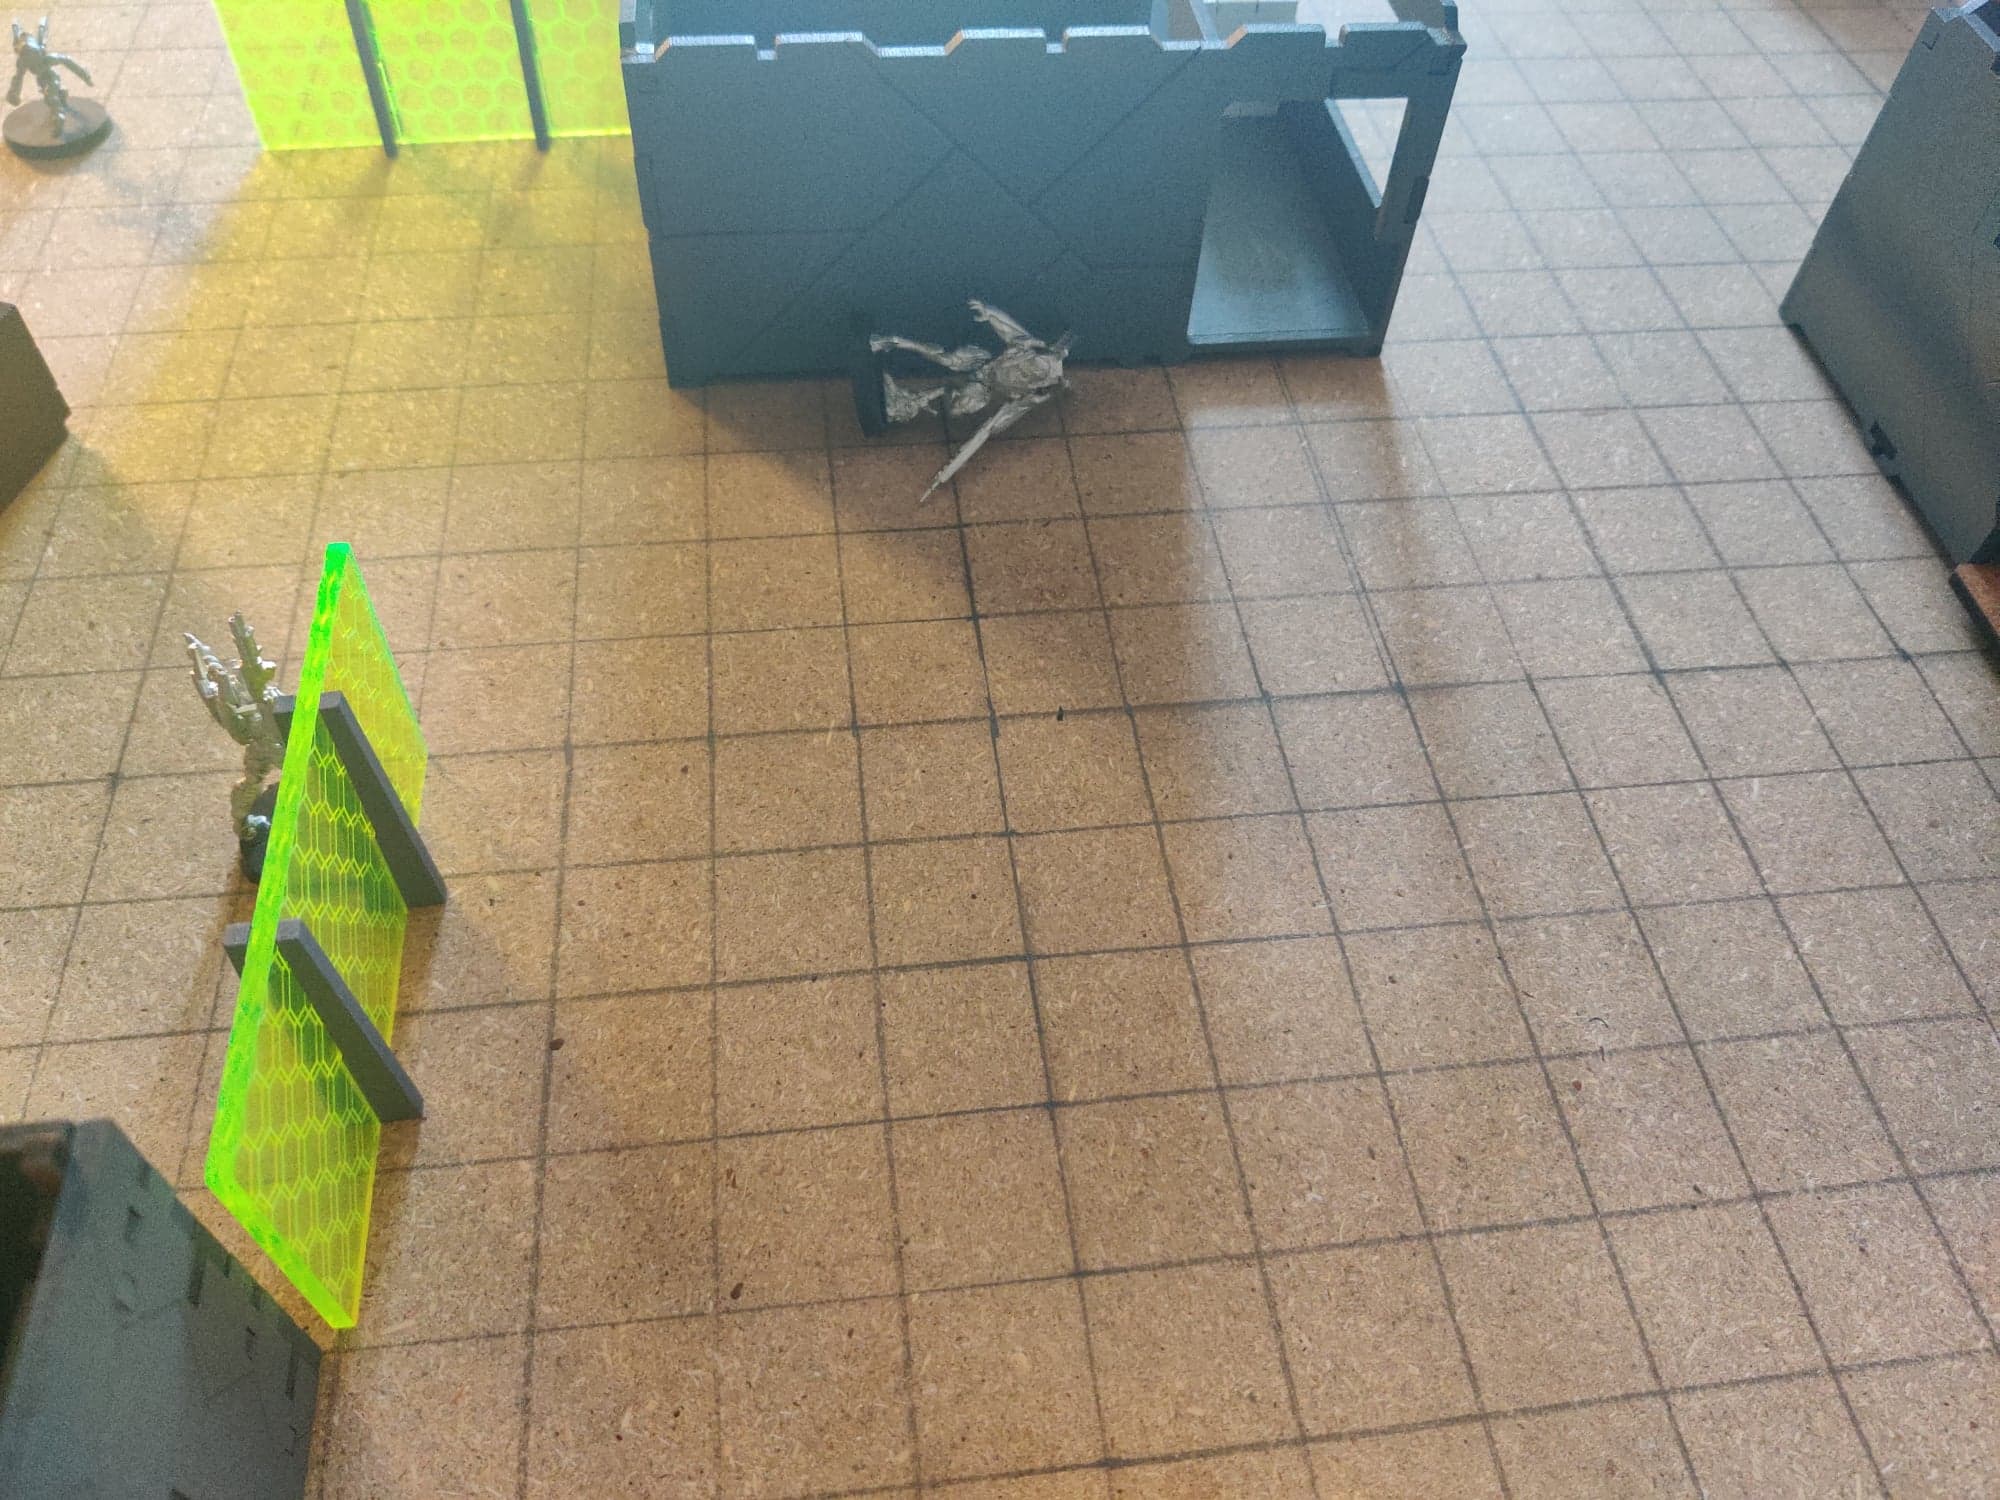 CA Turn 2: The Shasvastii begin the turn in loss of lieutenant, as the Gwailo was the lieutenant. trying to revive it, the Med-Tech successfully shoots it with a medkit, but the Gwailo's wounds turn out to be too severe and it dies.
 The Nox Medic, takes his shot at helping get a soldier back in the fight, but also ends up killing an ally, and the Nox Sniper dies as a result of this.
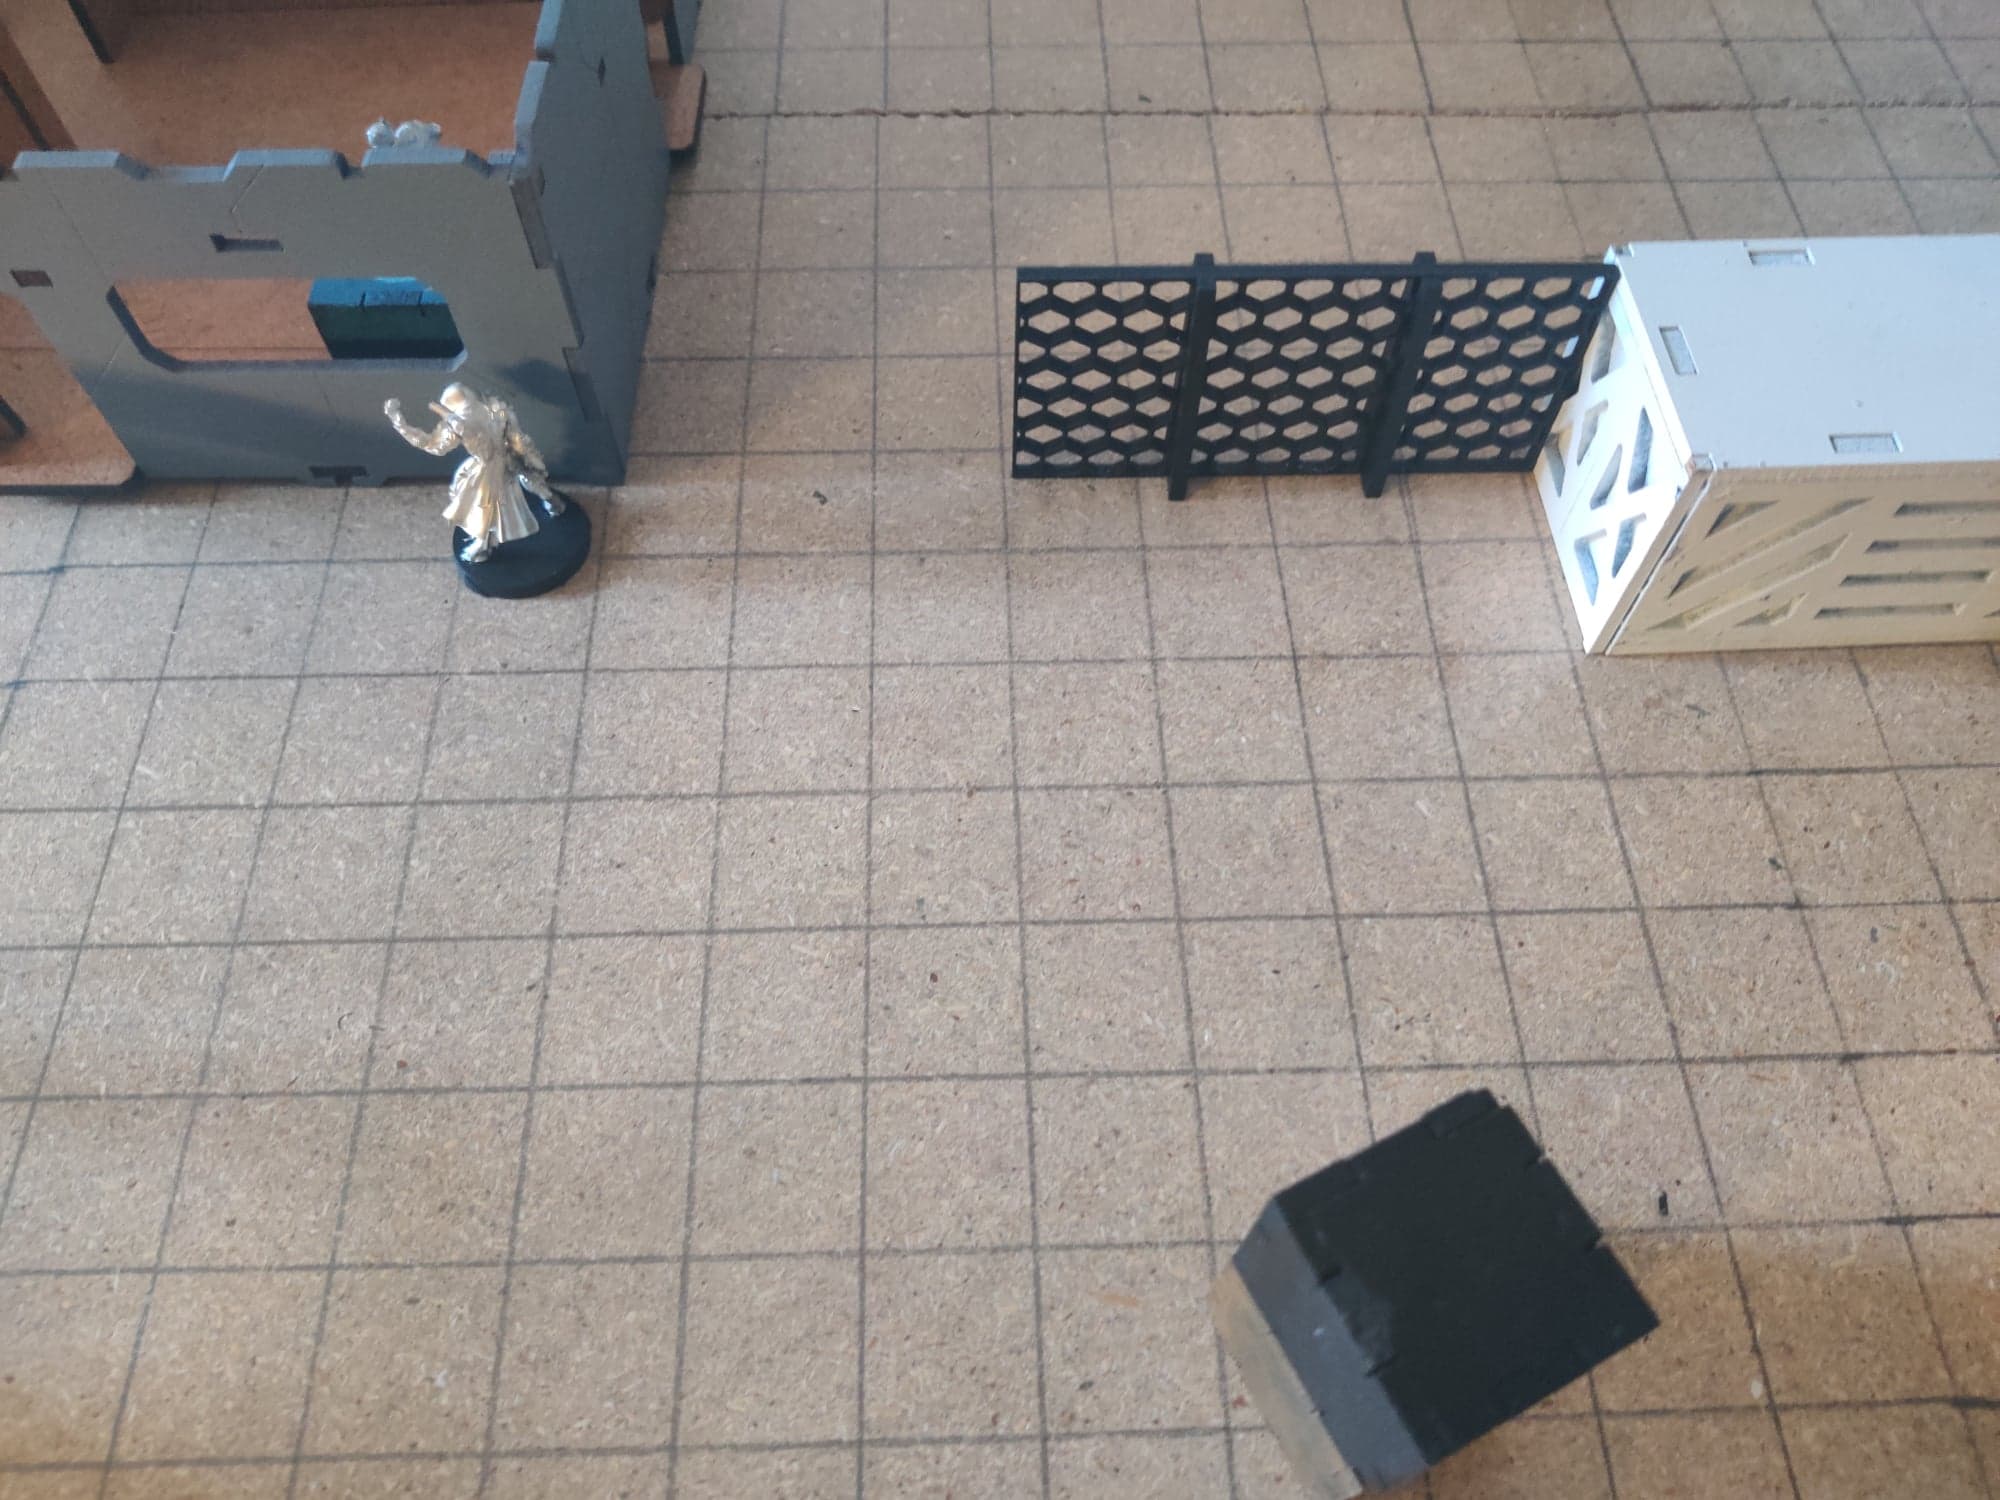 Trying to get to the Armory, the Shrouded runs for it and is discover by Atalanta as it crosses the gap.
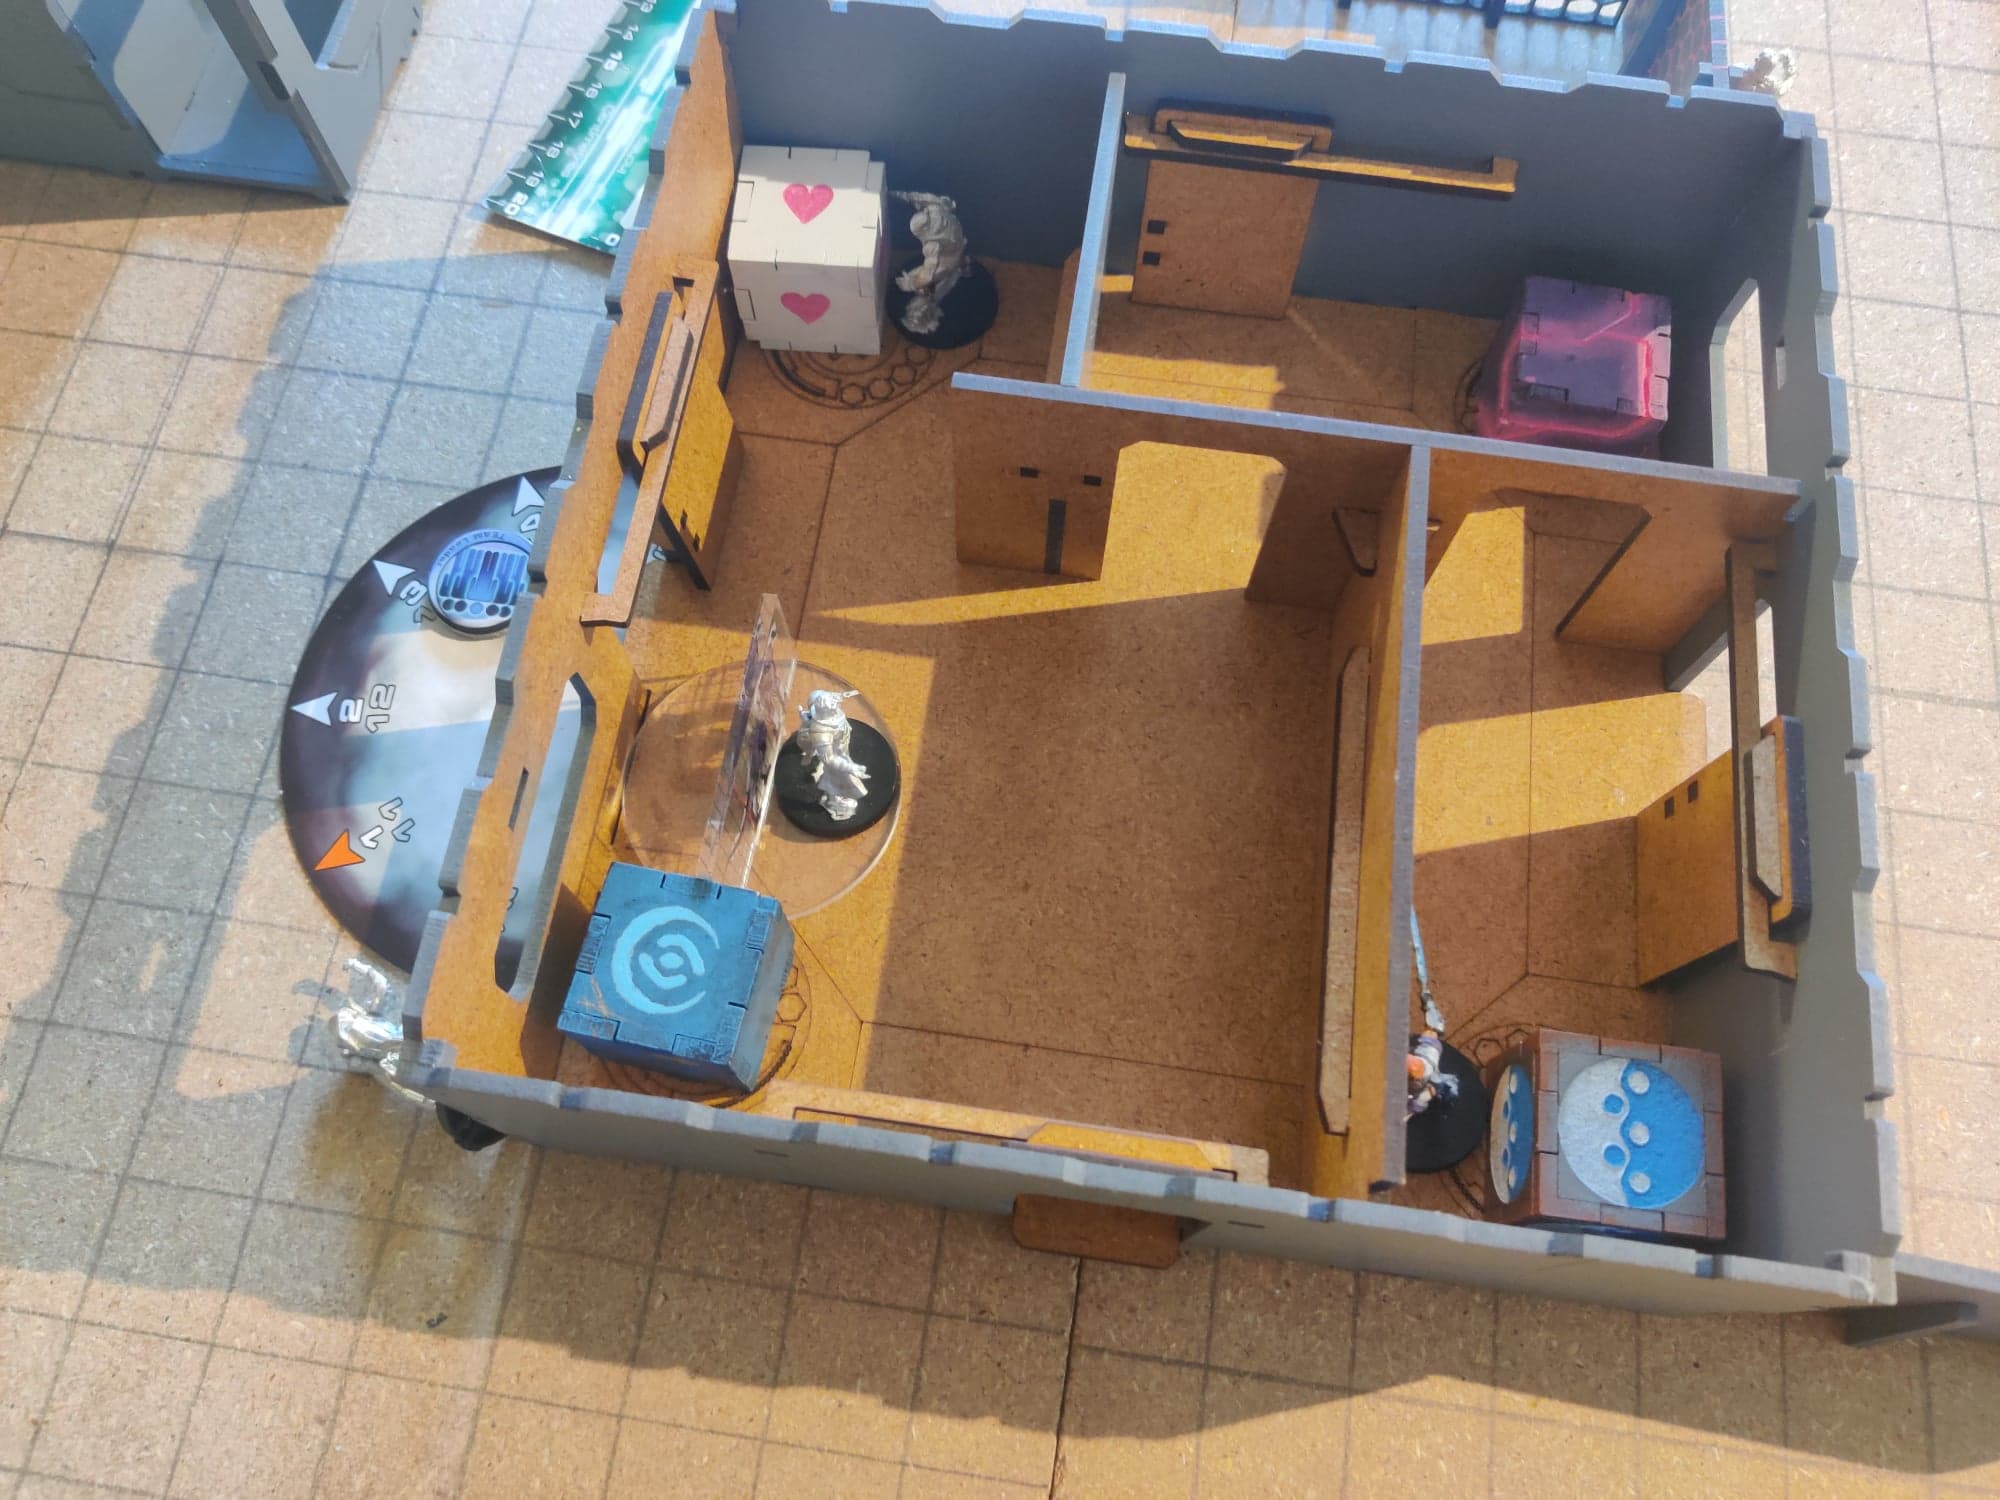 Aleph Turn 2: Aleph starts by sending Machaon to toss some eclipse grenades outside the door, successfully covering the path to the Shrouded. He then runs out and kills it in melee before returning. After returning, his team tried to loot again, Machaon finding a motorcycle of all things in the panoplies, Phoenix finding a Multi-Spectral Visor, and the Spitfire Myrmidon picking up a Multirifle.
 Hector's team seizes the initiative and rushes up to vaporize the last regular Nox trooper with a plasma rifle.
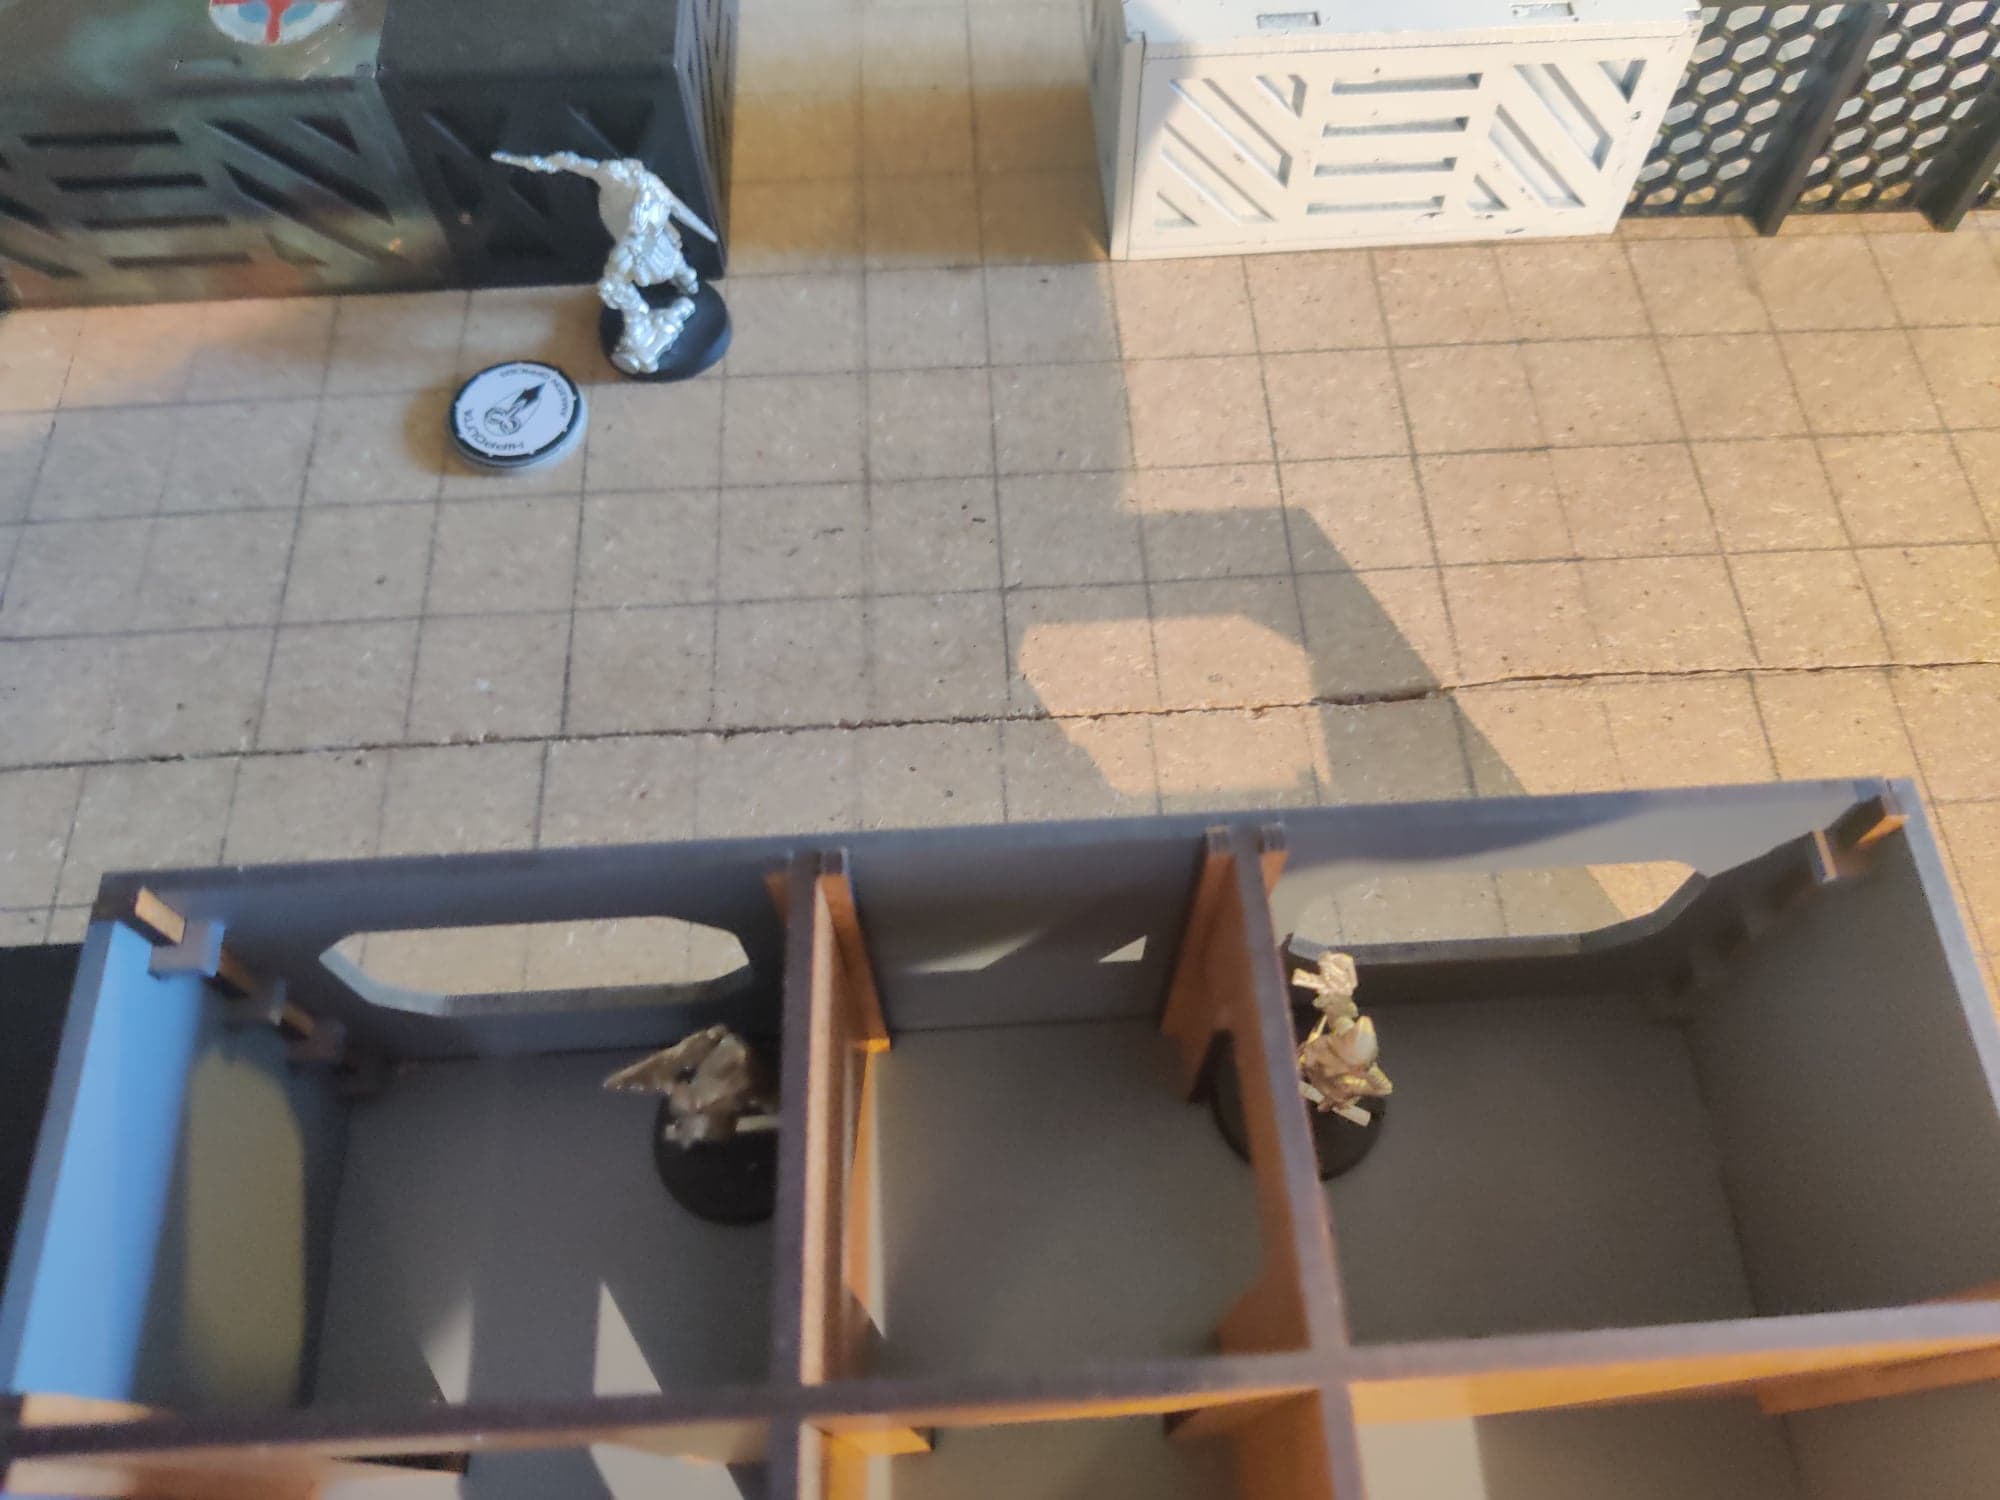
 CA Turn 3: The Cadmus, who had spent most of his time hiding in the back lines, does a last ditch effort to get to the armory. He successfully morphoscans Machaon, only to be downed moments later by Machaon. The Shasvastii spent the remainder of their time missing the Cadmus with medkits.
 Aleph Turn 3: Atalanta rushed across the board to draw a bead on the hidden Caliban and R-Drone, killing both with little issue.
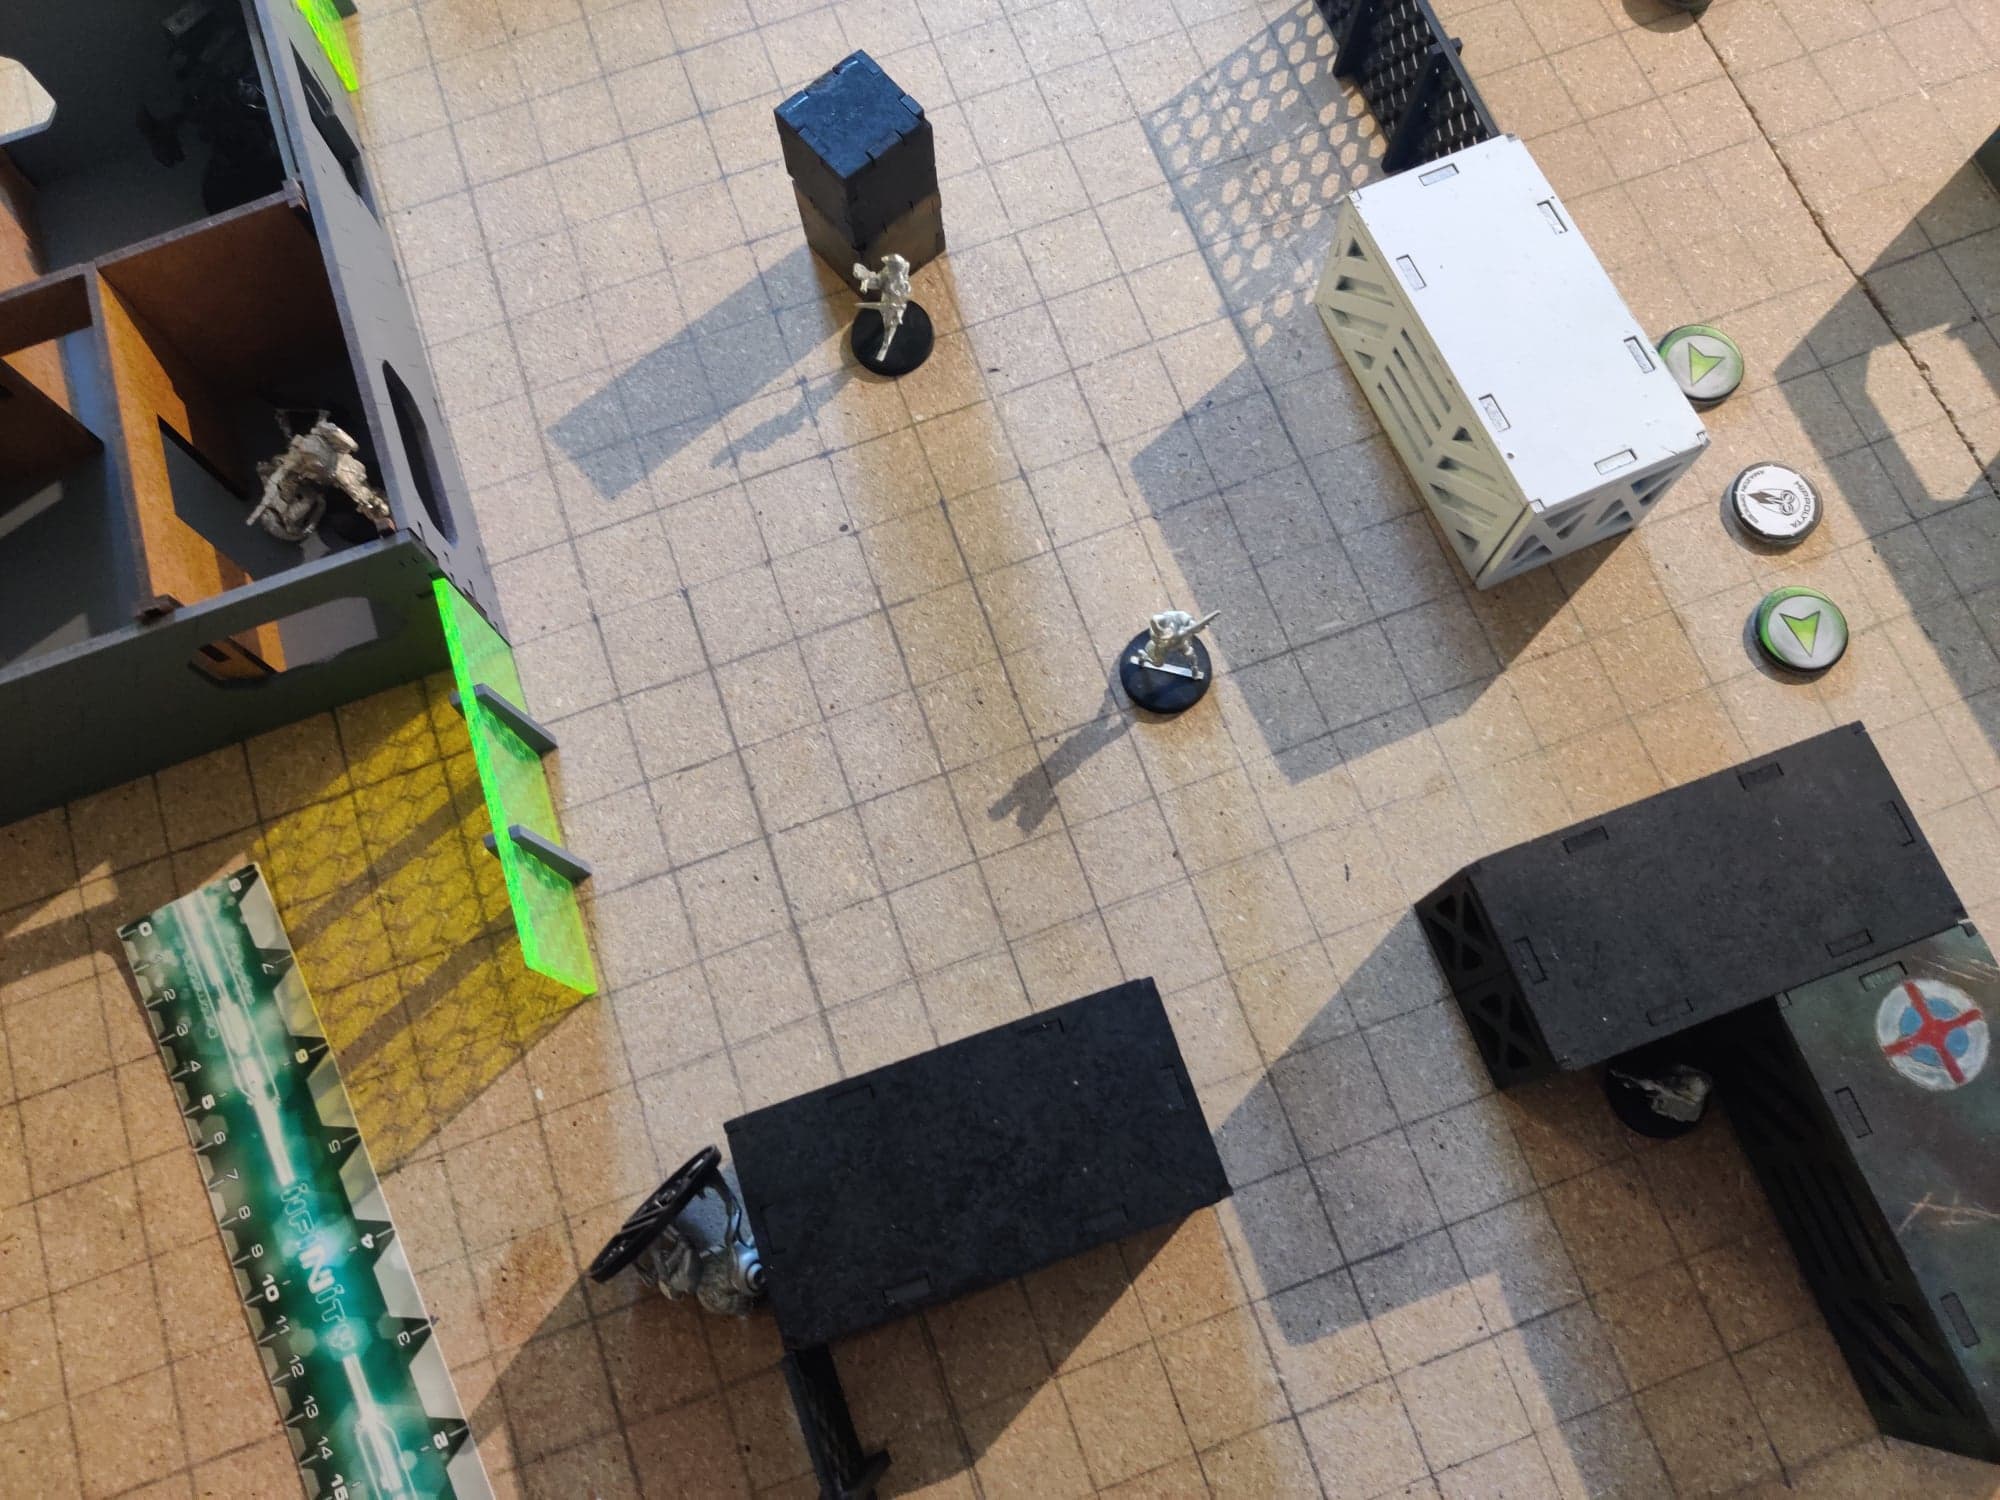 Hector noticing almost no resistance, pushes up, killing the Med-Tech with his plasma rifle before rushing into melee and killing the last Shasvastii one the board, the prone Shasvastii medic.
Conclusion: My opponent was relatively new, and made quite a few number of errors during play, mostly resulting from us both having a lack of knowledge about Combined Army, but it was a fun game nonetheless.
Score:
Aleph dominated the Armory every round for 3 points.
Aleph held the Armory at the end of the game for 4 points.
Aleph secured more arms from the Panoplies for 2 points.
Aleph secured the enemy HVT for 1 point.
Total 10 - 0 Aleph.
Battle Report Author

Army Lists Used In This Battle
Recommend Commander For Commendation
Share this battle with friends
Captain Jag KaraWins

Job well done commander!
Congratulations on your victory, Commander! Another solid write-up.
My report is still missing its narrative, but otherwise is complete.
Nope. We used the same map. 3 games that day. Mr juki vs me, Mr juki vs Cdr. Philip von Kruse, then Cdr. Philip von Kruse vs me. We planned to meet up for the 3 way match up on the weekend. I’ll have more pics up in a bit.
It seems that Aleph lies, I think….
It’s not the same https://asteroidblues.warconsole.com/battles/captain-jag-kara-vs-cdr-philip-von-kruse-1569799577?