Fought At Jiyuan Open-Pit Site: Operations Hub
1651 days 4 hours 23 minutes ago
Urgent Defence of Jiyuan Operations Hub
300 POINTSThings were getting desperate out there; the fighting was fierce, the result of a strong push against Yu Jing interests on Novvy Bangkok by the various groups of mercenaries that the Ikari Company could convince to join in the fight. This chaos came with plenty of opportunities for other factions on the asteroid to undertake clandestine operations with a ready narrative of plausible deniability. One such force from Tunguska tried to take advantage of this very chaos, and hurt Yu Jing's State interests. Under the watchful gaze of the Emperor's finest extension of Imperial will made manifest in a Hsien, and the unmatched fury of a real "Devil King" Mowang, Yu Jing forces were able to repel the aggressors, helping to retain control of the Operations Hub in the chaos.
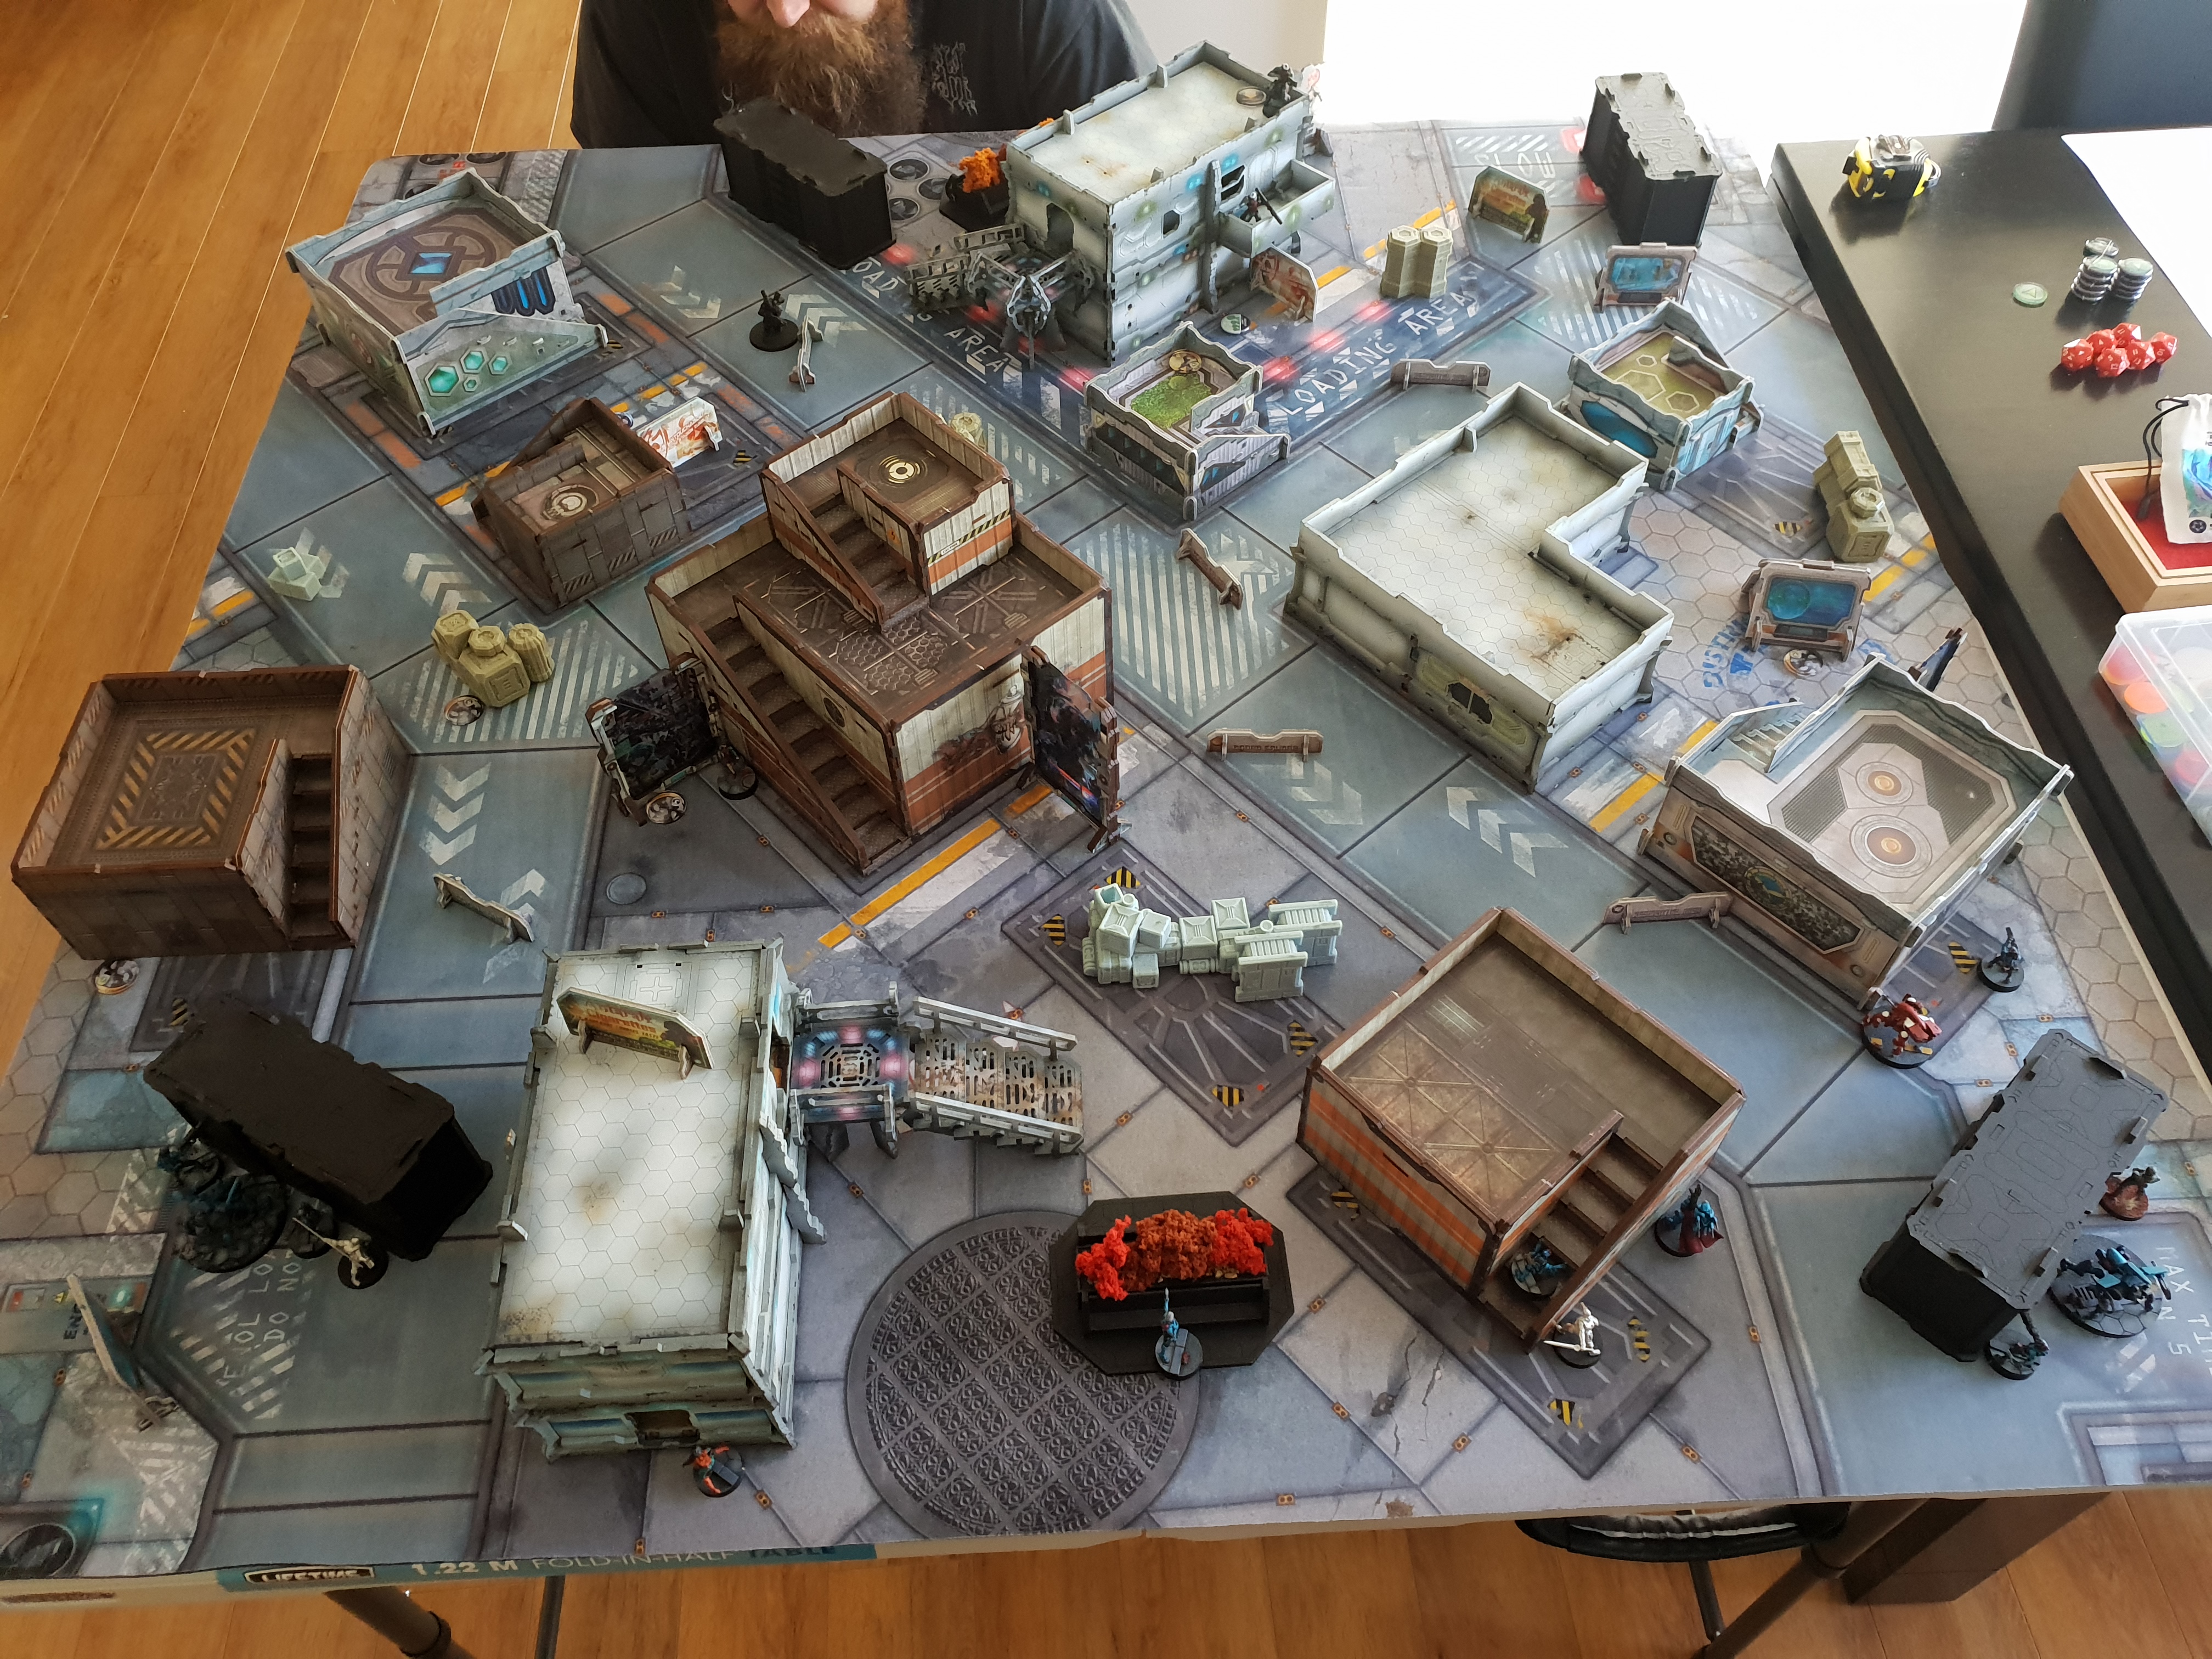
Turin won the LT roll, and elected to go first. He deployed with his left flank heavily stacked, with the Hollow Man fireteam, Heckler, Zondnautica, Interventor and Clockmaker on the main flank, with the Kriza Boracs on his right flank. I deployed in both corners of my deployment zone, layering up Kuang Shi and Shaolin to give me good close-range fire lanes. My only defensive ARO piece, the TR bot, took up vision down the length of the main road, knowing that it could easily be out-ranged, but banking on it taking too many orders to successfully. On the right side, facing off against the Hollow Men, was a minelayer Guilang, 2x Kuang Shi, 1x Monk and my Hsien. The centre saw me deploy my smoke lgl Celestial Guard, poised to fire smoke when needed. On my left flank, I had the other minelayer Guilang, the Daoying, 2x Kuang Shi, 1x Doctor, 1x Monk, and the Devil King himself, the Mowang, who was my data-tracker.
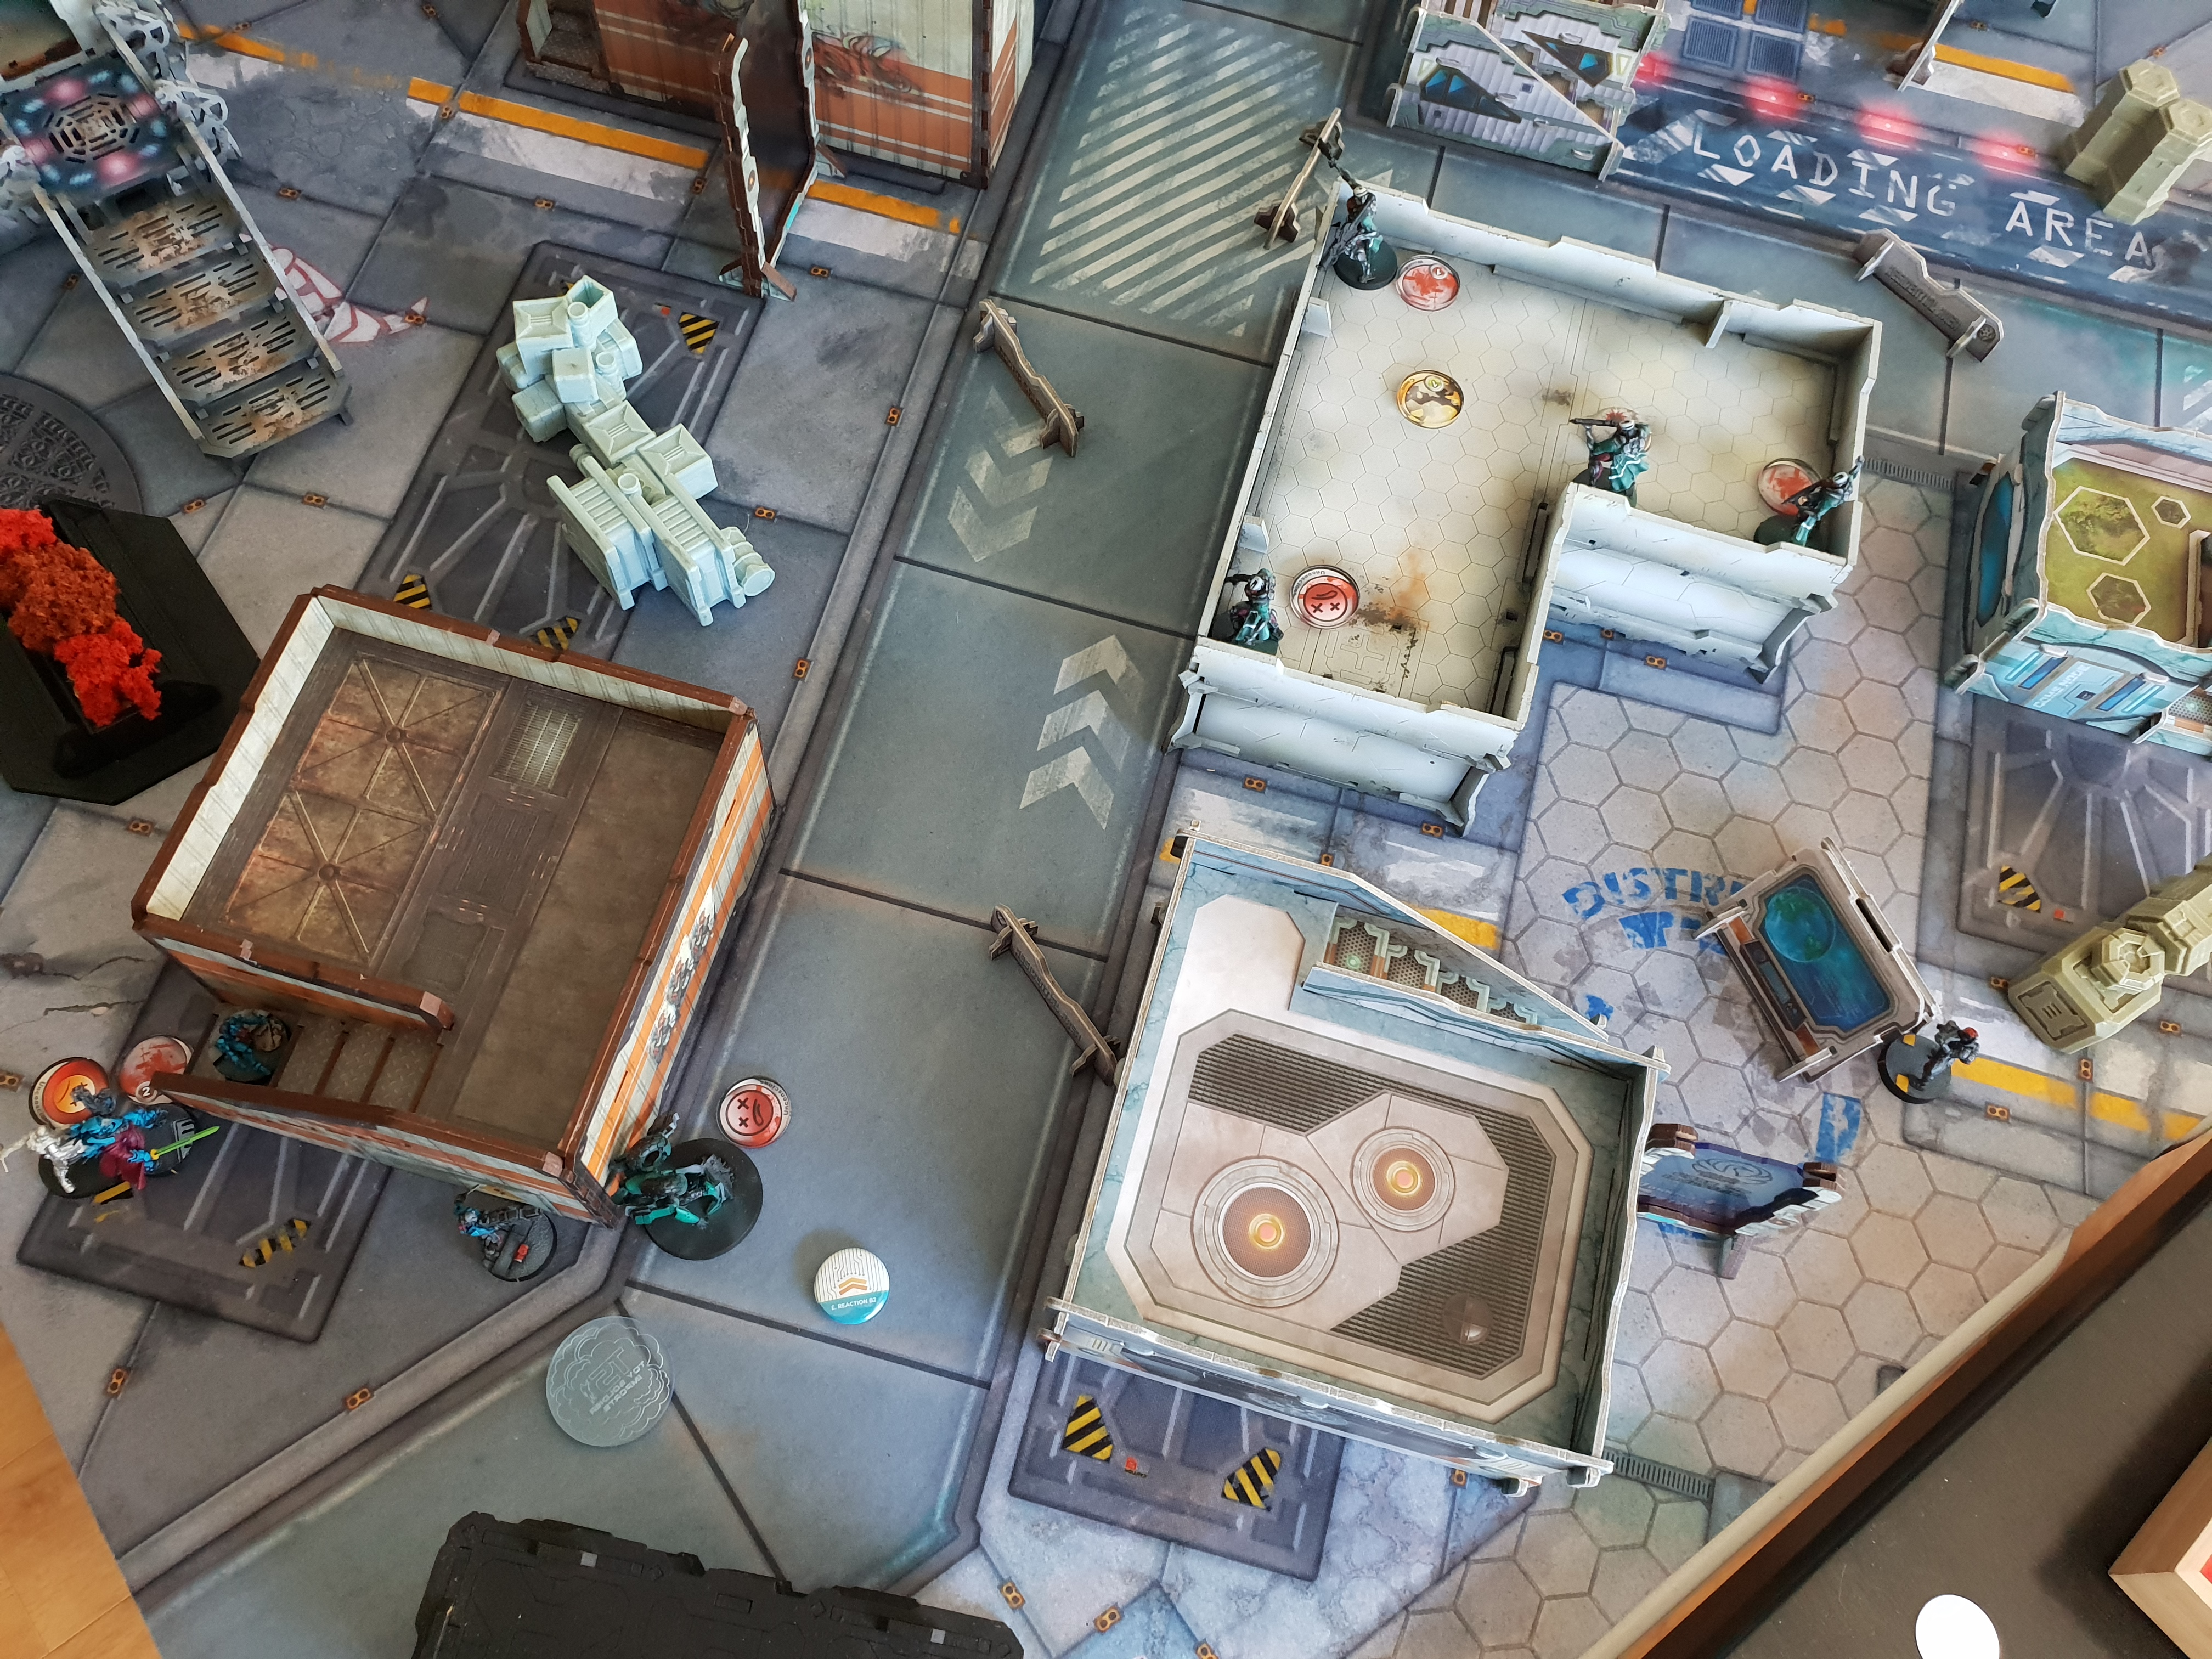
Right out of the gate, things weren't going Turin'a way, as his Zondnautica failed two smoke shots, leaving his Kriza Boracs data-tracker exposed to the TR bot's. Turin solved this problem by fighting it out with the Hollow Man missile launcher, clearing the TR remote from the board. He moved the Kriza up into my top-left quadrant, waiting to score it, and the Zondnautica ran up the field to challenge my Hsien. The Hsien knew the import of this mission, however, and despite getting shot, made all of his saves. The same couldn't be said of the poor Shaolin monk behind, however, who suffered a grim fate.
My main play in turn 1 was against the Kriza; I knew I had to remove it in my active turn, but facing it down with a Red Fury Mowang when it's in cover and suppression fire didn't seem like a good choice. Thankfully, however, my Daoying was able to crawl up the table and get into hacking range, winning me a way to break suppressive fire, Turin realised what was happening, however, and with an aim to making me spend more orders, decided to tank the Gotcha hits. Unfortunately, he failed his save, and was rendered Imm-1 for his troubles.
At this point, the Mowang demonstrated why it is named thus, tearing the Imm-1 Kriza apart in a single volley, including a critical hit. The Mowang advanced up the board, and secured Turin's now-empty quarter. 3-0 to Yu Jing so far!
 And fails to hurt the Hsien, despite hitting it with a chain rifle -and- two hits from the boarding shotgun!
Turin's turn 2 was mostly spent returning the damaged Hollow Men to function, adjusting his link, and trying to contest the Mowang with the Interventor LT. Unfortunately, he was unable to hack me in the active turn, as he had to spend too many orders re-assembling the couple of Hollow men that my Hsien had peppered with bullets to be able to put much pressure on though, for which my Mowang was grateful.
My turn 2 saw the Mowang pick on some very unfortunate targets, and really swing the game in my favour. Firstly, with the additional 1" MOV thanks to the low-grav zone, the Mowang was able to draw a bead on the Interventor on the first order. Scared that the Mowang would just gun it in, the Interventor held, forcing me to take a second order. Cleared from the Interventor's ZoC and with the impersonation marker in his sights, the Mowang discovered+shot, ending the Interventor in a red paste of bullets.
On my right flank, I started with the Guilang to try and knock out the FO bot from the link, and remove its Sixth Sense bonus, so I could shoot Hollow Men though smoke with the Hsien. By the time I had mucked around a bit and spent a couple of orders on the right flank, I had taken out the FO remote in the link, and the Hsien was able to smoke-shoot out the multi-rifle + pitcher Hollow Man, leaving the fireteam greatly diminished.
To finish off, the Mowang cut across the table, taking out the Clockmaker before retreating to safety in his quarter, avoiding missiles from the Hollow Man whilst doing so. With a commanding position, Yu Jing forces were up 6-0.
 The Interventor had moved up to put some pressure on the Mowang, who responded with bullets, leaving no trace
Turin started turn 3 with only two Hollow men and a Heckler left, and was also in loss of lieutenant. Still, despite this dire situation, he fought on bravely... only to suffer the wrath of the dangerous terrain again in spectacular fashion. The boarding shotgun Hollowman turned around to get LoF onto my Guilang, and while he was able to blast the Guilang into oblivion, he suffered a DAM13 hit from the debris... and knocked himself unconscious whilst he was at it! With only two orders remaining, the missile launcher Hollow Man moved out, determined to nuke the Mowang in a final act of defiance. Leaping into the air, the Hollow Man drew a bead on the Mowang... and missed, copping all three Red Fury rounds to the chest and failing two saves. Tragedy in the final turn!
With only the heckler left alive, and troops already in 3/4 quadrants, my final turn wasn't played out, as I would have just ignored the Heckler and scored again. I was able to secure the enemy HVT, too, to round out a 10-0 victory. The Operations Hub remained in Yu Jing hands!
 While the Guilang was unable to beat the Hollow Man face to face, the dangerous terrain finished off what he couldn't manage - mutually assured destruction followed!
I had a really enjoyable game against Turin, and afterwards, we ran through a couple of things that perhaps could have made it much harder for me to swing things in my favour so dramatically. If the Kriza was kept back and not so far up without support, I wouldn't have been able to take it out, and Turin could have posted some more points on the board. He also didn't make the most of the Hollow Man ARO threat, moving the missile launcher up into a position where it couldn't provide overwatch along the horizontal axis of the table. As a result, the Mowang was able to monster Turin's softer pieces and outflank him without a care in the world. Getting his smoke shots off with the Zondnautica would also help, but that isn't really something that you can control - after all, this -is- a dice game! Overall, though, an enjoyable game where the terrain rules played a significant role in knocking wounds off of Turin's fire team - strike pieces with multi-terrain really are important when you're throwing fistfuls of dice.
Battle Report Author

Army Lists Used In This Battle
Recommend Commander For Commendation
Share this battle with friends
WolframWins

Nice rep, and your link on our briefing room is broken lol you better fix it up!
Congratulations! Great job.
A great and needed vi tory, congratulation !
Nicely done in such an hour of need