Fought At The Gorge: Cosmika HQ
1672 days 6 hours 19 minutes ago
When Nature Calls
300 POINTS
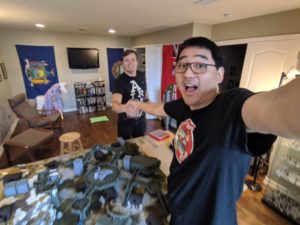
The weekend rolled around and Erik (Zelaponeepus) and Dan (White_Lang) were looking for some miniature wargaming related activities! With it being pretty rainy, I didn’t have any morning plans, so Erik and Dan rolled in to hang out and play a game. Dan’s had a bunch of Stormcast on his hobby workbench for awhile, so he was content to assemble models and heckle us while we played. Here’s Erik and I getting ready to play our game!
If you'd like to learn more about the MEME CONTEST we're running, along with other parts of the Bromad Academy mission, click the asteroid below!
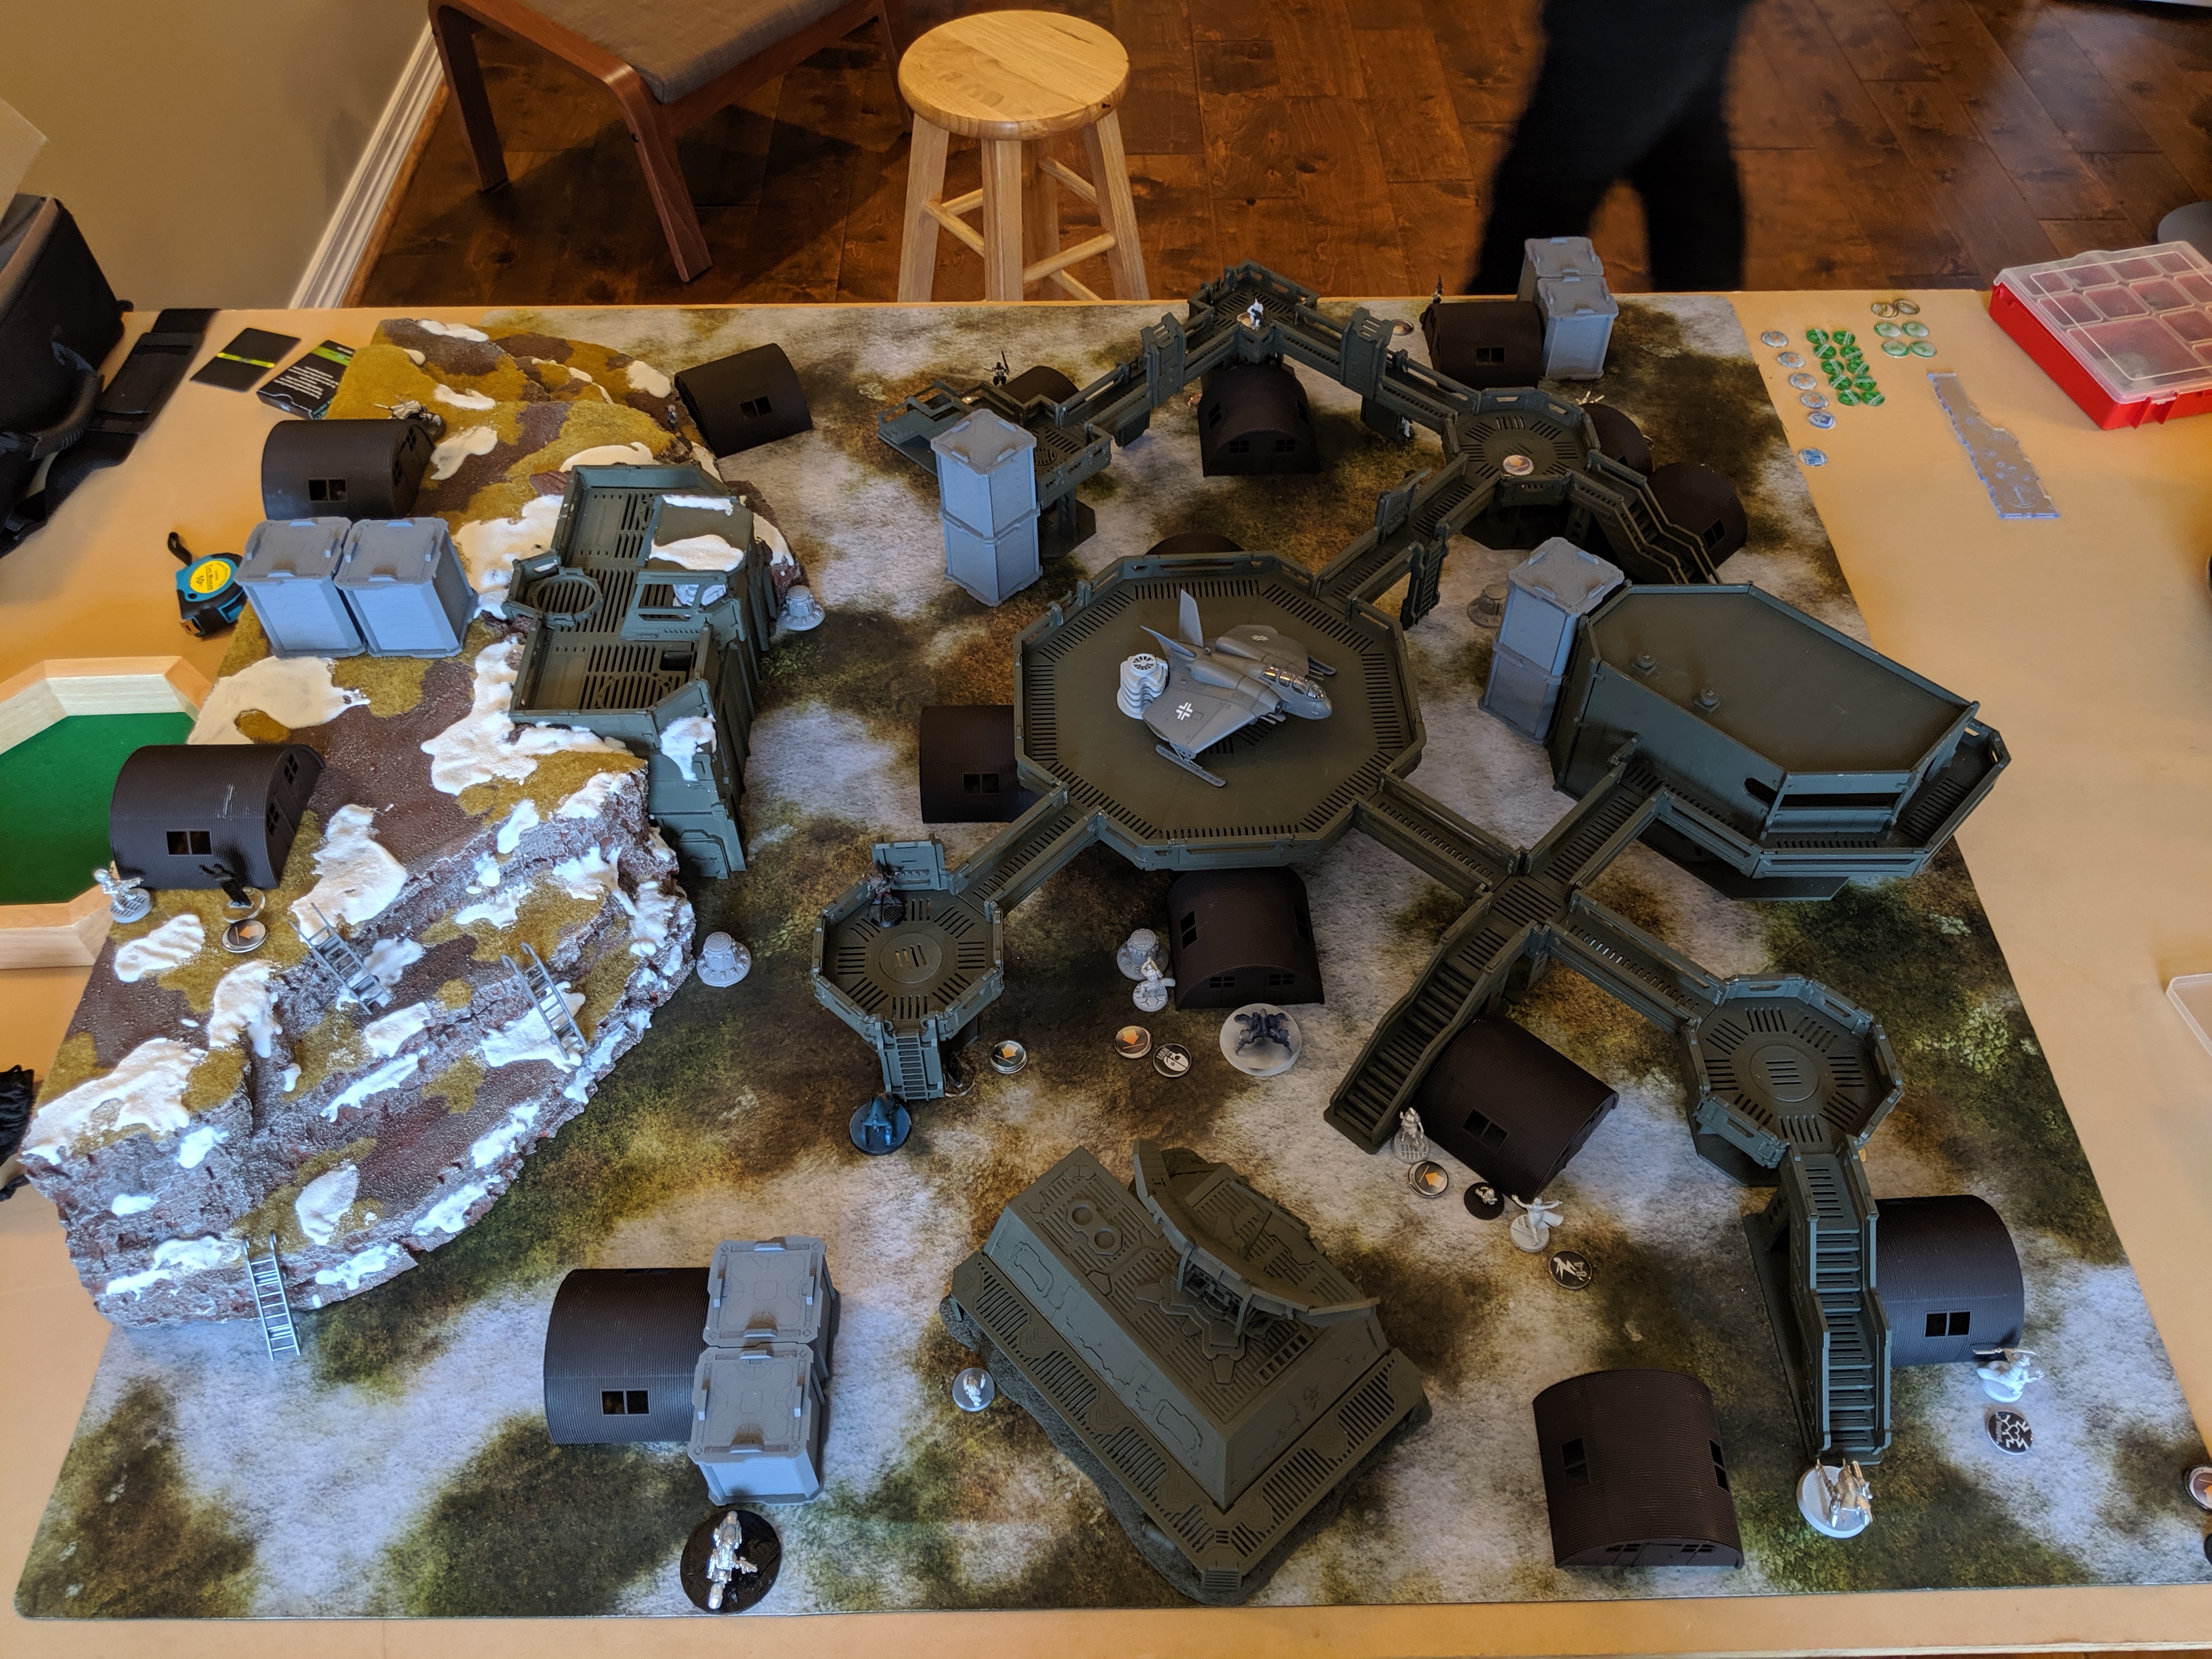
I’ve been messing with the table layout for my 3-table long Ariadna megatable, and this is what I arrived at for the mountain fortress entrance table:
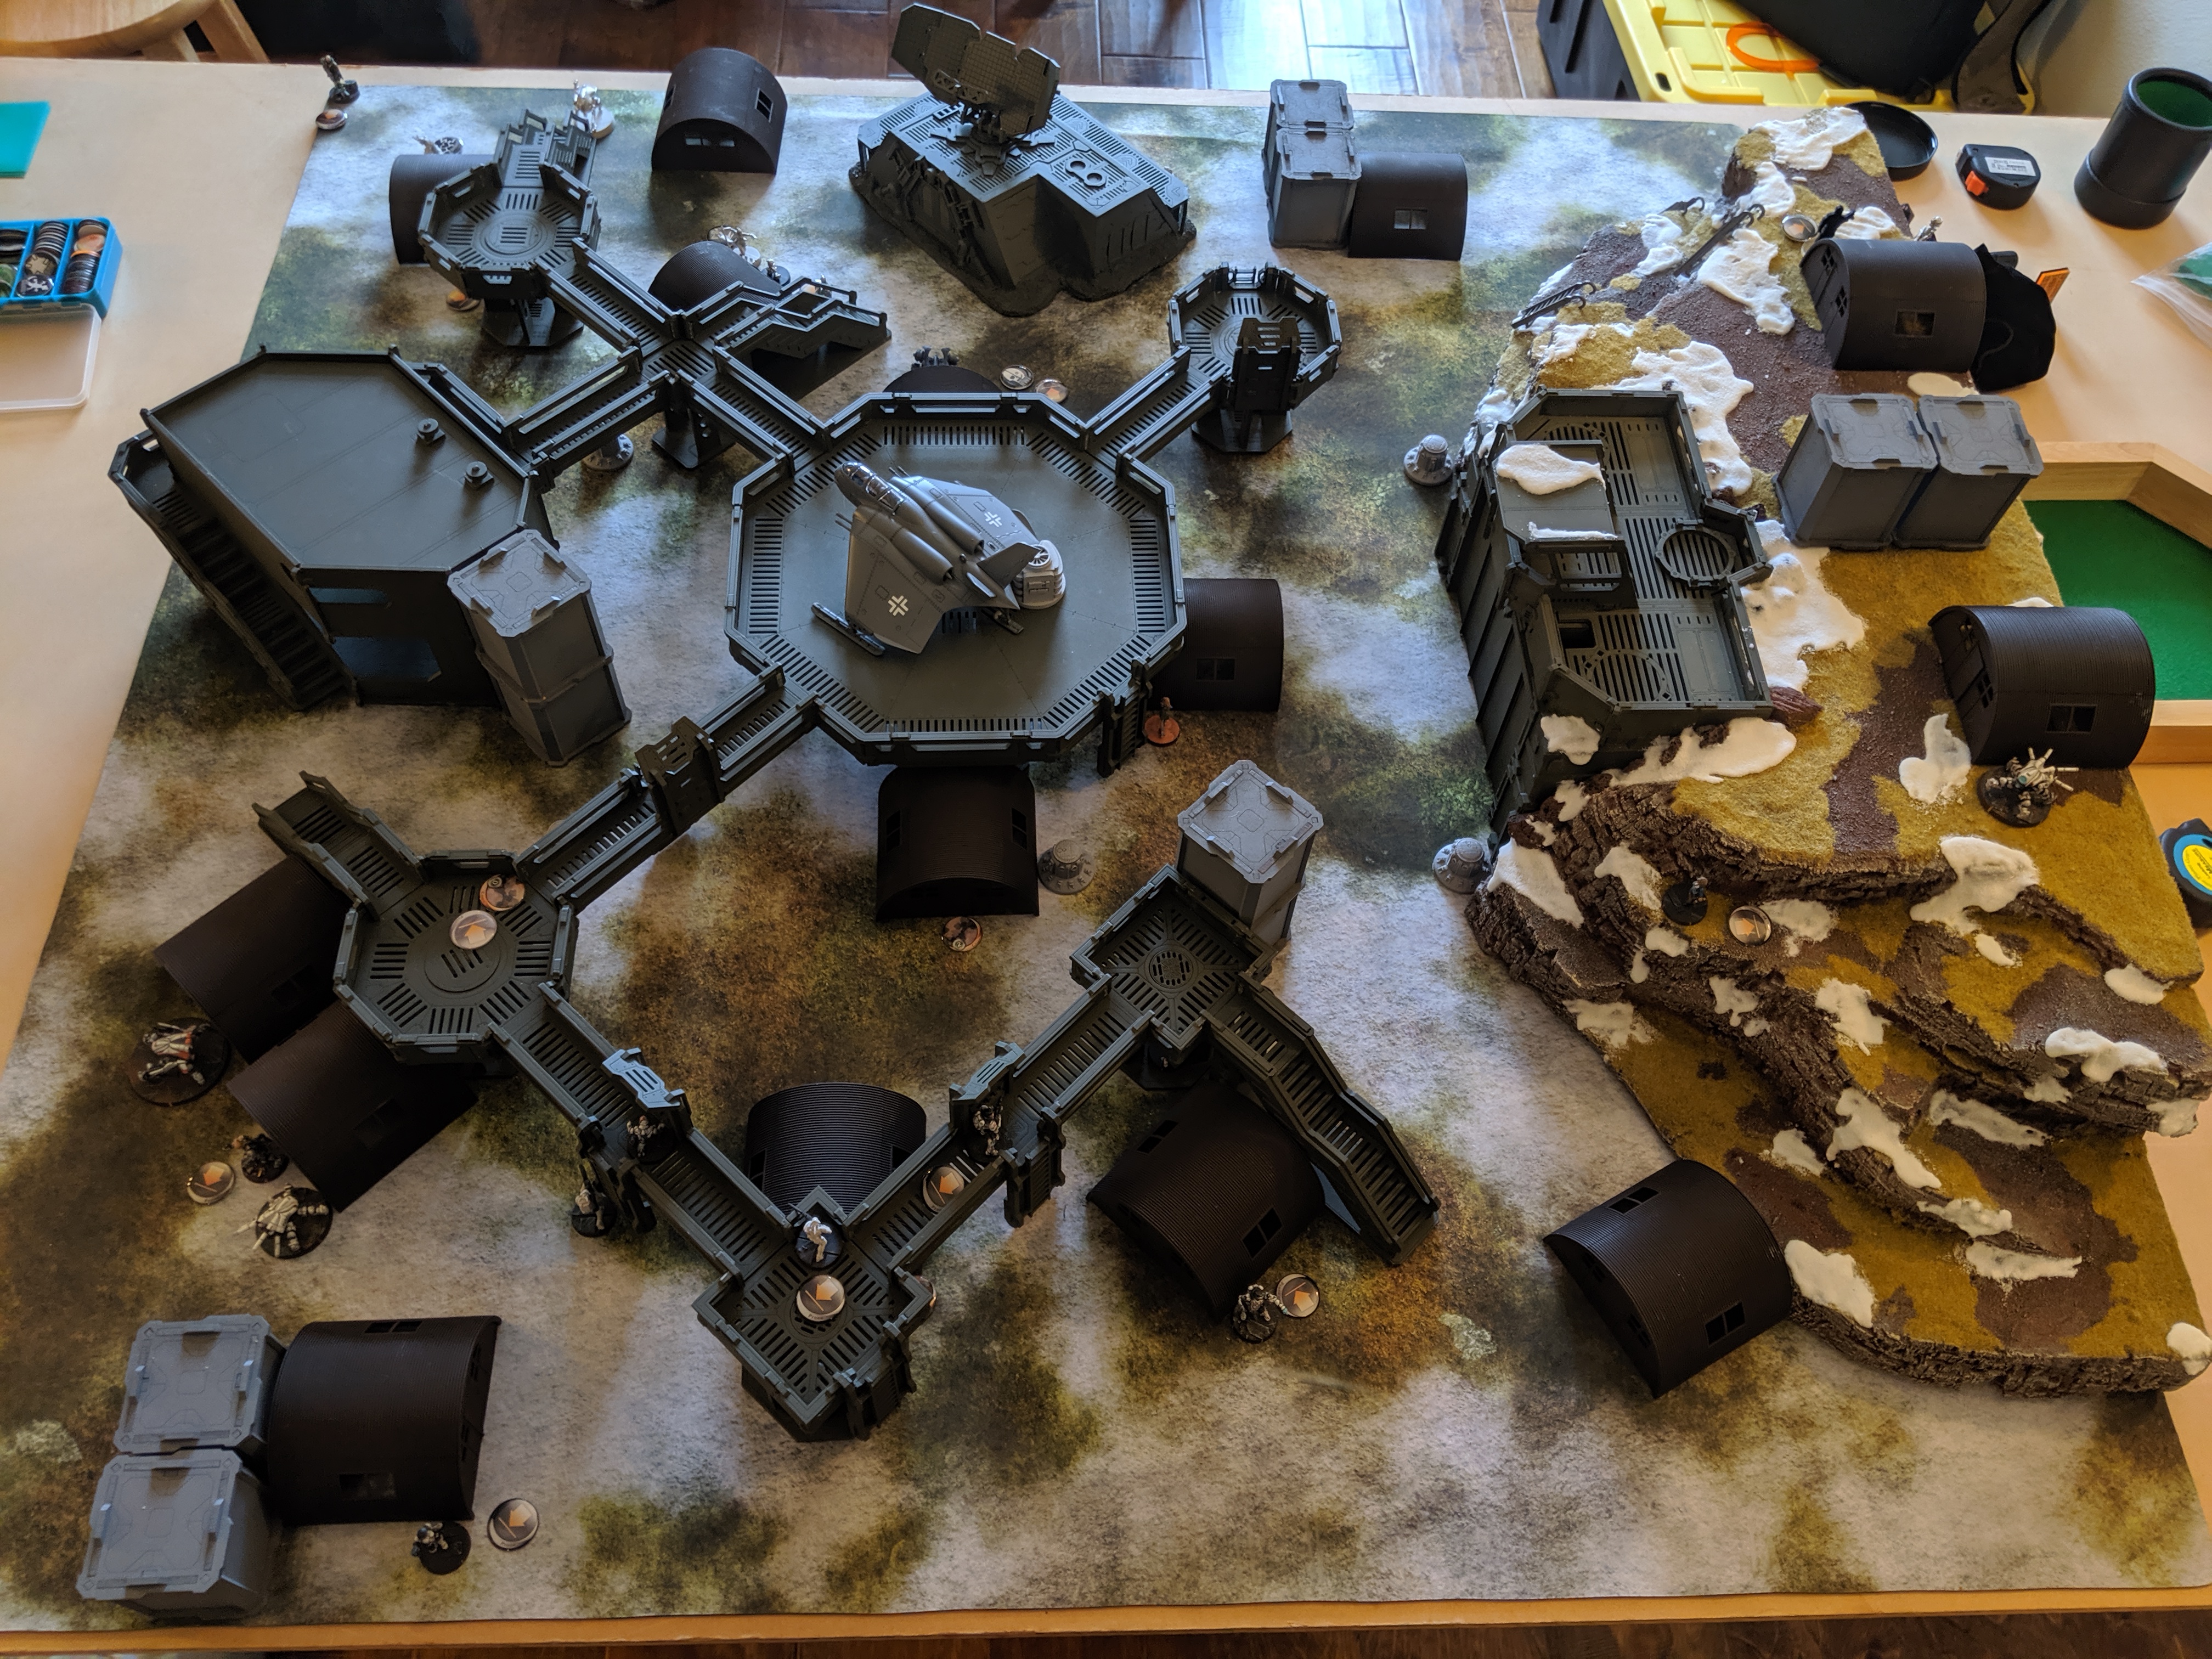
The mountain really dominates a huge portion of the table if you're not careful, so I set up a bunch of catwalks to provide some top cover, if you will, and then set them up diagonally to break up the DZ to DZ firelanes. I always like leaving a long firelane right in front of mountain, because it offers an interesting tradeoff in deployment--you have to protect it, or expect someone to be in your DZ on the first turn killing stuff... but you also don't want to leave too much out...
I set up some more terrain on the mountain top to make it more interesting and force some tough choices about what to put up there--you could put long-ranged stuff up there but die to a shotgun, for example. With the table prepared, it was time to decide what to play. Erik said "anything but Transmission Matrix," so Comms Center on The Gorge: Cosmika HQ it was! Thanks to Erik for letting me get a game in to defend Nomad turf in the Asteroid Blues campaign!
One super entertaining side effect of this particular table layout is that one of the Comms Center objective ended up in the second floor of the Comanche Barracks building, in that little room. Of course, being the immature nerds that we are, this meant that one of the objectives was to use the bathroom in the barracks! Little did I know that one joke at the beginning of the game would turn into a whole narrative for this battle report! I hope you enjoy.
 Overview
- Mission: Comms Center (The Gorge: Cosmika HQ)
- Forces: Nomads versus Varuna Immediate Reaction Division (300)
- Deploy First: VIRD
- First Turn: VIRD
GROUP 1 |10
1
INTERVENTOR Hacker Lieutenant (Hacking Device Plus) Combi Rifle / Pistol, Knife. (0.5 | 25)
ZONDNAUT Hacker (Assault Hacking Device) Combi Rifle / Pistol, Knife. (0.5 | 31)

ZOE & PI-WELL . (0 | 47)
PI-WELL Combi Rifle / Electric Pulse. (0 | 19)
ZONDBOT Electric Pulse. (0 | 3)
ZERO (Forward Observer) Combi Rifle, Antipersonnel Mines / Pistol, Knife. (0 | 19) Liaison Officer
KNAUF MULTI Sniper / Heavy Pistol, Knife. (1.5 | 32)
LUNOKHOD Heavy Shotgun, Akrylat-Kanone, D-Charges, CrazyKoalas (2) / Electric Pulse. (0 | 24)
INTRUDER HMG, Grenades / Pistol, CCW. (1.5 | 42)
REAKTION ZOND HMG / Electric Pulse. (1 | 26)
GROUP 2 |
4
WARCOR (360º Visor) Flash Pulse / Stun Pistol, Knife. (0 | 3)
MORLOCK Chain Rifle, Smoke Grenades / Pistol, E/M CCW. (0 | 6)
6 SWC | 299 Points | Open in Infinity Army
Well, this is a pretty standard looking Nomads list for me these days. Zero Cool is my Interventor Lt, and then I packed it full of speedy specialists--Pi Well and the Zondnautica AHD, and some board control in the form of two Reaktion Zonds. I took Knauf primarily so I could keep showing off Erik's (Teelskire) beautiful work on the Jethro model I won at the Humboldt Irregular 2019.

Usually my board control lists involve AD and Morans, but the 16" deployment zones and the exclusion zone really makes both of those rather ineffective, hence the Reaktion Zonds. I'm finding 3 Morlocks is the right critical mass for me. Perhaps it's my background playing a bunch of Commands and Colors games, but having a Morlock in the left, right, and middle gives me a lot of tactical options and smoke coverage. Then, almost as an afterthought I added in a Zero FO because of the Liaison Officer aspect of the mission.
GROUP 1 |
ZULU-COBRA Lieutenant (Sensor) Combi Rifle, Jammer / Assault Pistol, Knife. (0 | 29)
CORE
KAMAU (Multispectral Visor L2) MULTI Sniper Rifle / Pistol, Knife. (1.5 | 32)
FUSILIER (Forward Observer, Deployable Repeater) Combi Rifle / Pistol, Knife. (0 | 12)
BULLETEER Spitfire / Electric Pulse. (1 | 23)
FUGAZI DRONBOT Flash Pulse, Sniffer / Electric Pulse. (0 | 8)
GROUP 2 |
TRAUMA-DOC Combi Rifle / Pistol, Knife. (0 | 14)
PALBOT Electric Pulse. (0 | 3)
MACHINIST Combi Rifle, D-Charges / Pistol, Knife. (0 | 15)
ECHO-BRAVO Boarding Shotgun, Light Rocket Launcher / Pistol, Knife. (0.5 | 25)
HELOT MILITIAMAN Shock Marksman Rifle / Pistol, Knife. (0 | 13)
WARCOR (360º Visor) Flash Pulse / Stun Pistol, Knife. (0 | 3)
5 SWC | 300 Points | Open in Infinity Army
Erik took a single core VIRD list with the ubiquitous Kamau sniper, and then spiced up the link with the Kamau HRL. To accomplish all of his objectives, he's relying on a bunch of Zulu Cobras, and then he added his own board control package in the form of two Fugazi and a single Helot. After including the usual PanO Machinist + Trauma Doc, a Bulleteer rounded out his list as a striker.
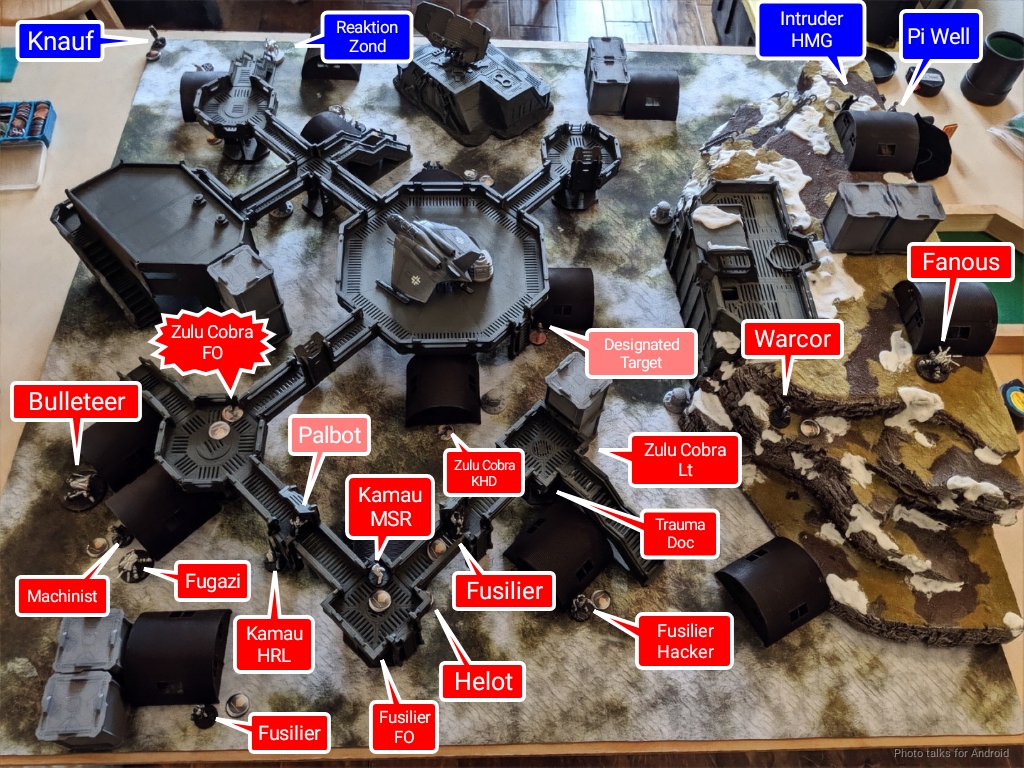
Deployment
I won the rolloff and decided to take deployment, mostly so I could make Erik deploy first to avoid VD, aka Varuna Disease. Symptoms include getting your face shot off before you have a turn, a decimated order pool, and in extreme cases a Bulleteer in your backfield, if you know what I mean. I gave Erik the side with a super obvious spot for his Kamau sniper on the catwalk, hoping that he would take it. It's not a bad spot and offers a number of good sightlines, but all of them can be broken up by either smoke or White Noise pretty easily.
Also, I figured that it would likely encourage a split-level deployment--models on the catwalk and models on the ground, which drastically limits a link's mobility. Erik took the offered position--as I said, it's not a bad spot, I just had a plan for how to counter it, and deployed his Kamau exactly where I expected he would, scattering Fusiliers like seeds (of death) around it. After putting Zulu Cobras equally spaced across the table, Erik further protected the link by putting a Helot underneath the Kamau.
The Machinist, Trauma Doc, and the Doc's 'bot were positioned to "help" whatever PanO trooper most needed it. Erik told me after the game that he intentionally ceded the high ground, figuring that his sniper would be able to handle it on her own. Besides, anything he put up there wouldn't really be able to help out with the antennas much. Erik held the Bulleteer in reserve and passed deployment to me.
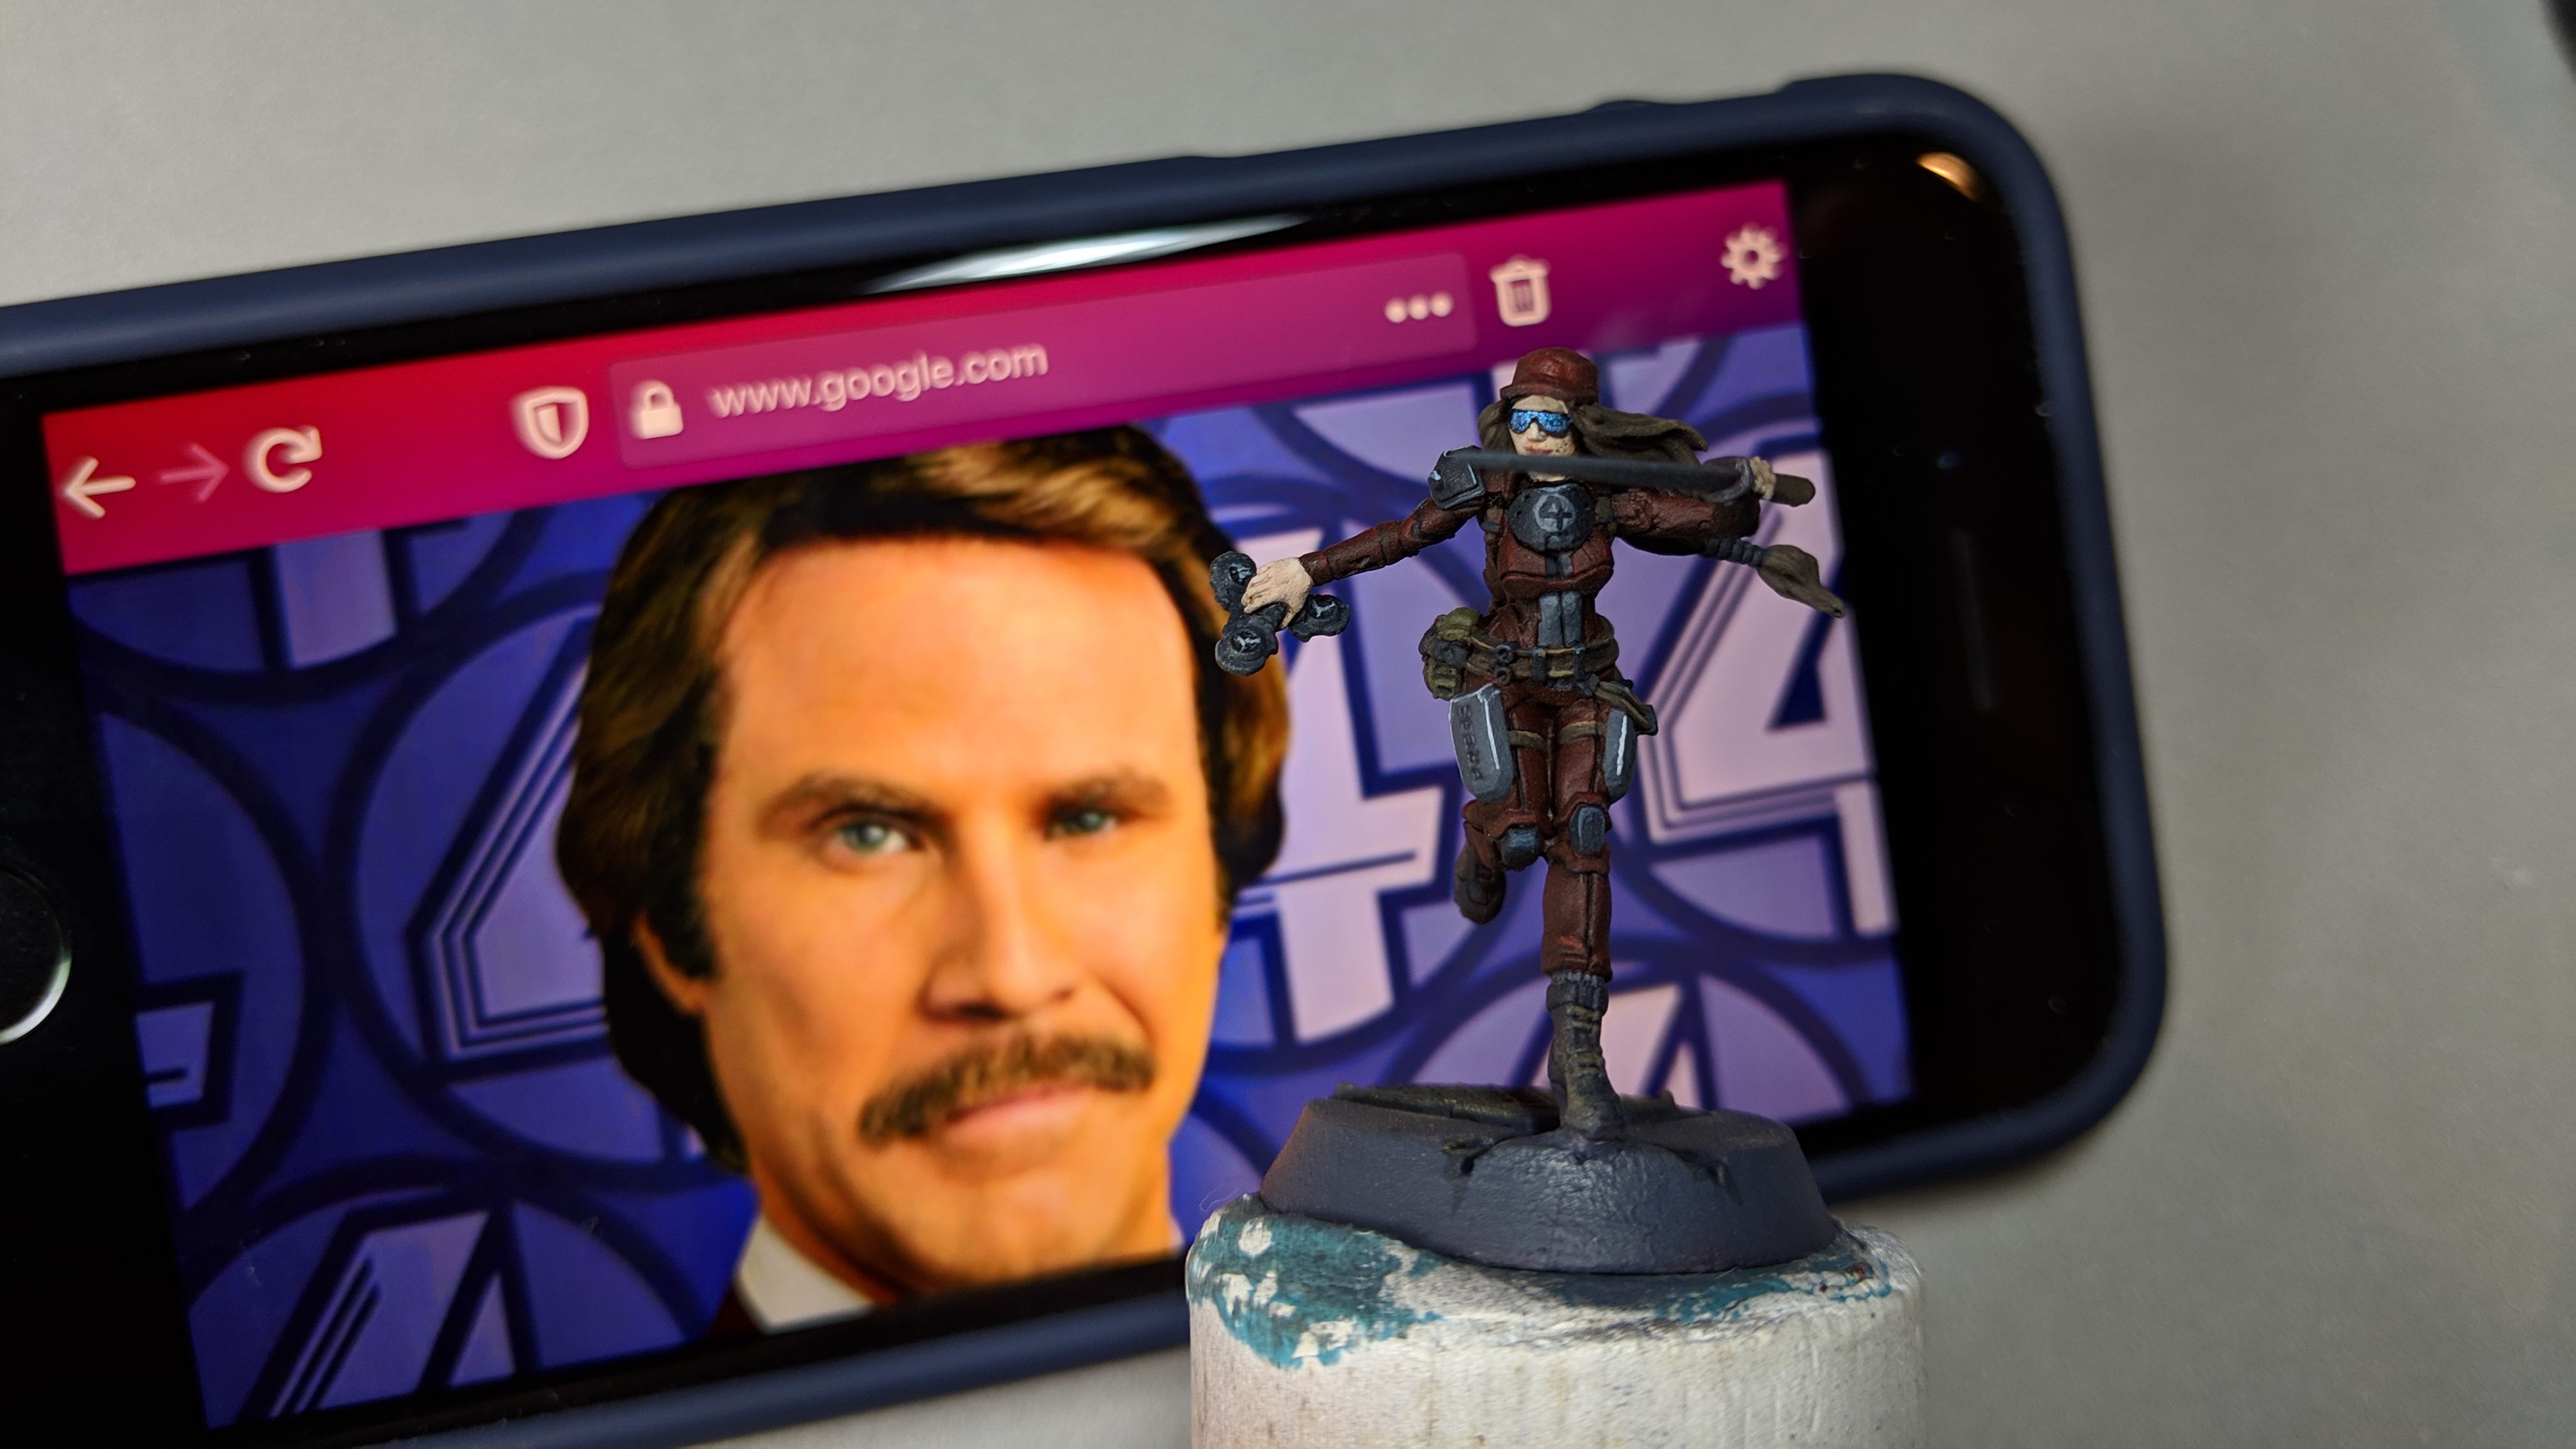
I basically null-deployed, leaving nothing out. Both of us put our HVTs on my left, tucked into a little alcove near the Quonset huts under the helipad, so I protected my HVT with a TR Bot, a Lunokhod and its Koalas, and my Warcor, Rhonda Burgundy from Channel 4 News.
I protected the other side of the table with my other TR bot, being really careful that neither TR bot was visible to any part of the catwalk that the Kamau sniper could get to. I tucked my Interventor into a spot that I thought would be safe on the right, at the base of a Comanche Octagon, and then I strung three Morlocks across my deployment zone.

To punish Erik's ceding of the high ground to me, I stuck my Intruder HMG and Pi Well up on the mountain, again carefully tucked out of view of the Kamau. I figured I could pie-slice my way around up there, using either smoke from the Morlocks on the ground for the Intruder or White Noise with Pi Well as appropriate. I debated keeping the Zondnautica in reserve, and instead decided to keep Knauf in reserve, especially once I found a suitable spot for the motorcycle that would keep it really safe except from things ni my deployment zone or well advanced onto my table half.
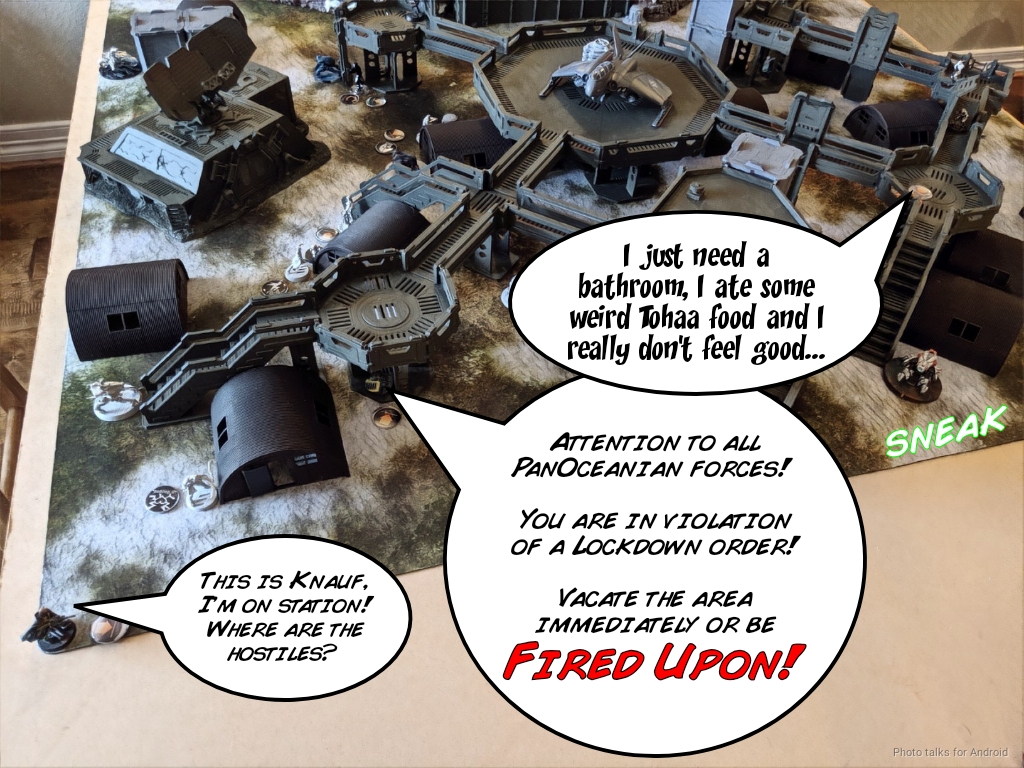
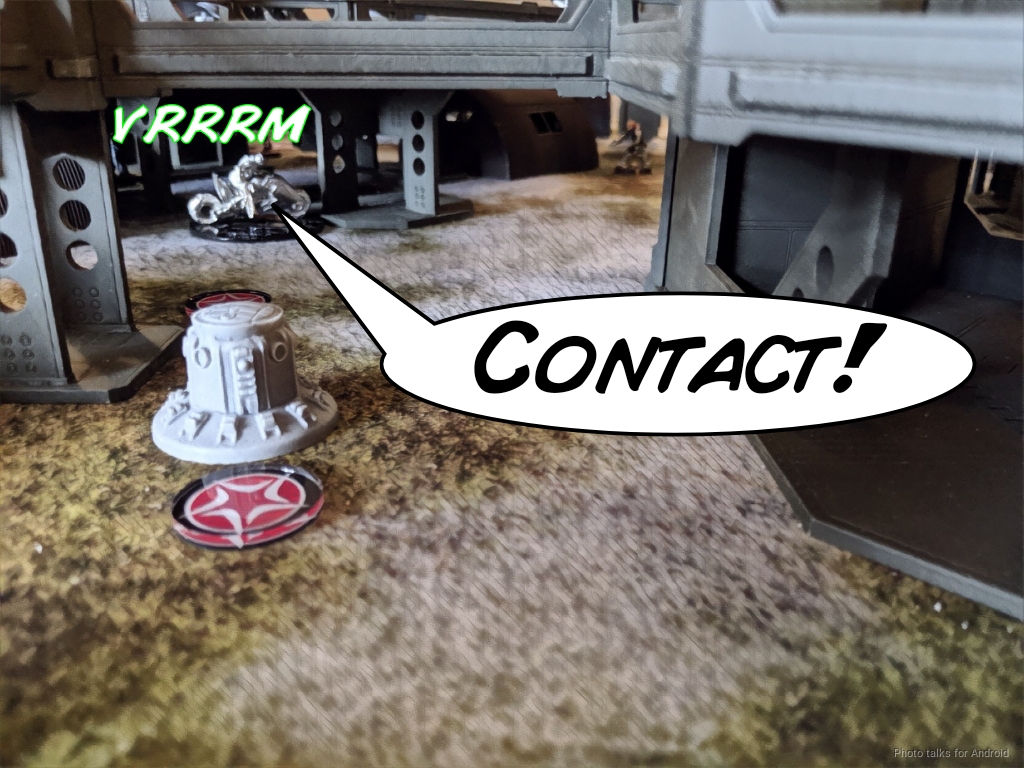
Erik dropped the Bulleteer down on my right, which was a real problem. I counter-deployed it with Knauf to slow him down, and then it was time for Erik to go find a public bathroom (the Comms Center objective in the Comanche Barracks) for his troopers!
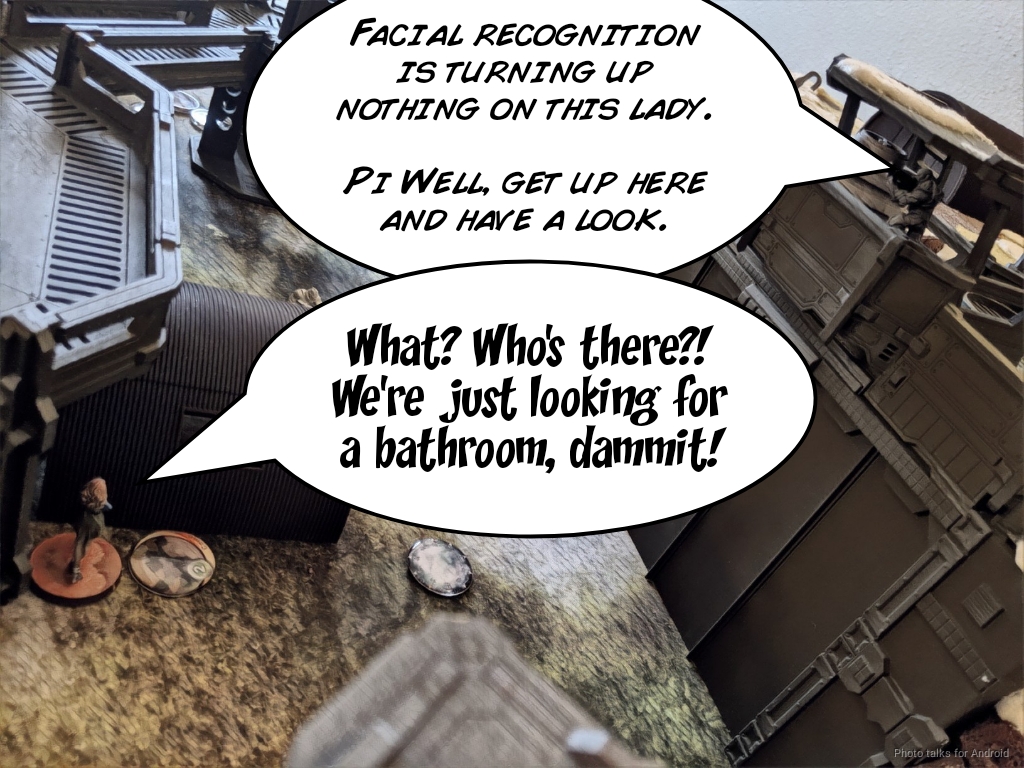
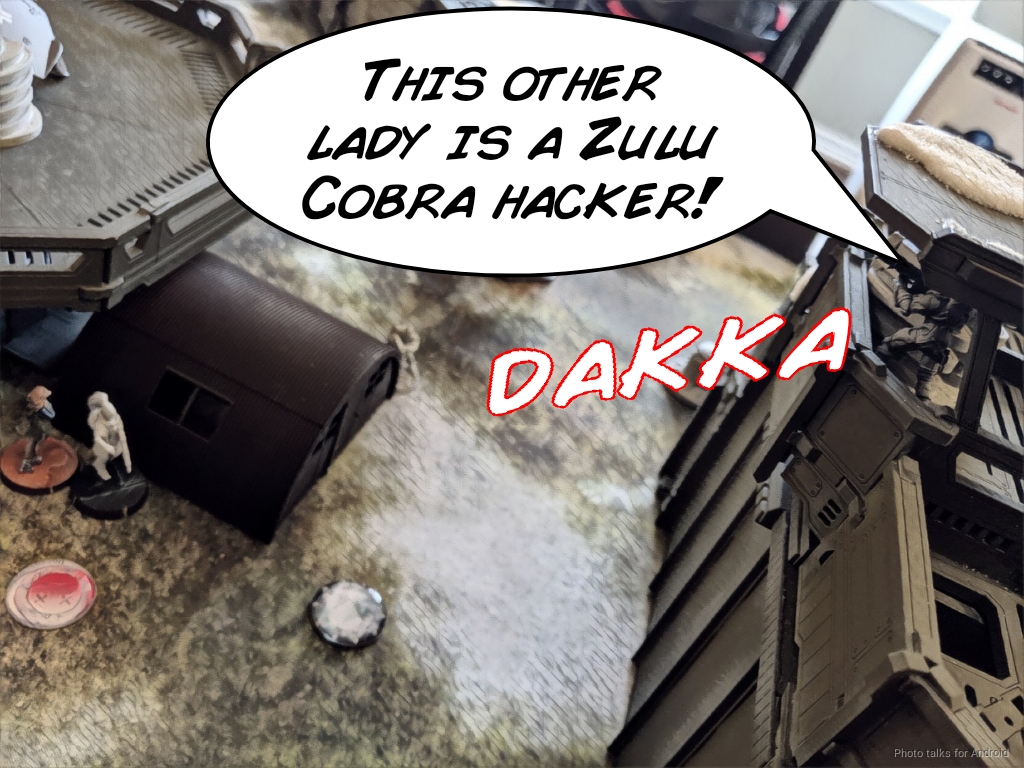
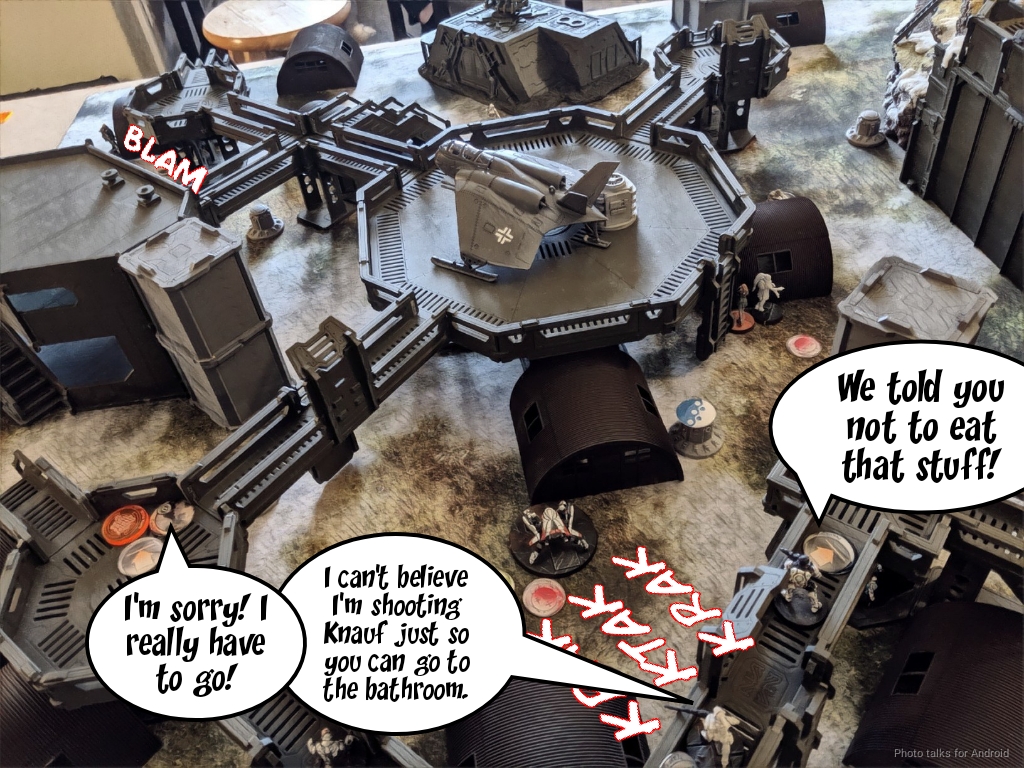
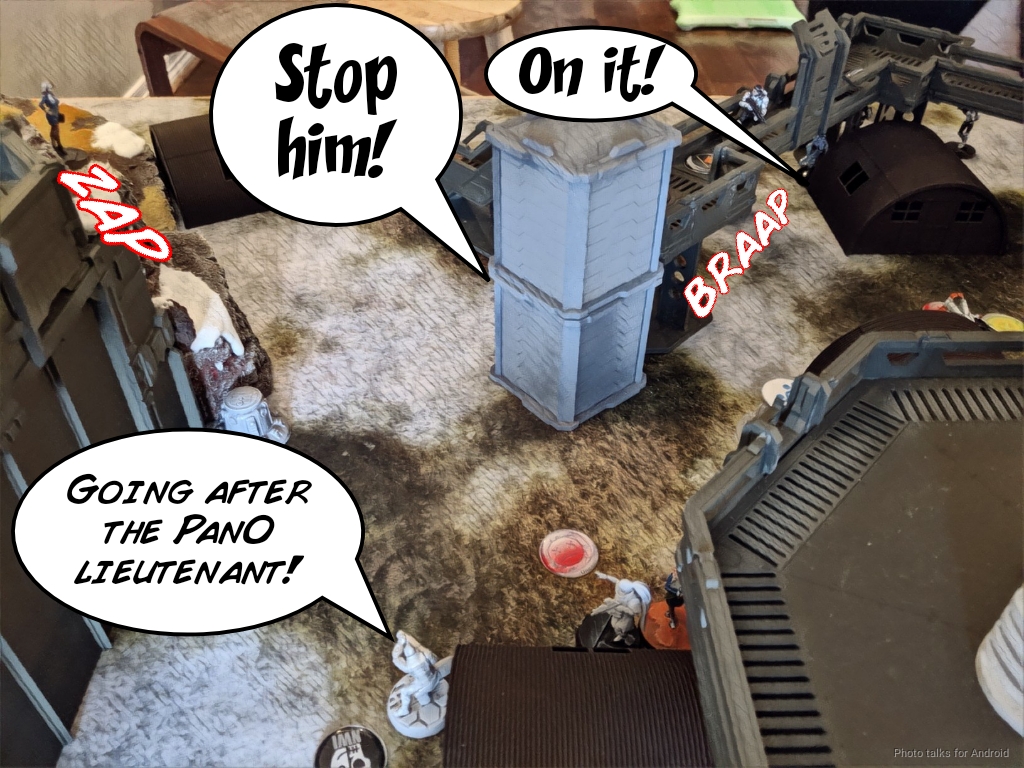
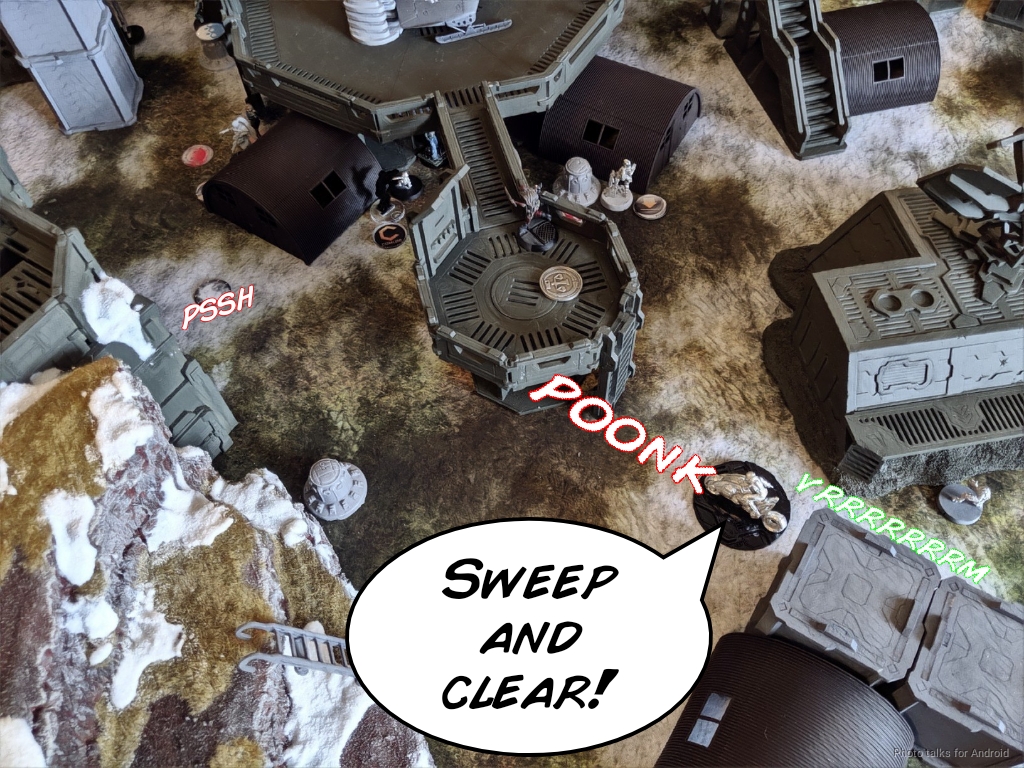
I wasn't sure what was in Erik's second pool, so I decided to dock two orders from his primary pool. I would soon regret that decision. He ran a Zulu Cobra KHD straight towards my HVT and quickly snagged Data Scan, HVT: Espionage, and his nearest central antenna! We weren't sure if a Designated Target counted for Data Scan, but decided to just say it was fine and roll with it. While he was at it, he politely asked my HVT (JNCO Jeans Jimmy the Nomad techinician) if there was a public restroom available. Of course, The Gorge is under lockdown thanks to all the fighting on Novyy Bangkok, so JNCO Jeans Jimmy was forced to call in a intruder alert!
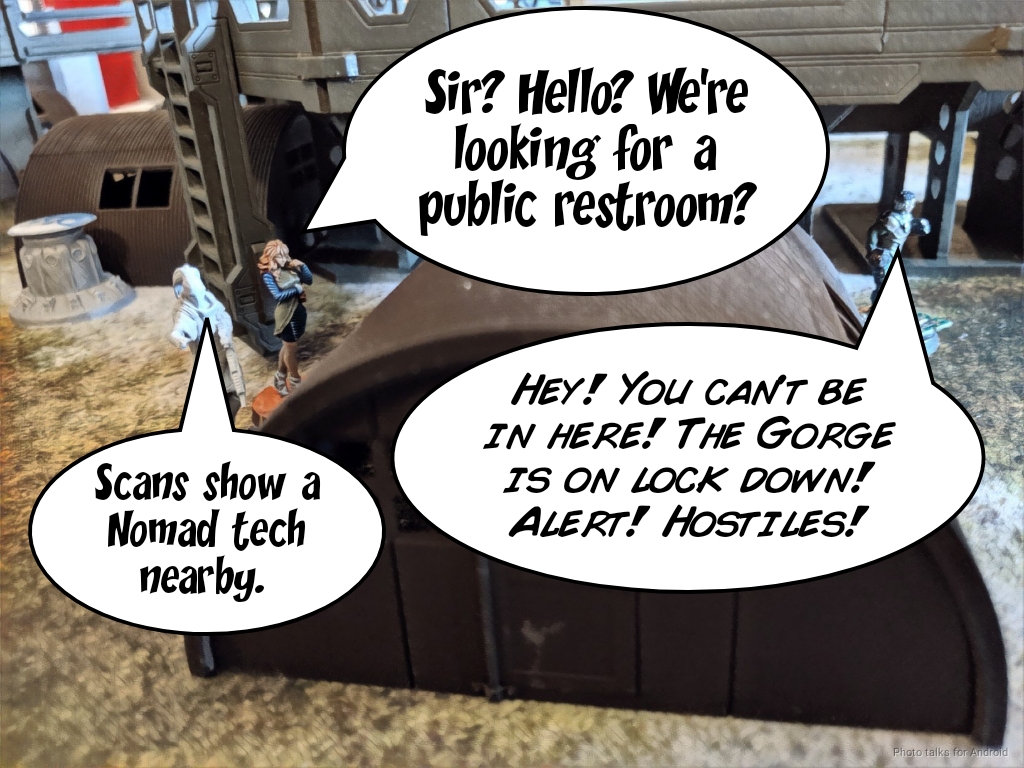
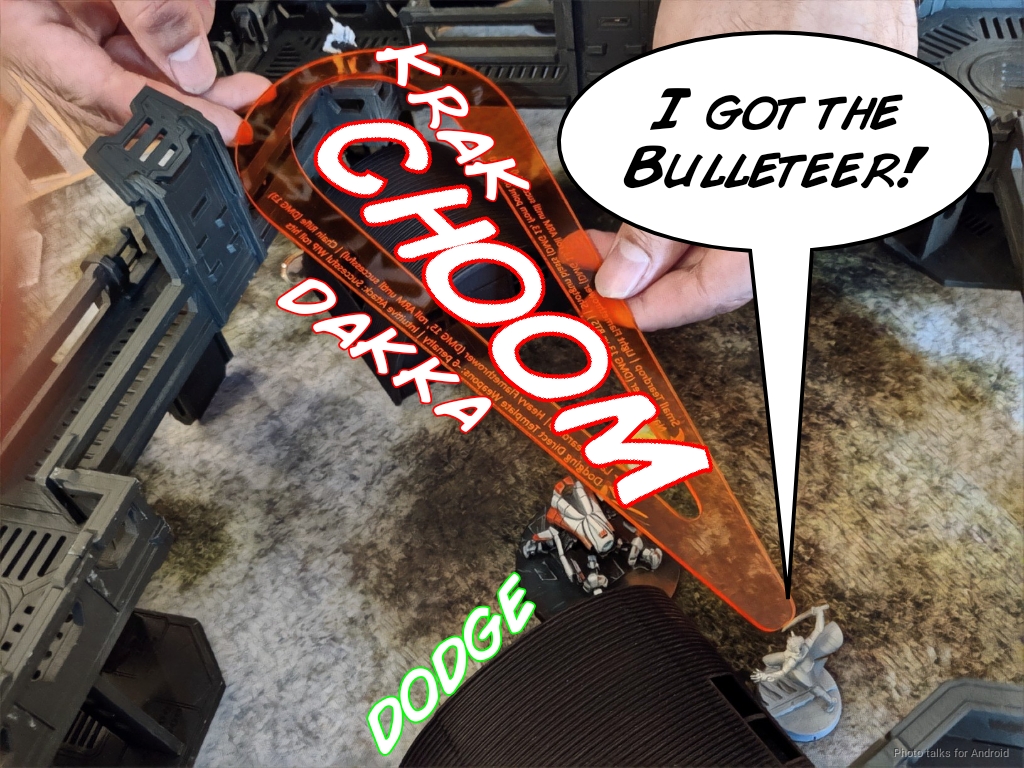
All Erik's poor Zulu Cobra FO wanted was to just use the bathroom, but JNCO Jean Jimmy's distress call set off a cascade of consequences. The first being an overeager Fusilier Hacker setting the Bulleteer into seek and destroy mode (Assisted Fire) and Knauf arriving on the scene just as Zero Cool issued a stern warning for the PanO forces to leave the Gorge!
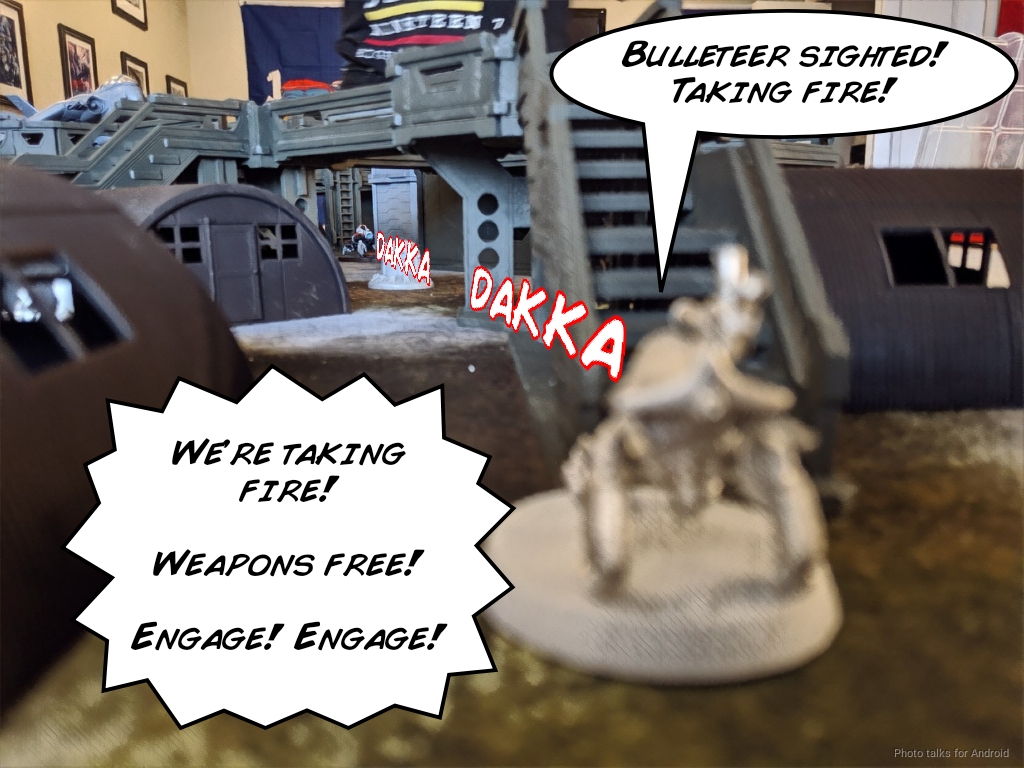
The Bulleteer cautious moved through Knauf's LoF and then engaged one of my TR bots, firing the first shots of the engagement! In light of this hostile act by PanO, Zero Cool was forced to issue a weapons free order to repel the intruders!
After also taking out the Lunokhod and putting extra shots into the TR bot to take it off the table so I couldn't repair it, the offending Bulleteer retreated back to Erik's backfield.
With everything falling apart around her, Erik's Kamau sniper stood up to better assess the situation and berate her subordinates.
My Morlocks on the middle and left started moving up, creating an interlocking web of smoke to support one another, but my Morlock on the right was walking straight into view of the Bulleteer! I didn't want to throw smoke to block Knauf from shooting at the Bulleteer if I needed it, so I opted to dodge instead. Thankfully we both rolled 6's and nothing happened.

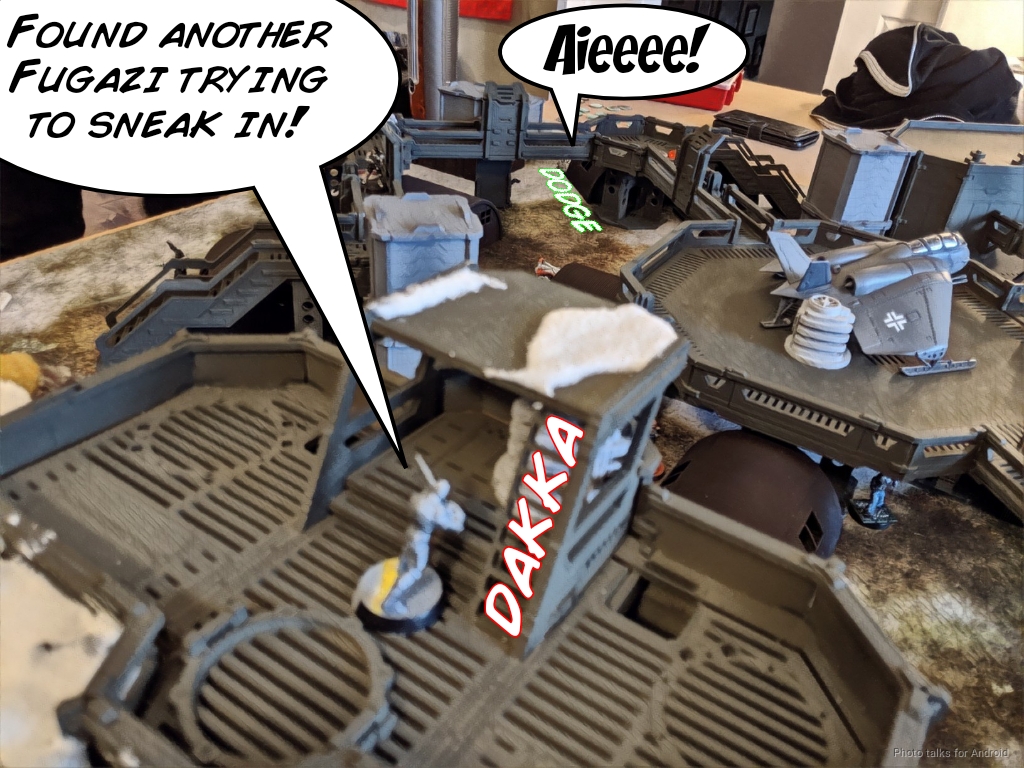
With all my Morlocks safe for now and my Zondnautica content to sit in the back, I set about the task of Intrudering the intruders. After setting up some smoke with the Morlock on the left, it was time to go hunting. First on the list was the Fugazi that was Erik's only real presence on the mountain. It took two orders, but the Fugazi disappeared off the table.

I knew I wanted to try and dismantle Erik's link, but I didn't have the movement to get into LoF of any link members in a single order. I decided that shooting a Fugazi outside of 32" was a safe use of an order as I moved up, so Erik's other Fugazi was taken off the table.
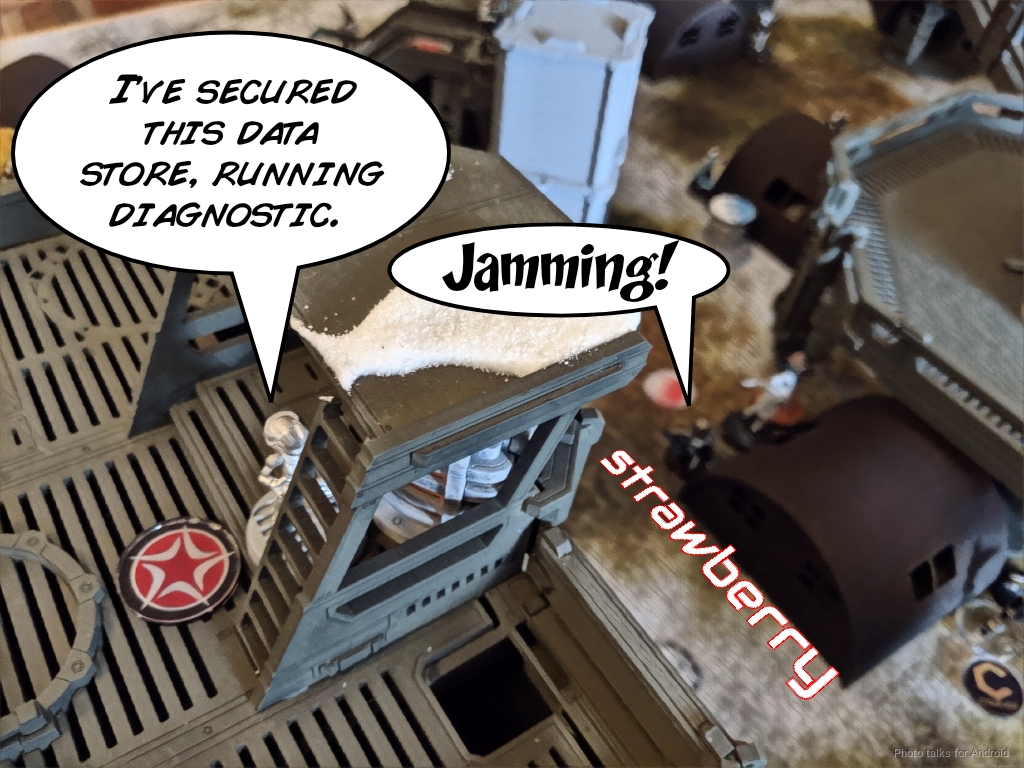
I had HVT: Identity Check and the Intruder was protected by smoke, making this an ideal time to grab that objective. I moved up into view, causing Erik to attempt a jam from his nearby Zulu Cobra Lt. Thankfully the Lt was outside of 8", letting me get an unopposed WIP roll off and netting me one classified to Erik's two.
I decided that now would be a good time to leverage the fact that the middle Morlock rolled 8-4 MOV on MetaChemistry. With some help from a command token and the warcor's irregular order, she made it into view of the Helot, the Bulleteer, and the Kamau sniper, laying a chain rifle template across all three!
The Helot and Kamau shot back while the Bulleteer dodged, killing the Morlock. Thankfully, the Bulleteer went down too, but both the Helot and the Kamau made their ARM saves. I'm down to my last two orders now, so I hang Zoe out to dry by having her engineer the Lunokhod back to life. I move my Morlock on the right foward, and then spend my last order coordinating a move with the Intruder, Pi Well, the Lunokhod, and Knauf.
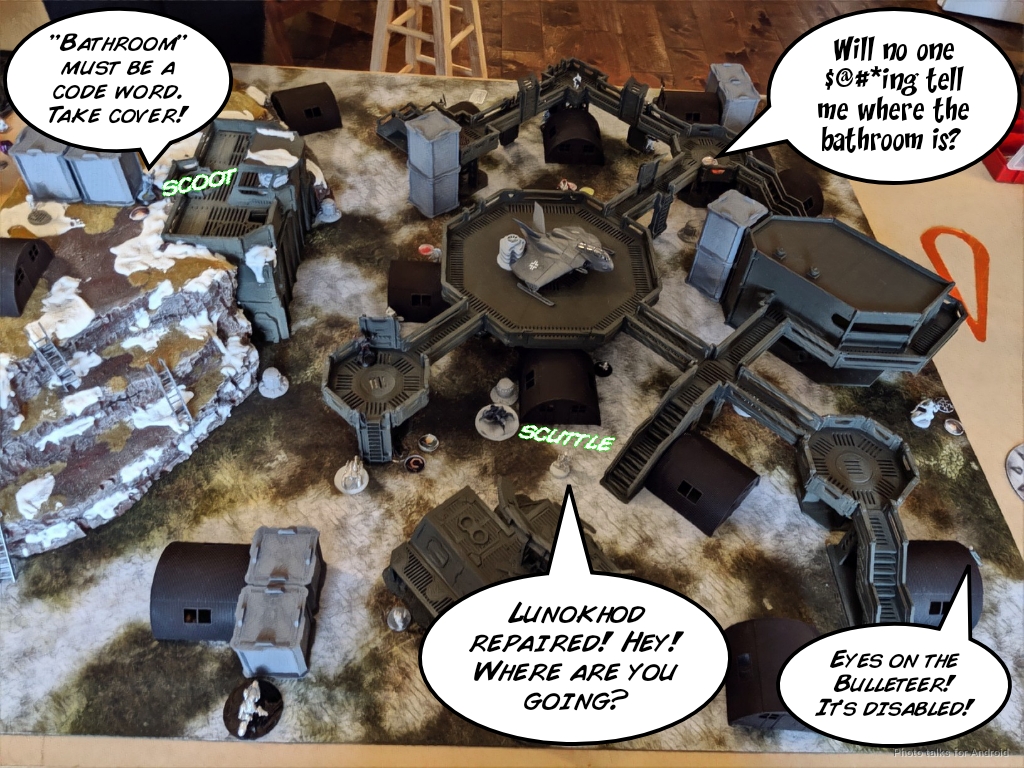
Knauf moves into a position to cover the downed Bulleteer, Pi Well advances a little to set up for next turn, the Lunokhod scoots away to cover my HVT with its repeater a little better, and my Intruder drops prone and crawls away to avoid getting shot by the Kamau. Zoe is uncomfortably exposed, but I'm banking on her getting a dodge from something moving around.
The urgency of the Zulu Cobra FO's need to go to the bathroom is escalating, so the Kamau Sniper takes matters into her own hands. While I had been careful earlier to avoid getting exposed to VD (Varuna Disease), Knauf was now vulnerable! The Kamau shifted a few inches to the right and shot his face right off. Sigh.
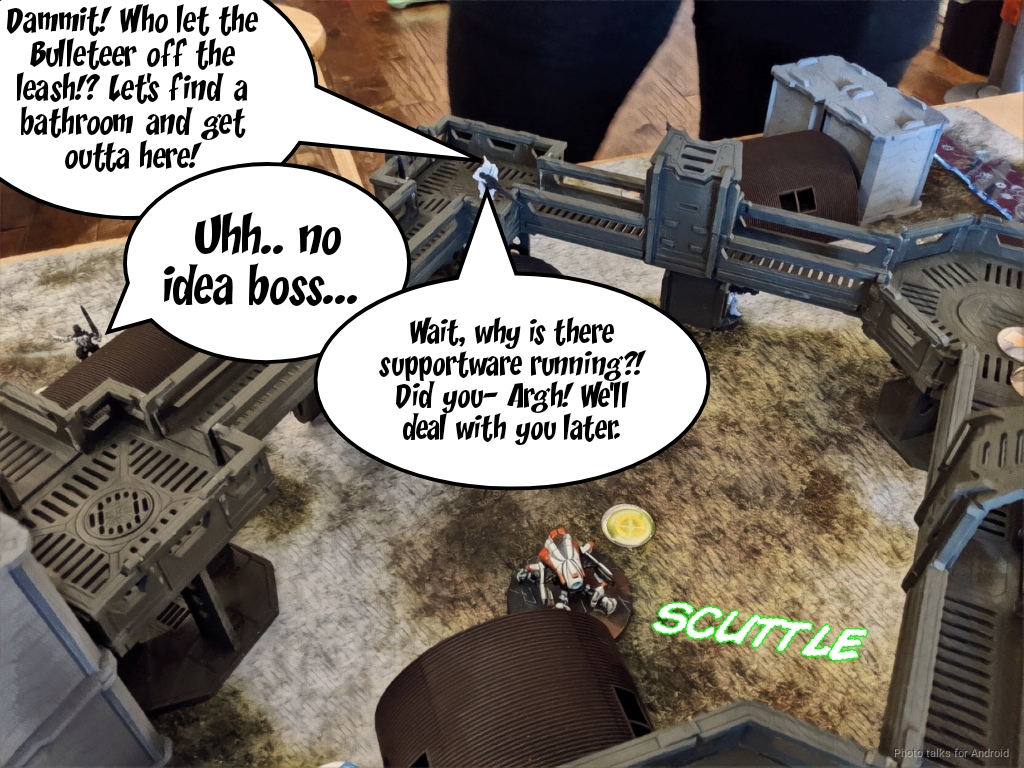
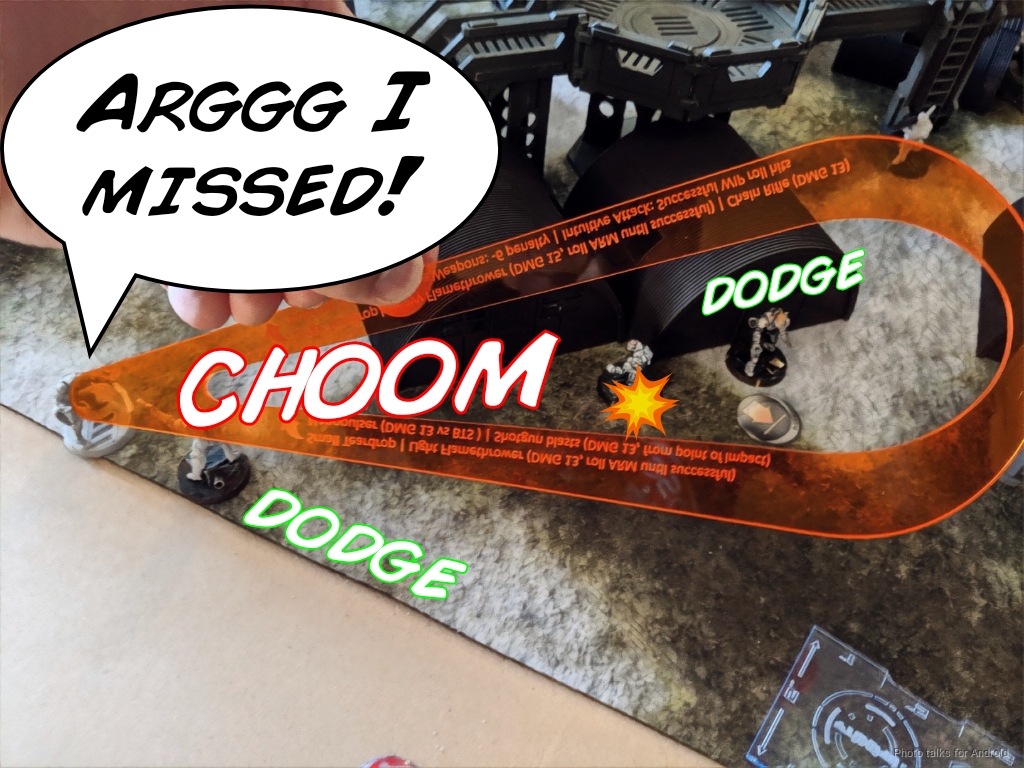
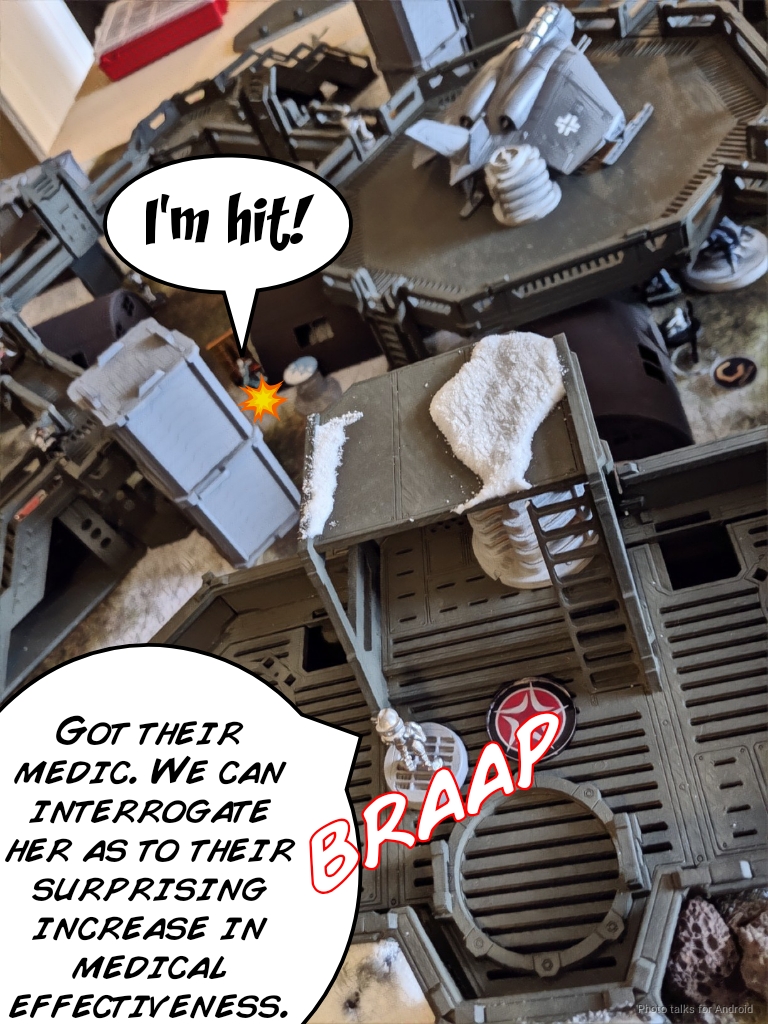
With Knauf out of the way, Erik wanted to punish my weakened right flank with a little Echo Bravo action. He brought one in off the table edge in his deployment zone, banking that I would miss my pistol shot from my Morlock.
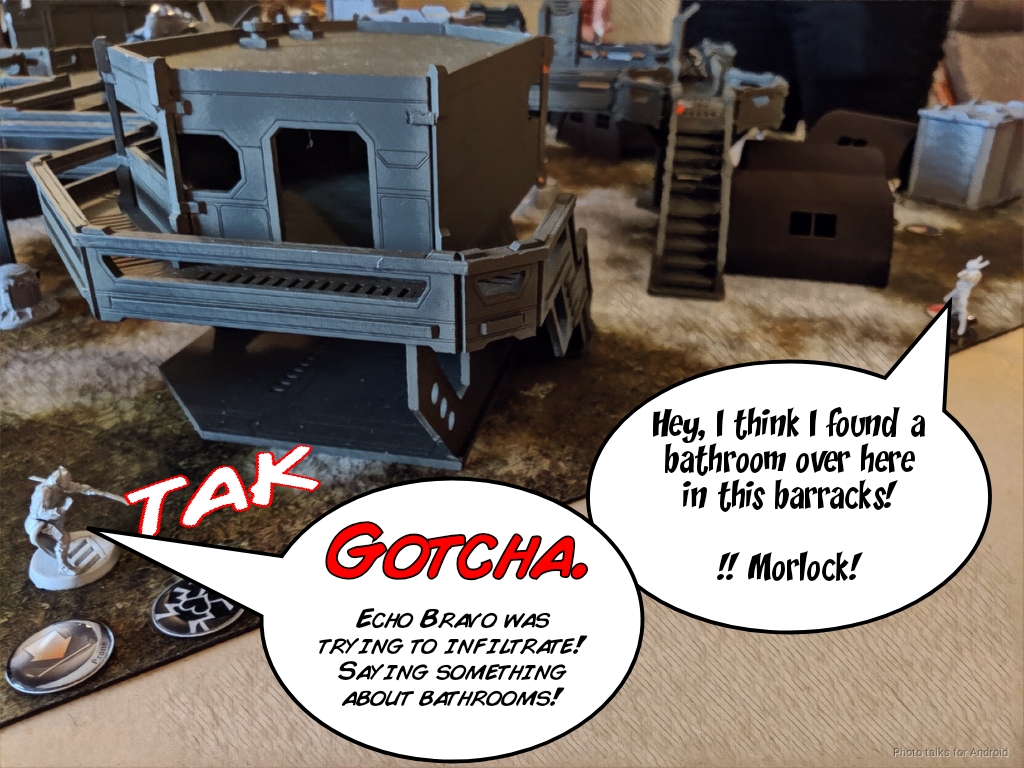
Of course, I didn't miss, and he failed ARM, dropping the Echo Bravo. This turned out to be an alright turn of events for Erik, because he was holding Experimental Drug. His Trauma Doc's Palbot scuttled its way down a ladder and across his deployment zone to pick the Echo Bravo back up... but used up all of Erik's Command Tokens doing so! I used this opportunity to dodge the Morlock forward a little.
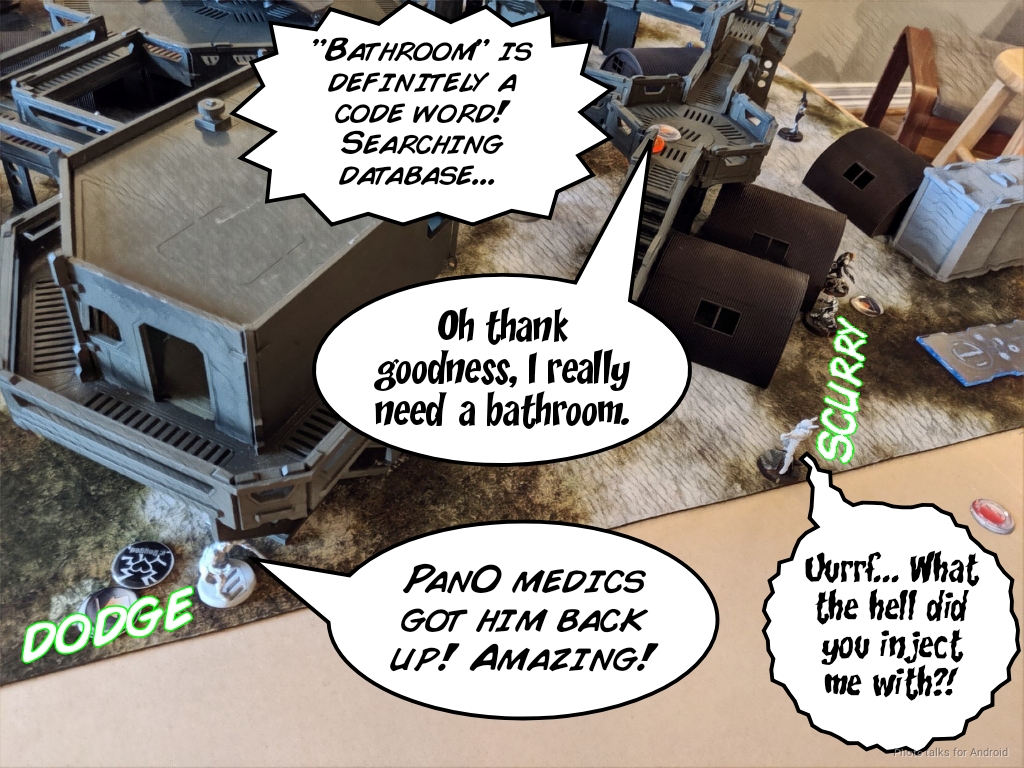
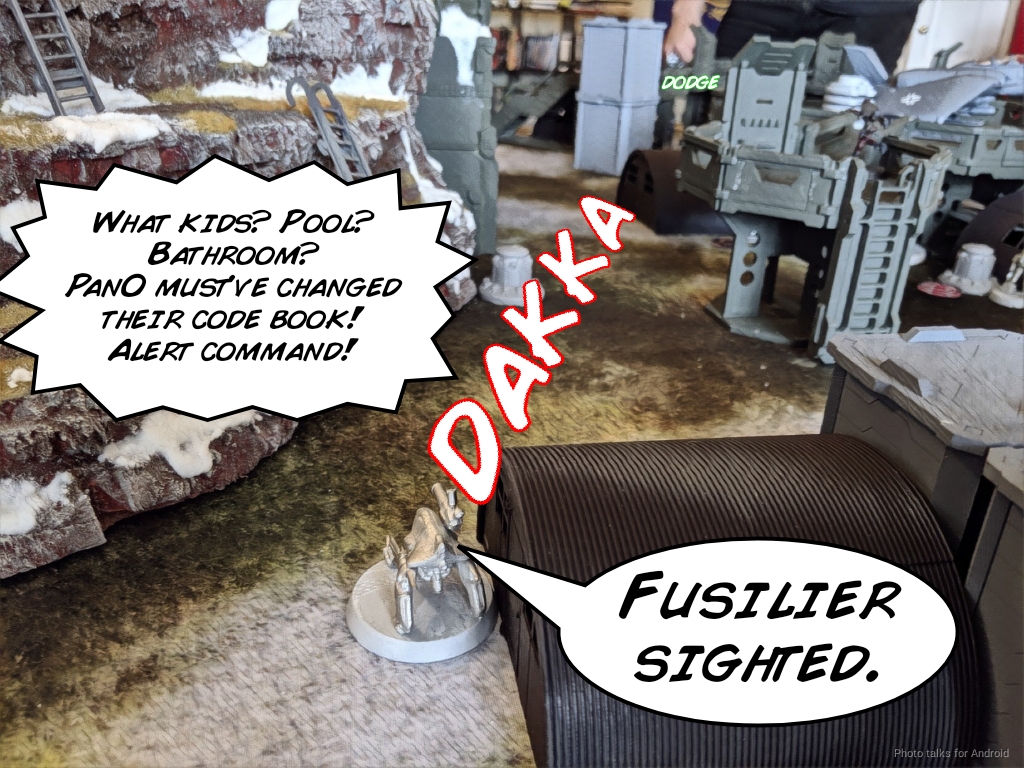
This whole exercise at least clued the PanO forces in to a bathroom location, so Erik's poor Zulu Cobra FO hopped off his perch and made a beeline towards the Comanche barracks. The Zulu Cobra skirted just skirted the Boost range of one of my Koalas as he did so, and granted Zoe a dodge, so it was about even for me.

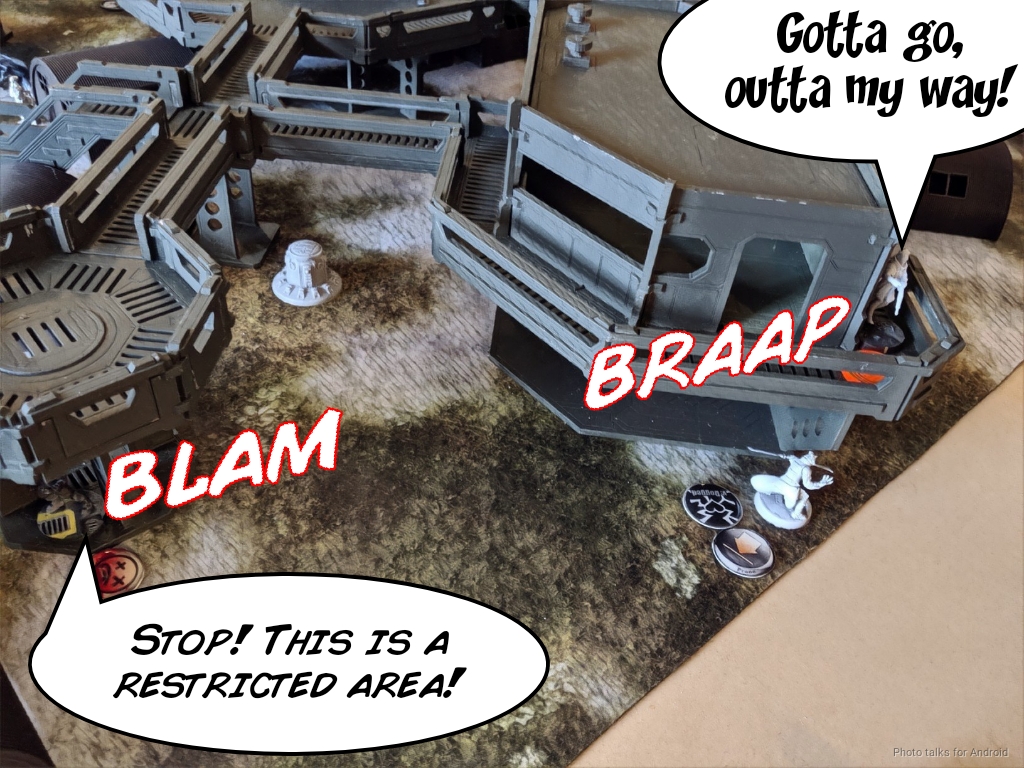
What wasn't even was that the Zulu Cobra flipped one of the antennas while leaning on it for support. Roiling bowels will make you weak in the legs, I suppose. Can't really begrudge the man a moment of weakness in the face of severe gastrointestinal stress. In any case, the Zulu Cobra made his way to the entrance to the second level of the Comanche Barracks, the bathroom a mere move-move away!
Unfortunately for him (and me), Zero Cool was watching that doorway, so my poor Interventor got shot in the name of a PanO soldier not soiling their pants. BTS 9 and cover wasn't enough to save Zero Cool from the breaker rifle. Not a great way to go.
Erik recamoed his Zulu Cobra Lt to save it from certain death at the hands of my Intruder, and passed turn.
I'm now in loss of lieutenant because Erik's Zulu Cobra literally couldn't handle his shit. UGGH. Fortunately, careful positioning in my previous turn made this not such a big deal. I lost my left Morlock to the Helot, even with smoke on 17s. This was terrible, given that I would have had an opportunity to go after Erik's Lieutenant with that Morlock. Ah well.
My remaining Morlock on the right fared much better, crit-dodging against the Kamau sniper's shooting. This let me get a chain rifle off covering the Echo Bravo, the Trauma-Doc's 'bot, and the Machinist.
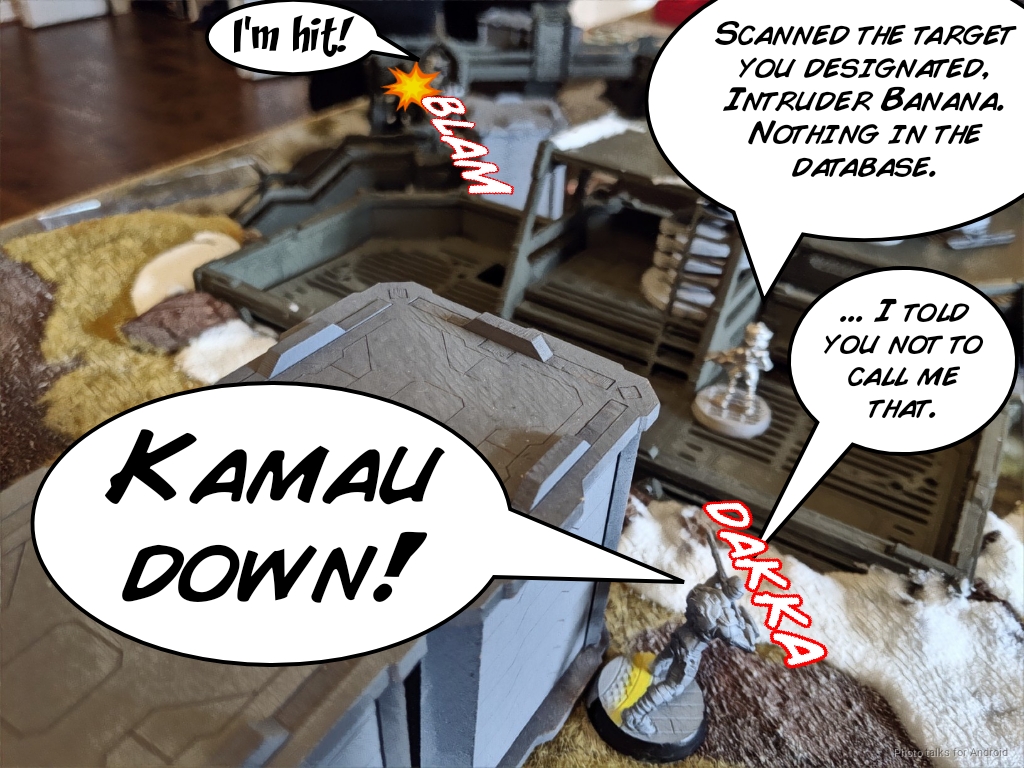
Of course, everyone but the 'bot made their dodge or ARM, and the Kamau sniped my Morlock. I spend my remaining command token Forward Observing Erik's HVT to get HVT: Designation and Telemetry (again, we assumed this was fine to keep play moving), and then I spent my Intruder's irregular order just barely gunning down the Kamau sniper, breaking Erik's link. He's got no command tokens left to reform the link, so this is doubly great!
Zoe flips my nearest central objective, the Lunokhod and Zero shift forward to get closer to Erik, the TR bot moves left so as to not get shot up by the Zulu Cobra with dysentery, and Rhonda Burgundy the Warcor shifts to get into a different spot to gain cover from aforementioned Zulu Cobra. I nominate the Zondnautica as my new lieutenant, and pass turn.
Erik wants to do some damage to my forces, so his Machinist tries to pick up the Bulleteer without any command tokens left. Of course, this goes about as well as you might suspect.

My rightmost Koala is covering the bathroom objective, so the Kamau HRL takes it out with his SMG, finally giving the Zulu Cobra what he wants.


With that completed, Erik starts doing single moves on Fusiliers, pushing them forward to cover as many objectives as possible. He loses one unfortunate Fusilier to my TR bot in this way, having not factored in the 'bots new position.
Erik wants to go after Pi Well, to deny me a specialist on the mountain, so he climbs the Kamau HRL onto the catwalk system and lands a single rocket in spite of my ODD! While the ODD is burned off, I roll a 20 on my ARM save and Pi Well fails guts into total cover.

My Zondnautica starts her run, firing smoke on the way in to cover the leftmost objective. She jets into base to base, flips the antenna, and then sets up smoke for the rightmost antenna.
A quick move grabs me the rightmost antenna, then I set up a run for the far right antenna, which is protected by a ton of Fusiliers.
We're now tied on classifieds and antennas, with both of us having three of each, so Pi Well tips the balance by grabbing the mid-lefft antenna, tanking the Zulu Cobra's jammer.
We're also tied on specialist kills. Erik's dropped my Interventor and I got his Zulu Cobra KHD, so I need to bag another specialist. I dismount the Zondnaut to keep her safe and send in the Zondmate, but Erik's Machinist dodges the chain rifle template easily and the rest of his forces gun down my motorcycle transformer robot. Boo!

I've got one order left and only one trooper in position to take a shot, Pi Well. With ODD this wouldn't be a big deal, but that was burned off by the Kamau's HRL. Thankfully the Kamau is now blocked by the Zondnautica's smoke, so it's just Pi Well versus the Trauma Doc. I take the shot and down the Trauma Doc.
I don't have an order to do the Liaison Officer thing, so we end it as a
9-3 Nomads Victory!
Of course, the real winner is the Zulu Cobra FO, who found his bathroom.
Post Game Analysis
Erik and I always have a great game. We play with just the right balance between competitiveness and fun for the two of us. Every one of our games is pretty intense, so we elected to go for margharitas afterwards to wind down. Sadly Dan couldn't join us! Adulting or somesuch was his excuse. Bah!
I think I deployed well this game, made good choices, and was careful in my positioning throughout the game. I made a few minor mistakes--Knauf needed to be deployed slightly forward to defend the Lunokhod and my TR bot better. I think there was a spot where I could see the area where the Bulleteer attacked the Lunokhod and TR bot, but not get wrecked by the Kamau sniper. Moving Knauf all the way forward was also a mistake with the Kamau still alive.
Erik should've picked up the Kamau Sniper instead of attempting to fix the Bulleteer, and I think the Echo Bravo would've been better served coming in on the mountain to take out the Intruder and Pi Well. That would've been much stronger than trying to set up for Experimental Drug the way it happened.
Kamau are gross! The way to deal with them is to not. I'm just lucky the Intruder was able to put it down without incident.
If you'd like to read more of my battle reports, you can find them at MercRecon.Net. If you'd like to find out about the Meme Contest or other aspects of the current Bromad Academy mission, you can check it out here: Mission 014: Asteroid Blues. Thanks for reading. Go Go Nomads!
Oh, one last thing. Erik, you might want to show this to your Zulu Cobra:
Battle Report Author

Army Lists Used In This Battle
Recommend Commander For Commendation
Share this battle with friends
WiseKensaiWins

Go-go Bromads!
Grear report with a comical and well done narrative. With painted Minis you can put a cherry on top.
Spotted a game mistake here:
The Bulleteer cautious moved through Knauf’s LoF and then engaged one of my TR bots, firing the first shots of the engagement! In light of this hostile act by PanO, Zero Cool was forced to issue a weapons free order to repel the intruders!
REM can not make cautious movement!
Excellent report! Bromads at their finest
The Browns go to the Superbowl!
Neat-o!
This report is flushed with success.
Needs more poop jokes.
Mr. Yōkoso, aka TheDiceAbide
NA2 Director of Operations
Ikari Company.
♬✧ʕ•ૅૄ•ʔ Nice Report, congrat and thank you commander
This is one hell of an excellent report, Commander! I commend you for the incredible amount of extra effort you put into it, and congratulate you on your victory!
You guy rock, even if you don’t want to understand what the AI could do for you!
Rated 10 stars and comended!
Great report with an excellent injection of humour
Man, what a great report! Is it possible to give it 11 stars?
It has everything, either in the display (pictures, annotation, etc.) or in the content (tension and jokes!).
I also love the bathroom misunderstanding incident escalating in a gunfight!
Great report, as always! Very good to see our bromads fighting strong!
Well there it is. The standard for 10-star reports! This was phenomenal and obviously took a lot of effort. Very, very well done!
That’s a fantastic report. Loving the bathroom narrative and the volume of photos you’ve put through it.
Comic style batreps are the best. Keep it up.
LoL, that is an awesome report, you have talent and patiente to do it so well
BTW: Congratulations!!!
Always a pleasure to read your reports Wisekensai
Stupendous report!
The best report I’ve seen so far in all the campaign! Full marks and commendation well earned! 07
Also, as Tohaa to Nomad, do not eat at Artichoke Lou’s. Despite its billing as the finest in Tohaa Cuisine, it’s really just repackaged Chaksa rations…
I love the narrative thread you worked up for this one.
Bravo! Bravo!
Excellent as Always. Made me want to drink Margharitas.
Very Awesome report. I feel sad because of Panoceania Lost, but the report makes me think that doesn’t matter XD.
Excellent
Excellent report!
Awesome! I enjoy everyone of your battlereps and the more Kamau are put down the merrier!
That’s a great report.
And congrats on the victory!
But the report itself is already a win 🙂
Go Go Nomads!
Haha! Glorious report!
I love that board. Good job matey. 🙂
That Sir, is some Hi-Fi report! 10/10 go go bromads!
The Best report of this campain that i saw. Great victory, bromad!!!