Fought At The Gallery Maze: The Passageways
1659 days 5 hours 31 minutes ago
ALEPH Core Crushing
300 POINTS
Finally made it to a game night during Phase Two of Asteroid Blues! I got Adam a win for NA2 during our last game, so he offered to play on a spot of my choosing. ALEPH's node seemed a good spot to cause some trouble, so we decided to go crush some of ALEPH's cores (AC2s)...


If you'd like to learn more about the MEME CONTEST we're running, along with other parts of the Bromad Academy mission, click the asteroid below!

Otherwise, join the campaign and fight for your faction!
We were both in a bit of a rush getting to the game store, so we ended up using game store terrain. Not the most exciting table, but it provided some interesting tactical decisions.
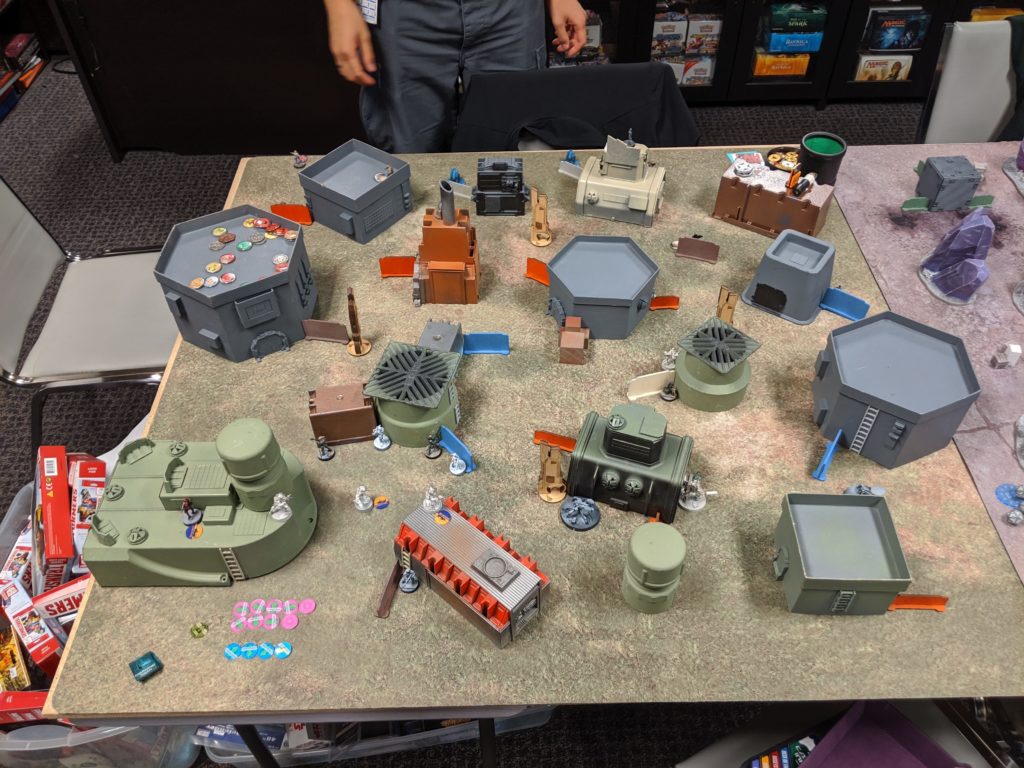

- Mission: Looting and Sabotaging (The Gallery Maze: Passageways)
- Forces: Jurisdictional Company of Corregidor versus Ikari Company (300)
- Deploy First: Ikari
- First Turn: Ikari
Looting and Sabotaging
GROUP 1 |8
2
1
HARIS
WILDCAT Lieutenant Combi Rifle + Light Flamethrower, D-Charges / Pistol, Knife. (0 | 19)
CORE
SEÑOR MASSACRE Boarding Shotgun, E/M Grenades, Eclipse Grenades / Pistol, AP CCW, E/M CCW. (0 | 26)
LUPE BALBOA Combi Rifle, Nanopulser, Panzerfaust, Smoke Grenades / Pistol, CCW. (0 | 23)
JAGUAR Adhesive Launcher, Panzerfaust / Pistol, DA CCW. (0.5 | 13)
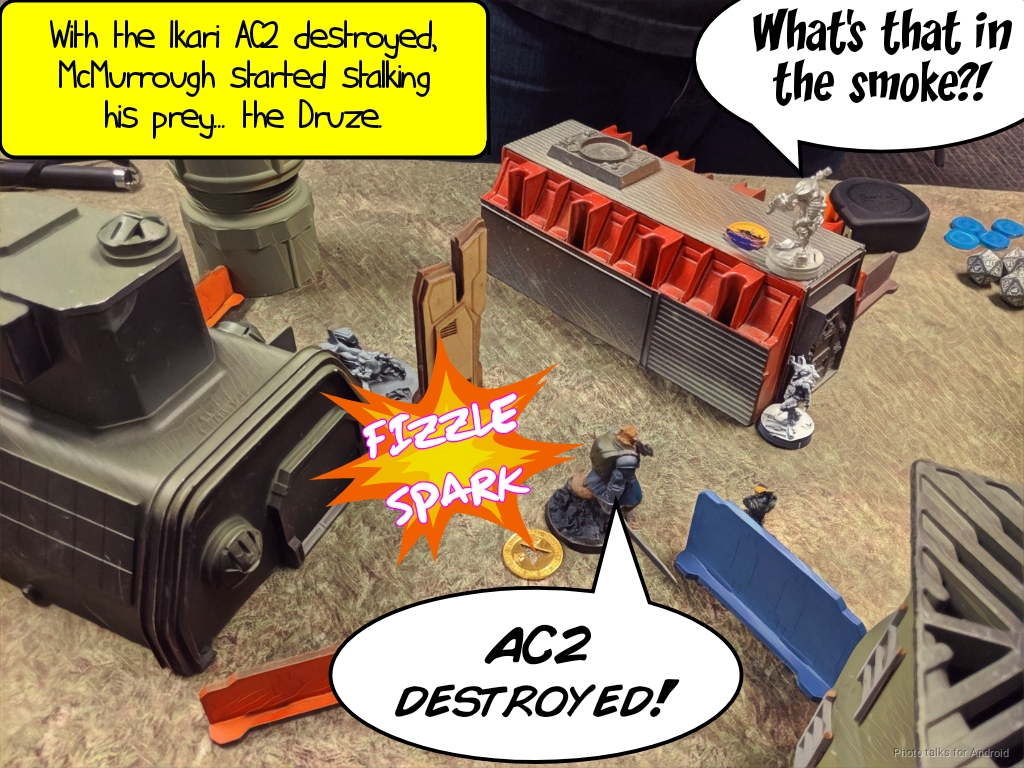
McMURROUGH 2 Chain Rifles, Grenades, Smoke Grenades / Templar CCW (AP + DA). (0 | 32)
BANDIT Hacker (Killer Hacking Device) Light Shotgun, Adhesive Launcher / Pistol, DA CCW. (0 | 25)
GROUP 2 |
TRANSDUCTOR ZOND Flash Pulse, Sniffer / Electric Pulse. (0 | 8)
MORAN (Forward Observer) Combi Rifle, CrazyKoalas (2) / Pistol, Knife. (0.5 | 22)
INTRUDER HMG, Grenades / Pistol, CCW. (1.5 | 42)
5.5 SWC | 300 Points | Open in Infinity Army
If you've been following my Corregidor escapades, you know that this list archetype is my favorite way to play Corregidor. With the recent changes to Corregidor, the list has gotten even better! I definitely think it's the right way to play Looting and Sabotaging out of Nomads. You have three solid ways of smashing the AC2--Bandit, McMurrough, and Jag Core, and then you have an Intruder for killing and Morans for speedbumping.
Ikari Company
GROUP 1 |
BRAWLER Lieutenant Rifle + Light Shotgun / Pistol, Knife. (0 | 16)
CORE
DRUZE (X Visor) Combi Rifle, Chain-colt, Panzerfaust / Viral Pistol, Knife. (0 | 25)
TANKŌ Blitzen, Submachine Gun / Pistol, Monofilament CC Weapon, Shock CC Weapon. (0 | 23)
DAIYŌKAI Red Fury, Panzerfaust / Pistol, DA CC Weapon, AP CC Weapon. (1 | 51)
PANGGULING (Minesweeper, Repeater) Electric Pulse. (0 | 8)
GROUP 2 |
HARIS
YUAN YUAN Chain Rifle, Smoke Grenades / Pistol, AP CCW. (0 | 8)
6 SWC | 299 Points | Open in Infinity Army
Adam actually built his list for Quadrant Control--meaning two baggage bots, but gamely agreed to play Looting and Sabotaging, hoping to leverage his Daiyokai to get the job done. Adam and I are leading NA2 and Nomads during the campaign this year, and he's got a bounty out on the Drunk Yuan Yuan. This meant of he had to bring a Yuan Yuan of course. He's taken to running a double Tanko ML after being forced to deal with that nonsense out of my JSA. Thankfully no Yojimbo this time though.
Adam set up his Druze core advanced quite far, thanks to the MI FD1 rules. The Tanko ML haris sat in the back with his Brawler Lt to lock down most of the board and the Pangulings just tried to find a safe spot to park.
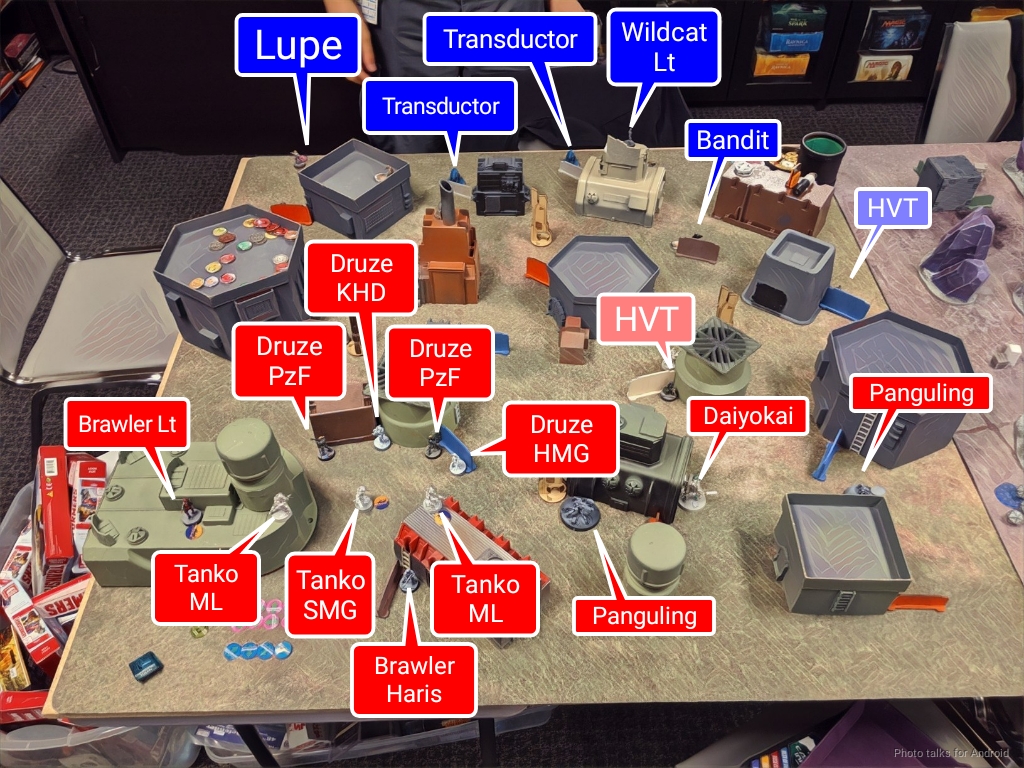
Adam held the Daiyokai in reserve, so I didn't know where it was going to go (he had mentioned it was in his list). I decided to just set up to defend the AC2 as best I could. I was worried about him getting smoke on the AC2, but didn't really have a great way of dealing with it. I also knew his Druze HMG would make short work of whatever I left out, so I was very careful to cover firelanes and angles that would contest the Daiyokai's approach but not let the Druze HMG find angles on my guys easily.
My Morans screened the approaches with their Koalas, and I tried to protect as much as I could against Yuan Yuan with Koalas as well. My two Transductors watched the central and left approaches to the AC2, and my Wildcat HRL watched the left approach and nothing else. The other two Wildcats watched my deployment zone for Yuan Yuan, with the Lt watching the entirety of my deployment zone from a tower.
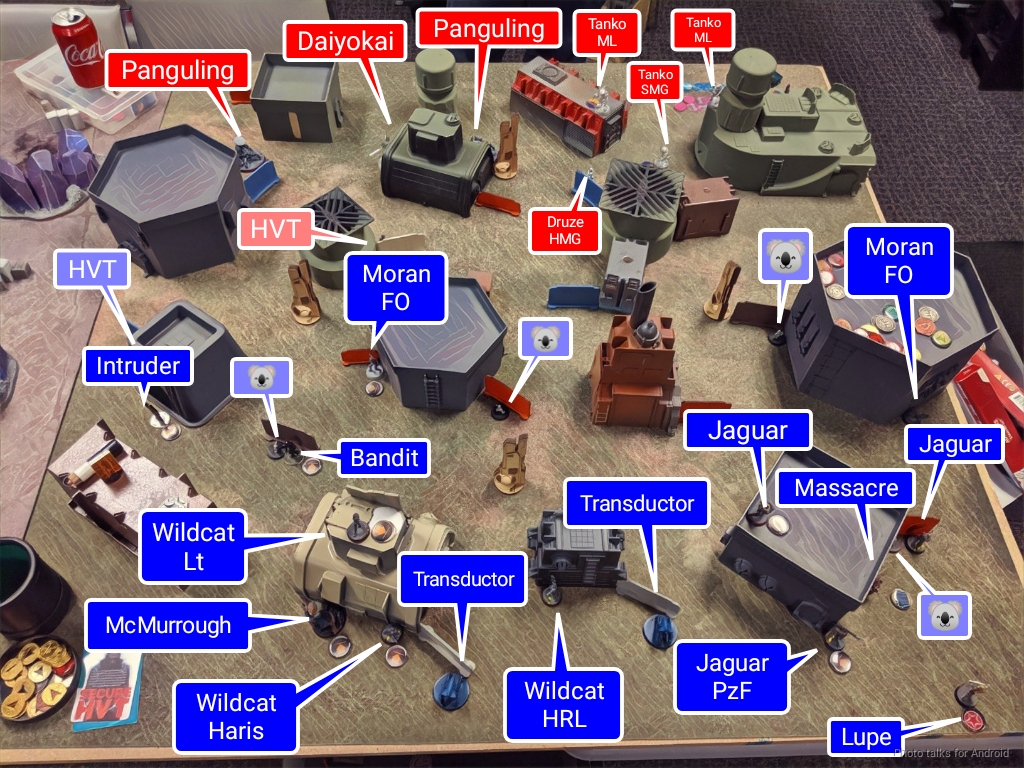
Lupe and the Jaguar Panzerfaust watched the AC2 with their Panzerfausts and ADHLs, as well was covering the back table with Lupe's formidable weaponry. Massacre and a Jaguar chain rifle covered the right table edge, and I protected the rooftop of the building they were near with another Jaguar's chain rifle. McMurrough screened my left side, and a Bandit covered the AC2 with an ADHL for good measure.
The Daiyokai came down on my left, with Adam figuring that it was the safer bet, even with my Wildcat HRL there. I put the Intruder on the left, figuring I could at least shoot the Daiyokai if it was covered in smoke while it crushed the ALEPH AC2 into submission...
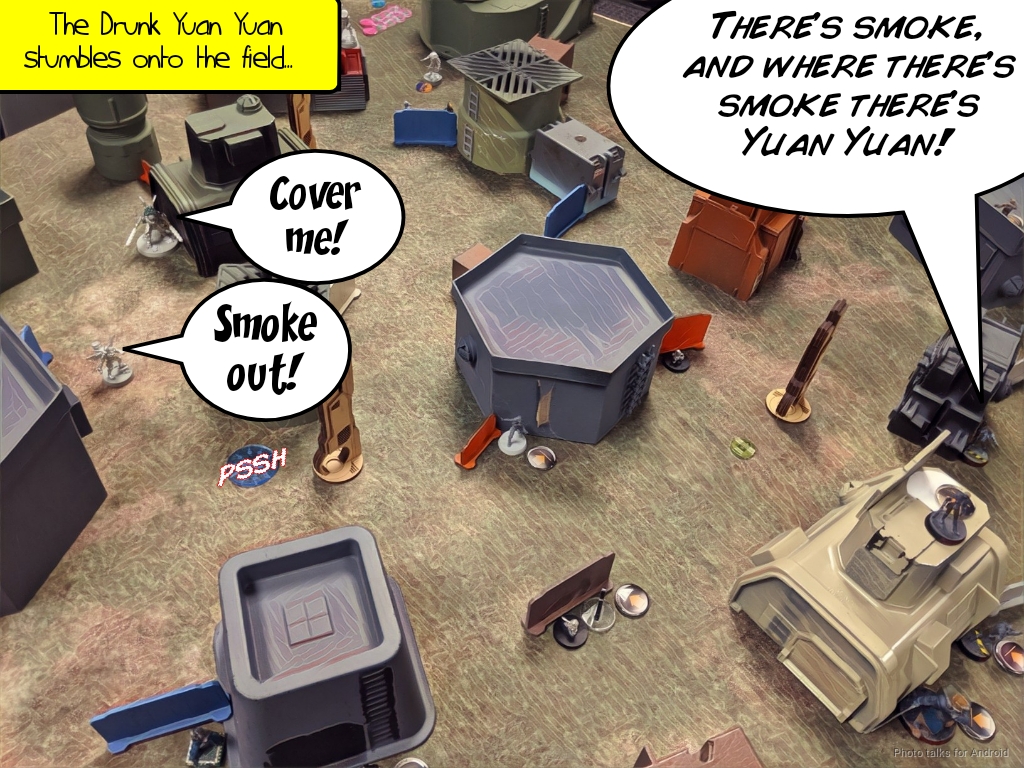
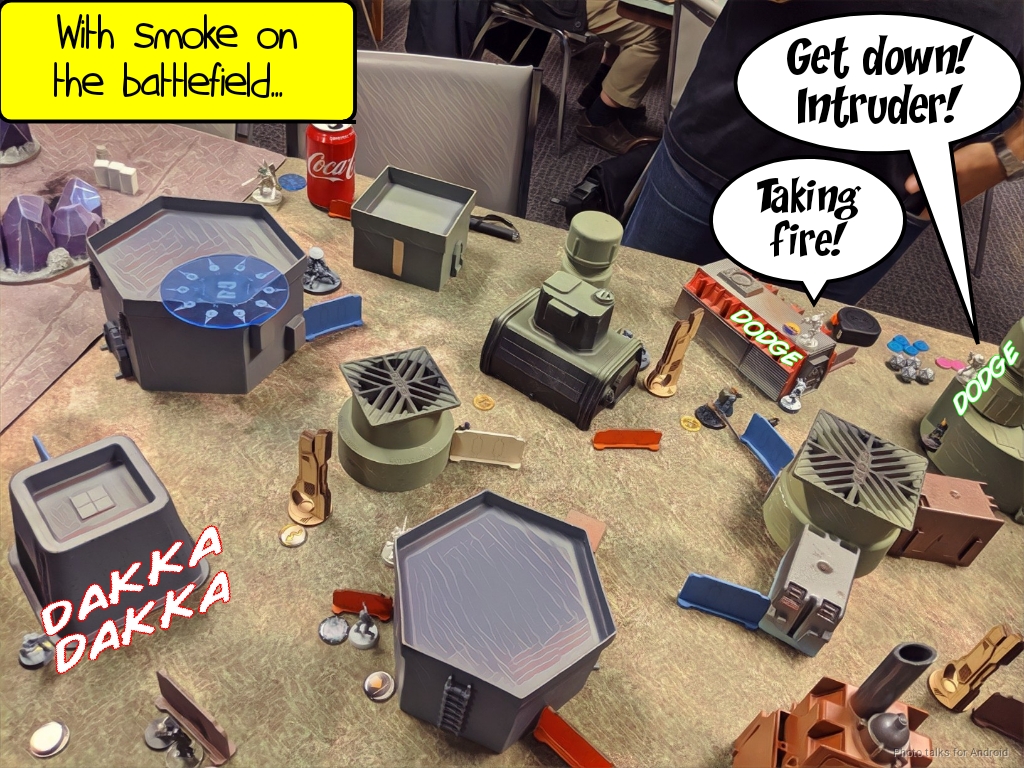
Time to go wreck all of ALEPH's toys and have them handle the cleanup! It's the Nomad and Ikari way! Adam starts things off by attempting to land the Drunk Yuan Yuan on the field, but he ends up deviating and deploying into his deployment zone. The poor drunk Yuan Yuan wanders forward, fumbling with his smoke grenades and somehow getting them exactly where he needs them to be to block LoF to my Wildcat HRL.
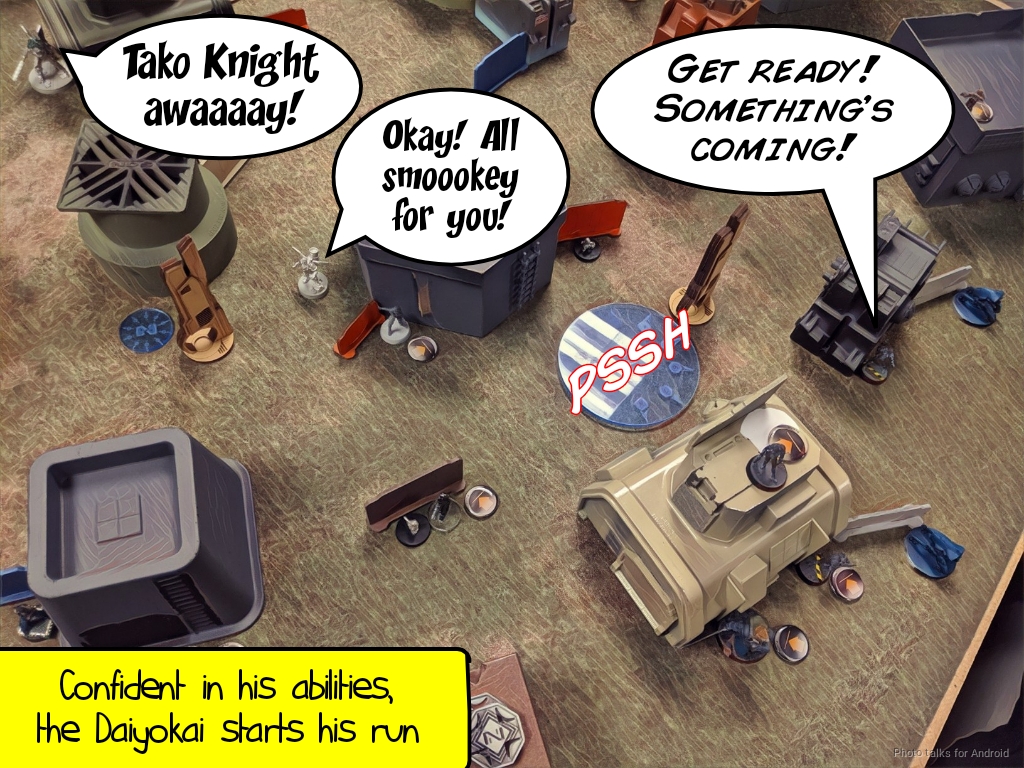
Some more drunken stumbling gets another smoke grenade covering the left side of my AC2. Adam's out of orders in his second pool now, so it's time to get his Daiyokai involved in the festivities. Adam's done an amazing job converting up his Daiyokai, putting an Octopus on his hat and replacing his swords with a pair of tetsubo, aka "giant metal clubs." Very Ikari. We call him Tako Knight!
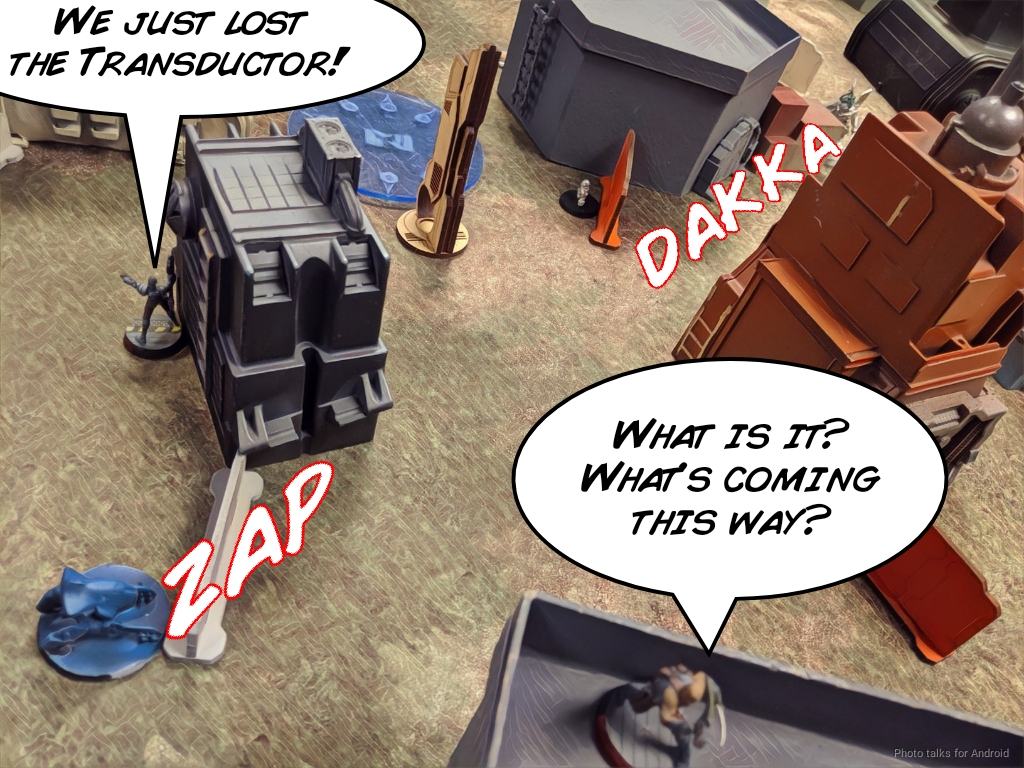
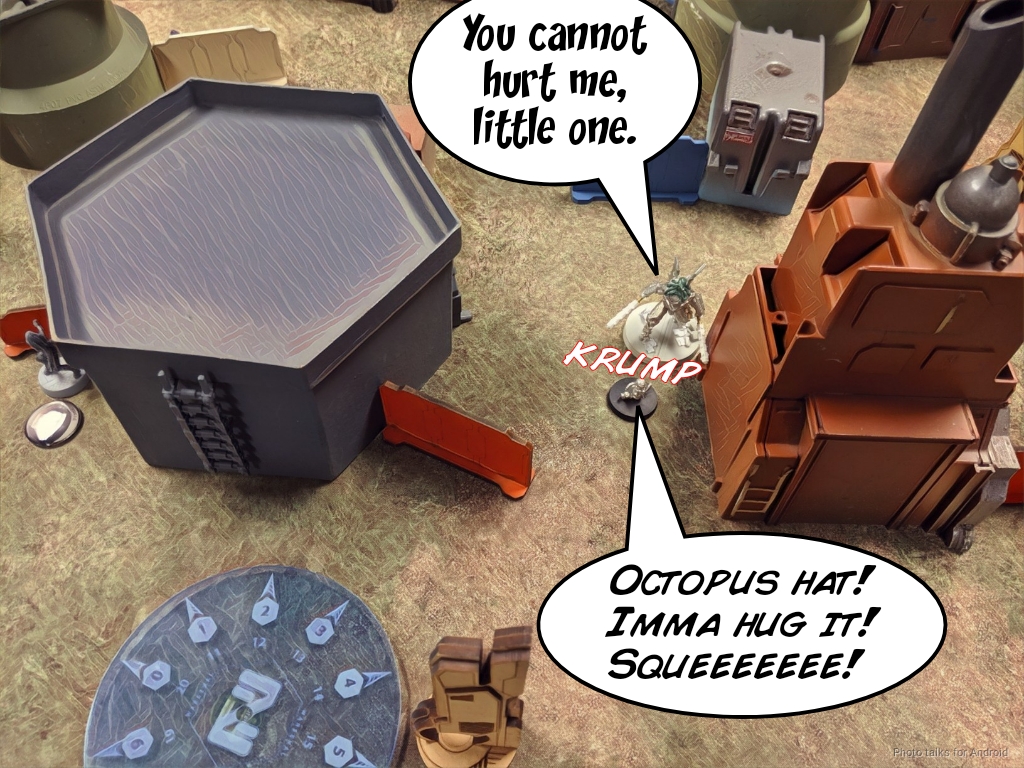
and just dives onto the AC2. I elect to not reveal the Intruder, and the Bandit can't see. This means it's up to the Jaguar, Lupe, and a nearby Moran to handle the situation. The Moran misses with his flash pulse, but the Jaguar glues the Daiyokai and Lupe finishes him off with a pair of Panzerfausts.

Adam's out of orders and Tako Knights at this point, but some poor ARM saves on my part result in two wounds on the AC2.
I blow all of the orders in my first order pool getting McMurrough to Adam's AC2 in order to destroy it. McMurrough is successful, but I don't have the orders to chain rifle Adam's link.
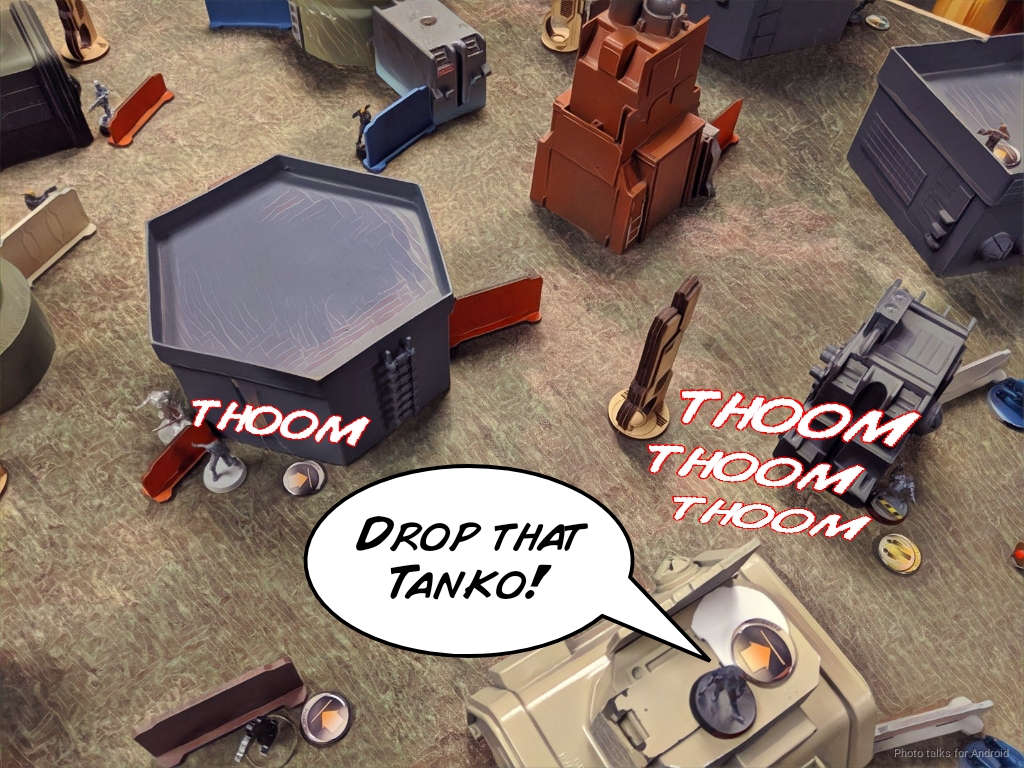
I do have smoke everywhere though, which lets me try and take out the two Tanko MLs overwatching the battlefield.
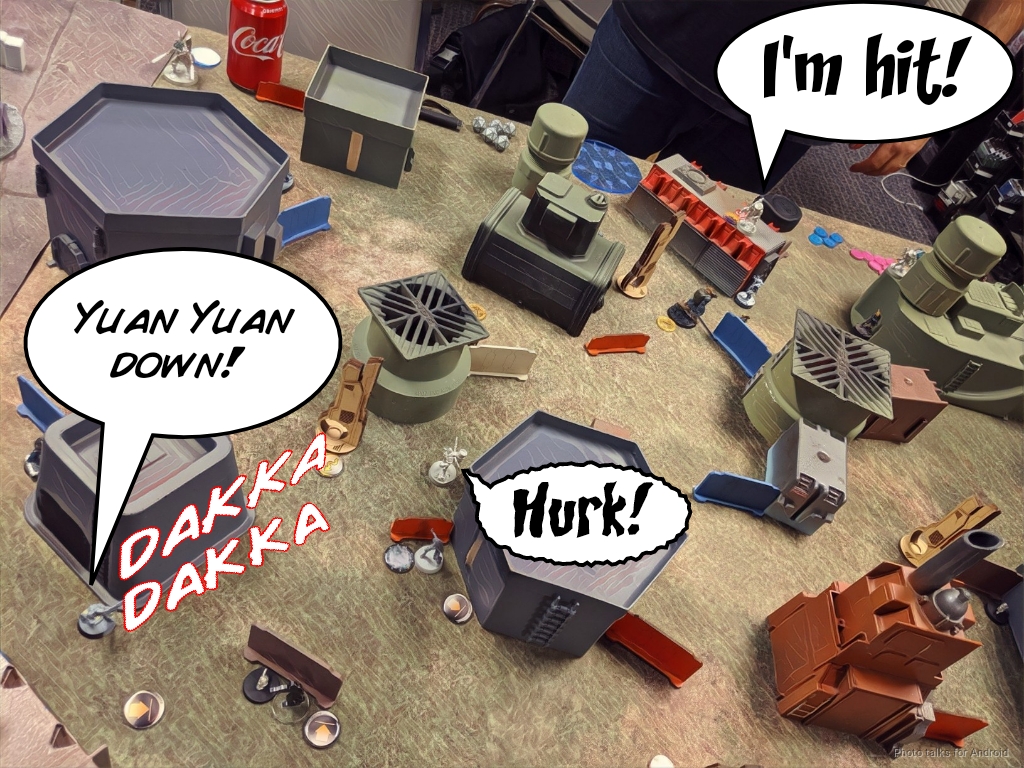
Sadly, because I'm just outside of 32", all I manage to do is to put a wound on one of the Tankos with a crit. Before I forget, I pull the Intruder back to safety and take out the nearby Yuan Yuan to prevent any problems. I do force one of the Tanko prone, which helps me later though.
With McMurrough in their face, the link doesn't really want to activate, even though they have viral pistols. Instead, Adam uses his Brawler Lt. I decide to throw some real grenades at the Brawler instead of dodging or throwing smoke, which may have been a mistake...

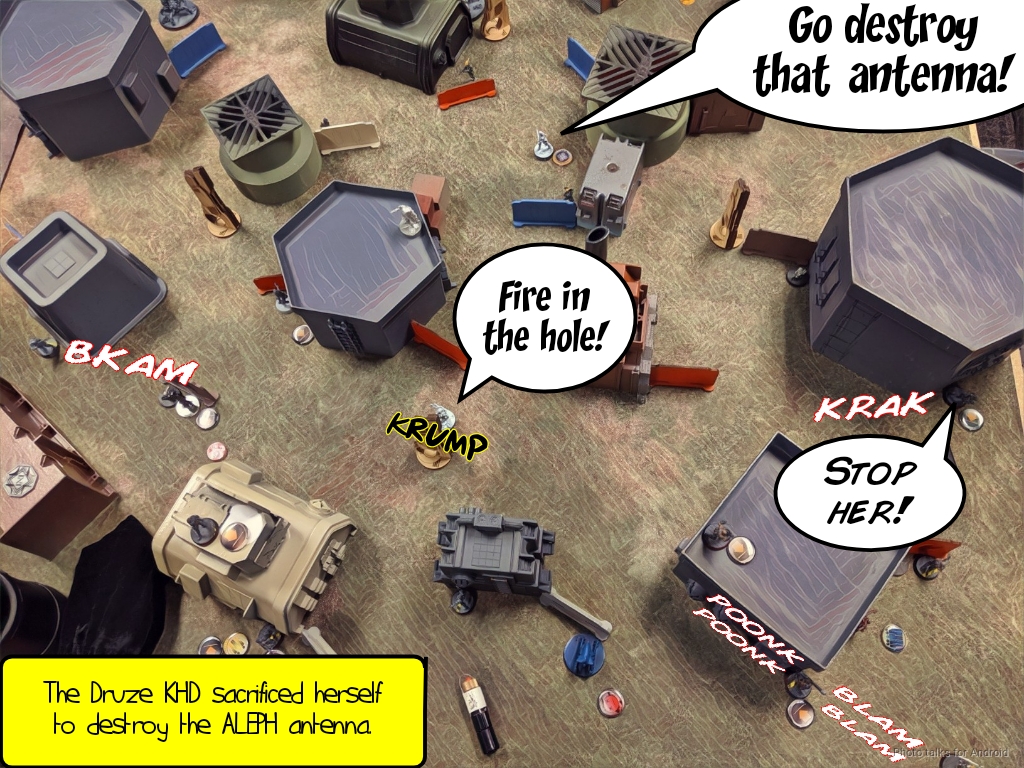
Adam spends most of his turn advancing his link to control the midfield and slingshot his Druze KHD in to attempt a D-Charge on my AC2. Unfortunately for me, the Druze successfully CC's the AC2 with a D-Charge before evaporating under the combined fire of my Intruder, Moran, Jaguar, and Lupe.
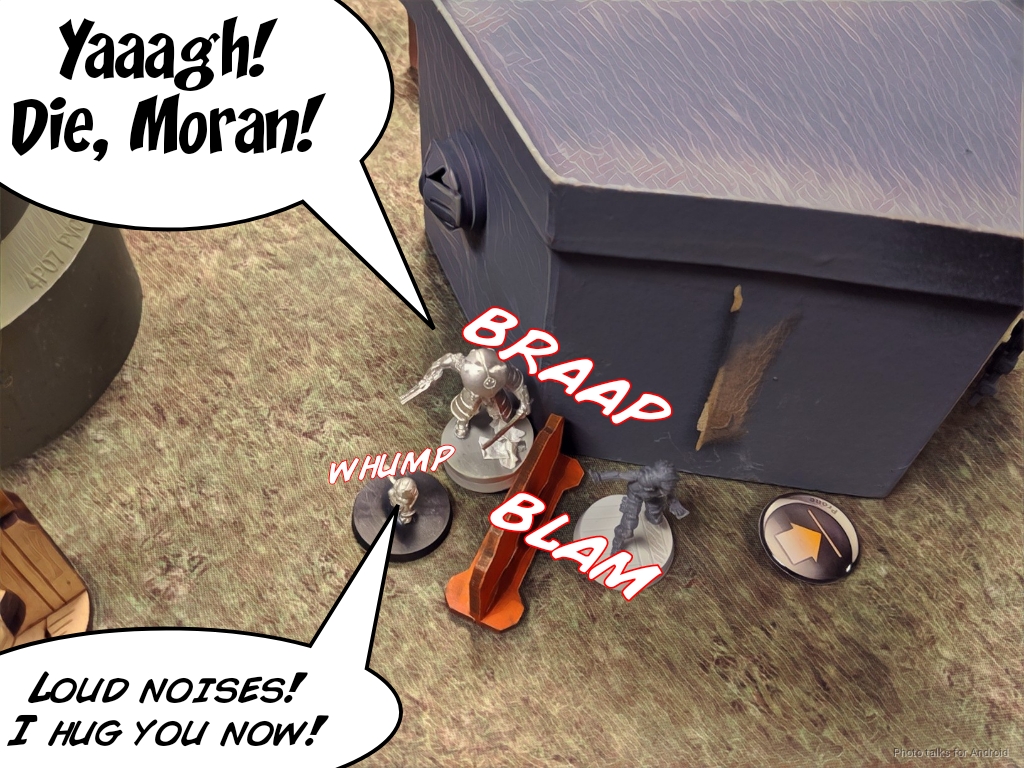
With both AC2s destroyed, it's now down to panoplies and classifieds, so Adam tries to take out my stuff near the Panoply. His Tanko attempts to SMG down my Moran on the left, but she fends him off. Unfortunately, the Tanko's ARM protects him from my Koala's reprisal.
I try to rely on my Bandit's camo to get her to the Panoply, but Adam's Druze HMG gets lucky and reveals her while the Tanko looks on, hungrily awaiting a glorious missile shot.

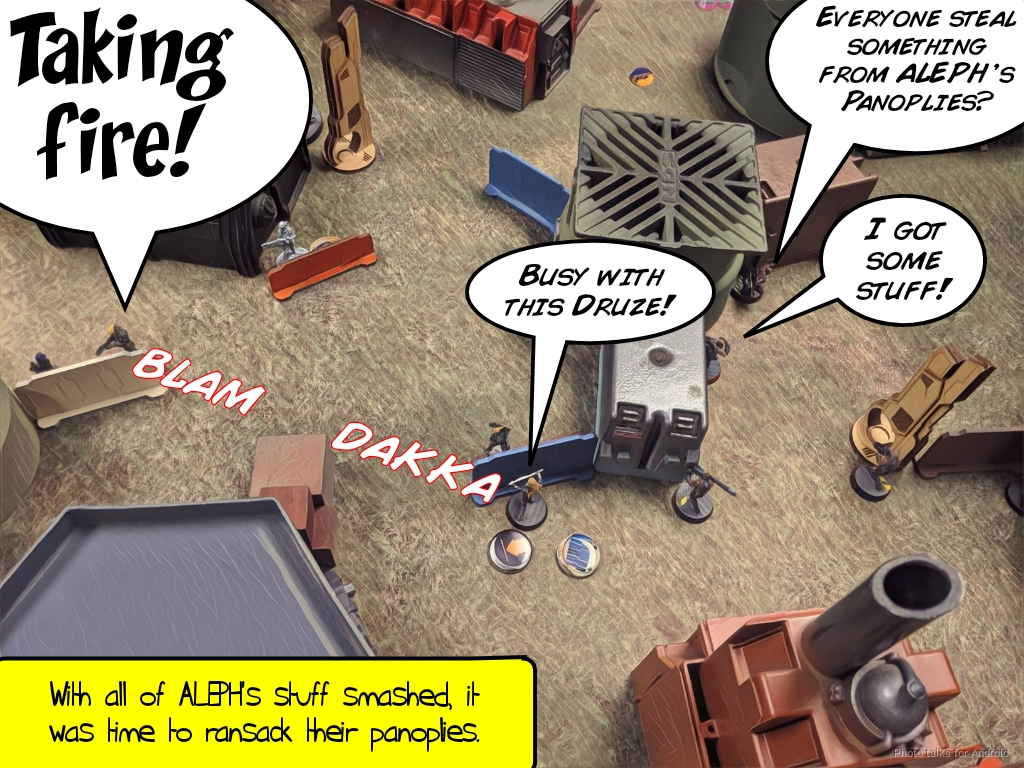
I don't want to invest any more orders into the Bandit to have it just get blown up by missiles, so I play to the objective, driving my link up the table under the cover of smoke. Massacre and a Jaguar steal two ALEPH toys out of the Panoply (both rolled Mimetism, which is great), and then I try to take out out of the Druze Panzerfausts with Lupe, finally succeeding on my last order in the main pool.
I decide I don't want to try and fight linked Tanko ML out of 32" with my Intruder, so after forcing the Druze HMG into cover with some combi-rifle fire from my Moran, I get a little ambitious.
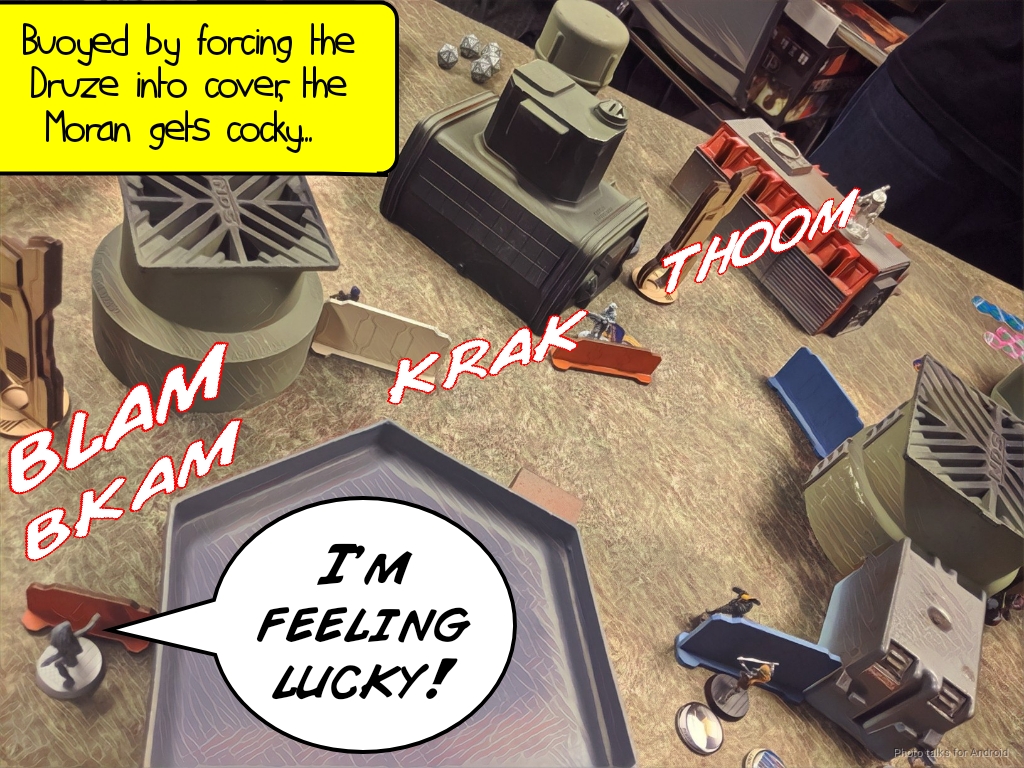
Sending the Moran in against the Tanko goes about as well as one might expect, and I'm down a Moran for Turn 3.
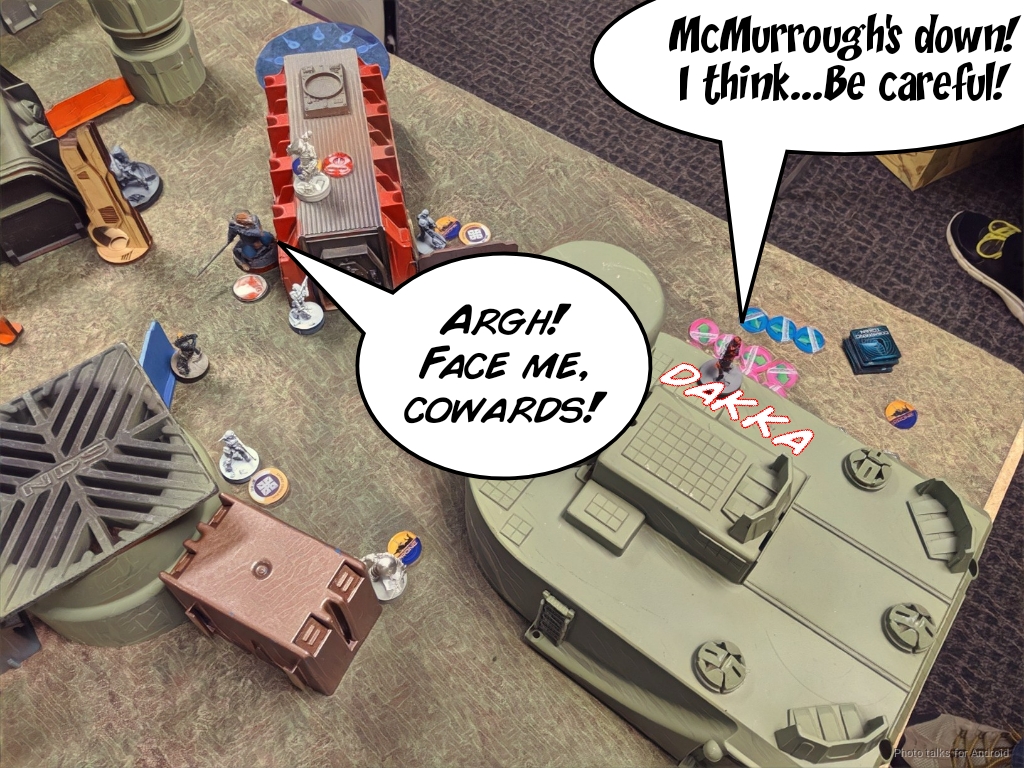
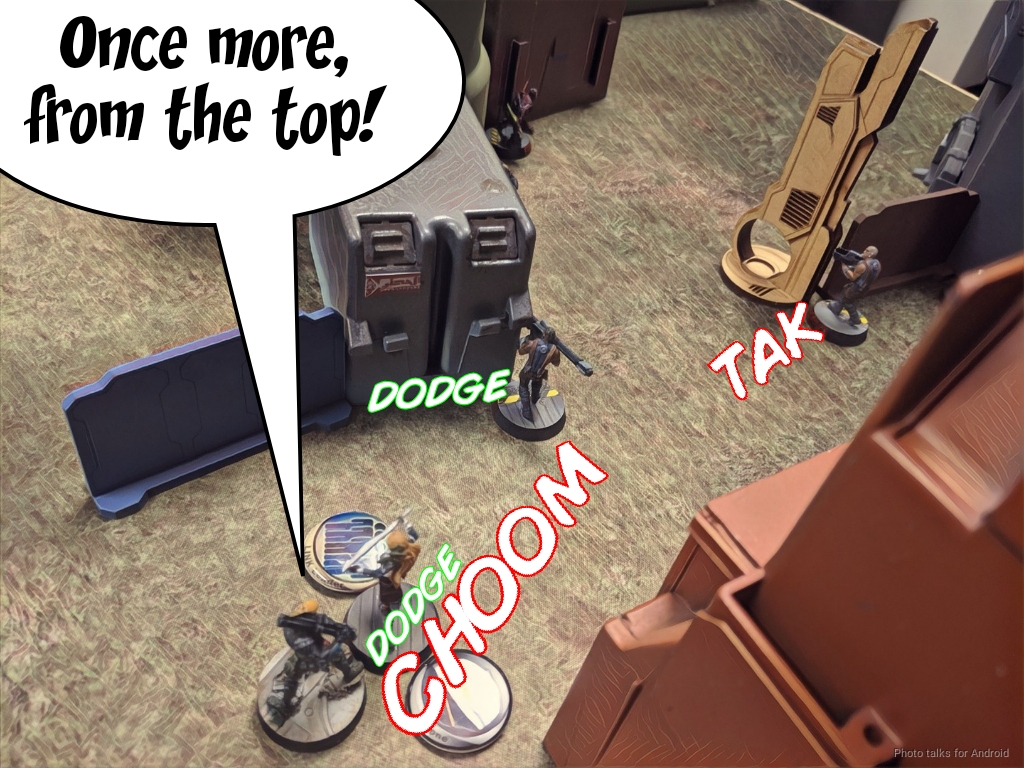
Adam's got a Druze with chain colt right next to my link, so it's time to start the template dodge dance! Queue Benny Hill.
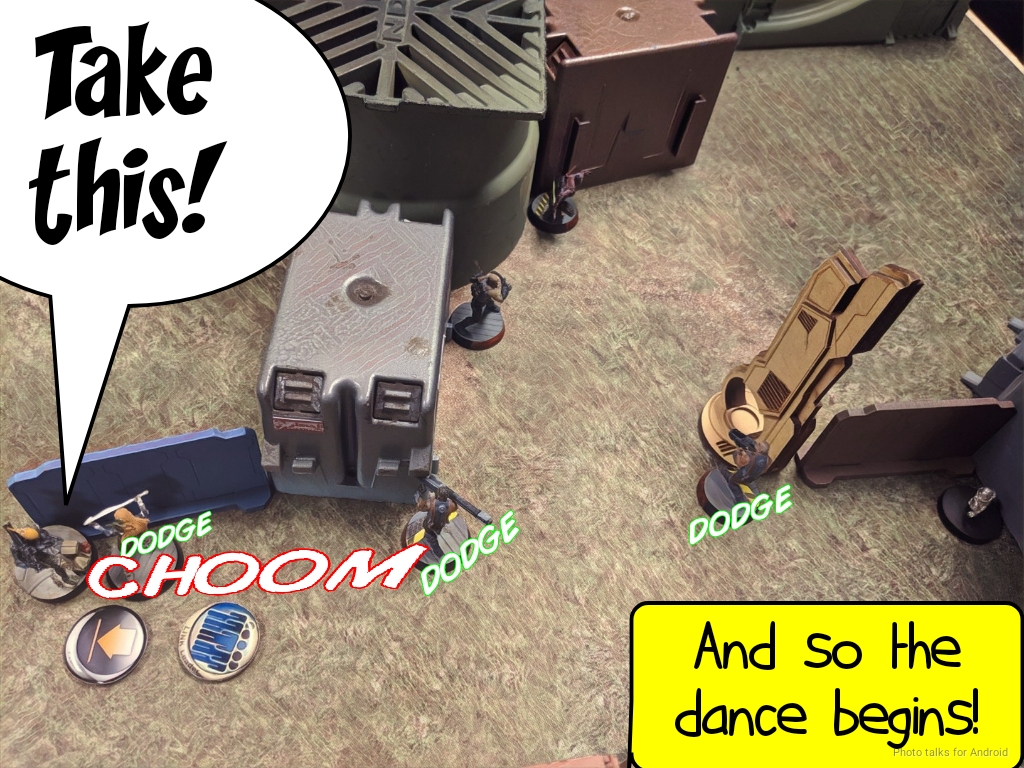
Lupe and the two Jaguars make the first dodge, scattering as best they can out of the template. Adam tries to sneak the Druze HMG away from Lupe, but she stops him with a pair or combi-rifle shots, taking out the Druze.
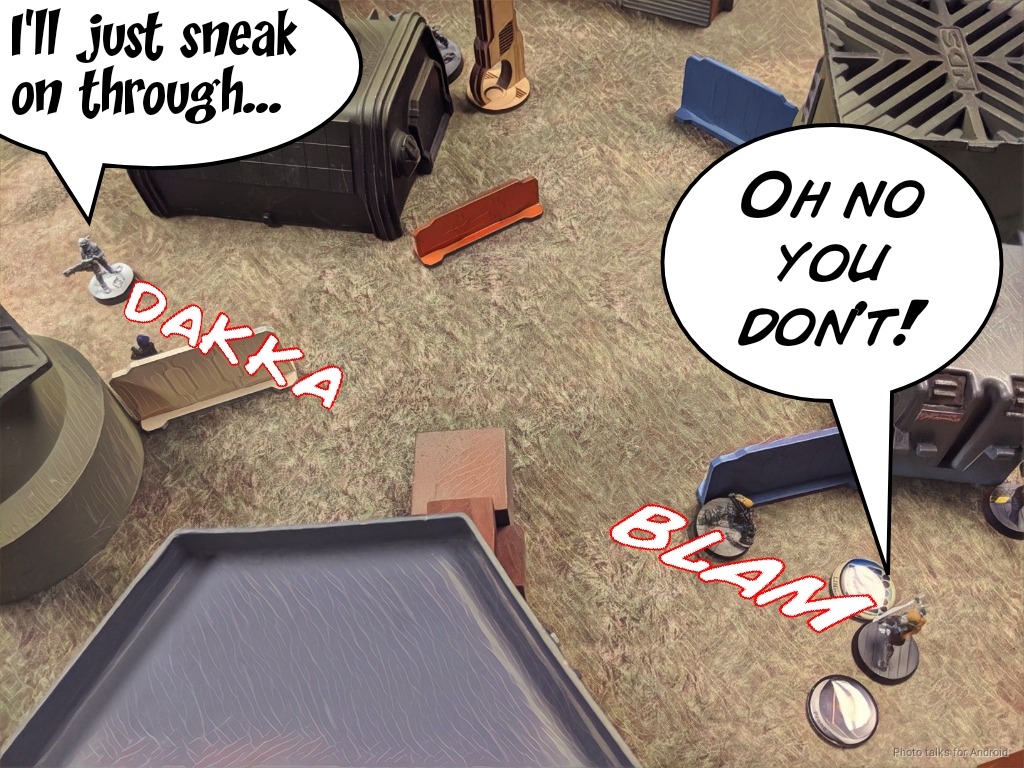
The Druze Panzerfaust keeps trying to chain colt Lupe and my Jaguar Panzerfaust. I dodge them both successfully again, but my Jaguar that broke out of the link to take a pistol shot misses.
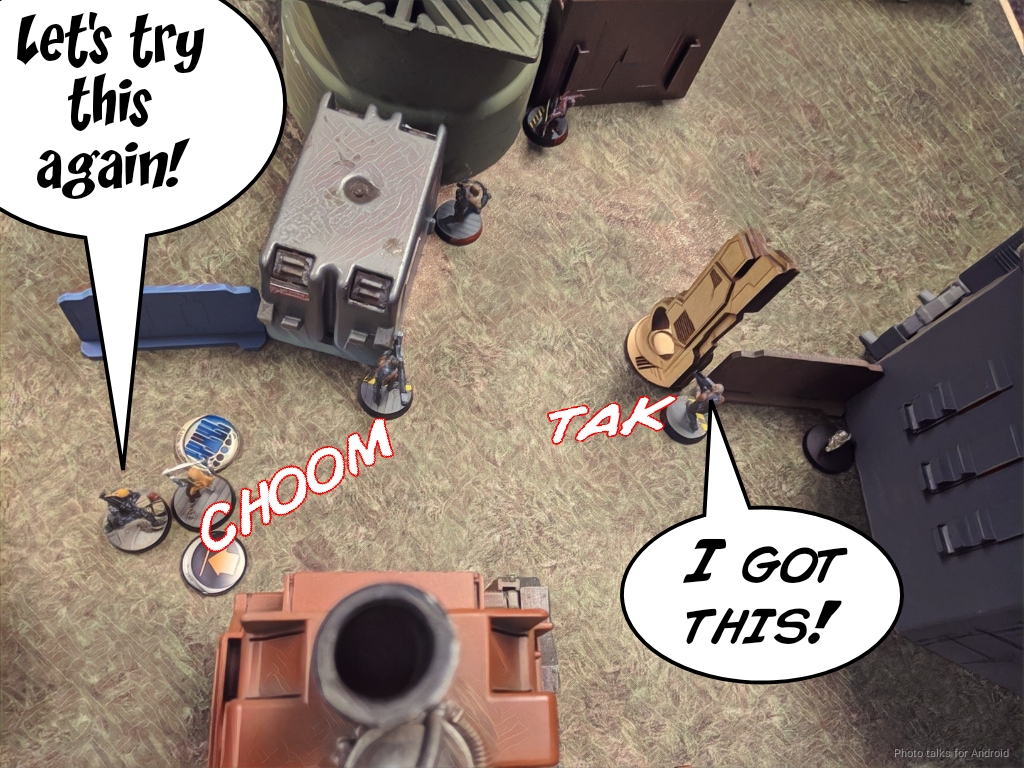
Adam wants to preserve his order pool, so he tries to get his Druze out of harm's way... but Lupe and the Jaguar, in the full throes of Dogged Bloodlust take him down.

Adam wants to clear my Jaguar Panzerfaust before he activates his Tanko, since if the Tanko stands up I'll get a shot, so he tries to use his Brawler Lt. I crit ADHL his Lieutenant, which is the best thing, really.

Adam can't stand up his Tanko now, so he uses the other one to try and missile my Bandit, who safely dodges into total cover.
Turn 3 - Corregidor
That dodge got me into 8" of Adam's HVT, and I've already got more things out of ALEPH's panoplies than him, so we just call it here.
7-5 Corregidor Victory!
Post Game Analysis
Well, I love having Lupe in the Jaguar link. She adds a second, SWC-less, Panzerfaust to the link as well as Specialist Operative... and smoke grenades if you really need them. Pretty great!
Still love this list and the way it plays. It's probably not as good as defending the AC2 as Vanilla Nomads, since I have less access to hackers and no jammers, but two Morans is more than okay.
Adam did a great job taking out my AC2 even with all the setup I had around it. I think I needed to be a little more aggressive with my AROs and force Adam to engage something with more teeth than just a pair of Tranductors before getting into base to base with the AC2, but I was leery of losing things to the Druze HMG.
I'm not terribly pleased with the placement of my Intruder--it basically didn't do anything useful other than take out the nearby Yuan Yuan. I think having it on the right side would've been more effective at hunting the Tanko, but I had to balance attack and defense--I really wanted an MSV2 thing watching the AC2. In this matchup, there wasn't much chance that I would've taken out the Daiyokai before it took out the AC2, but... still a good plan, I guess?
Great game as always with Adam. If you'd like to read more of my battle reports, you can find them at MercRecon.Net. If you'd like to find out about the Meme Contest or other aspects of the current Bromad Academy mission, you can check it out here: Mission 014: Asteroid Blues. Thanks for reading. Go Go Nomads!
Battle Report Author

Army Lists Used In This Battle
Recommend Commander For Commendation
Share this battle with friends
WiseKensaiWins

Go-go Bromads!
Incredible report!
Great report as always! Good to see Nomads winning on ALEPH-sites!
Great BR! Congratulations!
Great Work Bromad, as always.
(^∀^) xd bromad great again
Great report, thank you.
I really like your list, it’s very interesting. I must try it!
What a great report commanders! both are great! i admire you
#DEUSVULT
Great stuff. 🙂
Great work, the musical accompaniment really enhanced the reading experience!