Fought At Pakngein NBIS, The NB International Spaceport: Hangars Area
1664 days 12 hours 19 minutes ago
A LITANY OF WOE!
300 POINTSI'm going to present this battle report in a somewhat more narrative way, as it was a complete debacle for me. Last battle, Jack had the bad end of the dice, this battle it swung totally in the opposite direction. As always, Jack was a great sport and felt my pain.
Mission: Firefight
QK won initiative and chose ends, letting Tohaa set up first; Tohaa chose to go first
Classifieds: QK - Net-Undermine & Follow-up; Tohaa - In Extremis Recovery & Follow-up
Data Trackers: QK - Hafza; Tohaa - Neema
Lieutenants: QK - Hafza; Tohaa - Neema


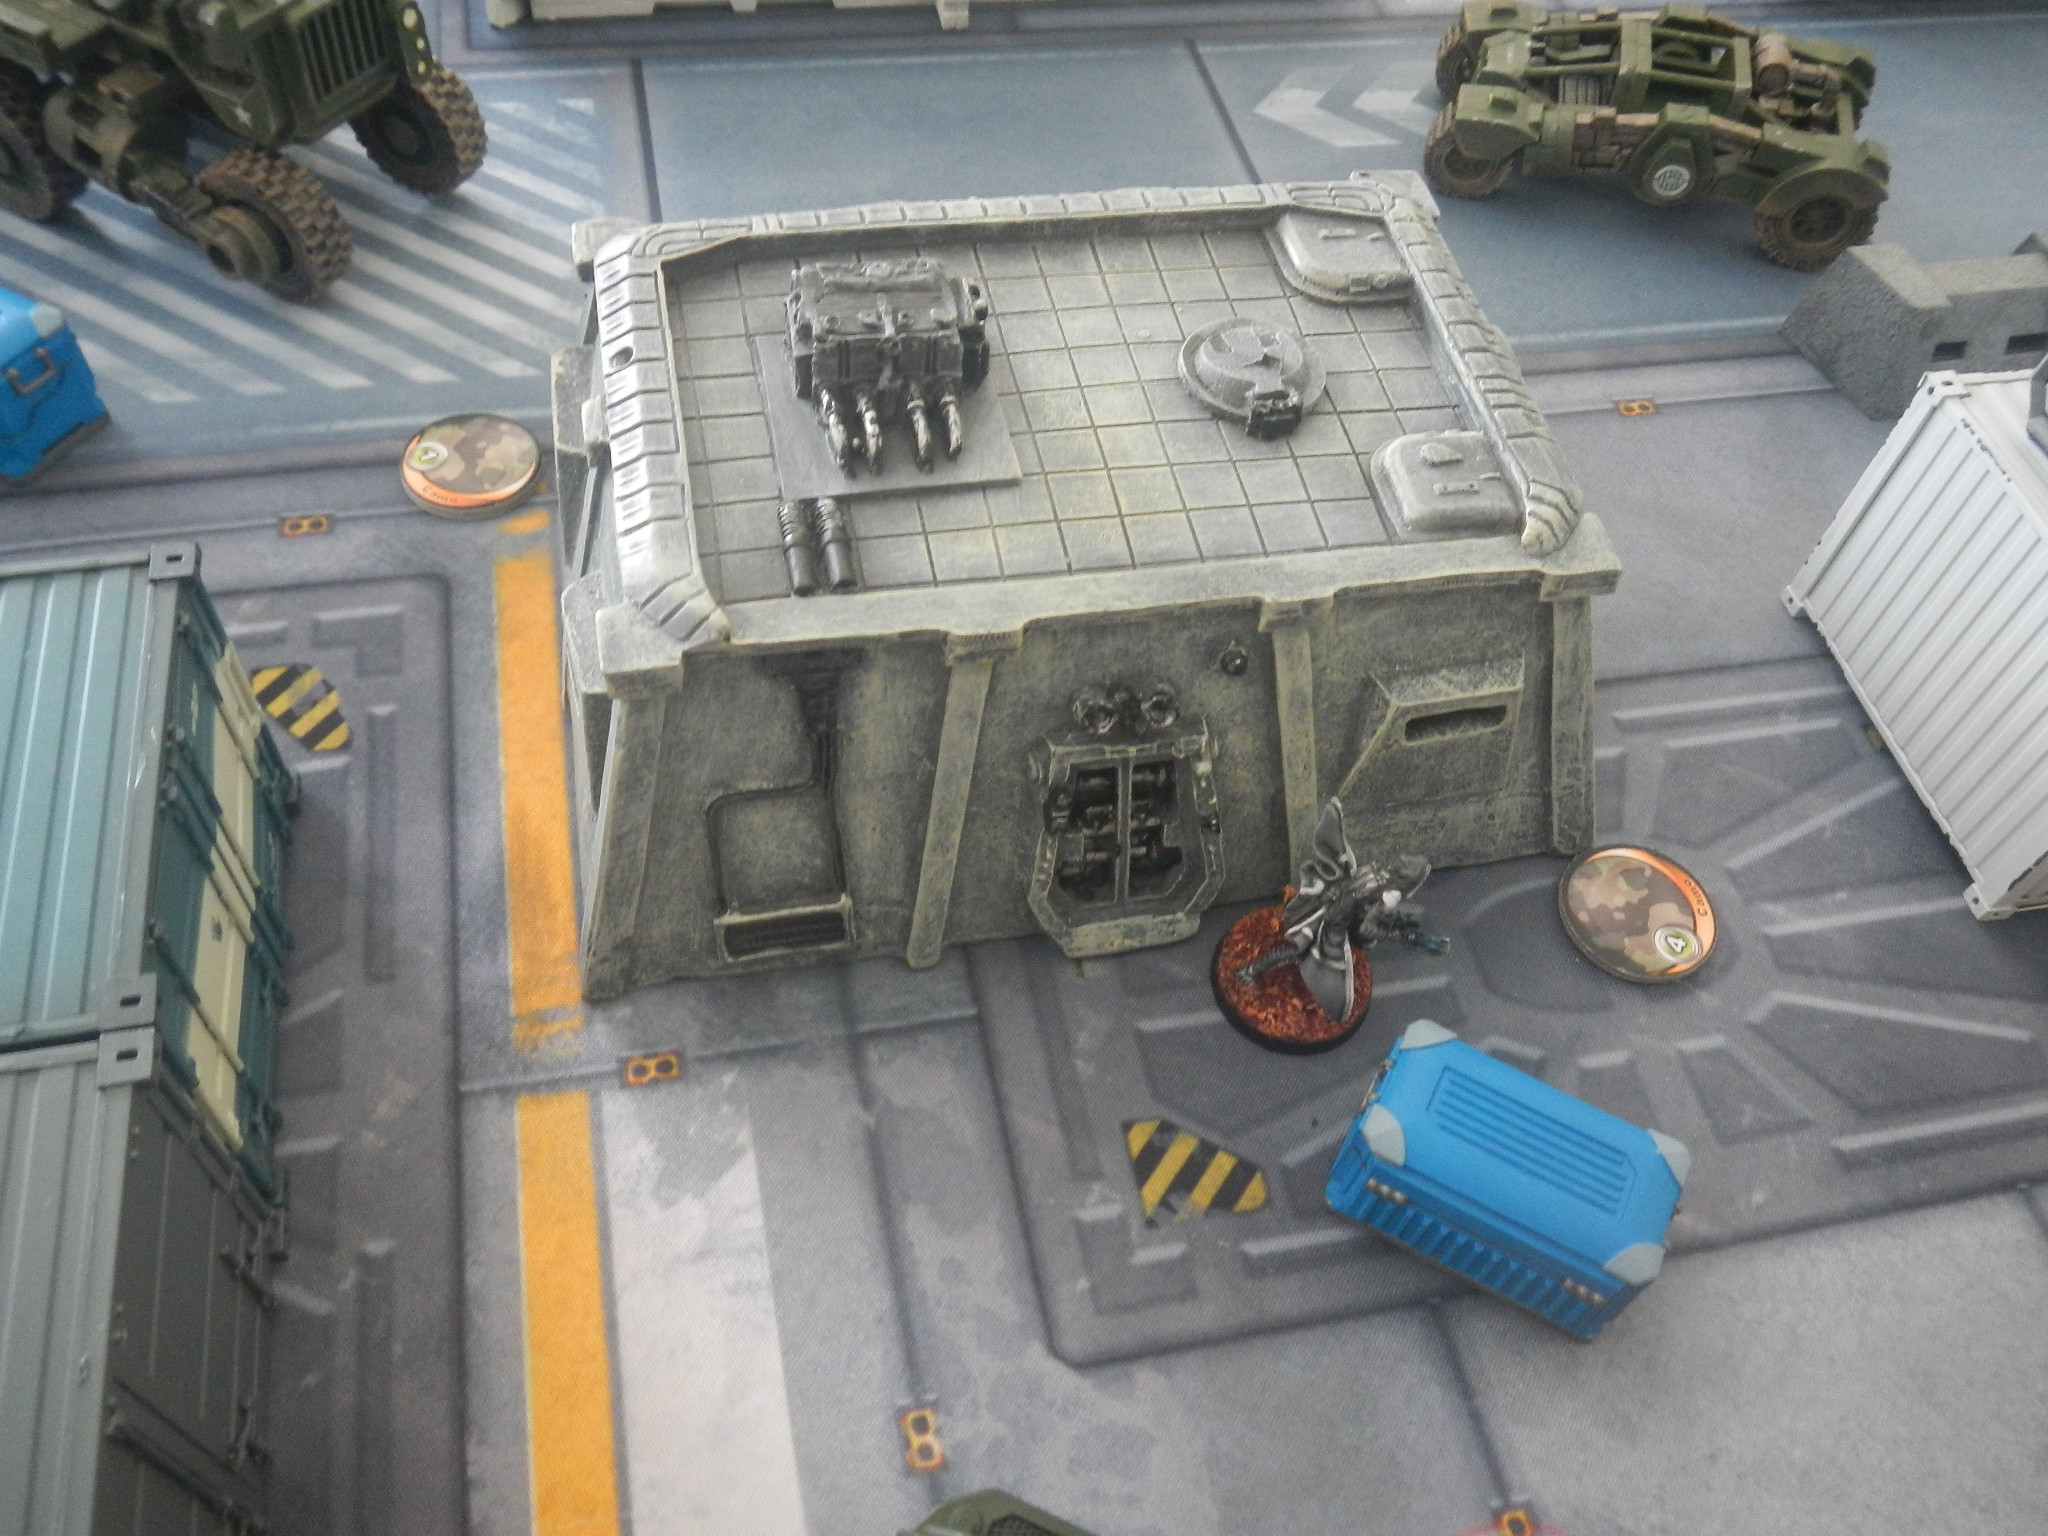
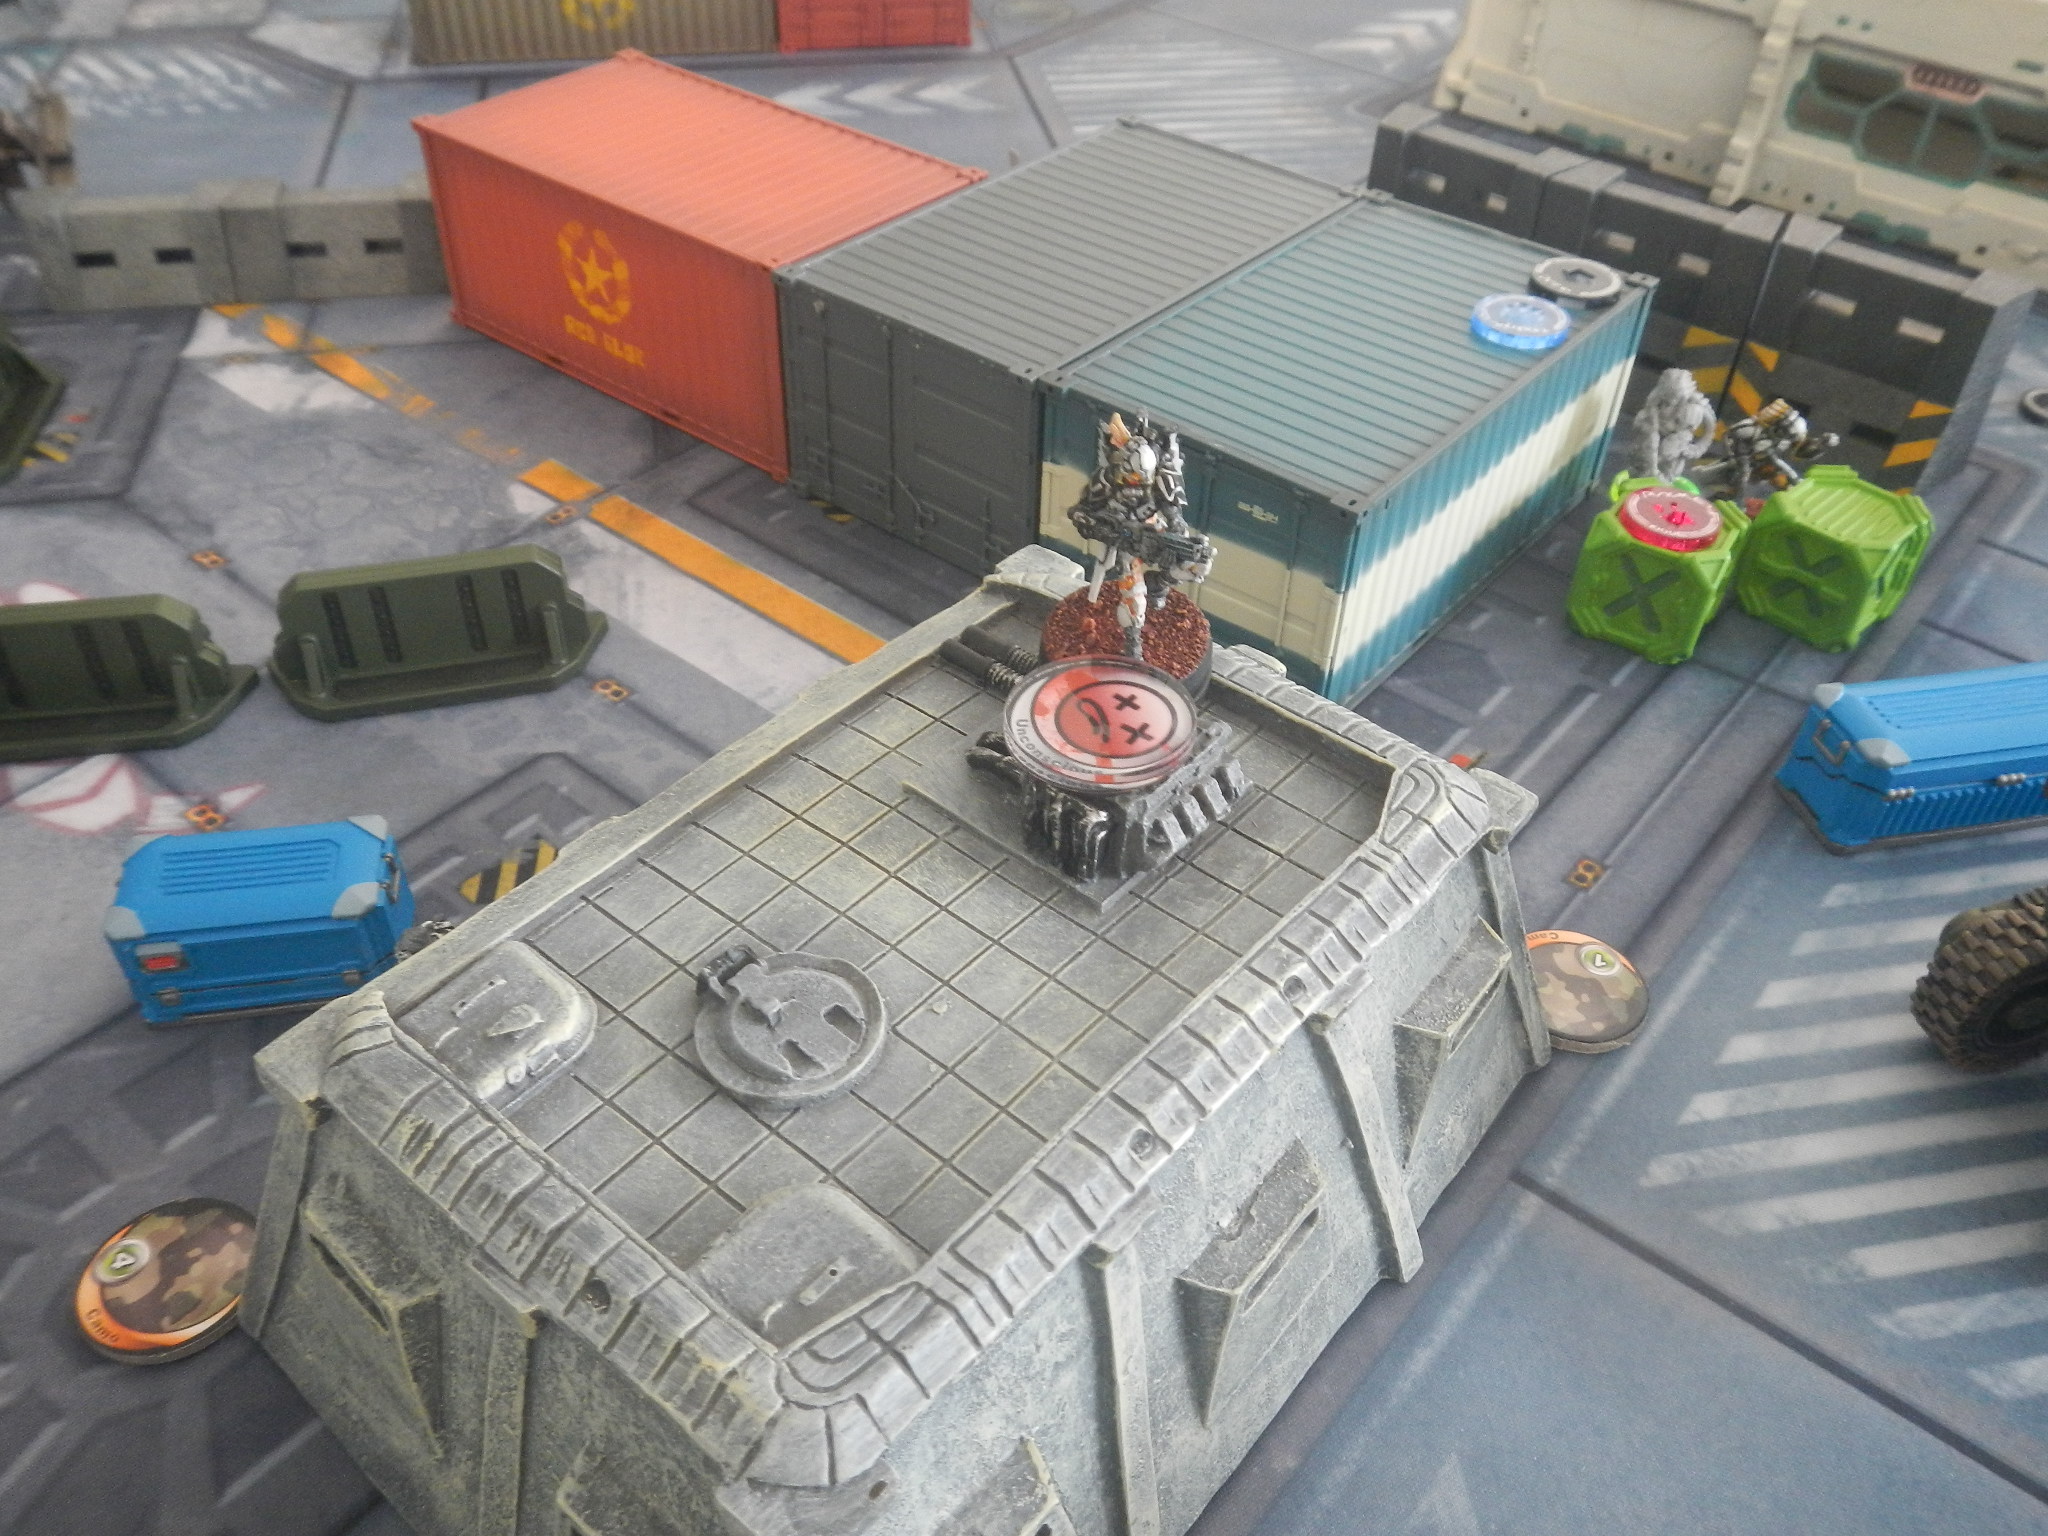
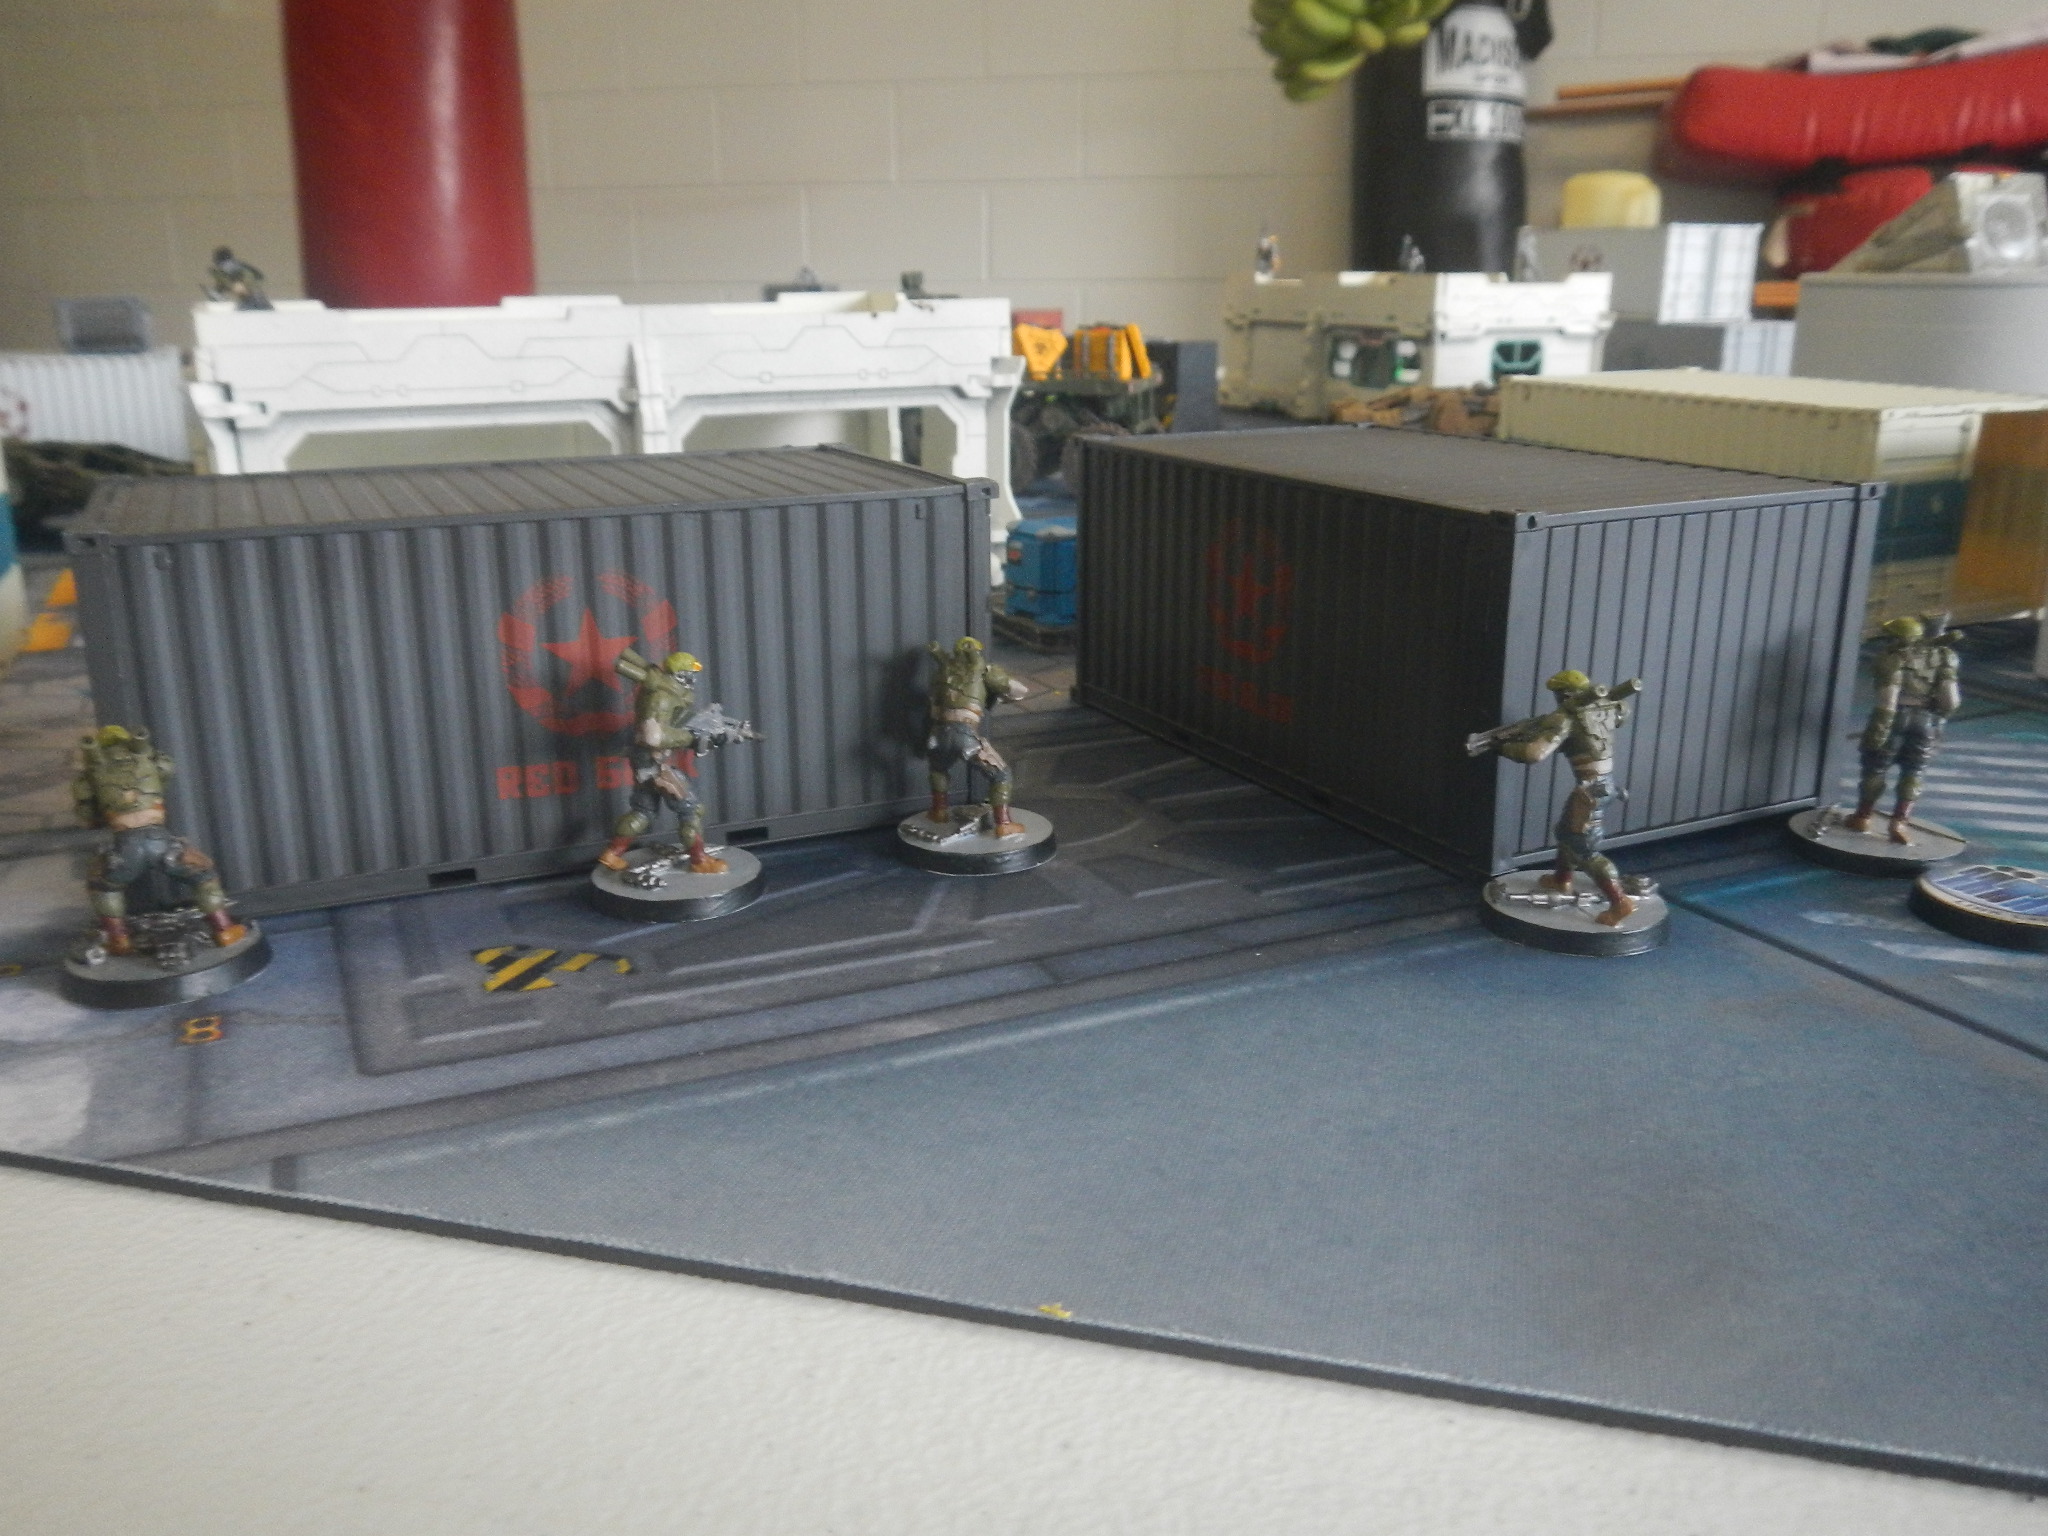
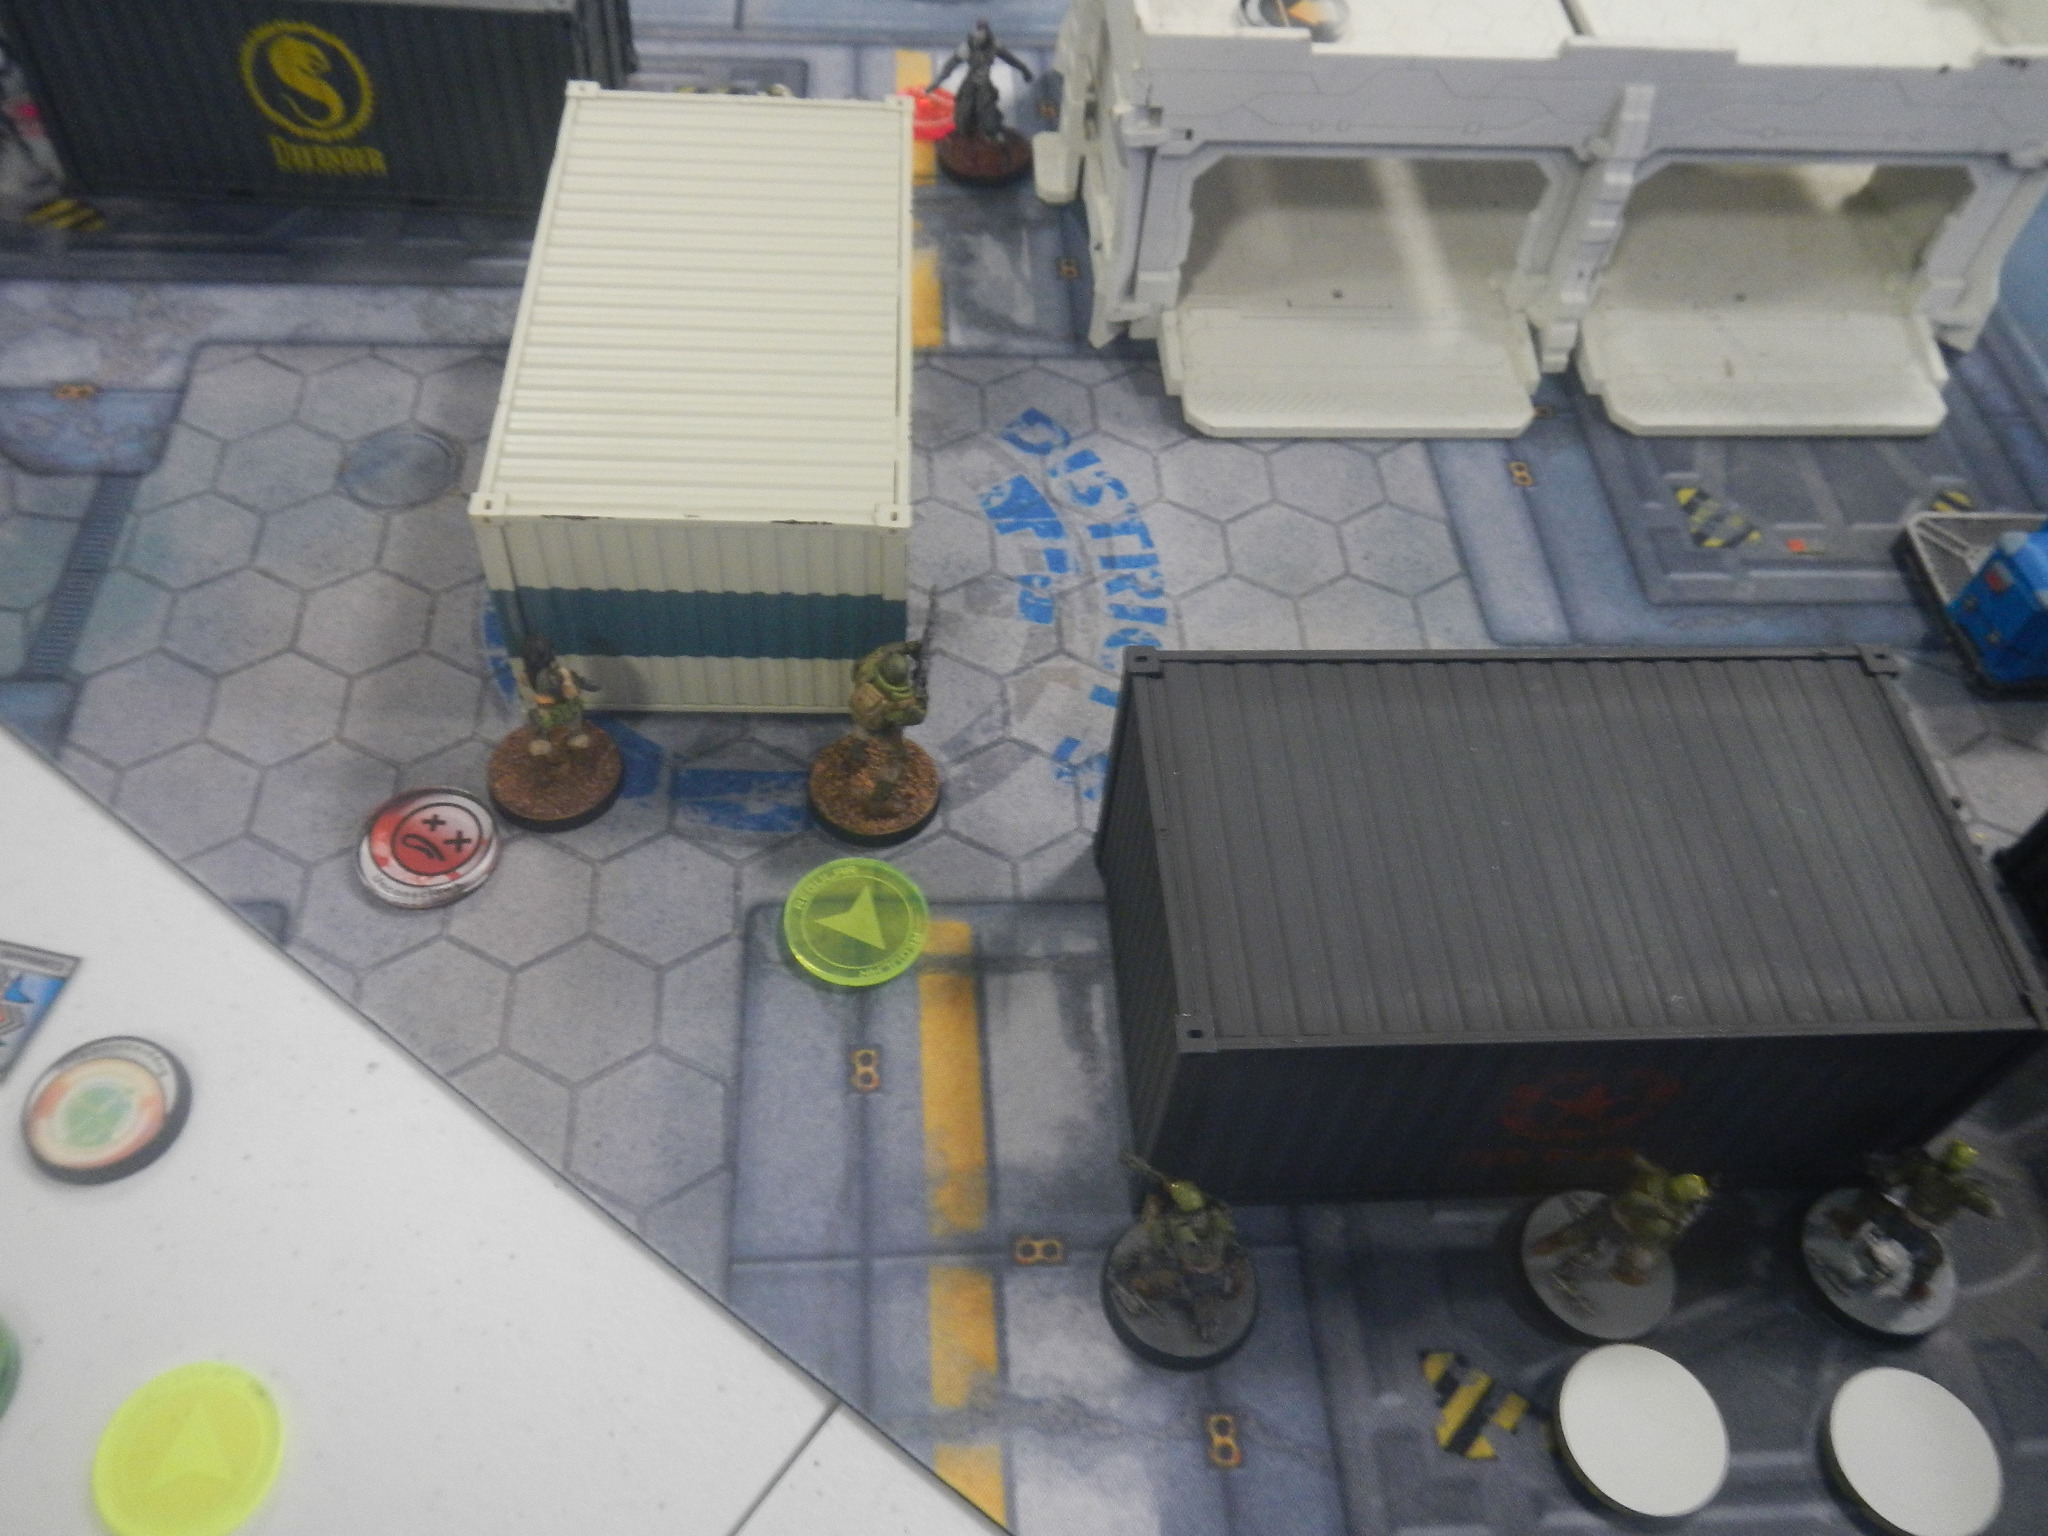
 QK end of the table, from L to R: Fanous REM at end of medical container; Hafza & 2 x Djanbazan in Harris link; Ghulam Doc+ to rear of Harris; Sekban 5-man link team behind dark containers; Ghulam Doc's Nasmat behind white, hexagon tank; Three Hawa in camo: Hacker prone on white building, Sniper prone on top of tall grey bunker, FO at rear base of tall grey bunker. Tariqa (HVT) was stolling near the Verti-bird wreckage.
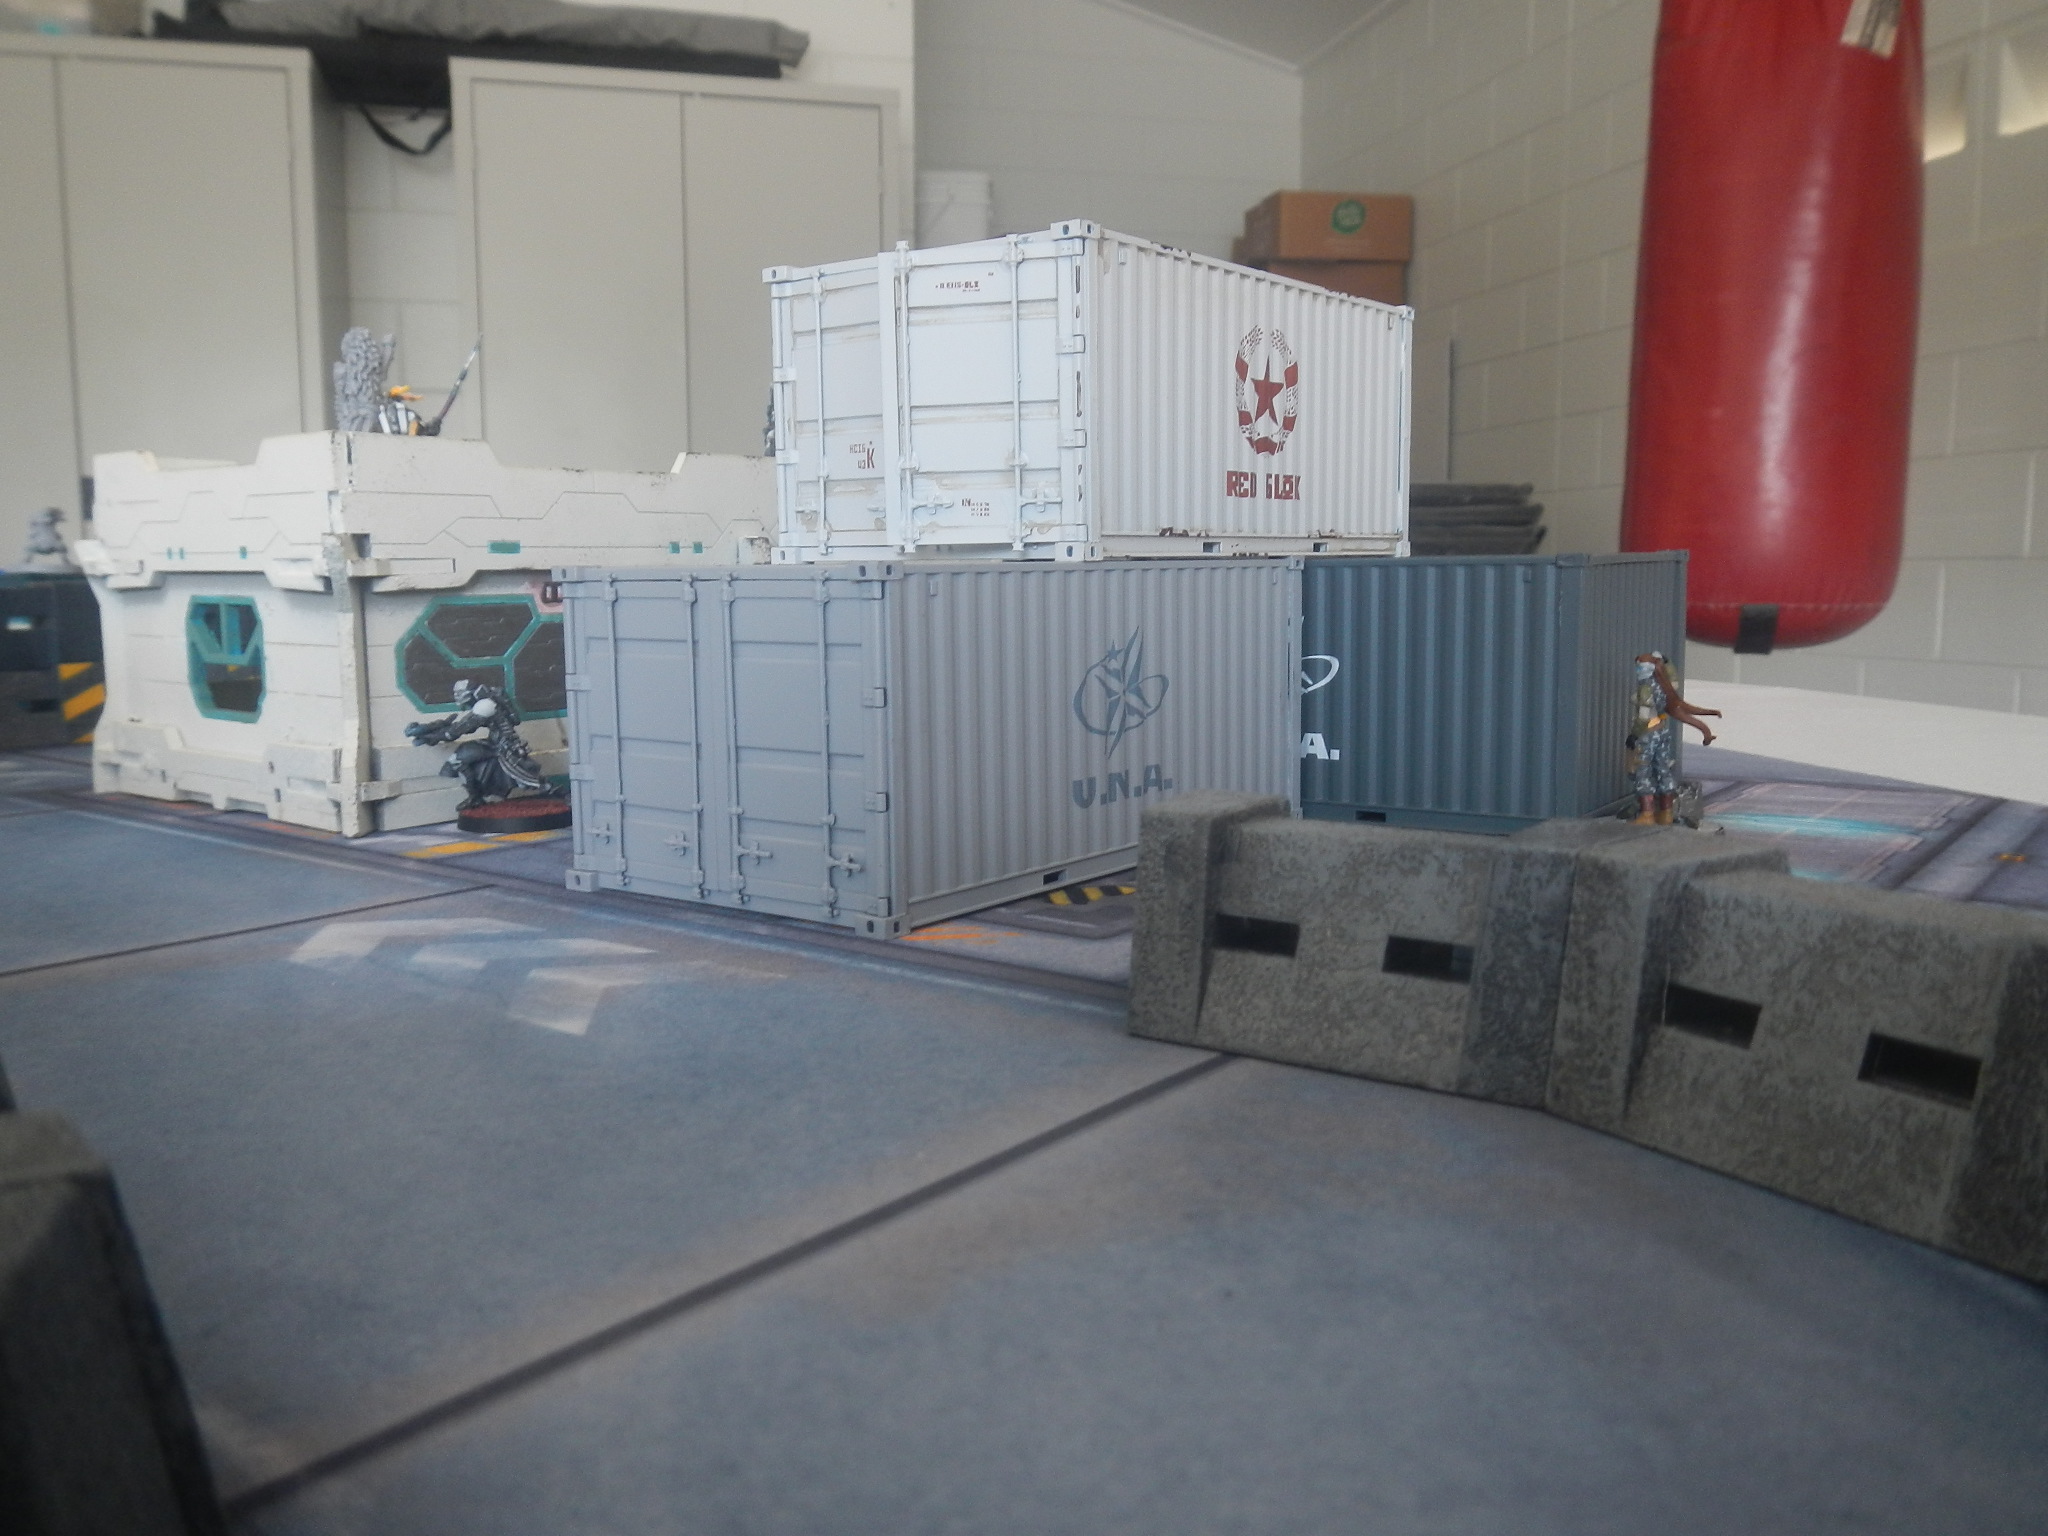
 Tohaa end, from L to R: Sukeul ML & HMG + Makaul triad & Symbiomate (Sukeuls on roof with Symbiomate & Makaul on the ground); Kumotail bio-engineer (prone) on roof to rear of Sukeul; Kaeltar in corner of grey & red containers; Neema+Kosul+Makaul triad & Symbiomate along red container; Kumotail's Chaksa servant at end of red container; Chaksa HMG on top of OD container to rear; Clipsos (TO cam) at back of low bunker; suspicious civilian (Tohaa HVT) near helicopter
Hafza operative TRA852 wandered despondently through the hospital ward checking on the wounded from the newly arrived Naval Task Force Zulu-21. There were four of them; the Sekban spitfire gunner, the Hawa hacker, the Ghulam doctor and the Hafza Lieutenant. TRA852 spoke quietly to each of the first three in turn, praising their efforts and wishing them a good recovery. As he left these troopers to head to the intensive care ward, the Hafza operative spared a remorseful thought for the Sekban HRL gunner shot to pieces by HMG fire and, more depressingly, the injured and unconscious Djanbazan HMG gunner captured by the Tohaa raiders in their attack.
Arriving at the intensive care unit, TRA852 took a deep breath before entering. Inside, when he got to the Hafza lieutenant's capsule, his composure slipped a little. The man was lying there heavily sedated and hooked up to all sorts of medical devices. Indeed, he was lucky to be alive and it was only Haqqislam's advanced medical technology that had revived him when the Tohaa raiders had departed. The man had bravely put himself on the line to try and redeem a rapidly deteriorating situation, but to no avail. TRA852 starred down at the critically wounded man lost in morose thoughts.
How had things turned out so badly?
Naval Task Force Zulu-21 (NTF Z-21) was a hand-picked unit of well-trained and experienced soldiers under a capable officer. It had been deployed to NBIS where its experience and specialised training in zero-g and asteroid terrain was expected to enhance the defence there and permit offensive action. Much had been expected of this unit. Yet, in its first combat, it had suffered a serious defeat in an engagement command had been confident it would succeed in.
What had gone wrong?
TRA842 started to review the battle data on his comm-log.
Tohaa: QK used a CT to remove 2 orders from group 1 (Neema's group)
The Clipsos spends all of group 2 orders to break camo to lay mines either end of the low bunker. She then loots the nearby panoply for +2 ARM - this was to prove very important later on.
Neema's triad uses all group 1 orders to move up to the central panoply and attempt looting. Neema failed but the Kosul grabbed a Breaker Rifle. The triad then took cover near the panoply.
QK: The Hawa sniper up in the tall bunker lays 3 mines along the ledge to cover the nearby panoply then re-camouflages.
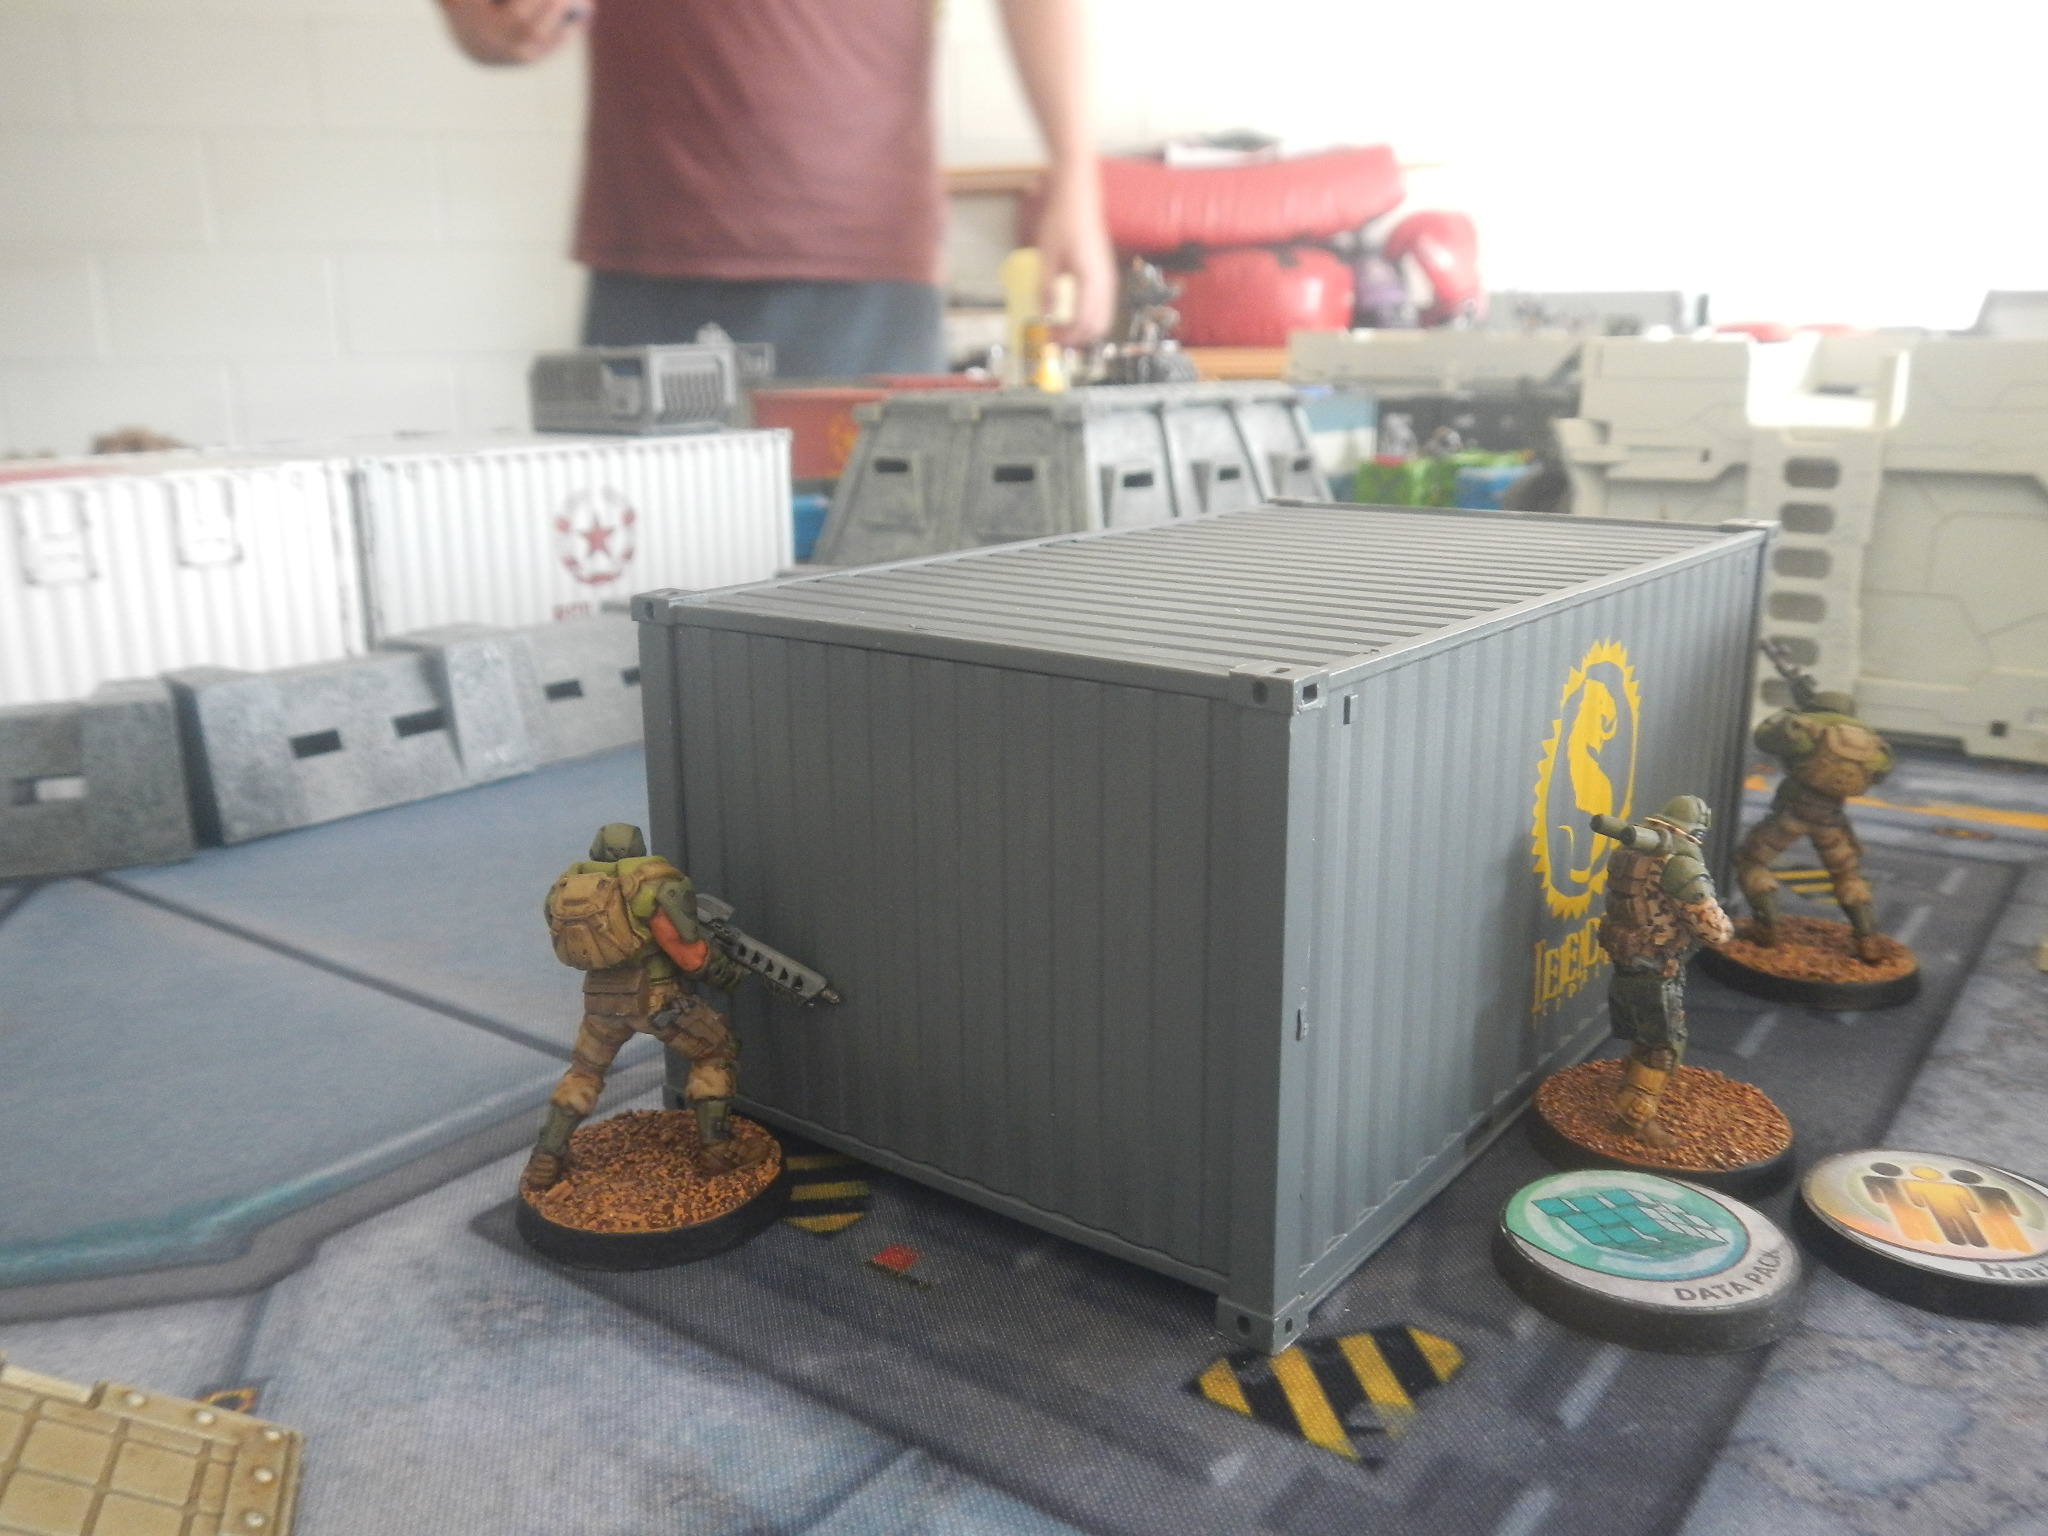
The Hawa FO at the base of that bunker sneaks forward and dashes across the road to get to the containers behind the Sukeul triad, despite being spotted on the way.
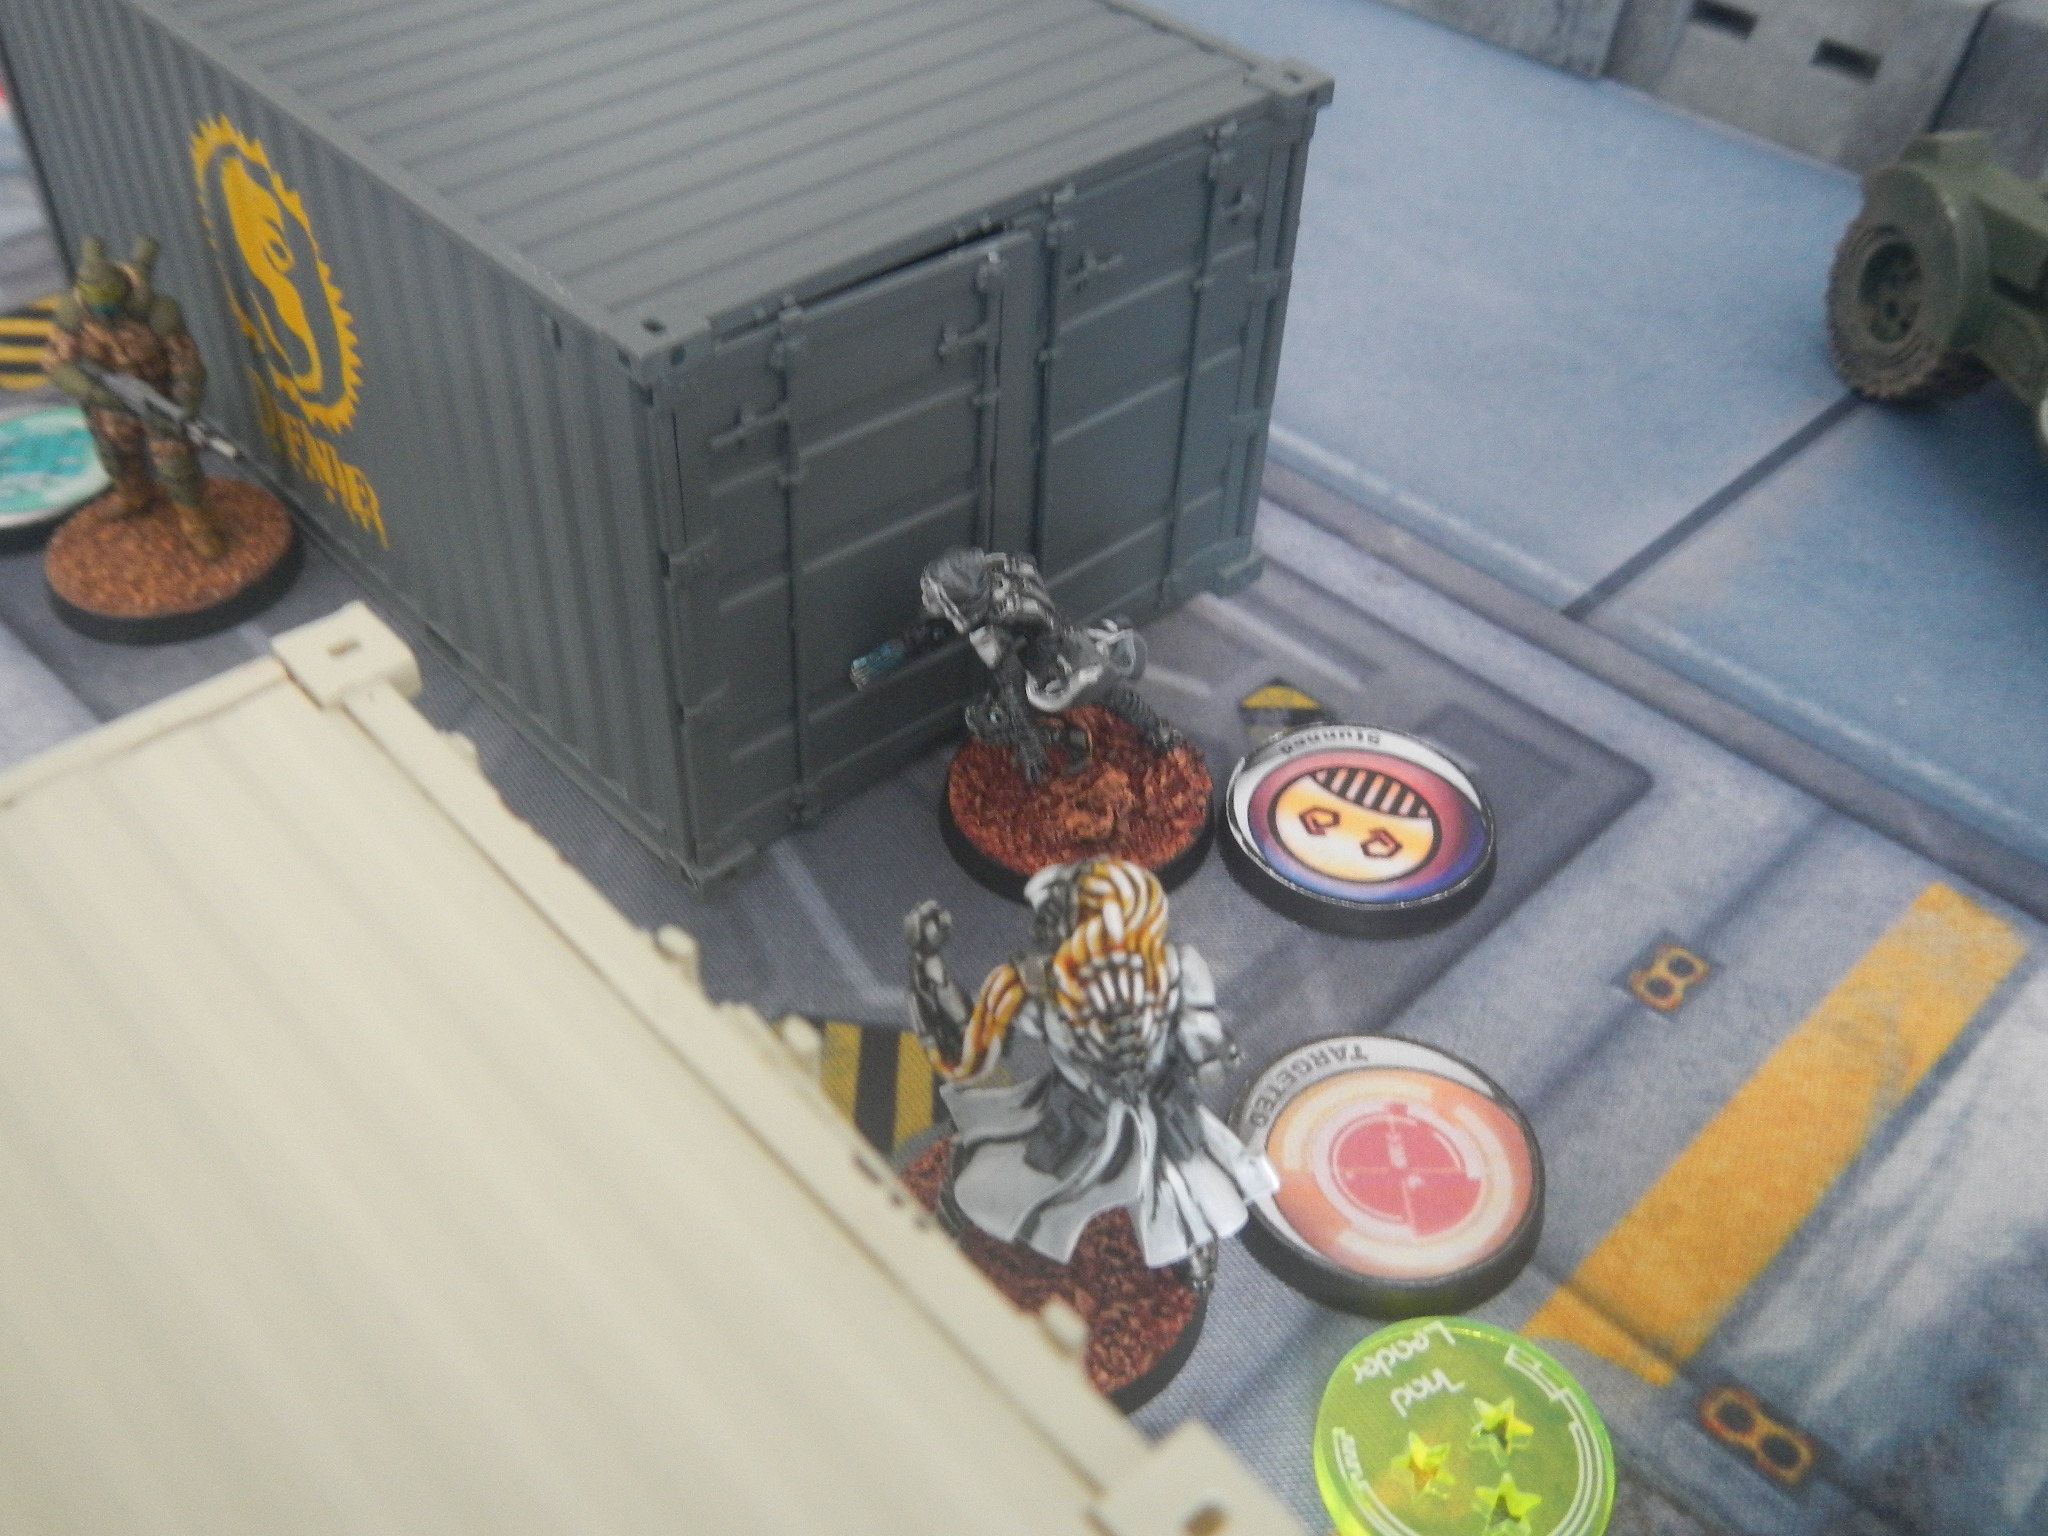
The Djanbazan HMG moves to the back of a container and leans around to shoot at Neema, who ARO back with a panzerfaust. No hits either side. Djan HMG tries again and gets a critical and two hits. The Symbiomate saves the two hits and Neema drops prone. The Djan HMG holds position.
End of Turn: Both sides have manoeuvred and achieved some effect. Tohaa have three panoply items and QK have taken a wound off Neema. All good so far.

 Hawa FO dashes across road to get to cover behind the Sukeul triad, despite being discovered in the way.
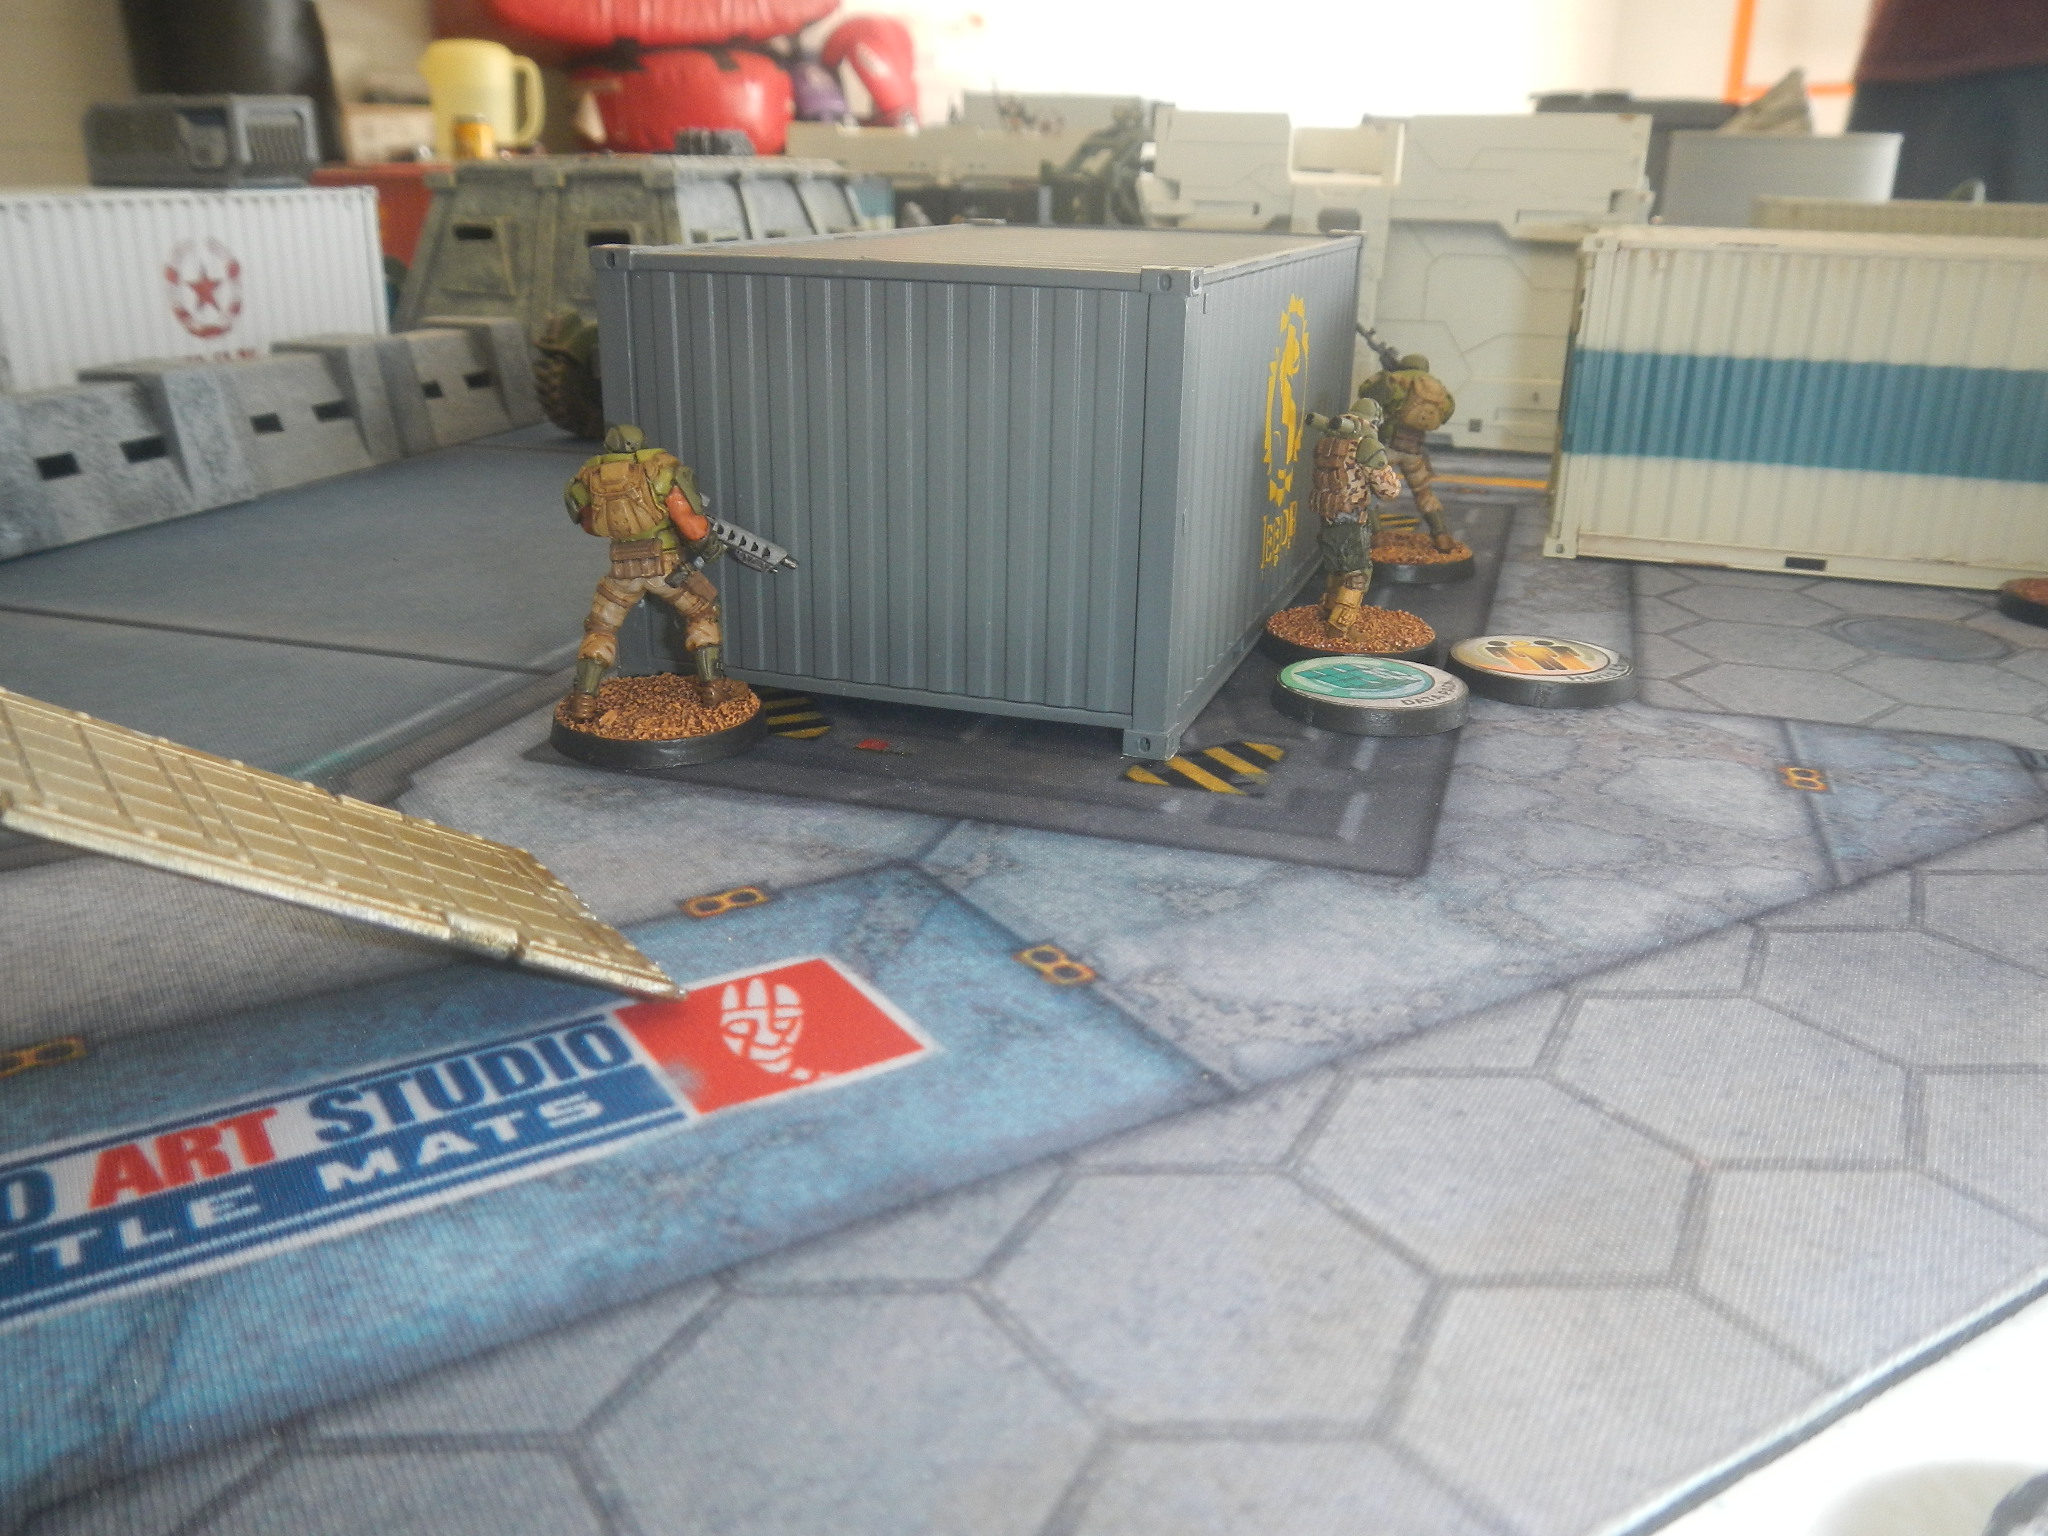
Tohaa: Start with full orders.
A Gao-Tarsos drops in but scatteres to the top of the low bunker, in full view of the two Djanbazan (HMG & SMR). These two open fire and take him out.
The Sukeul HMG spots an angle and slides down to open fire on the Djanbazan HMG. Djan dodges but takes 2 hits to go UNC.
The Sukeul HMG slides a bit further and fires on the Djanbazan SMR. Djan successfully dodges out of LOS.
Neema's triad advances on the Djanbazan Harris position, during which the Hawa hacker fails two uncontested "Spotlight" attempts. Once in position, Neema engages the Djanbazan SMR and scores 1 hit to send him UNC. Hawa hacker successfully spotlights Kosul.
The (now Targeted) Kosul advances to engage the Hafza with BSG. Hafza responds with LSG. Both are in open. Hafza scores one hit but Kosul saves. At the same time, Neema was also moving and got stunned by the Fanous REM's Flash Pulse.
Neema now leaves the triad to spend her DT & LT orders to move to the UNC Djanbazan HMG and succeed with "In Extremis Recovery" - the Djan is removed.
Clipsos moves to the panoply ands resupplies with mines, then heads towards the Djanbazan's location. She gets stunned by the Fanous REM as she crosses the road. This prevents her laying any mines.
All up a good turn for the Tohaa. They lost the Gao-Tarsos but managed to knockout the Djanbazan team and capture the HMG to achieve a classified. However, they were also deep in QK territory and perhaps a little over-extended. QK forces were looking to capitalise on this.
QK: Start 2 orders down in group 2 but complete in group 1.
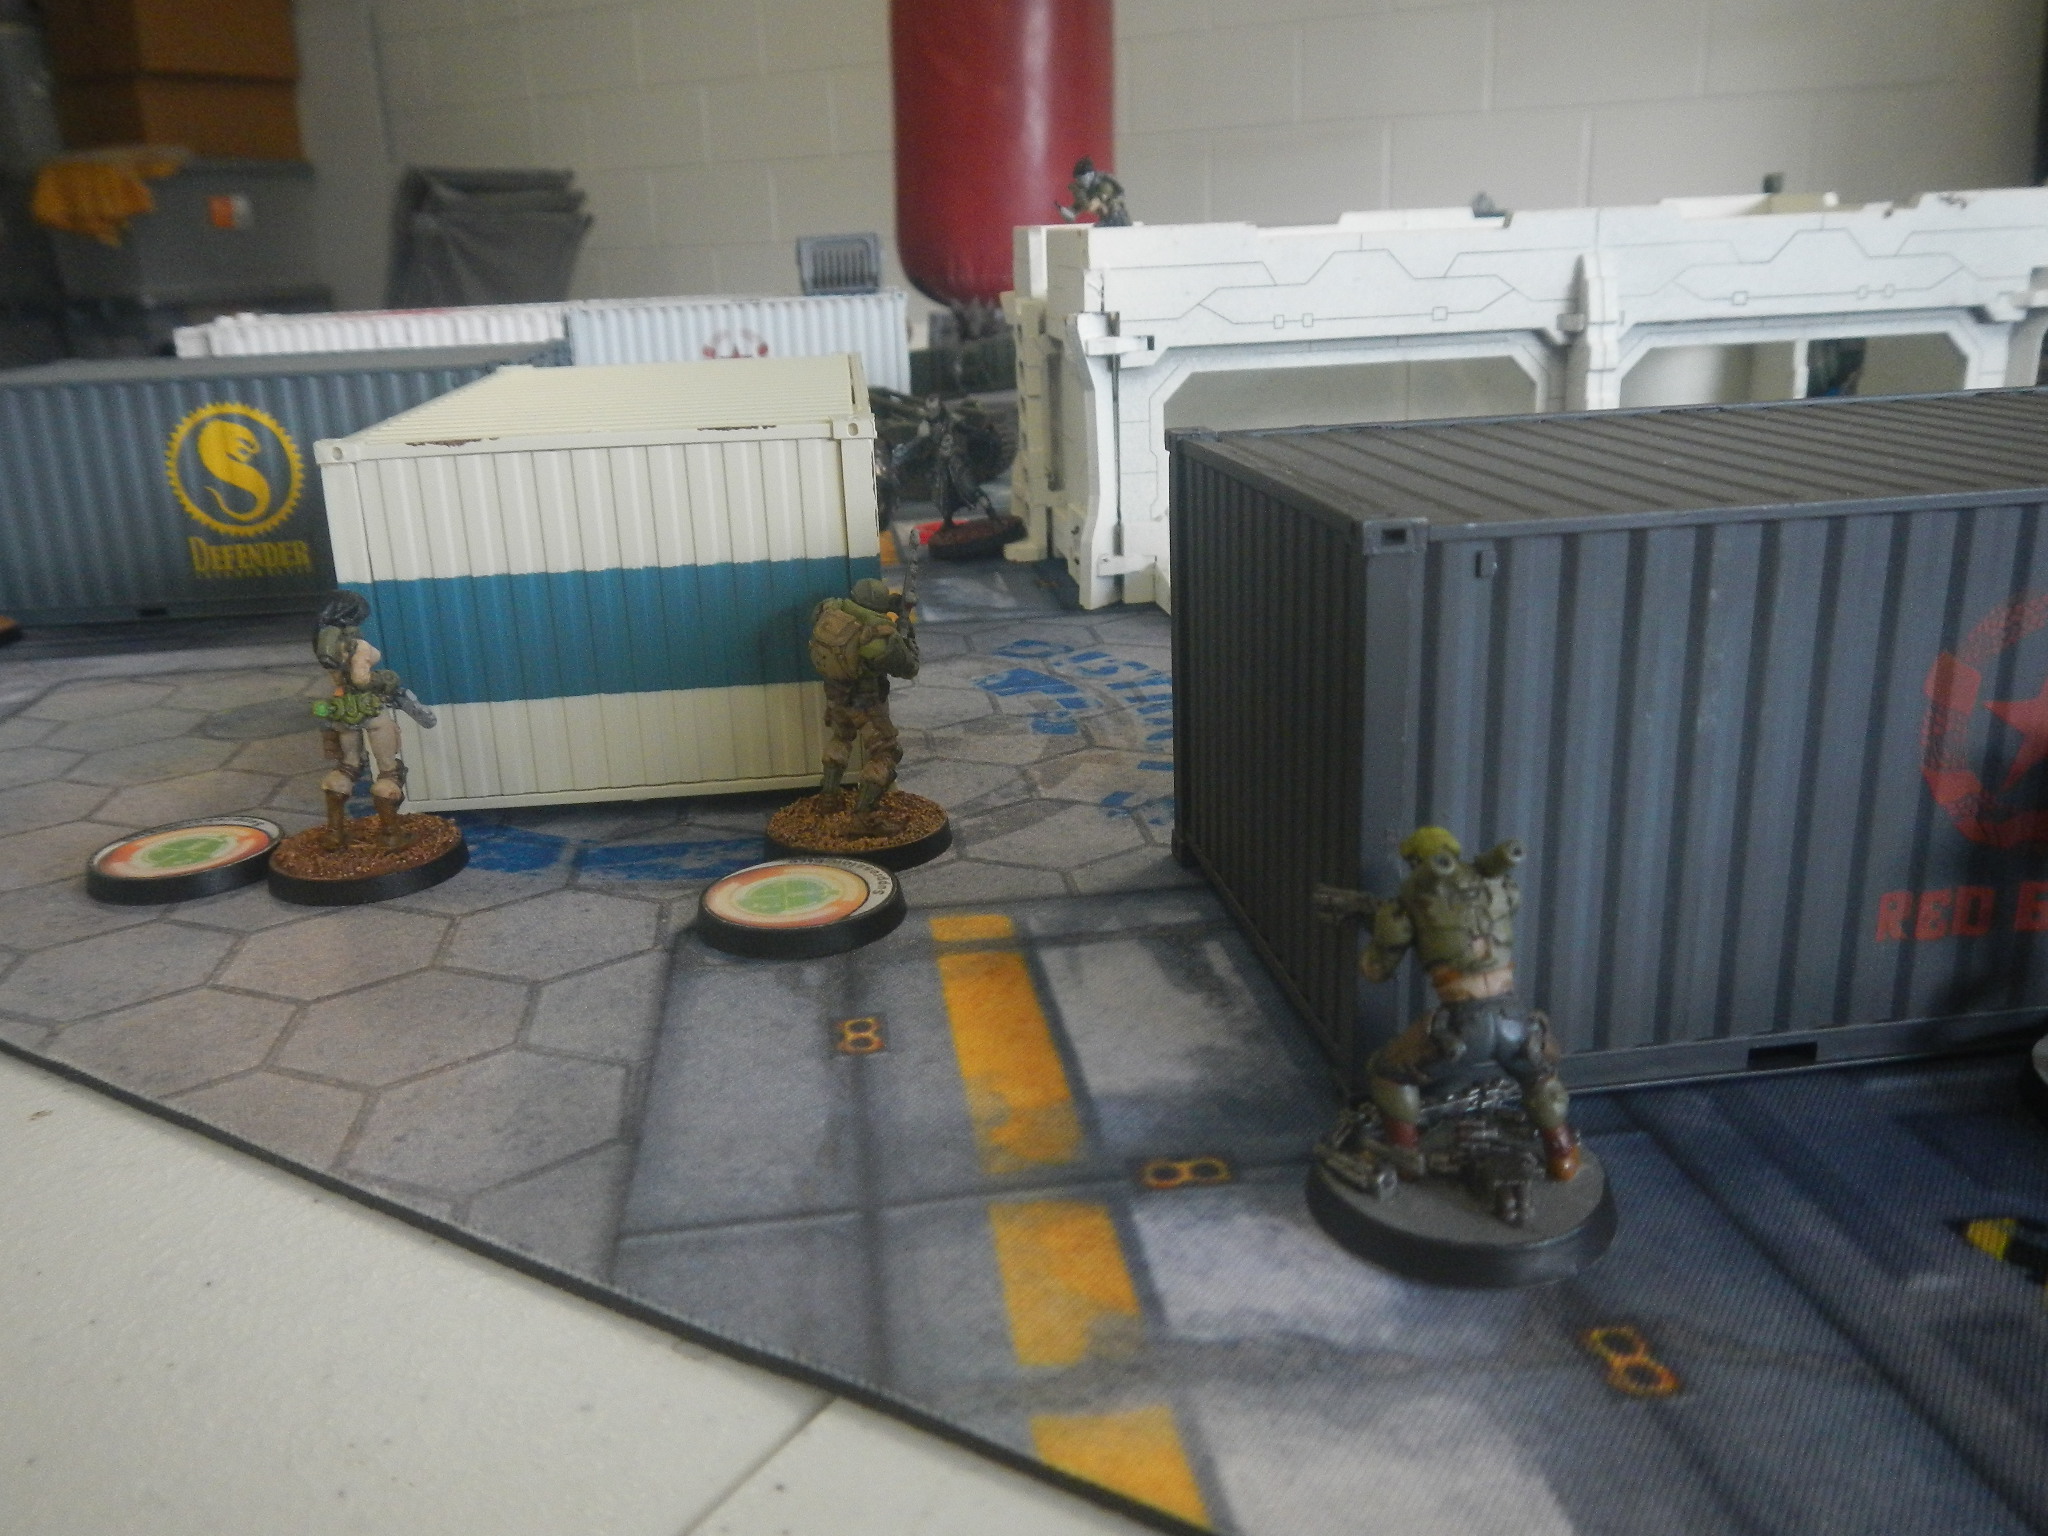
Hawa hacker crawls up to the edge of the building (thus avoiding LOS to the Sukeul triad) and BSG attacks the Kosul in the back, catching the Clipsos in the template as well (also from behind). Long story short - it takes FOUR orders (8 shots with 6 hits) to eventually put both Tohaa UNC. The two Tohaa saved likes champs despite standing in the open and failing dodges. That +2 ARM the Clipsos looted helped a great deal in this.
The Ghulam Doc+ moves up and heals the Djanbazan SMR.
Meanwhile, QK sets up for a one-two punch on the Sukeul triad. The Hawa FO moves around the container and shoots the Sukeul ML in the back with her BSG at close range. Misses both shots (19 & 20) and Sukeul ML makes her turn & Face roll. This means its no longer viable for the Hawa sniper to try and surprise shot the Sukeul HMG.
Instead, the Sekban HRL peers round its container and fires on the Sukeul HMG. Gets two hits but these are saved thanks to the symbiomate. At the same time, one of the Sekban AP Rifleman moves to cover the likely path if the now extremely impetuous Makaul from Neema's broken triad.
Group 1 is now out of orders.
In group 2, the Hafza, Djanbazan SMR and Ghulam Doc+ all move to cover Neema and set an ARO trap for the impetuous Makaul. Use a combined order to all go SF.
Not a good turn for QK, with the Sukeul triad untouched and Neema let off the hook due to lack of orders.
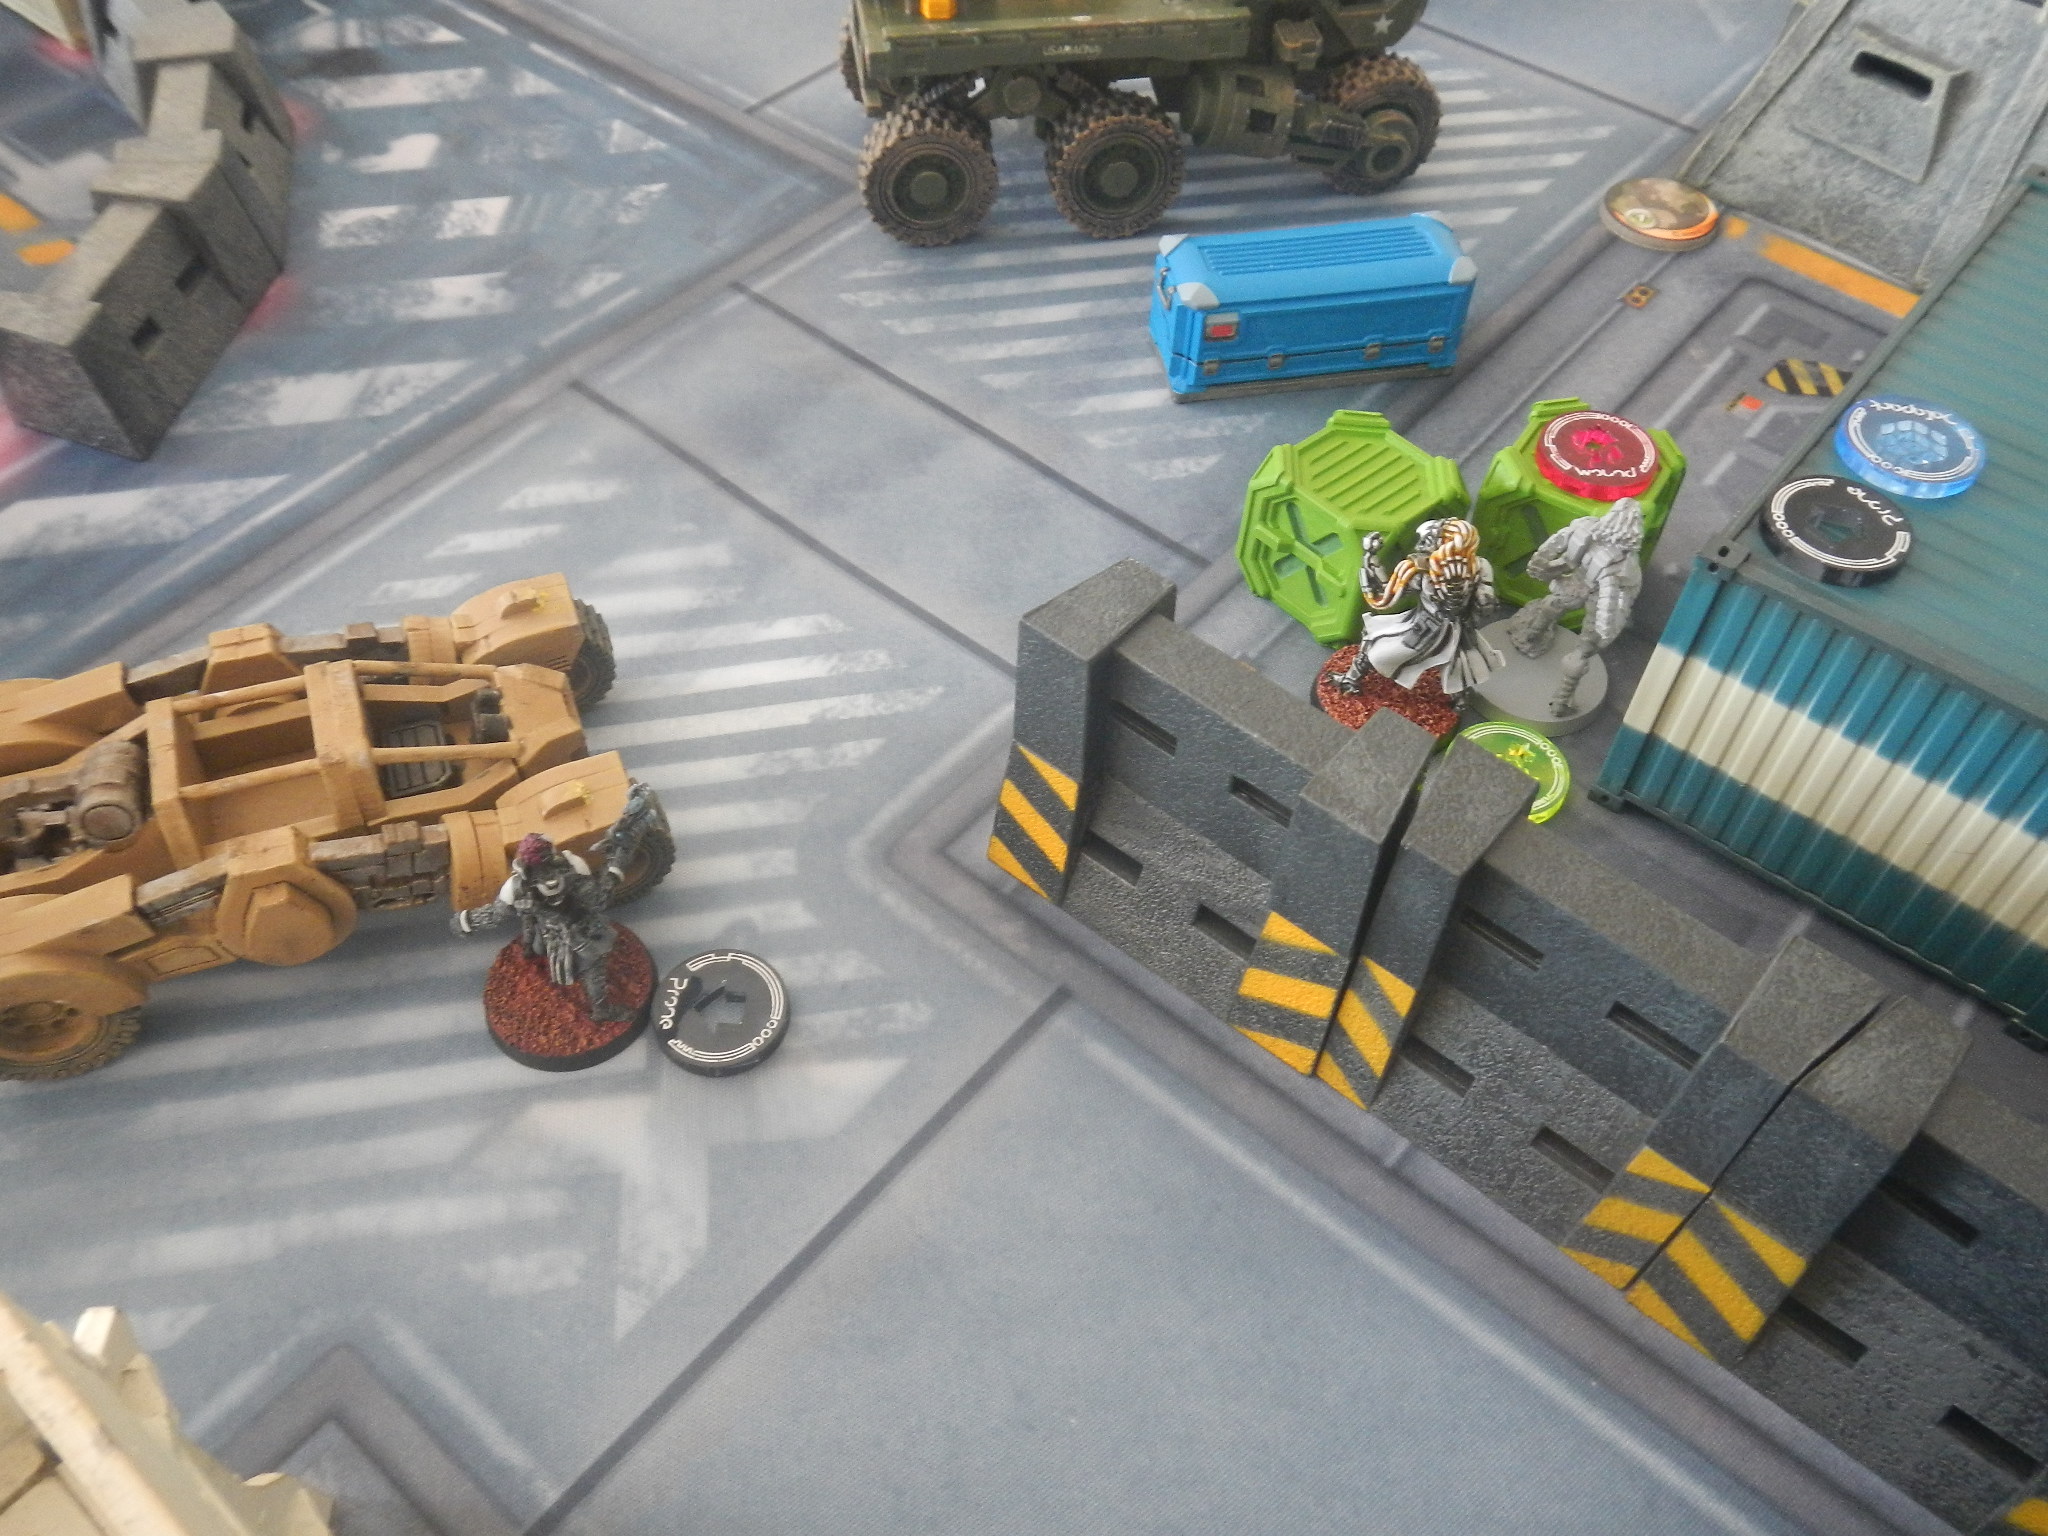
 The Sukeul HMG takes down the Djanbazan HMG, but there is a Ghulam Doc+ nearby (just off screen to the right).
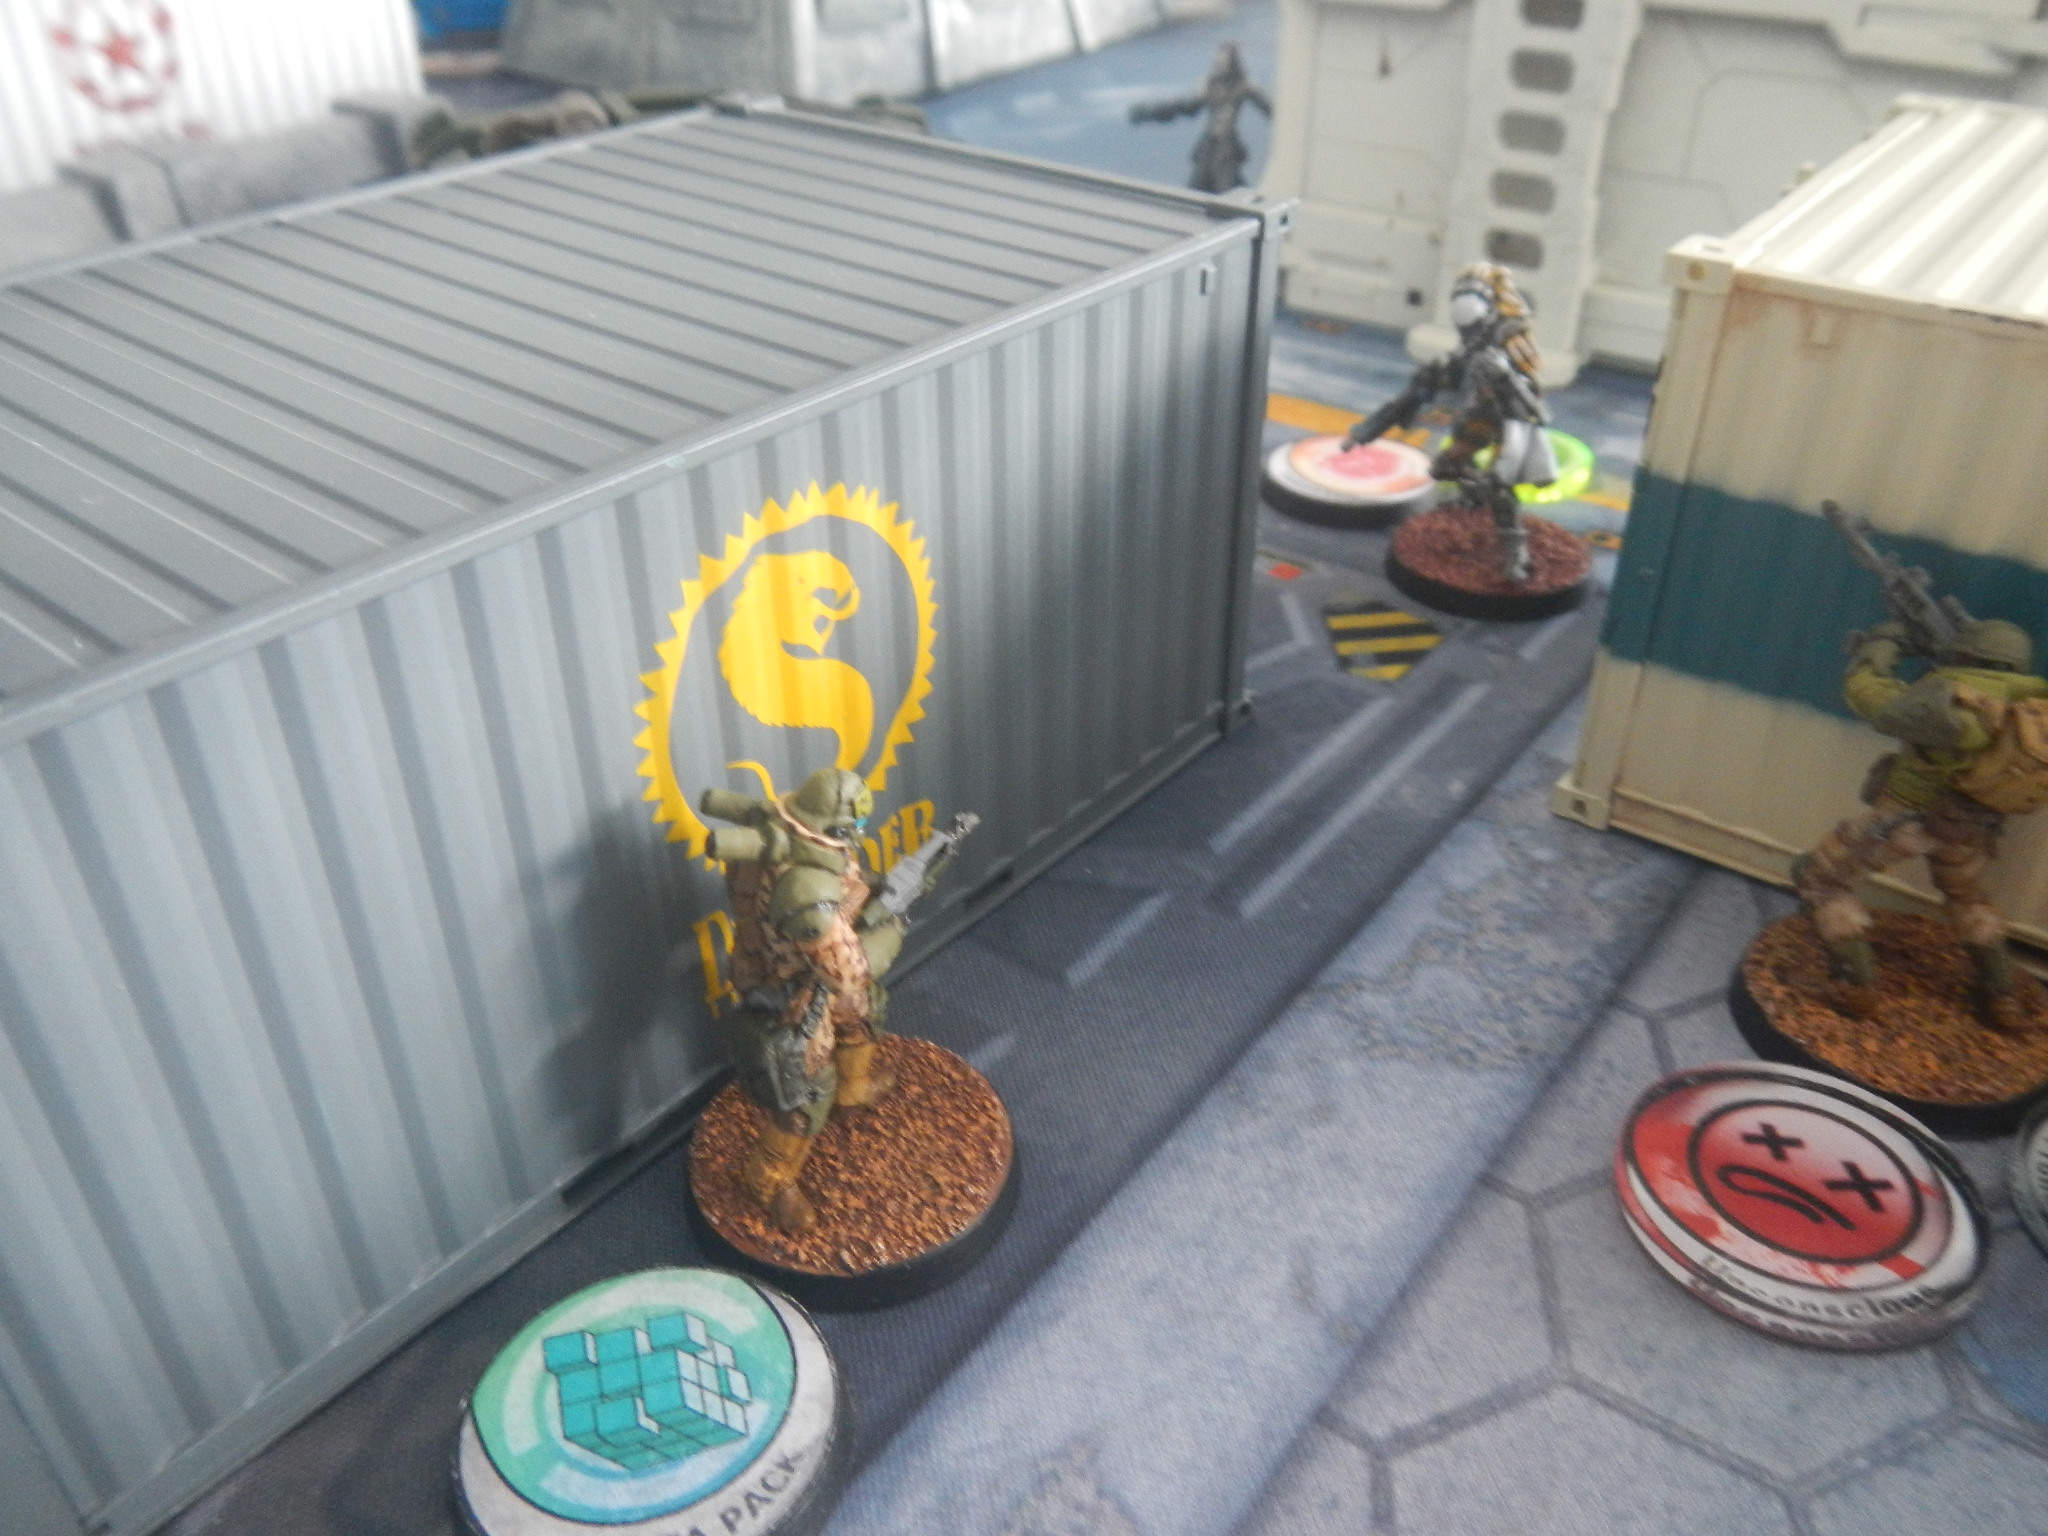 The Hafza and Kosul in a shotgun stand-off. The Djanbazan SMR at right has already been taken down by Neema.
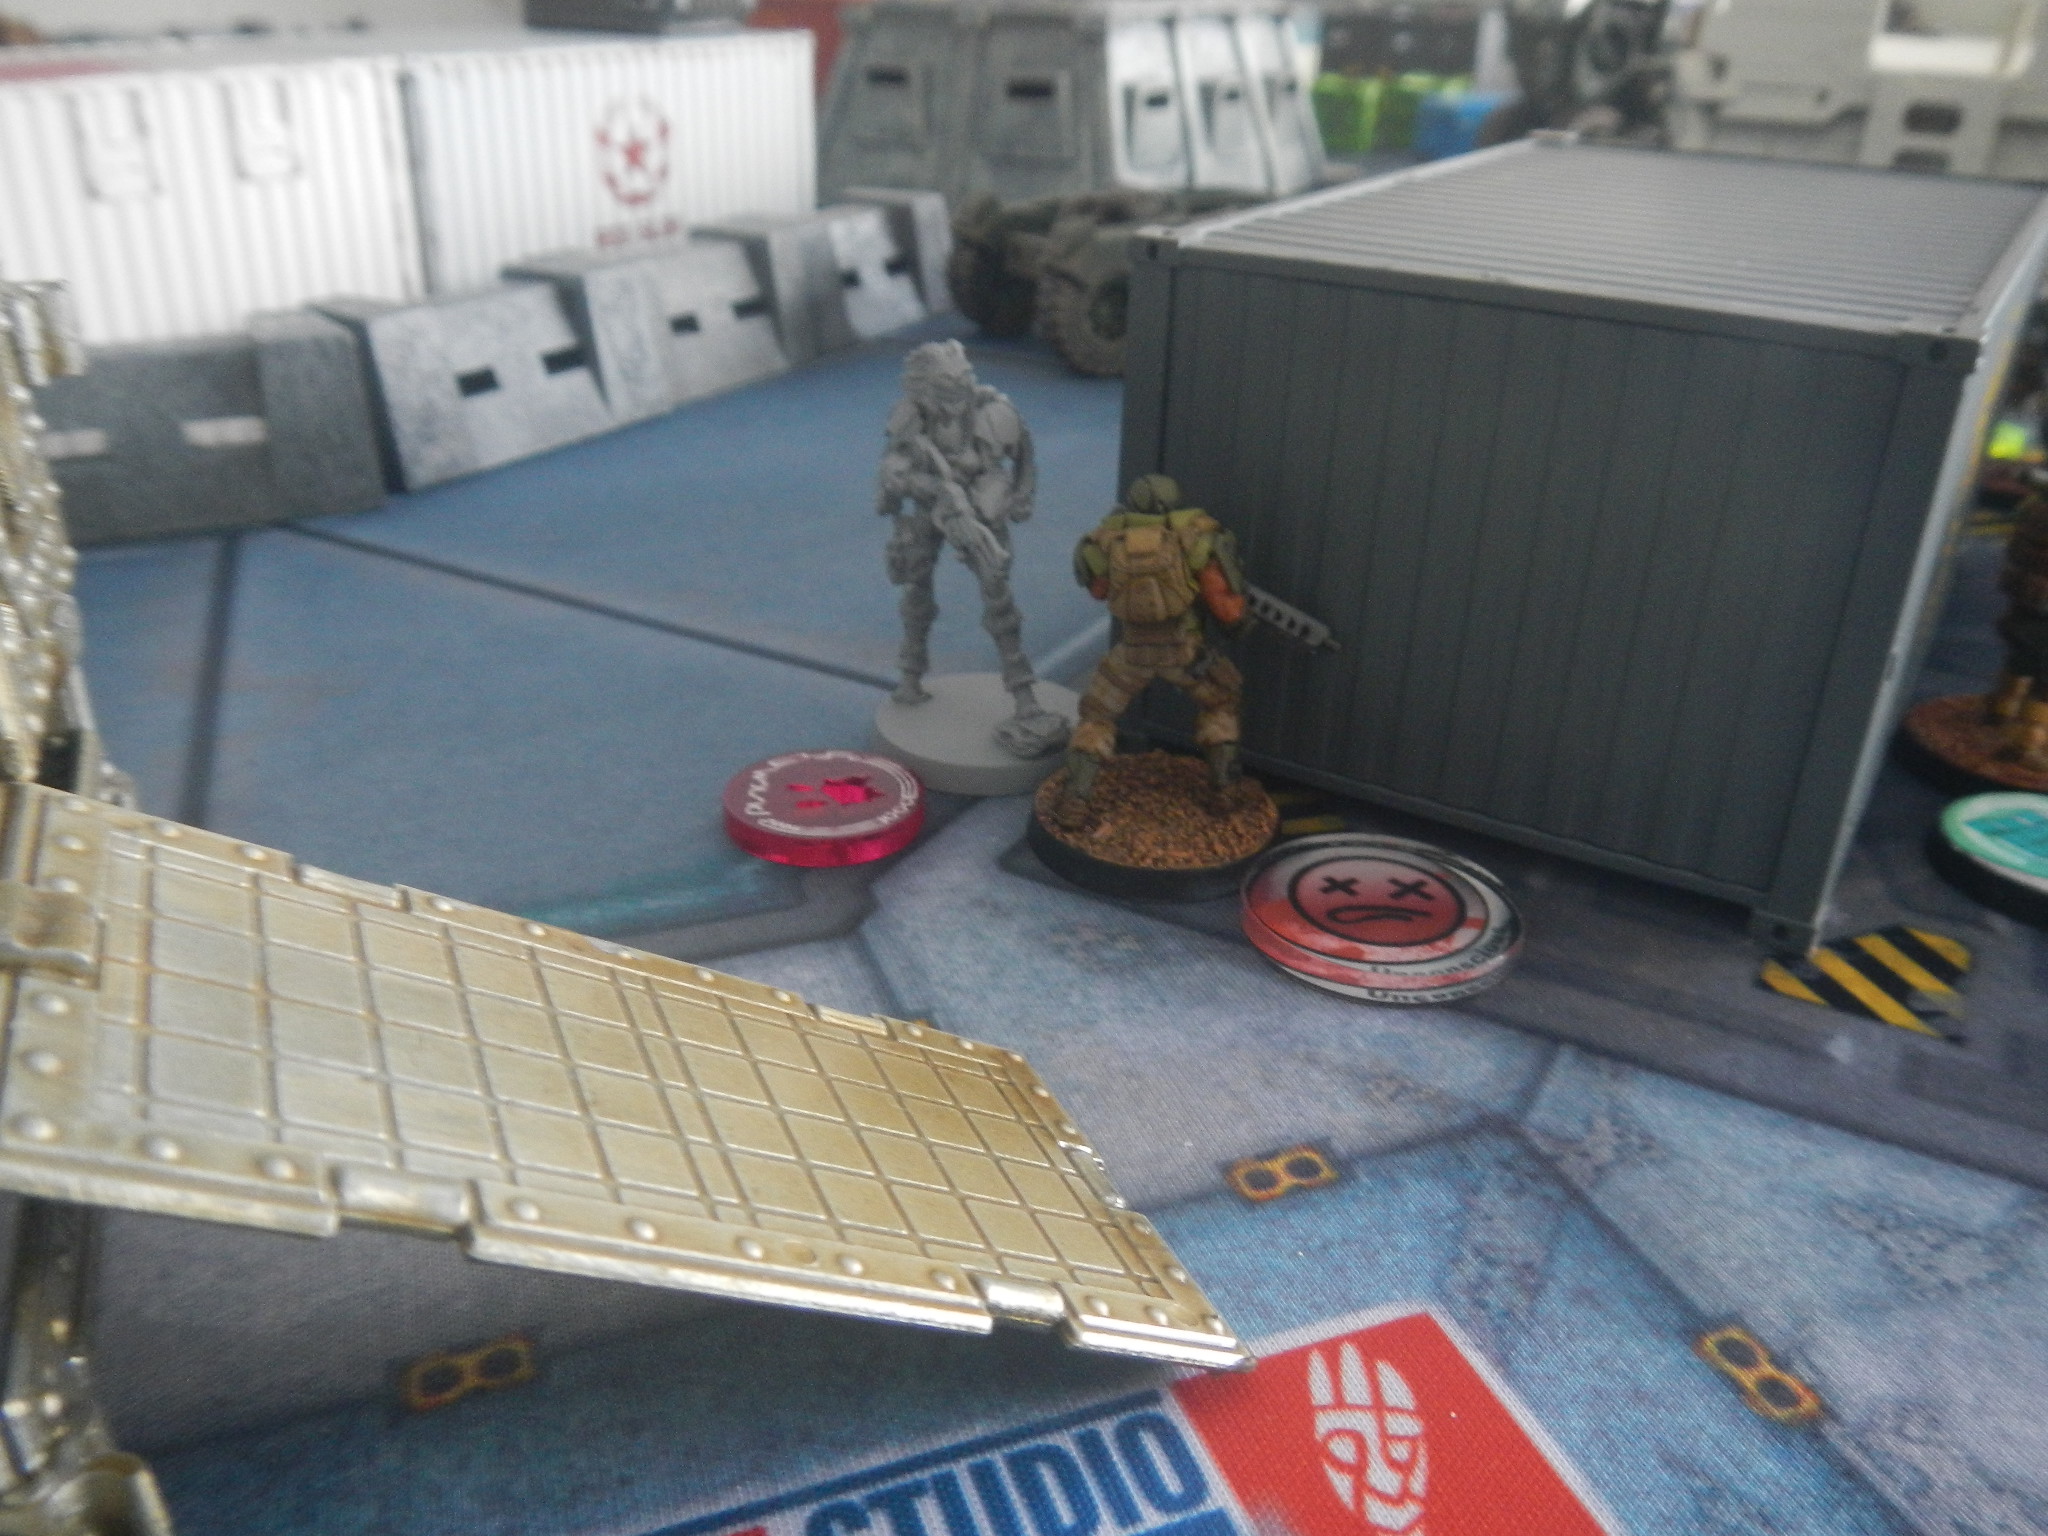
 Clipsos & Kosul finish bunched up facing the Hafza - their backs are to the Hawa hacker up on the white building behind them.
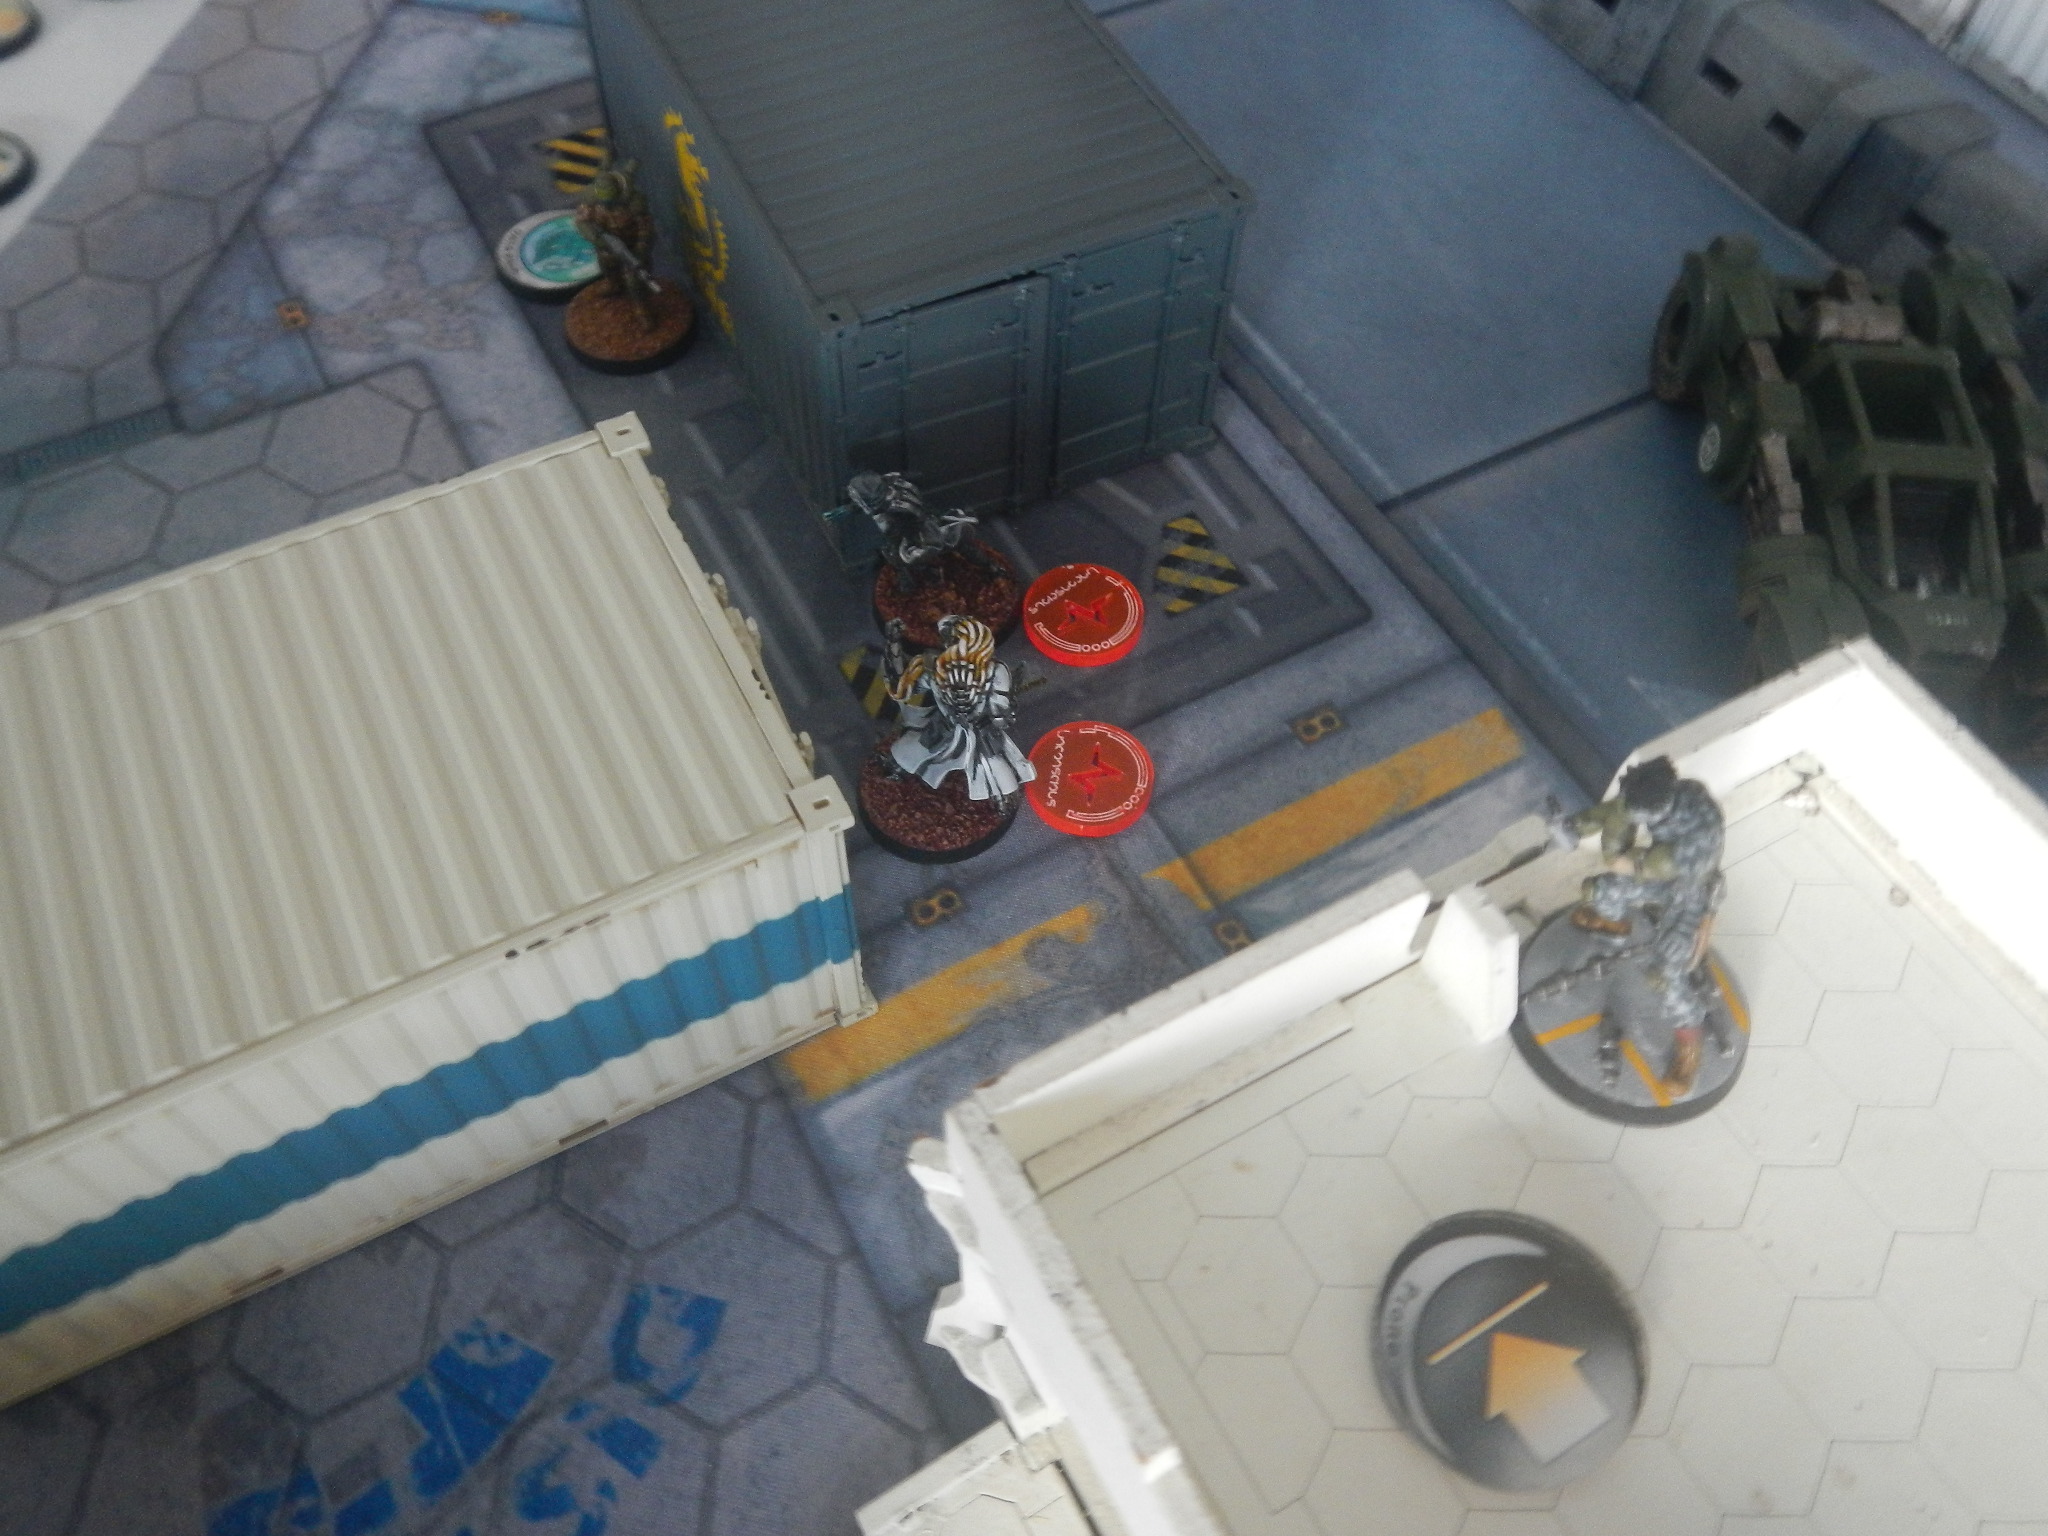 Hawa hacker BSG attacks the Kosul at close range from behind and catches the Clipsos in the template (avoiding her TO cam). It doesn't get much better than this - except that it took FOUR orders and 8 shots to put both UNC!!
 Hawa FO slips around the container and BSG attacks the Sukeul ML from behind at close range - and misses both shots! To rub it in, the Sukeul makes her change face roll.
 The Sekban HRL tries to take out the Sukeul HMG but fails thanks to the symbiomate tanking the hits. Note that the left most Sekban has moved to join the ARO trap for the Makaul.
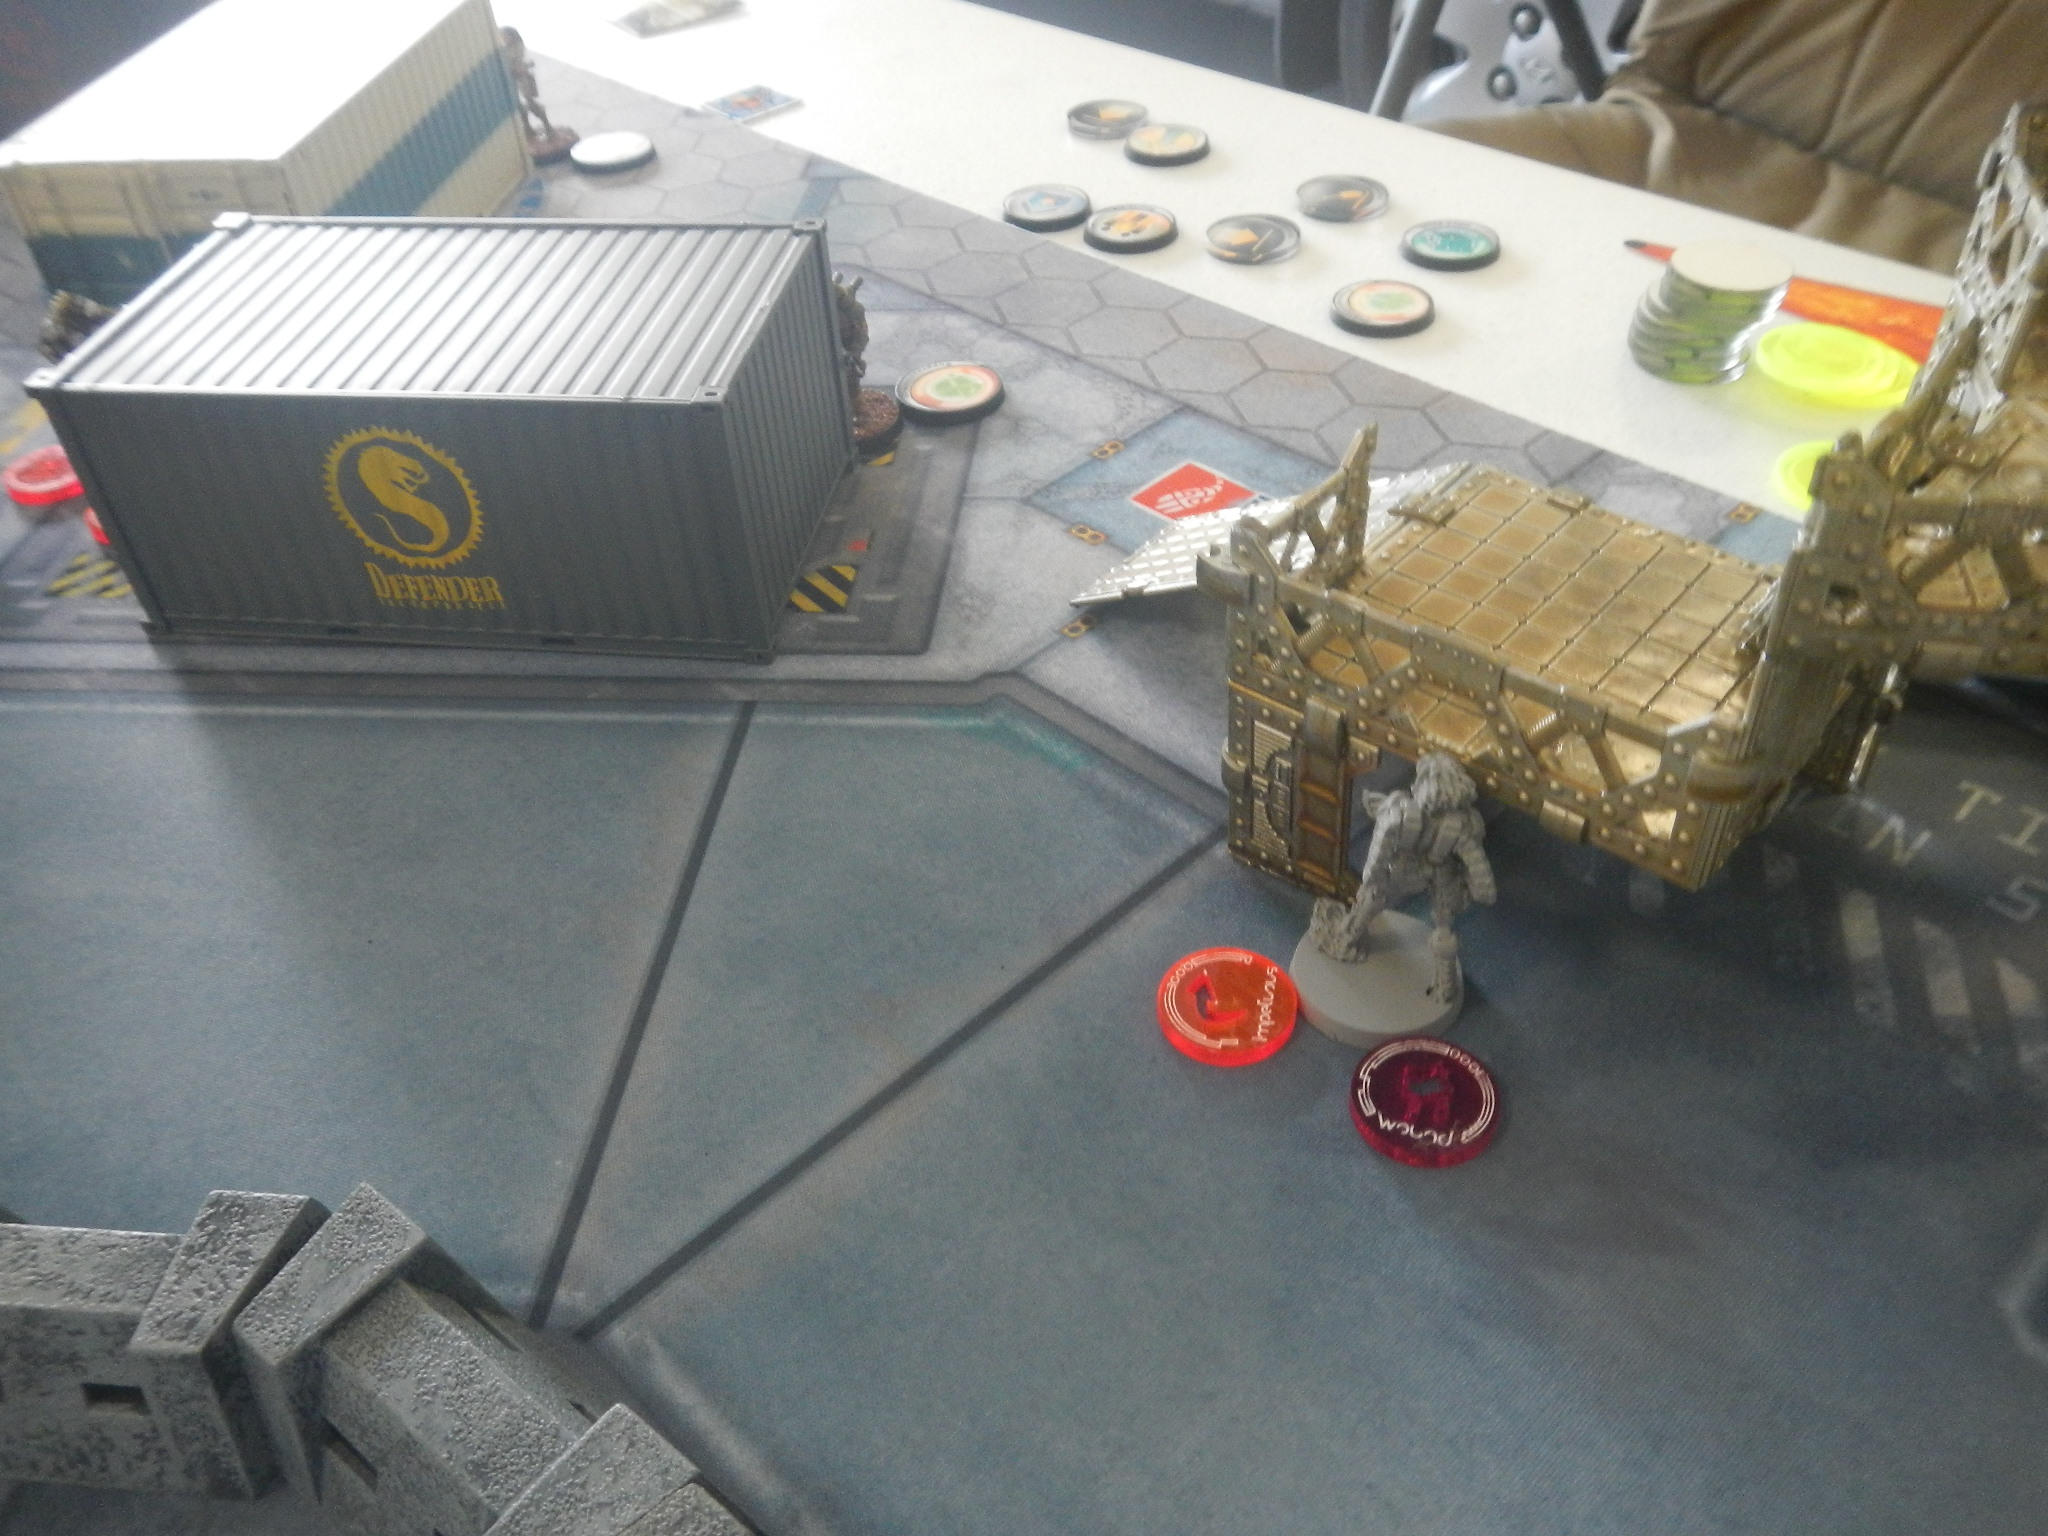
Tohaa: Start in much better shape than they expected to be, only the Clipsos and Kosul are down.
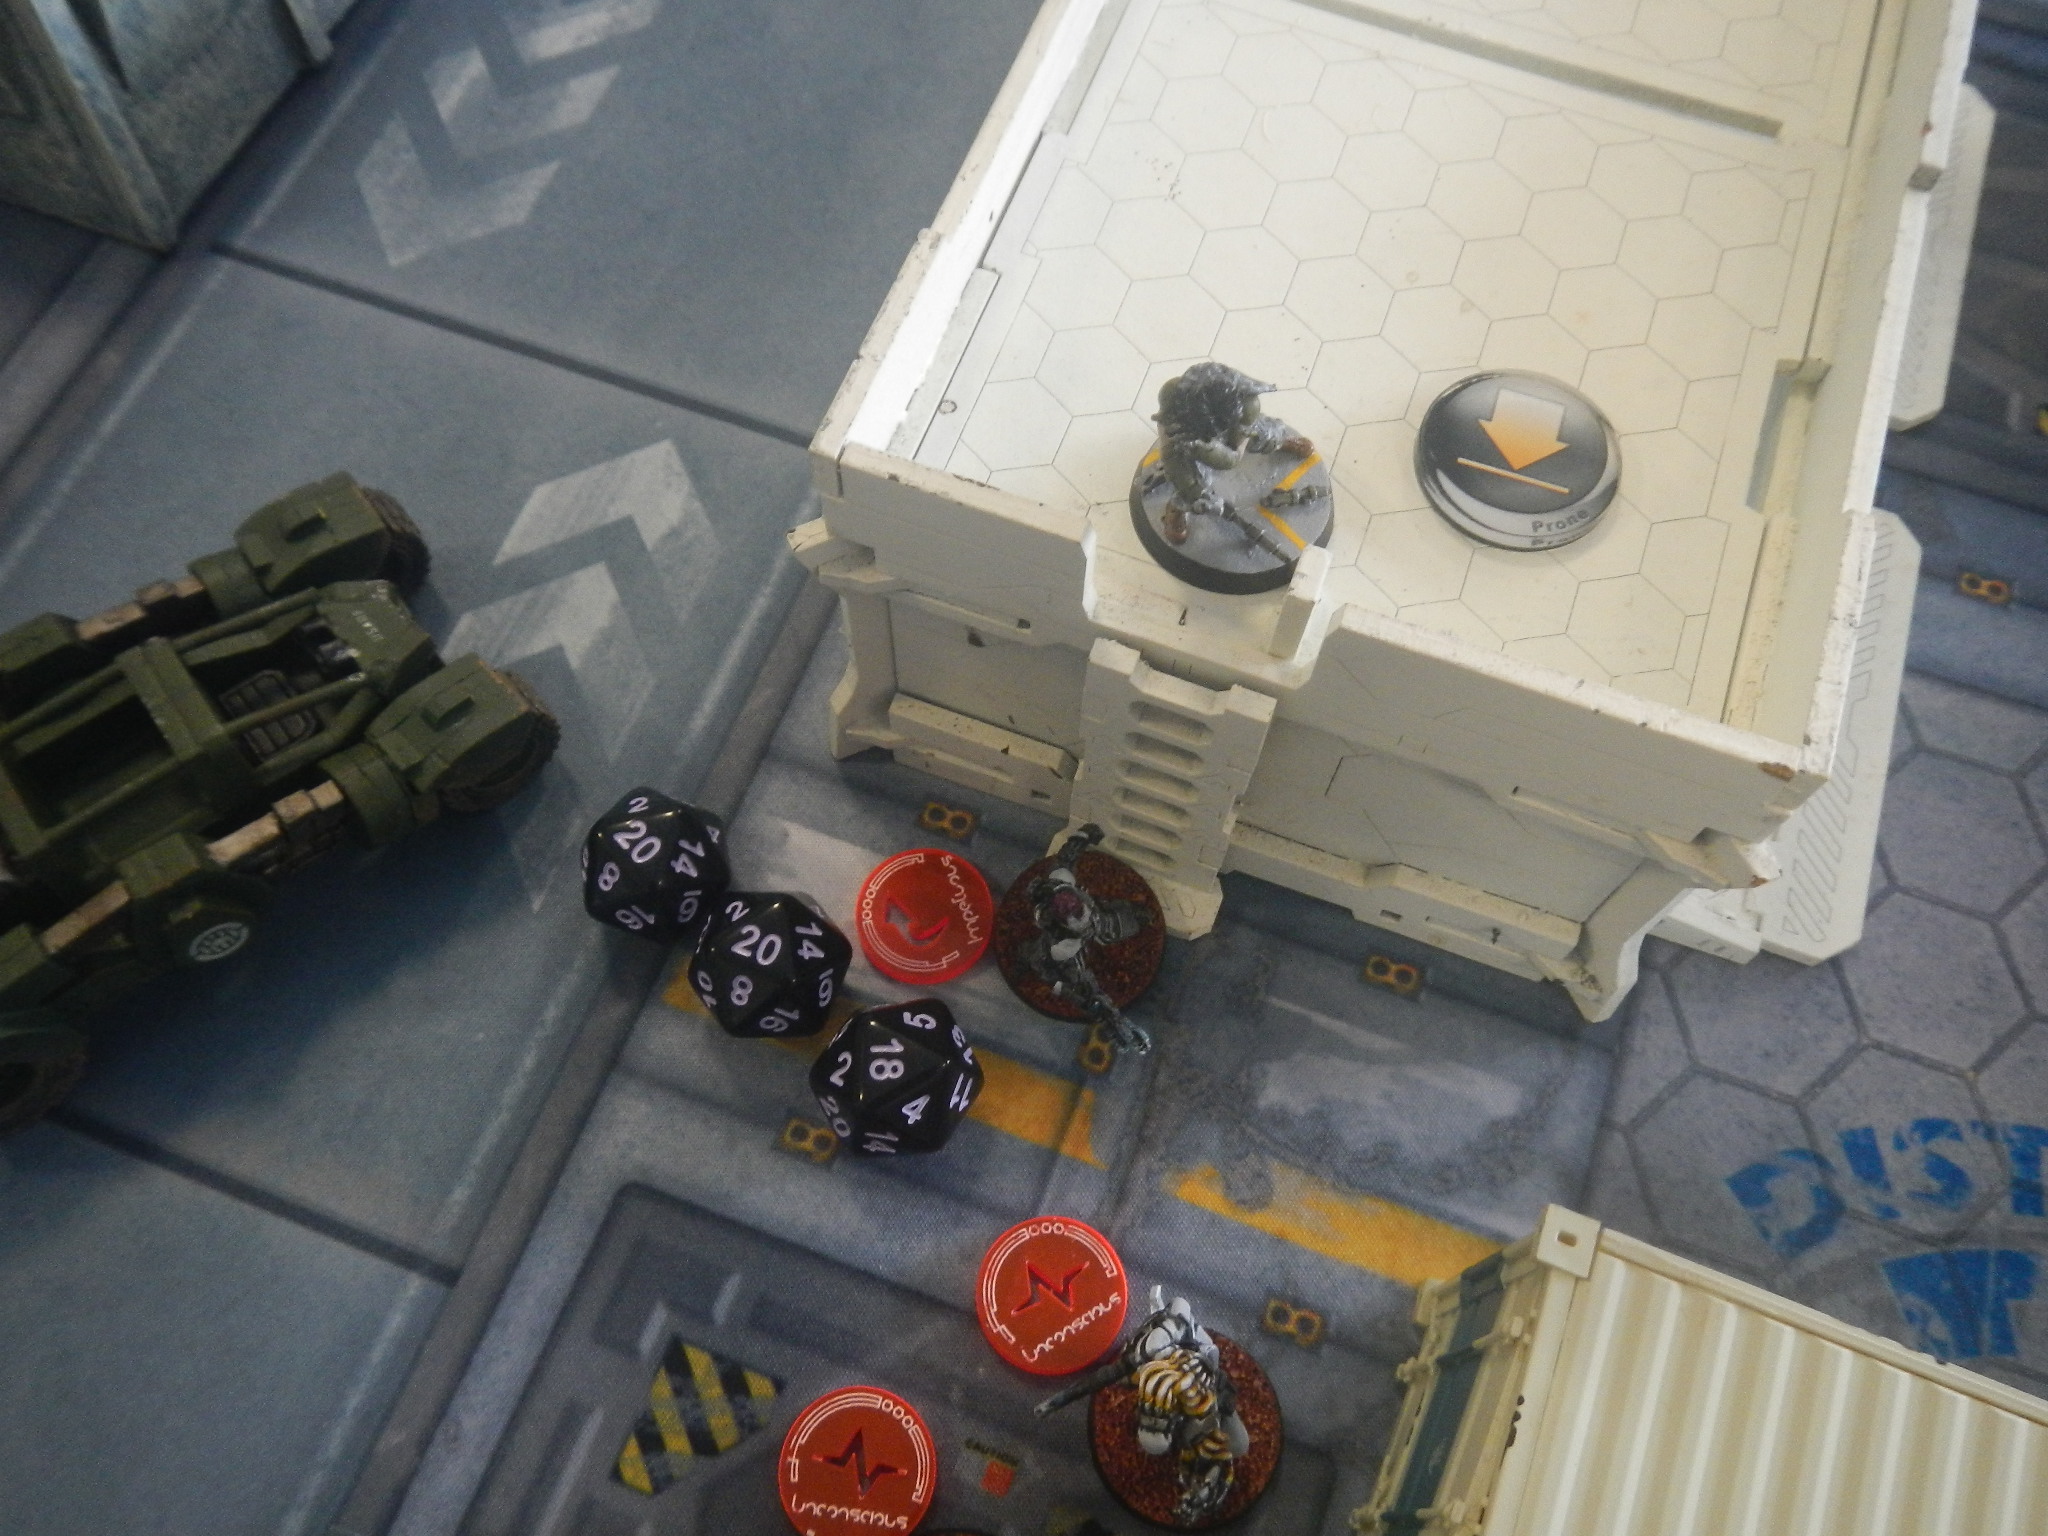
The now extremely impetuous Makaul charges around the corner, into the ARO trap and tries to climb up to the Hawa hacker. Takes 6 ARO shots (4 hits) at good range in the open, fails dodge, and then TANKS EVERY SINGLE HIT!! The Makaul remains hanging onto the ladder.
Neema declines to use her impetuous order.
The Sukeul HMG from that triad moves and gains LOS at good range to the Sekban HRL. The Sekban misses both ARO and takes 5 hits in return. Fails all 5 saves to be KIA. [Partially my fault as I thought I had moved him far enough back; however, a careful check of LOS showed this not to be the case]
Neema turns and shoots at the Fanous REM, which dodges out of sight around the building.
Despite being impetuous (no partial cover), Neema then uses her DT order to advance and engage the Hafza (in SF). The Hafza misses all his shots and takes one hit from Neema - fails BTS and goes UNC.
[This puts QK in loss of lieutenant]
Neema then moves under the scaffold to engage the Ghulam Doc+. Splits fire to engage both Doc+ and the end Sekban. They miss all their ARO but at least make their BTS saves.
Neema fires again at the Doc+ and Sekban. Both again miss all their ARO and take a hit each; this time the Doc+ goes UNC while only the Sekban survives.
Neema now moves up and CDG the Hafza, then remains at the corner of the container on SF.
Kaeltar moves up to the central panoply but fails two attempts to gain items.
A great turn for the Tohaa! They suffered no casualties and inflicted 3 on QK, including putting them in loss of lieutenant for turn 3.
QK: Force starts the turn in loss-of-lieutenant and uses its last CT to make one of the Sekban orders a regular order.
Fanous REM moves back and tries to flash pulse Neema, who ignores the attack to remain on SF. She easily passes her BTS save.
The Sekban AP Rifleman shoots at the Makaul hanging from the ladder and finally knocks him UNC.
The Hawa FO engages the Sukeul ML again at close range with BSG. Sukeul fails dodge but Hawa misses both shots (again!). Hawa uses the only regular order to try again. This time she gets two hits but Sukeul saves one and goes prone.
At least this opens the field for the Hawa sniper to surprise shot the Sukeul HMG. She succeeds and knocks the Sukeul UNC. The Chaksa HMG fires ARO but range, camo & cover means it misses all shots.
Hawa hacker drops from roof to get in range to spotlight Neema, who ignores him to remain on SF. Hawa succeeds in spotlighting Neema, leaving her targeted. Unfortunately, the Chaksa HMG was on target this time (despite range, camo etc) and gets a critical hit to render the Hawa UNC.
The Sekban spitfire gunner now steps out to engage the targeted Neema - gets 3 hits bit takes a critical hit from Neema in return to go UNC.
The Djanbazan SMR now moves and engages targeted Neema; gets two hits but Neema tanks them.
This ends the QK turn and the game.


 Sekban spitfire gunner moves to engage a targeted Neema at good range - takes a critical hit to go UNC
EPILOGUE:
As TRA852 re-entered the hospital waiting room, he met the remaining survivors of Z-21. They were a quiet and sombre group, as he would have expected. Most had their eyes downcast, lost in their own private thoughts; probably second-guessing their own actions as to what they could have done differently. They didn't need to, TRA852 could find no fault in their efforts; fickle fate just seemed to have deserted them.
It was the Djanbazan marksman who rose to meet him. The tough trooper was obviously pained by the abduction of his wounded comrade by the Tohaa; his fate unknown.
"How's the Doc?" the Djan asked, "She patched me up in the field when I was down." He nodded appreciatively when TRA852 indicated she was recovering well.
"Any word on …..?" TRA852 shook his head in answer to the question no one wanted to ask. He put a comradely arm around the Djanbazan's shoulder.
"What happened out there?" TRA852 asked quietly.
"I don't know sir; the plan was good and the team fought well. We outmanoeuvred them. The Tohaa just wouldn't go down, no matter how much fire we put on them. I can't explain it sir."
TRA852 gave the man a sympathetic pat on the shoulder. "Its not the team's fault. We need to put this behind us and make them pay in the next encounter."
RESULTS: 8-0 Tohaa win
Both sides eliminated two specialists
Tohaa: killed more LT = 2 OP; Killed DT = 1 OP; Killed more Army Points = 3 OP; Looted more panoply = 1 OP; Achieved one Classified = 1 OP. Total = 8 OP
QK: Nil
The result was a lot closer than it looks. The score in Army Points was 140 - 133 in favour of the Tohaa (a mere 7 points!). The last two critical hits on ARO got them over the line there.
Neema should have died; instead, she made an incredible number of ARM saves and was repeatedly winning Face-to-face rolls regardless of the odds. Had she gone down, that would have evened up the LT and DT scores as well as tipping Army Points in favour of QK. That would have resulted in a 3-2 win to QK. Oh well.
This was an interesting game. I'd like to first up emphasise that my opponent was a real sportsman and played a good game with sound tactics. He exploited his opportunities well and made mostly sound decisions.
The first turn was reasonable for both of us as we manoeuvred for tactical advantage. Going first, he was able to get to the panoplies, but I had a plan to redress that with my Hawa.
Tohaa turn 2 was not too bad for either of us. Tohaa lost the Gao-Tarsos to bad luck on the drop but made back ground taking out both Djanbazan. Neema breaking link to achieve the classified on the UNC Djanbazan was a good use of DT & LT orders. A good, aggressive turn by the Tohaa but I thought (and still do) that it left them over-extended and vulnerable. I had a clear plan to take advantage of that.
QK turn 2 was a frustrating debacle for me. A whole bunch of BSG rear shots at close range either missed or were tanked. I'd confidently expected to get rid of both Sukeuls, the Clipsos & Kosul, and the Chaksa HMG with enough orders left to hunt down or box in Neema. I'd carefully manoeuvred to make all these shots heavily in my favour. However it was not to be. The end result was only the (eventual) demise of the Clipsos and Kosul, with no orders left to prepare for the Tohaa Turn 3.
Tohaa turn 3 continued the theme, with my opponent riding his luck and exploiting the opportunities as any good commander should. Again, a whole bunch of shots in my favour were simply tanked in an incredible display of ARM saves - one I was unable to replicate to any degree.
QK turn 3 was loss-of-lieutenant for me but I thought the situation was still recoverable, so I didn't concede as was offered.
My focus was on taking down Neema and getting kills. Getting Neema would level LT & DT kills and put me ahead in Army Points. I think I went about this the right way, but Neema just would not die. Even though her impetuousness denied her cover, she tanked hits like a champ. Me losing two soldiers to ARO critical hits at the end pretty much sums it up.
Having said this, it was a hard fought game and my opponent was a complete gentleman. Given the shocking luck he had in our last game, I cannot begrudge him the win here.
Battle Report Author

Army Lists Used In This Battle
Recommend Commander For Commendation
Share this battle with friends
JackWins

Love your detail and post game analysis.
Thank you very much @Vounchiz.
With your painting styl, even the old Ghulam Doc looks nice…
Great report! Lots of detail, well-written.
Well written loss-report and very beautiful pictures!
Even in the darkest time, a good narrative shines! Well done!
Excellent narrative even on a loss! Commendation for sure!
Sorry for the loss. I like that you put so much effort in it regardless!
Also it is very honorable to fill in a report, that is already in a locked location.
Djanbazan captured!? We must save our comrade and have our revenge! Thanks for a great report!
〈( ^.^)ノ Tohaa Win
Hey this one was a lot of effort! Worth it