Fought At The Gallery Maze: The Passageways
1653 days 16 hours 41 minutes ago
Firefight in the Maze
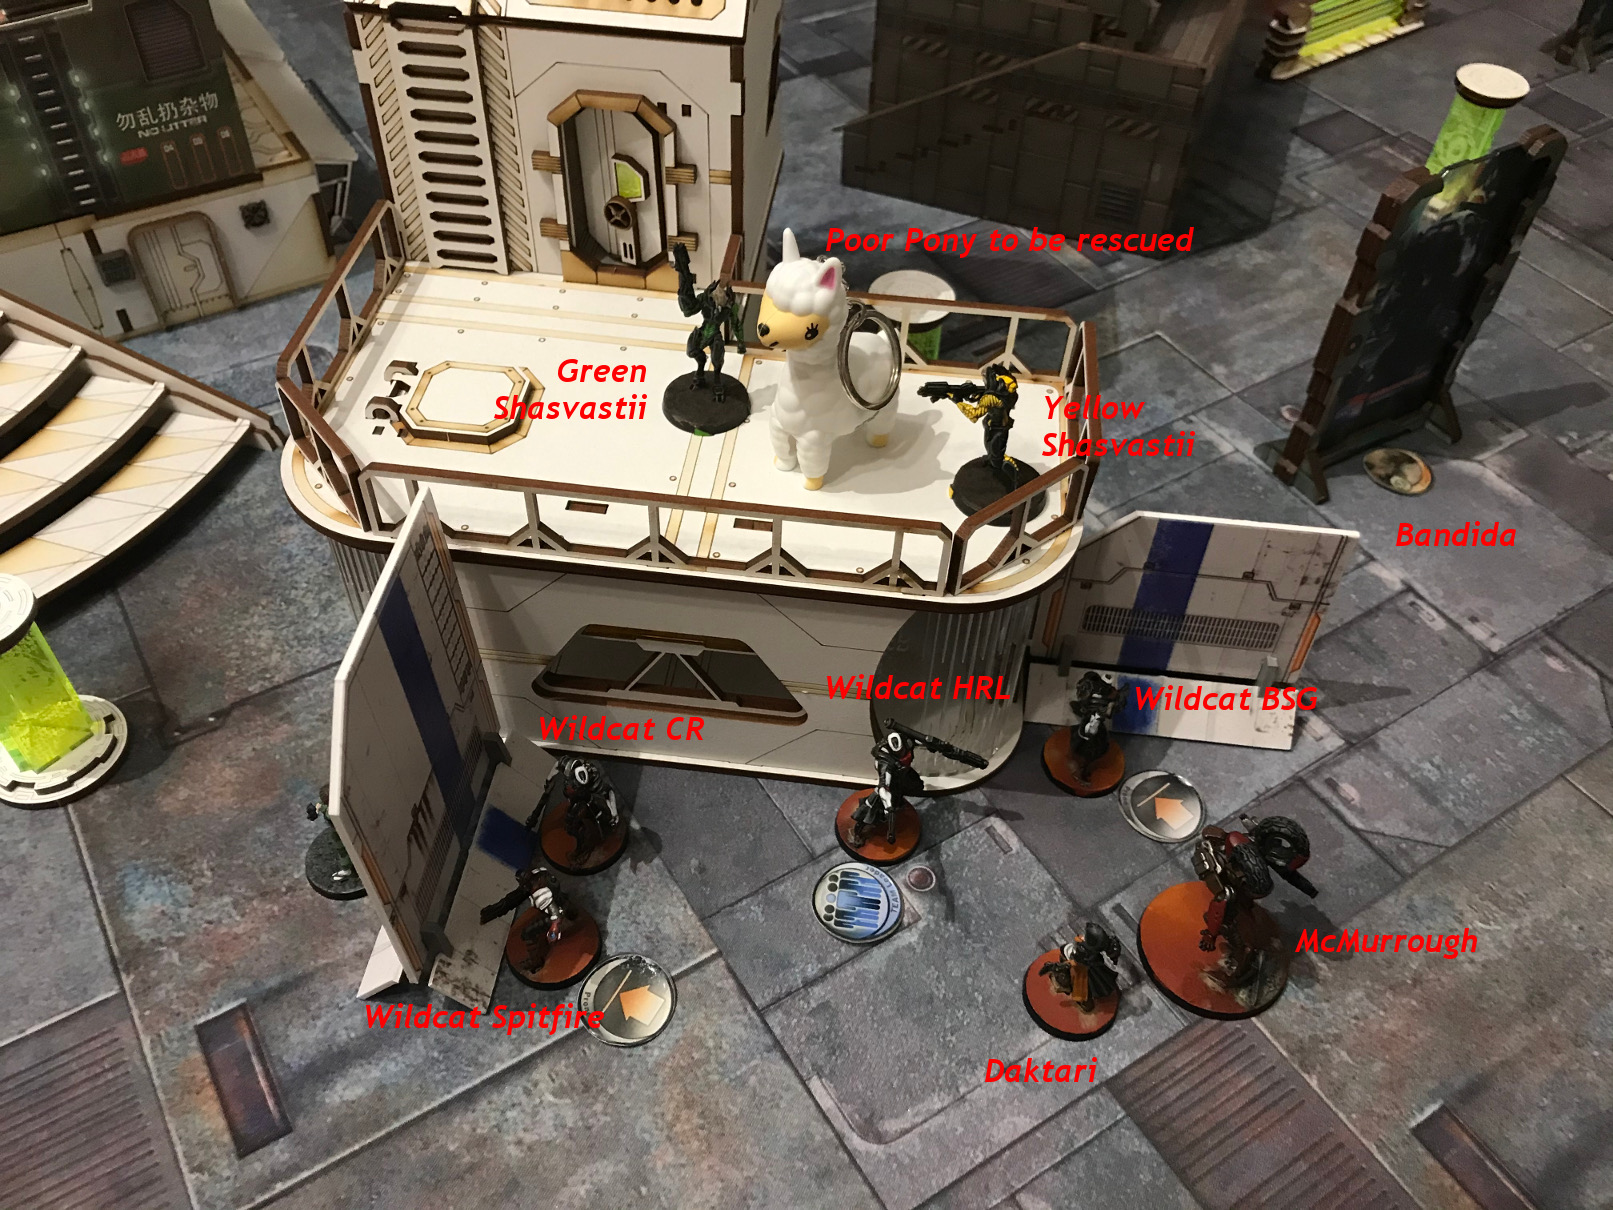
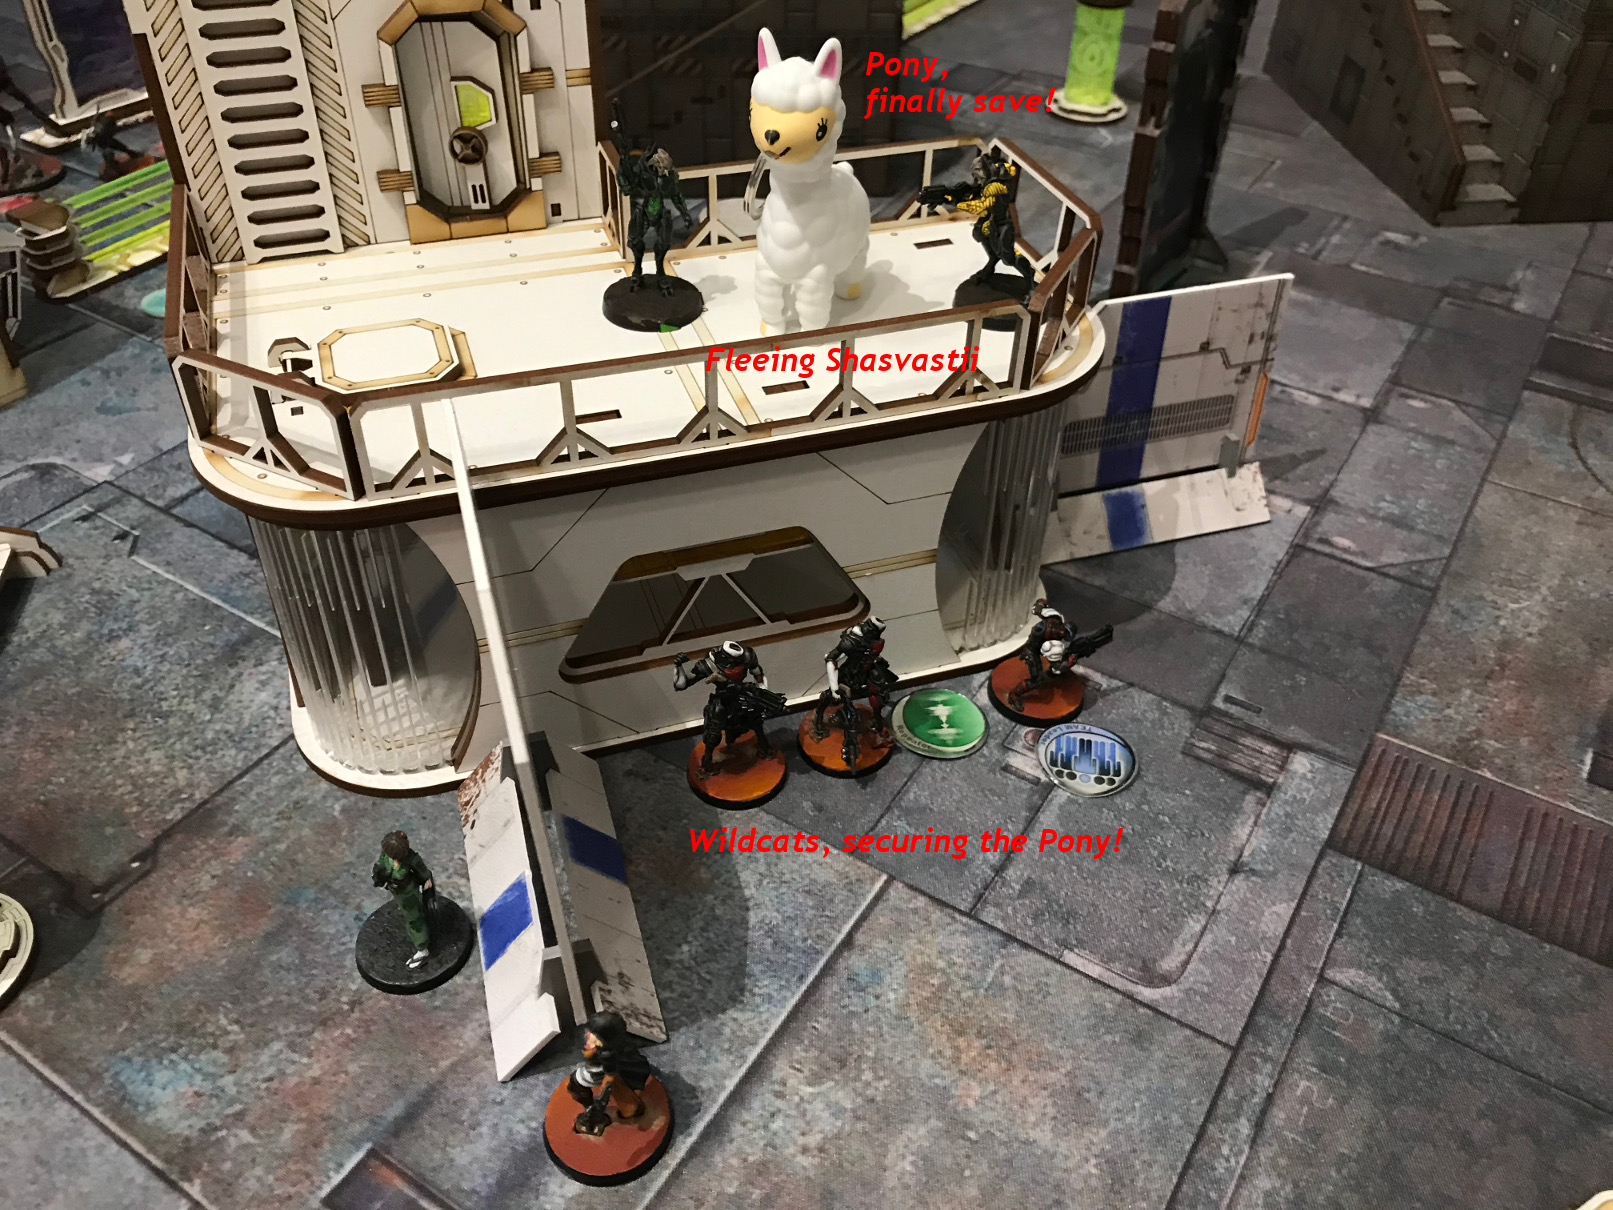
View Linked Report - CLICK HERE 300 POINTSWhile on the Shasvastii Hunt at the Maze we encountered a captured pony. Some poisonous looking Shasvastii had it captured and we deceided to free it and reinforce our space cavalry. Unfortunately a Heavily mechanized Squad from PanO had the same idea to get the Pony for their Knights of the Holy … whatever. So a firefight begun …
(yes, we played the mission from Phase 1, but only because we agreed on it one week ago and ist sounded interesting. Though during play we forgot about the Hull Breach rule …)
The dice deceided, that Nomads got the Fat Yuan Yuan and PanO Fusilier Angus.
Nomads won the lieutenant roll and chose 1st turn.
The Krakots rolled Total Immunity and Dogged, which would come unfortunate for Nomads later on. The Bounty Hunter scored a Panzerfaust.
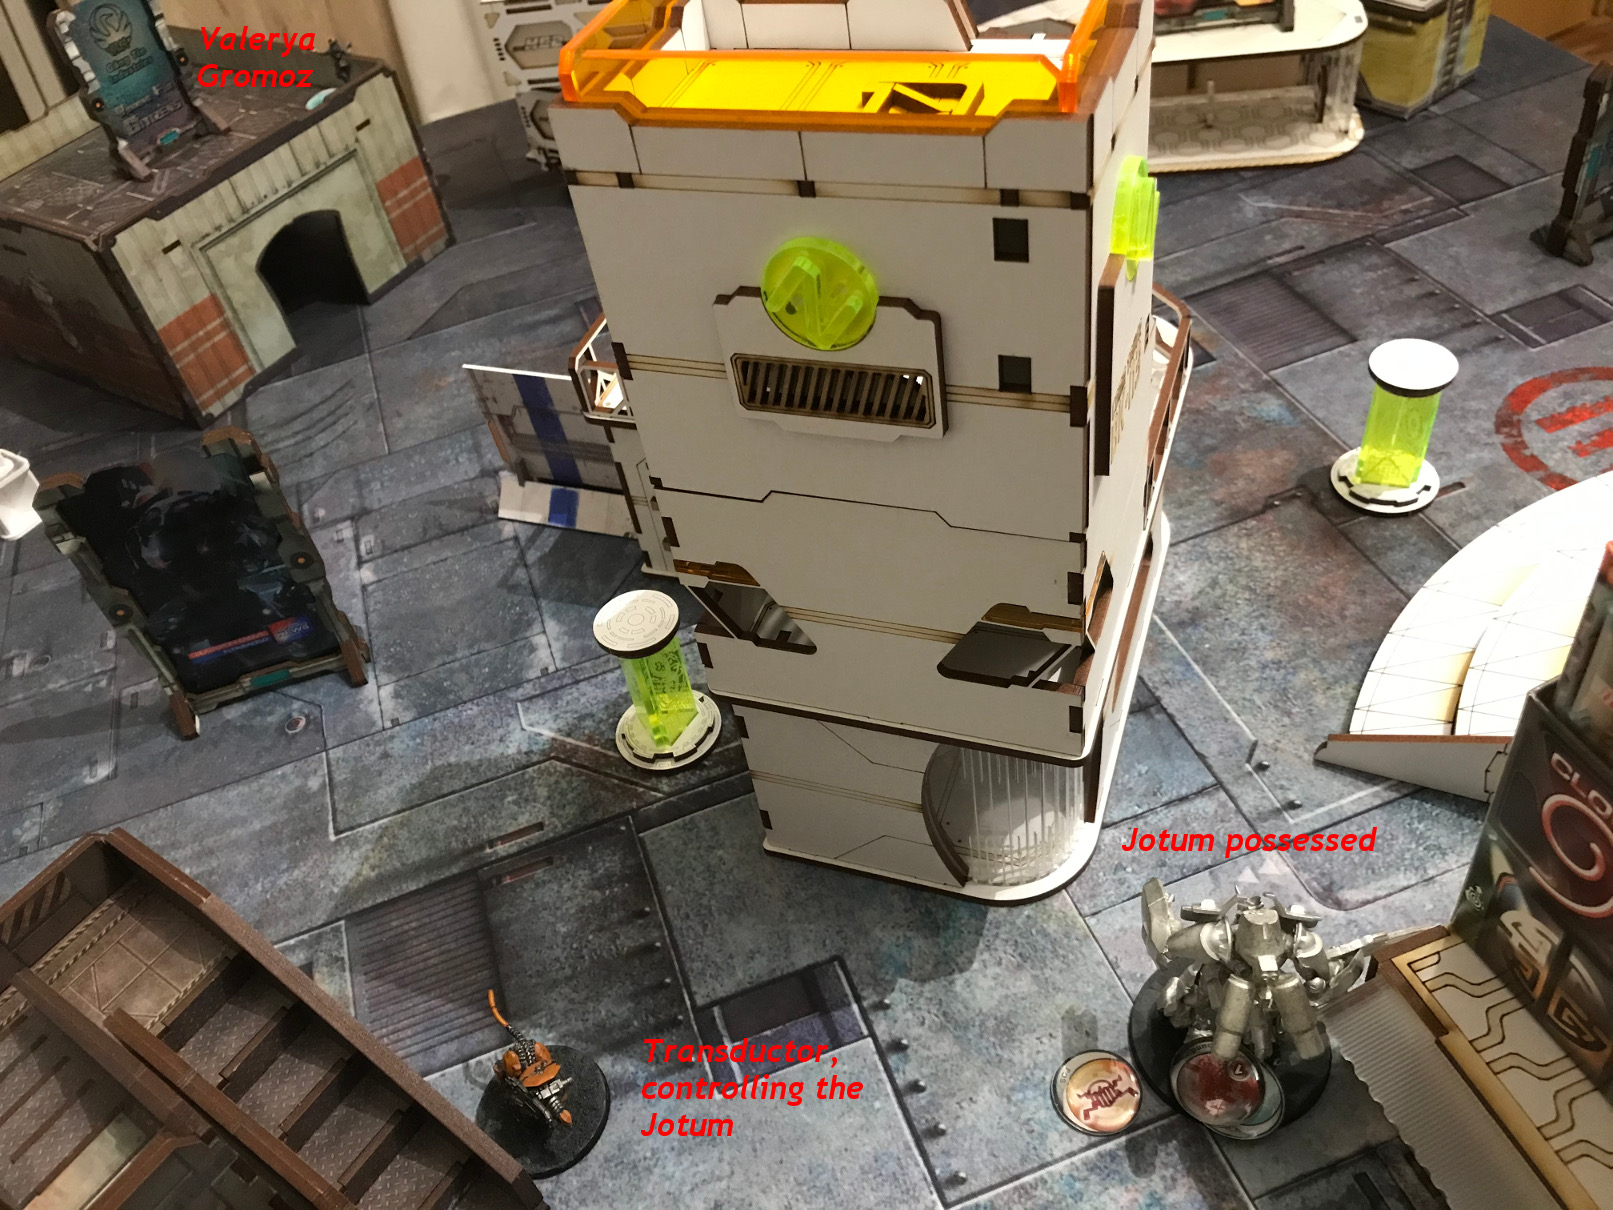
Datatracker: Valerya Gromoz and Jotums (in the first Pics it was the Monstrucker, but we noticed later she is irregular so … no Data for the Monstrucker)
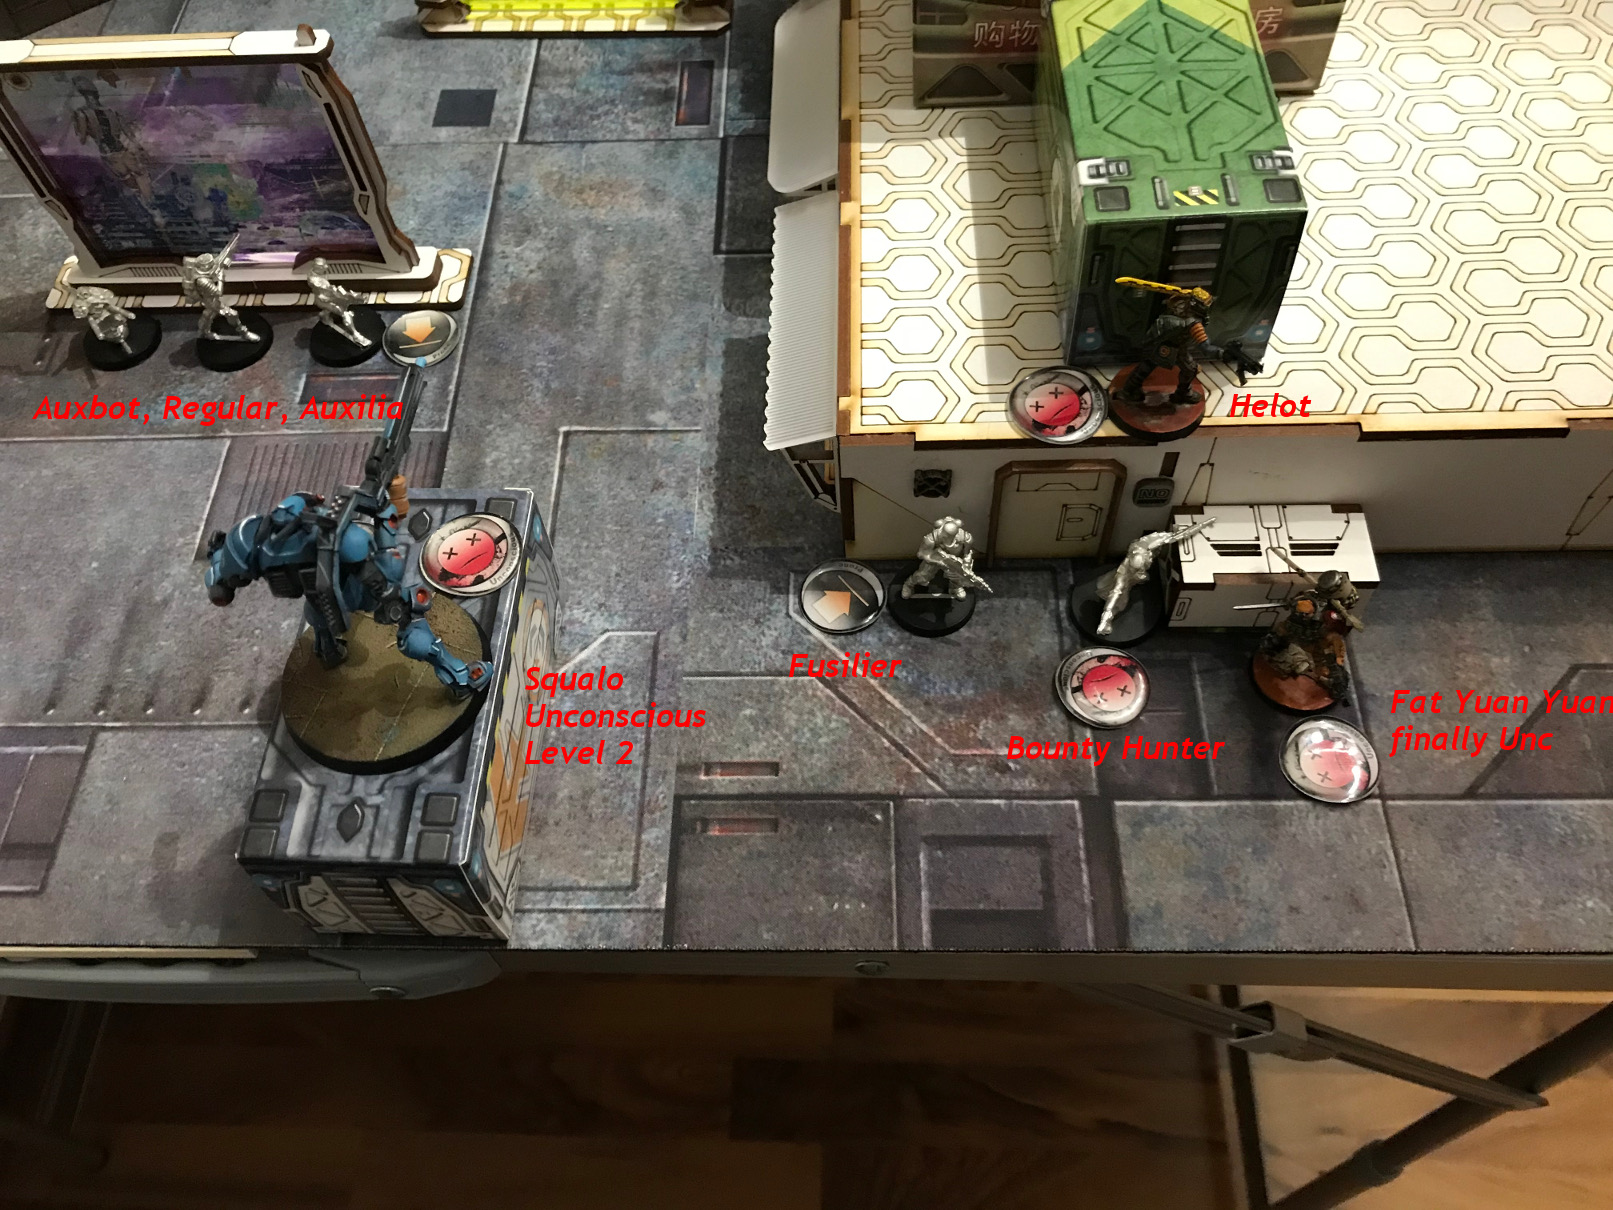
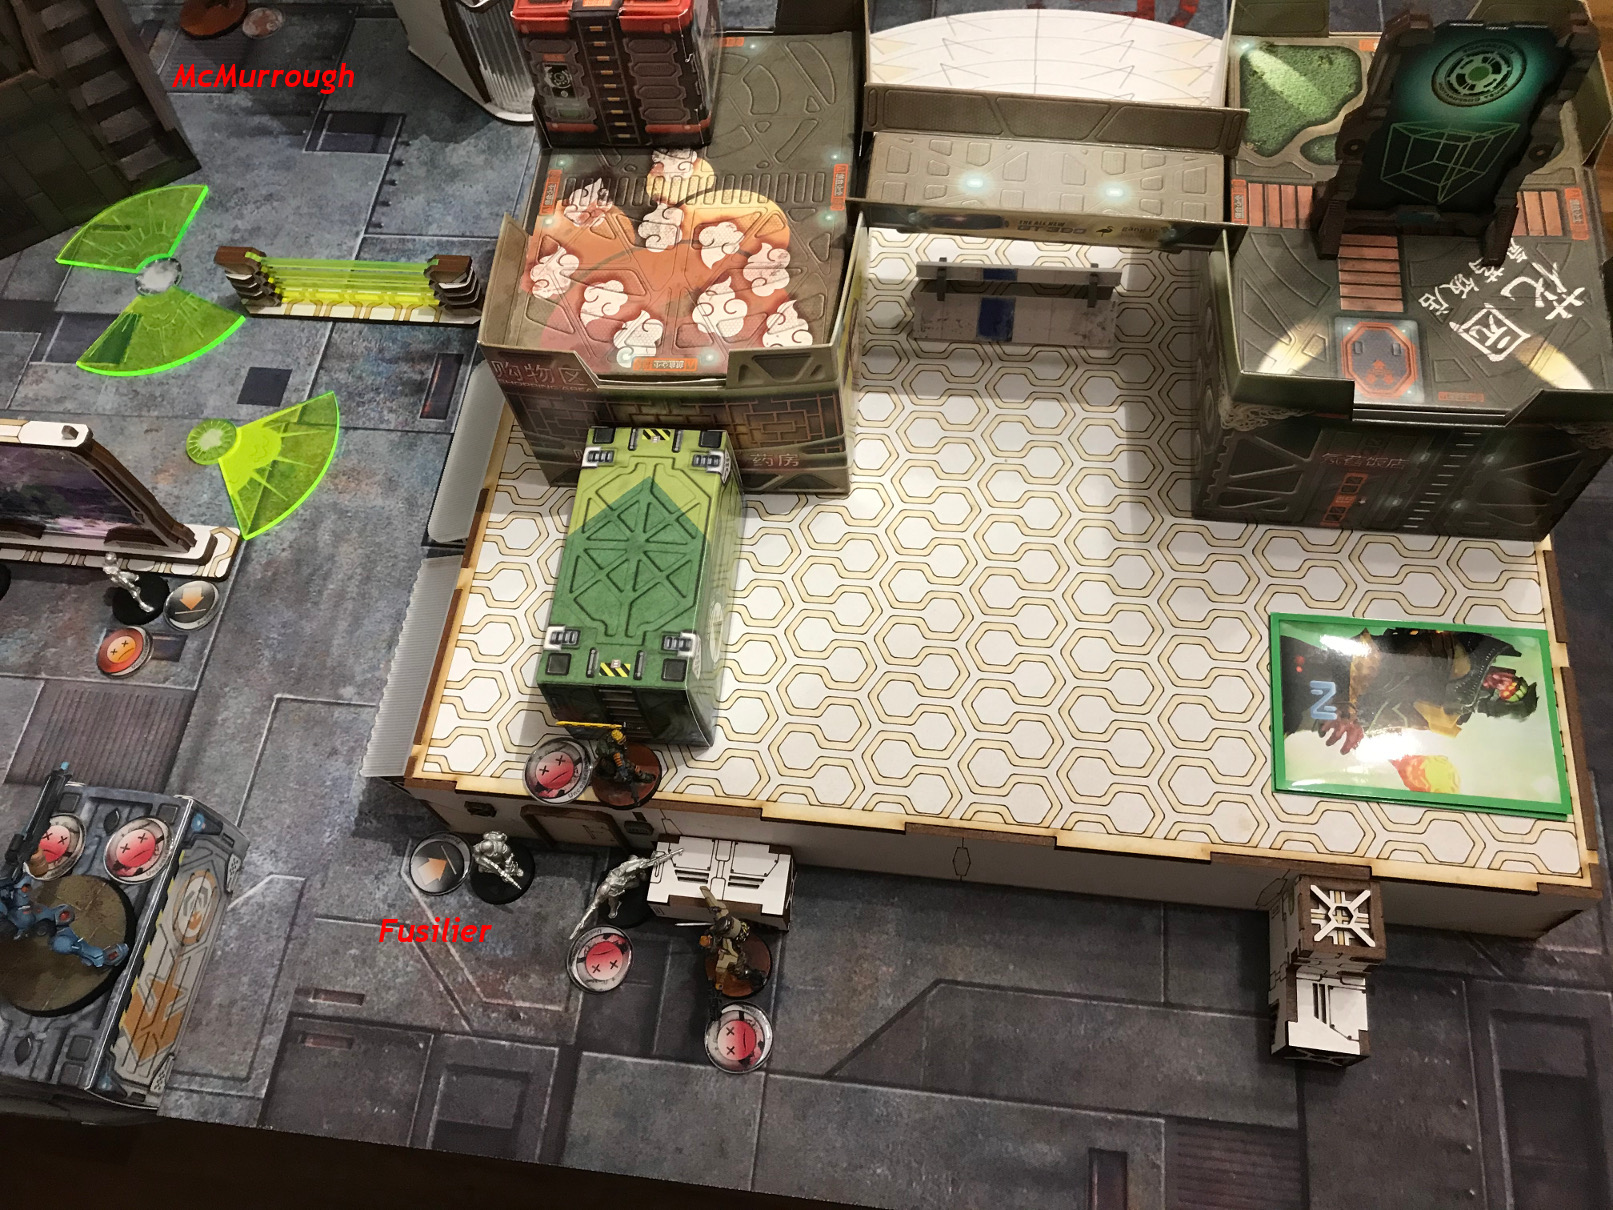
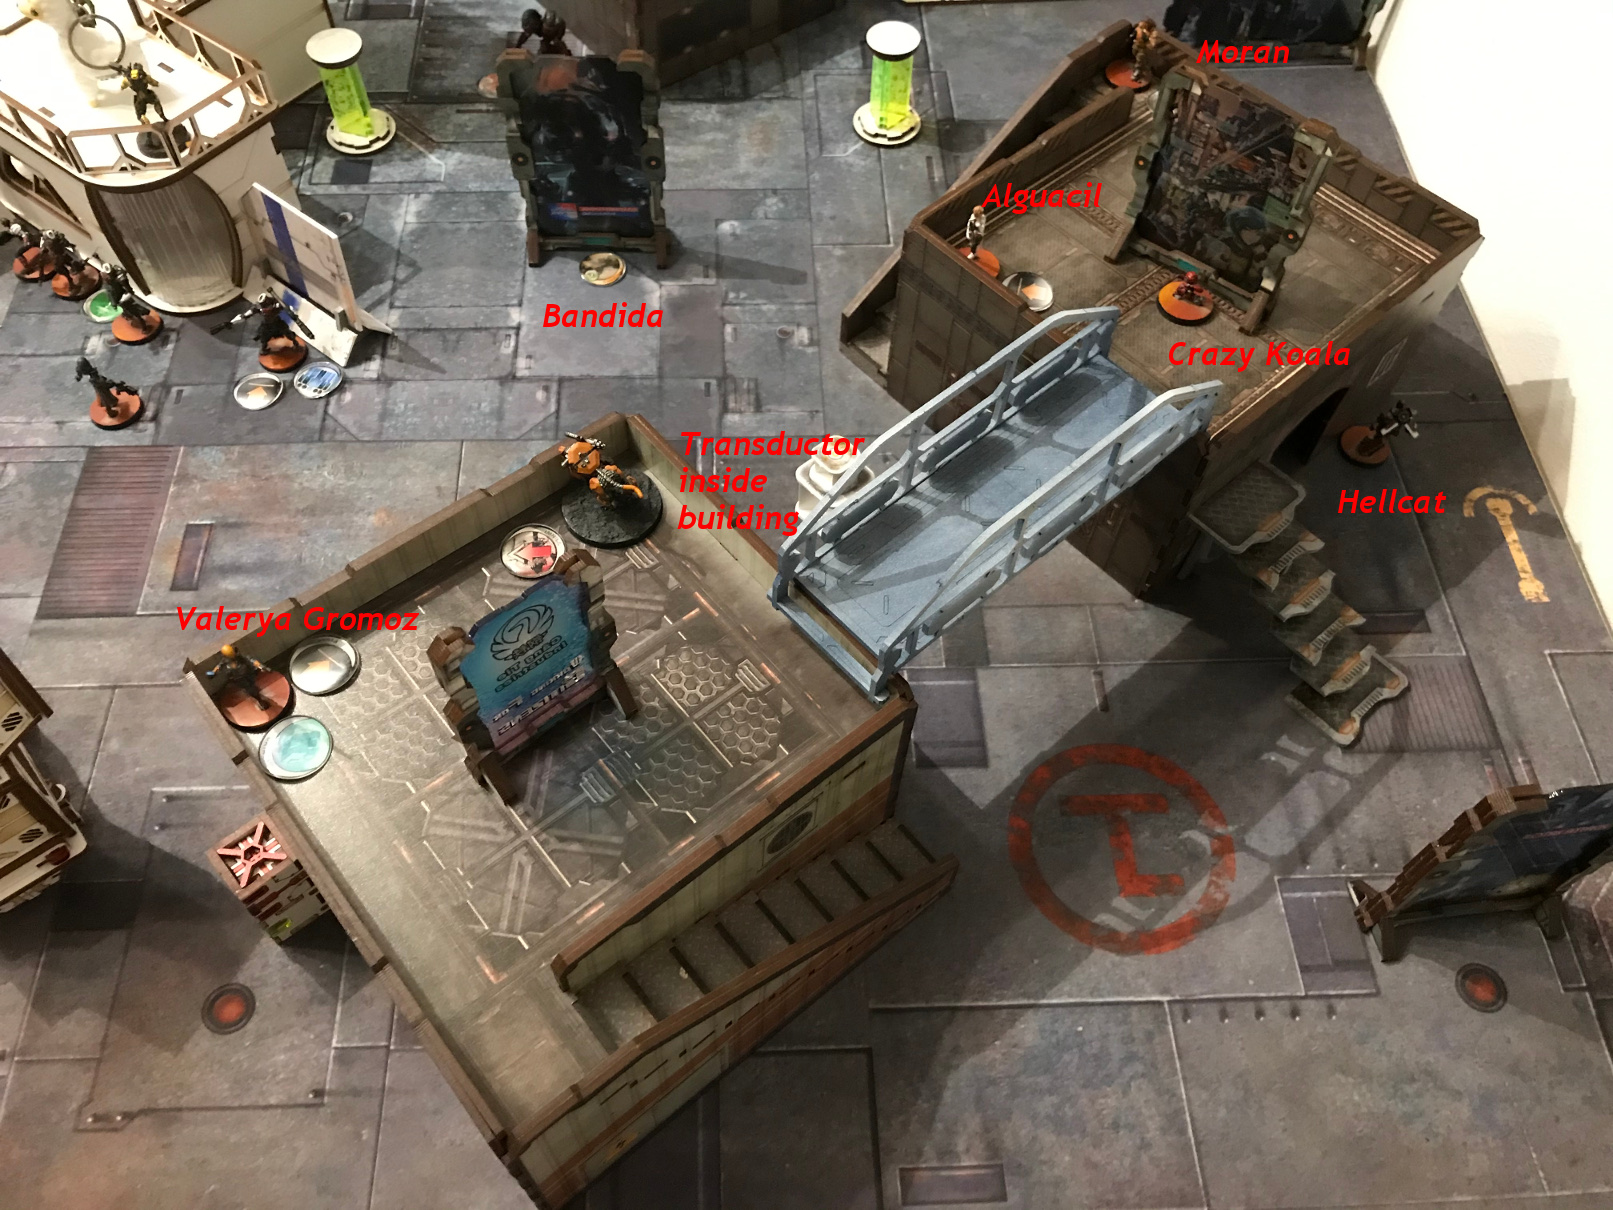
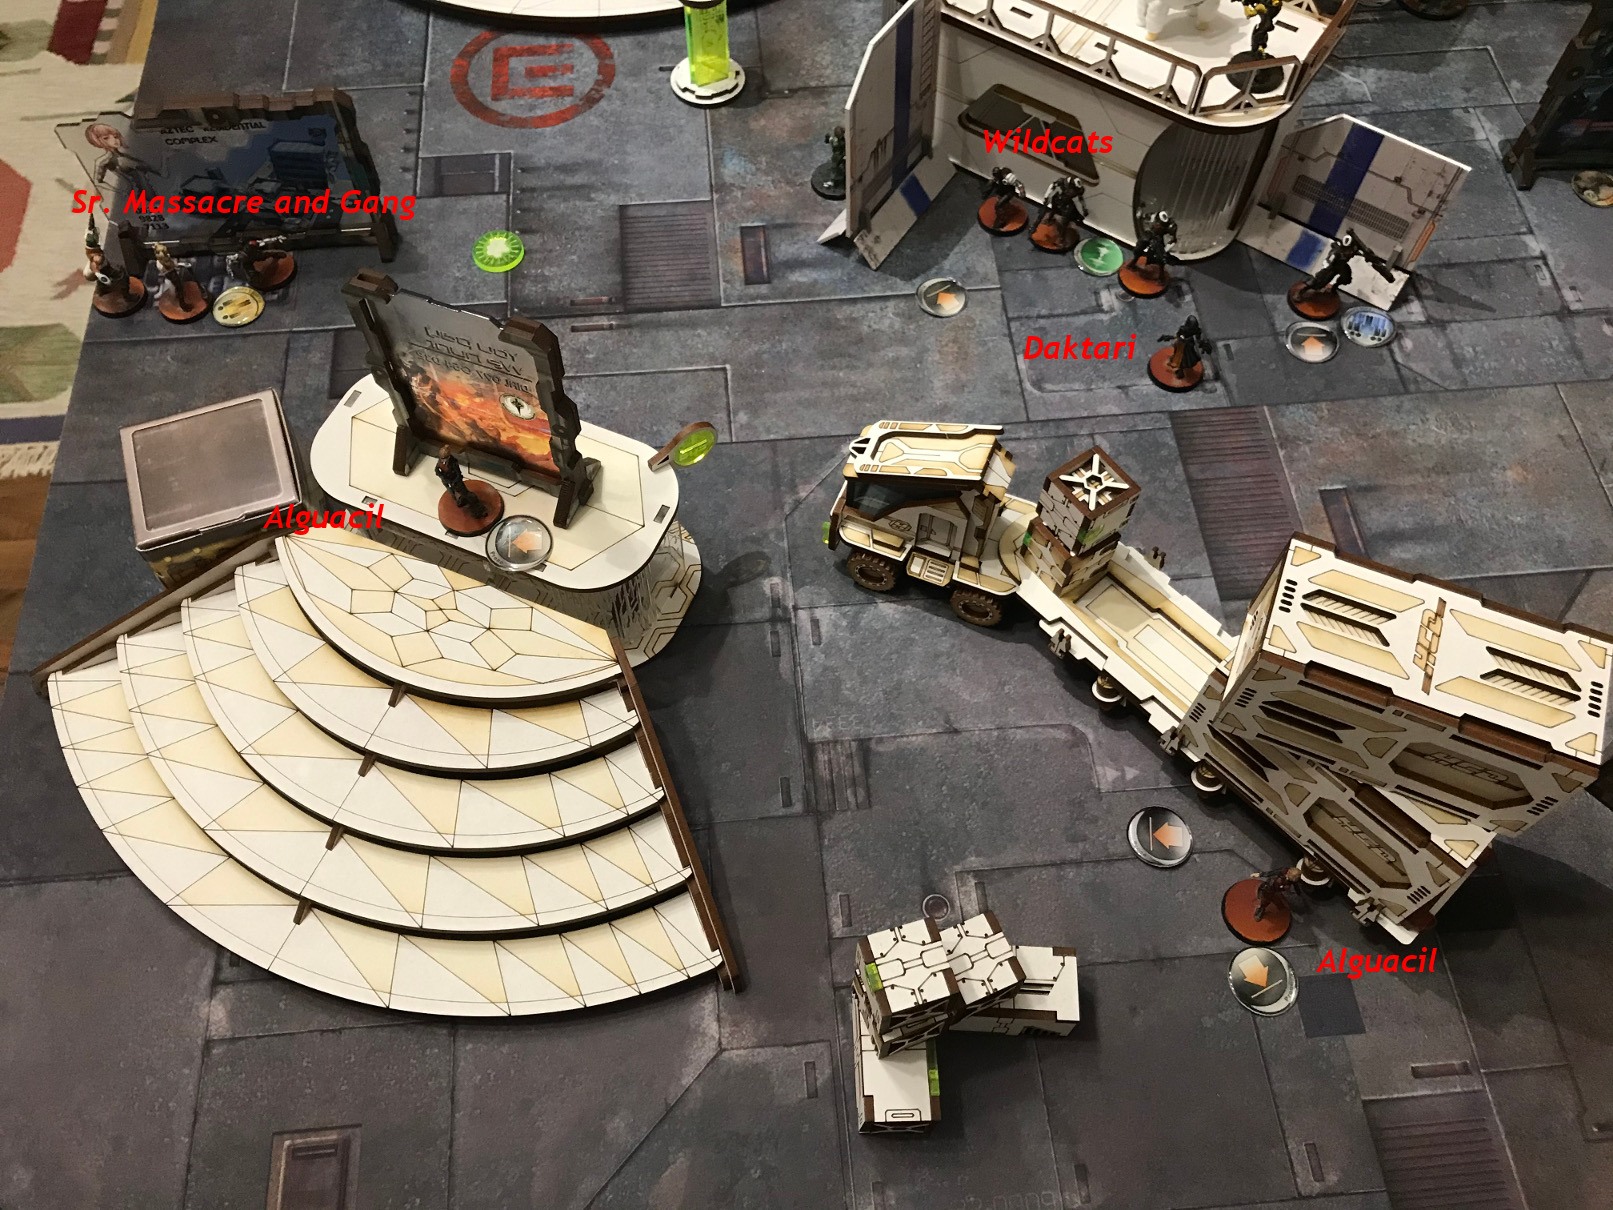
Board:
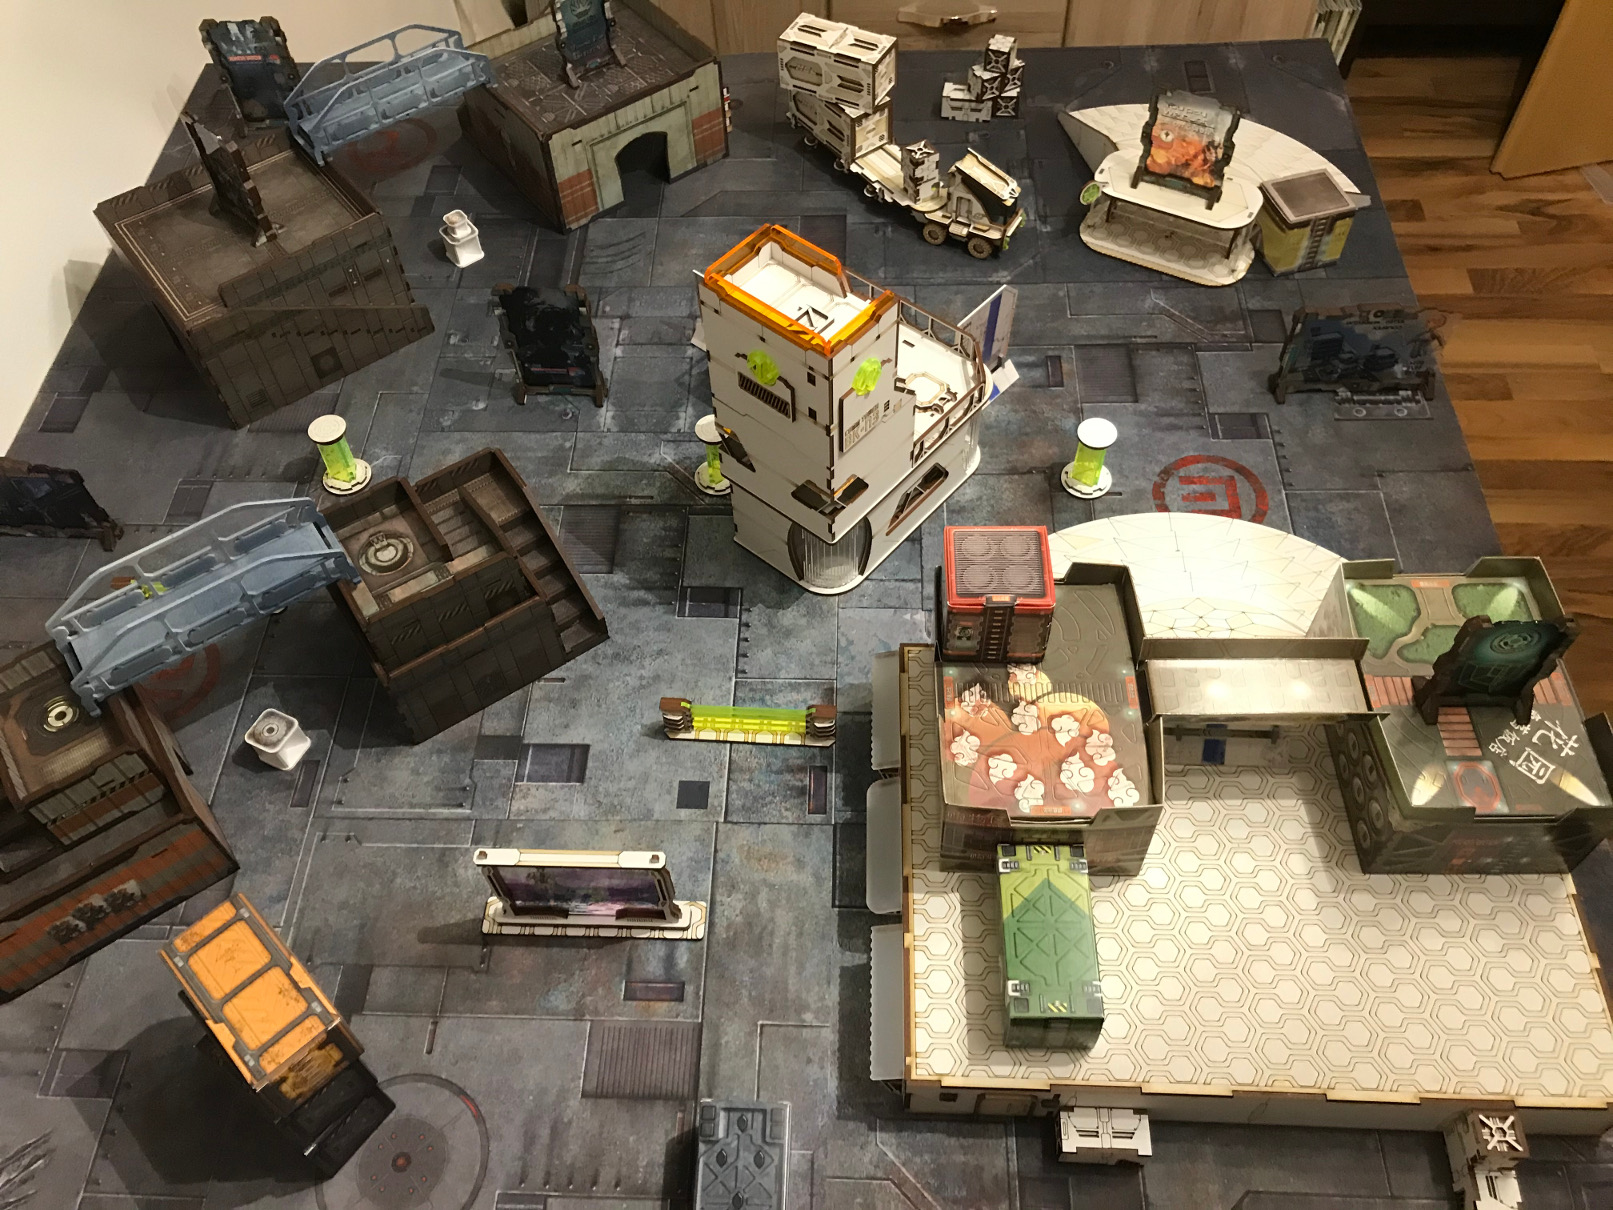
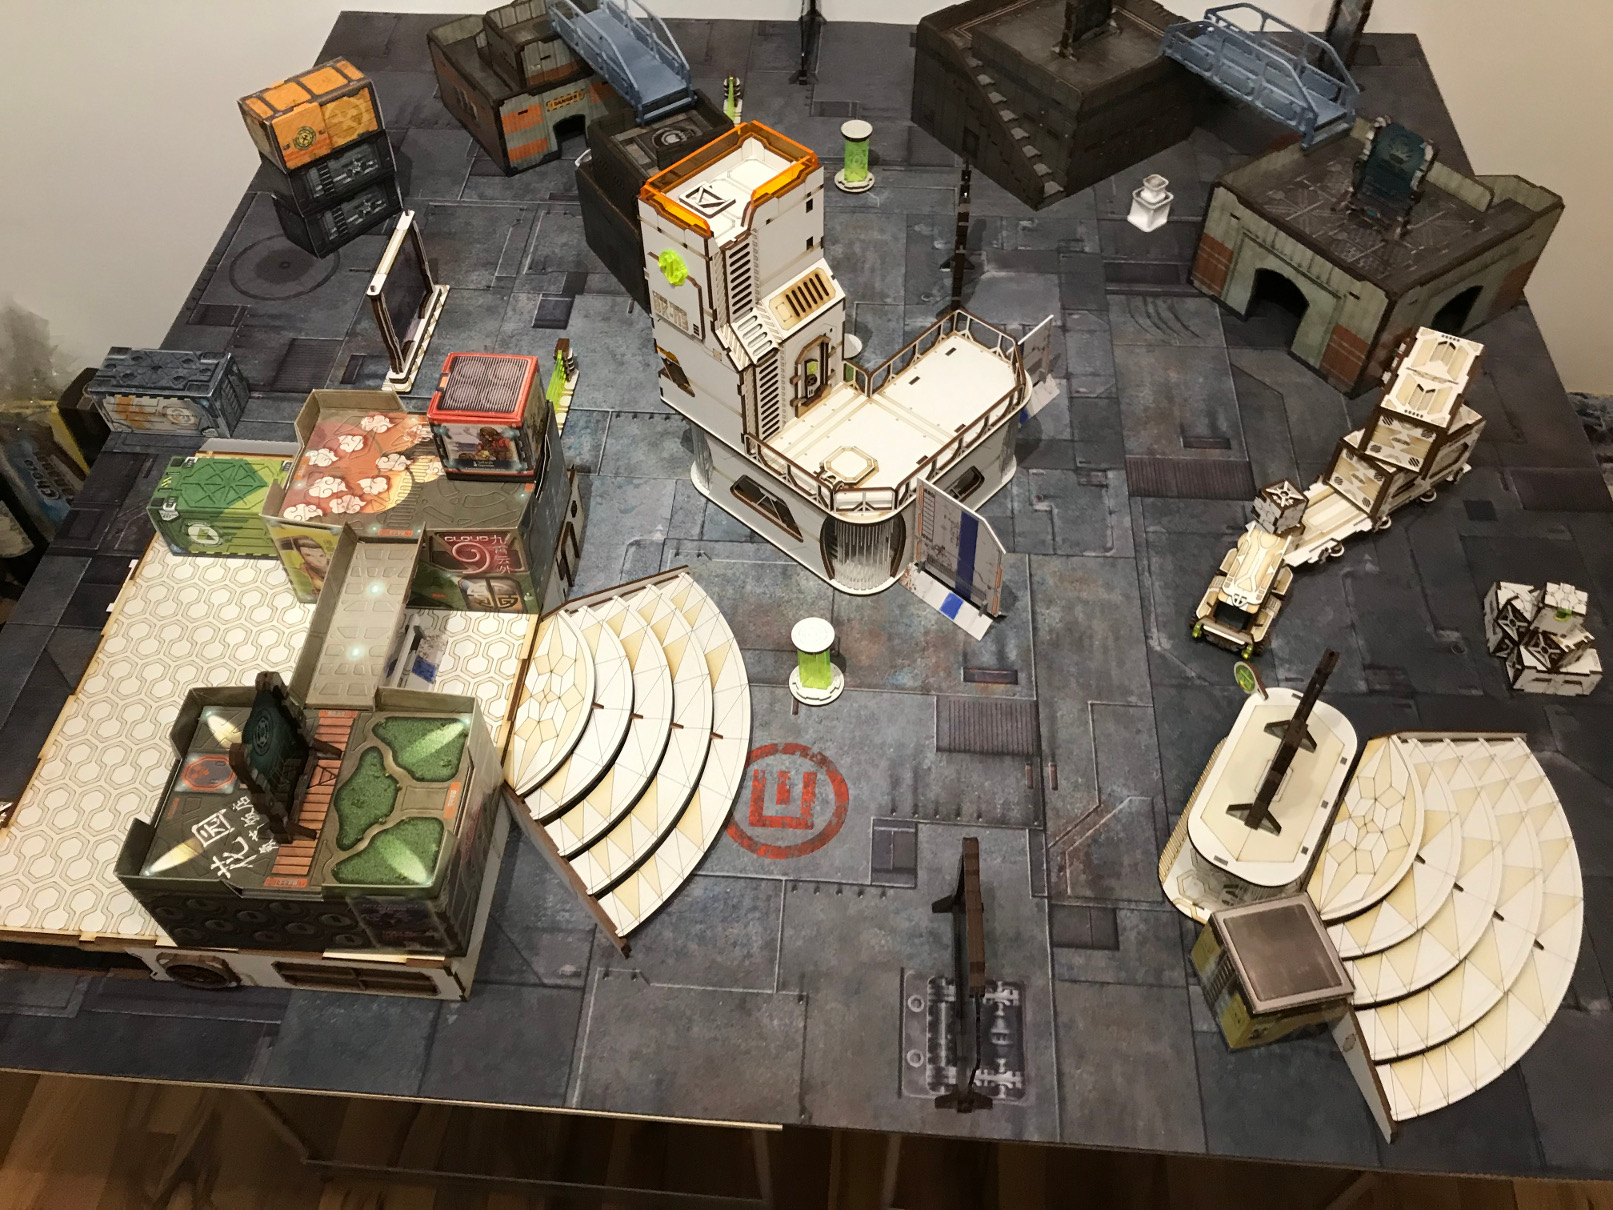


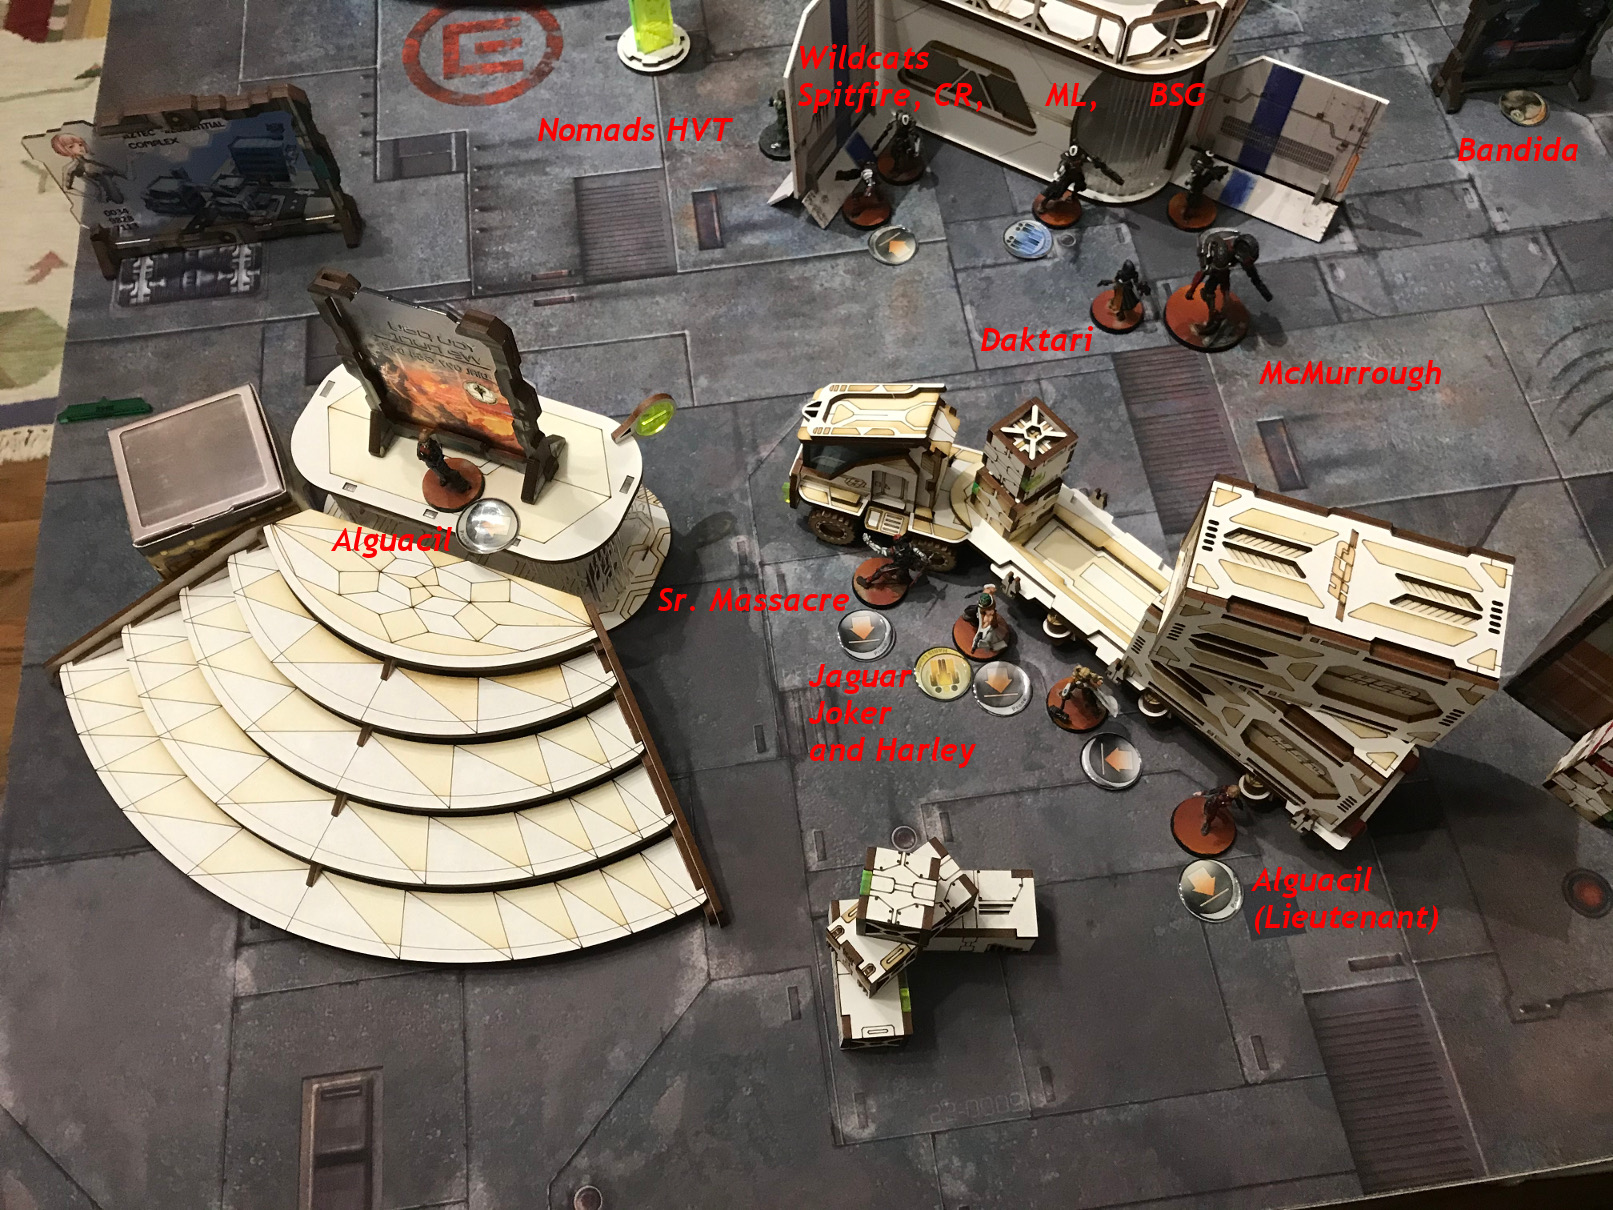
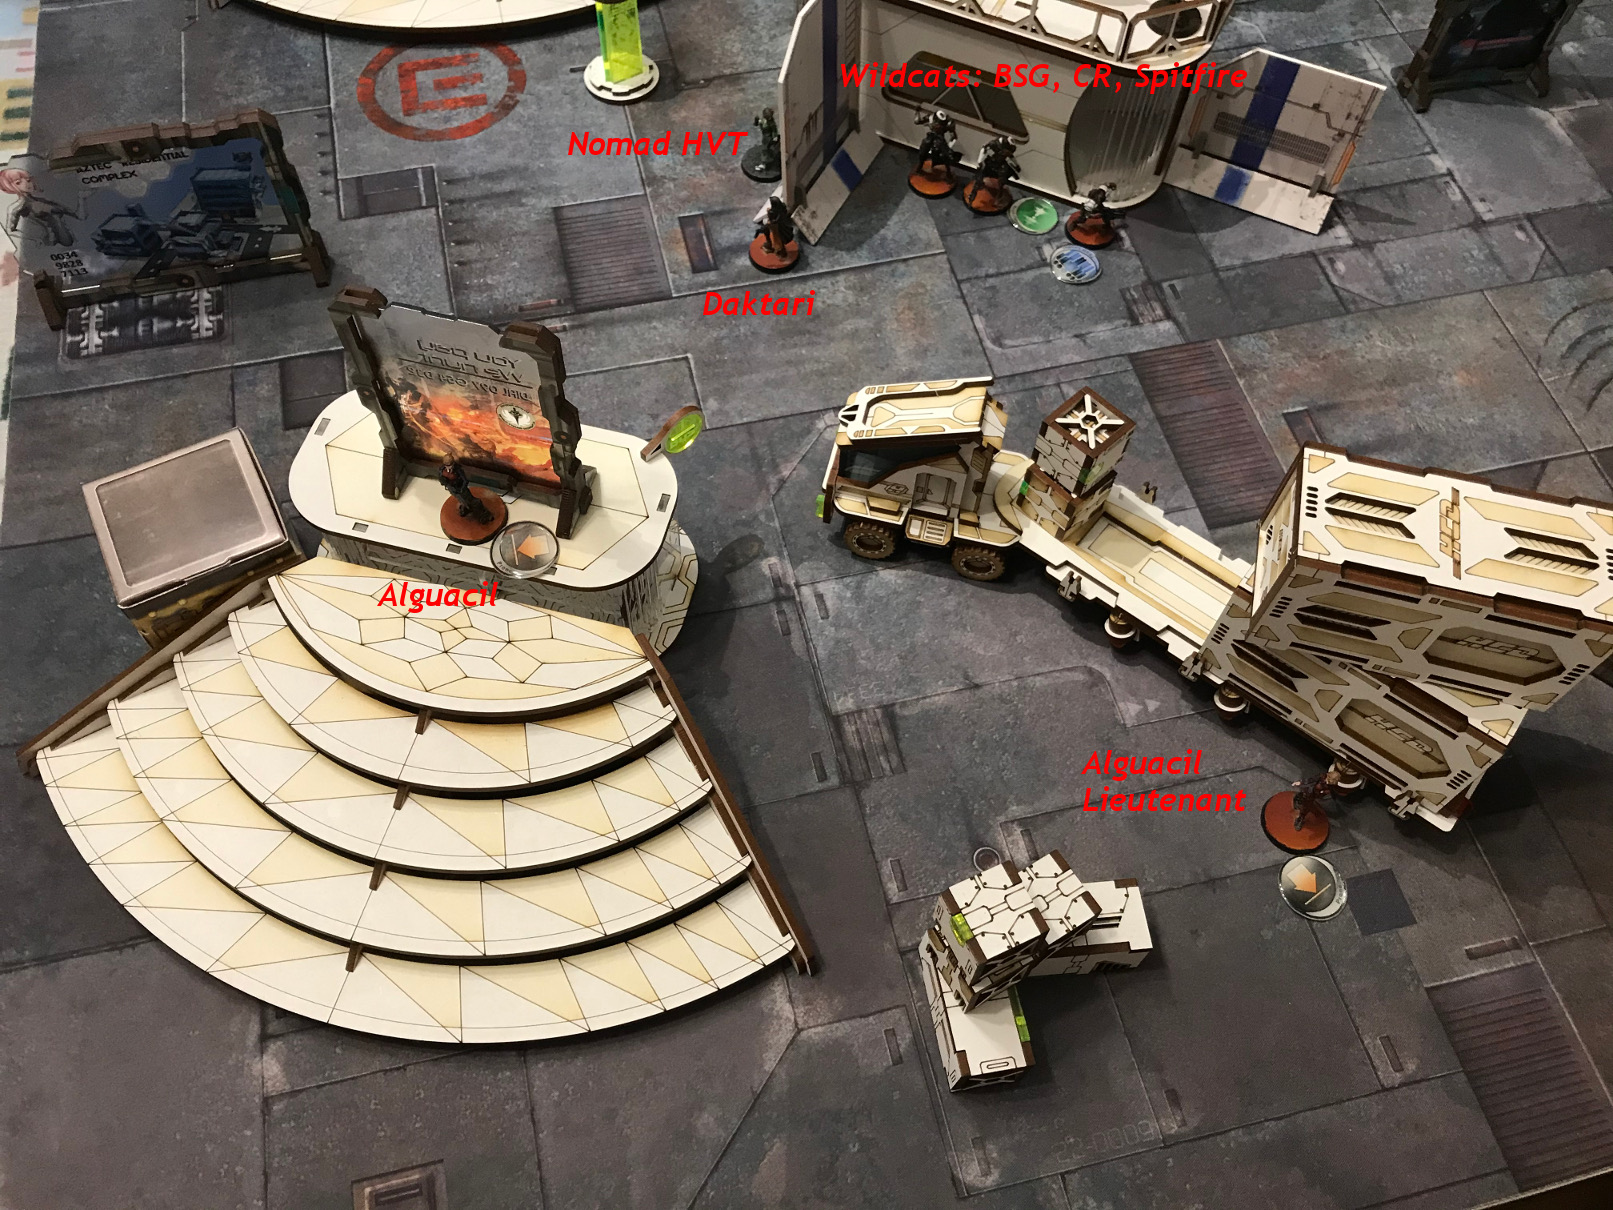
PanO deployed on the extreme far side of the board, scared of McMurder, the assumed Hellcat and the Fat Yuan Yuan.
First McMurder was switched in Group 1.
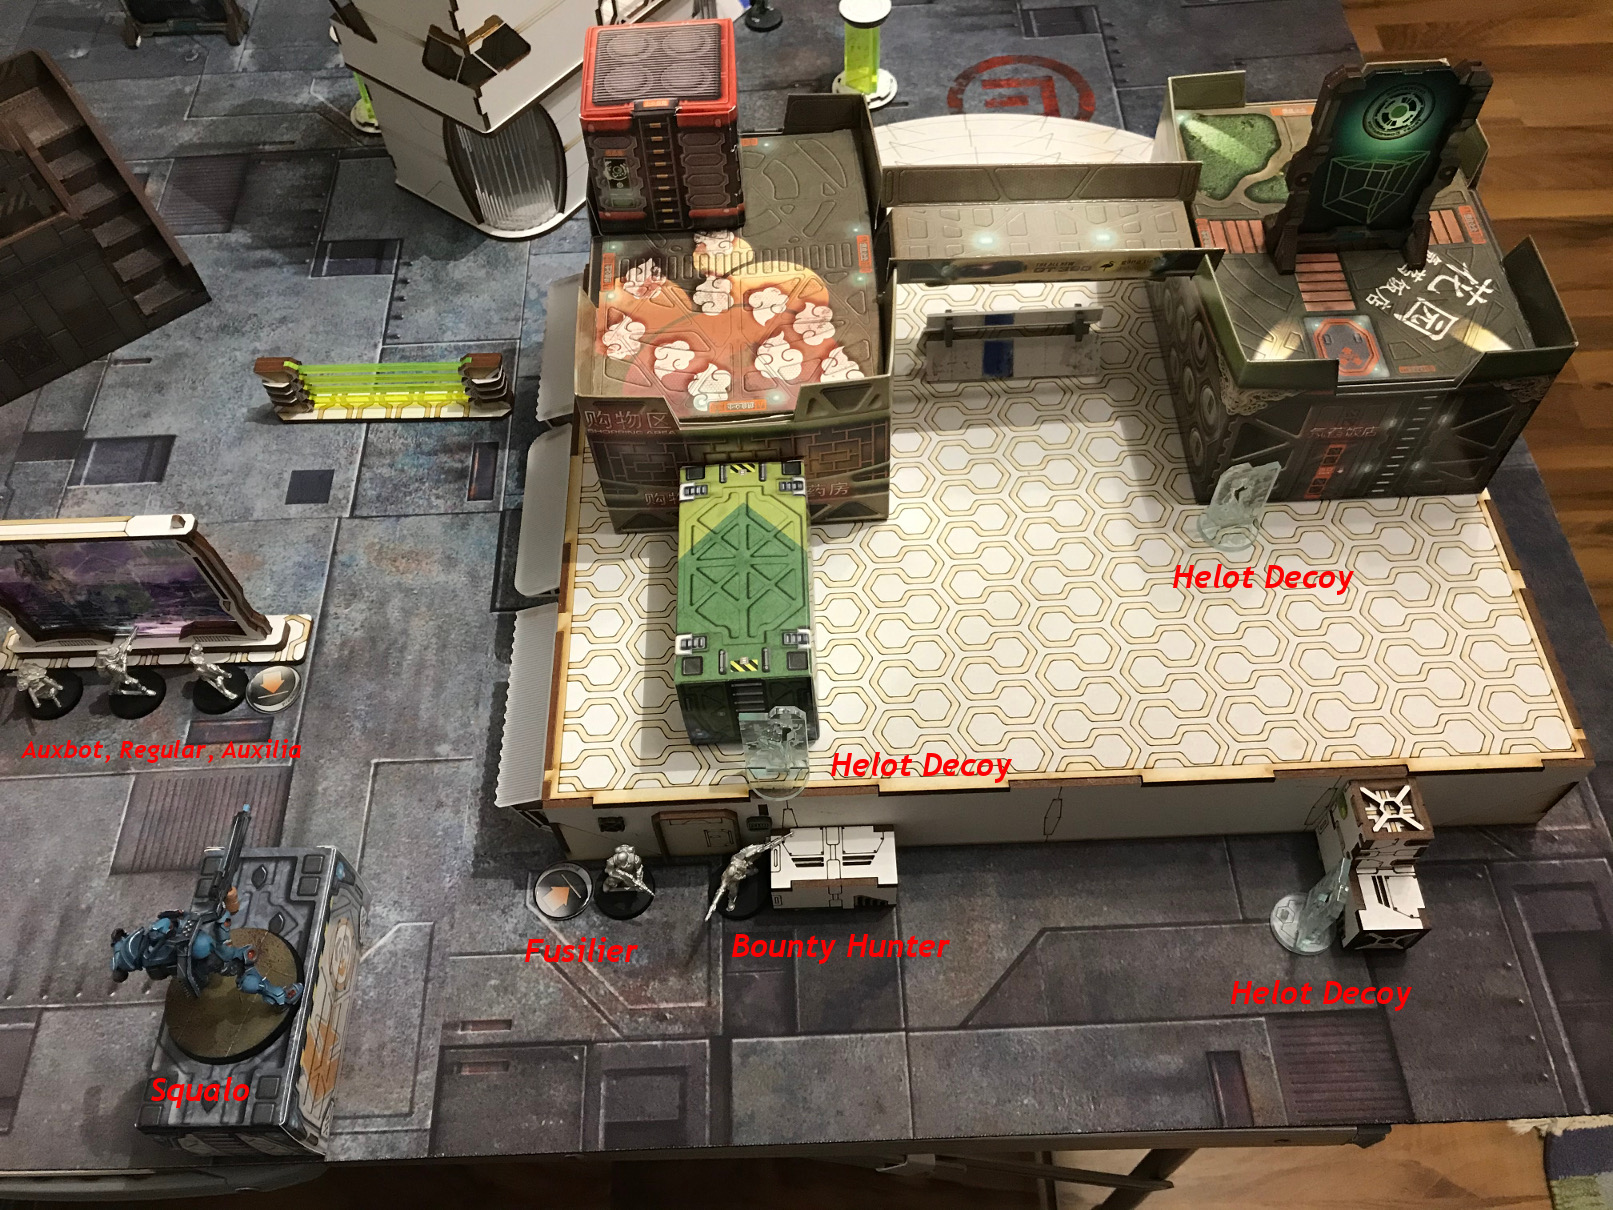
The Order on the Yuan Yuan was ruled to be Extremely Impeteous (although on the PDF it looks only like Impeteous) so the Fat Yuan Yuan walked in from the side inside the Deployment Zone and in View of one of the Helot Decoys (I was pretty sure this would be a Decoy). The Decoy didn't do enything, so it was clearly a Decoy. The Yuan Yuan gained Arm+1 ... not the best, but maybe usefull.
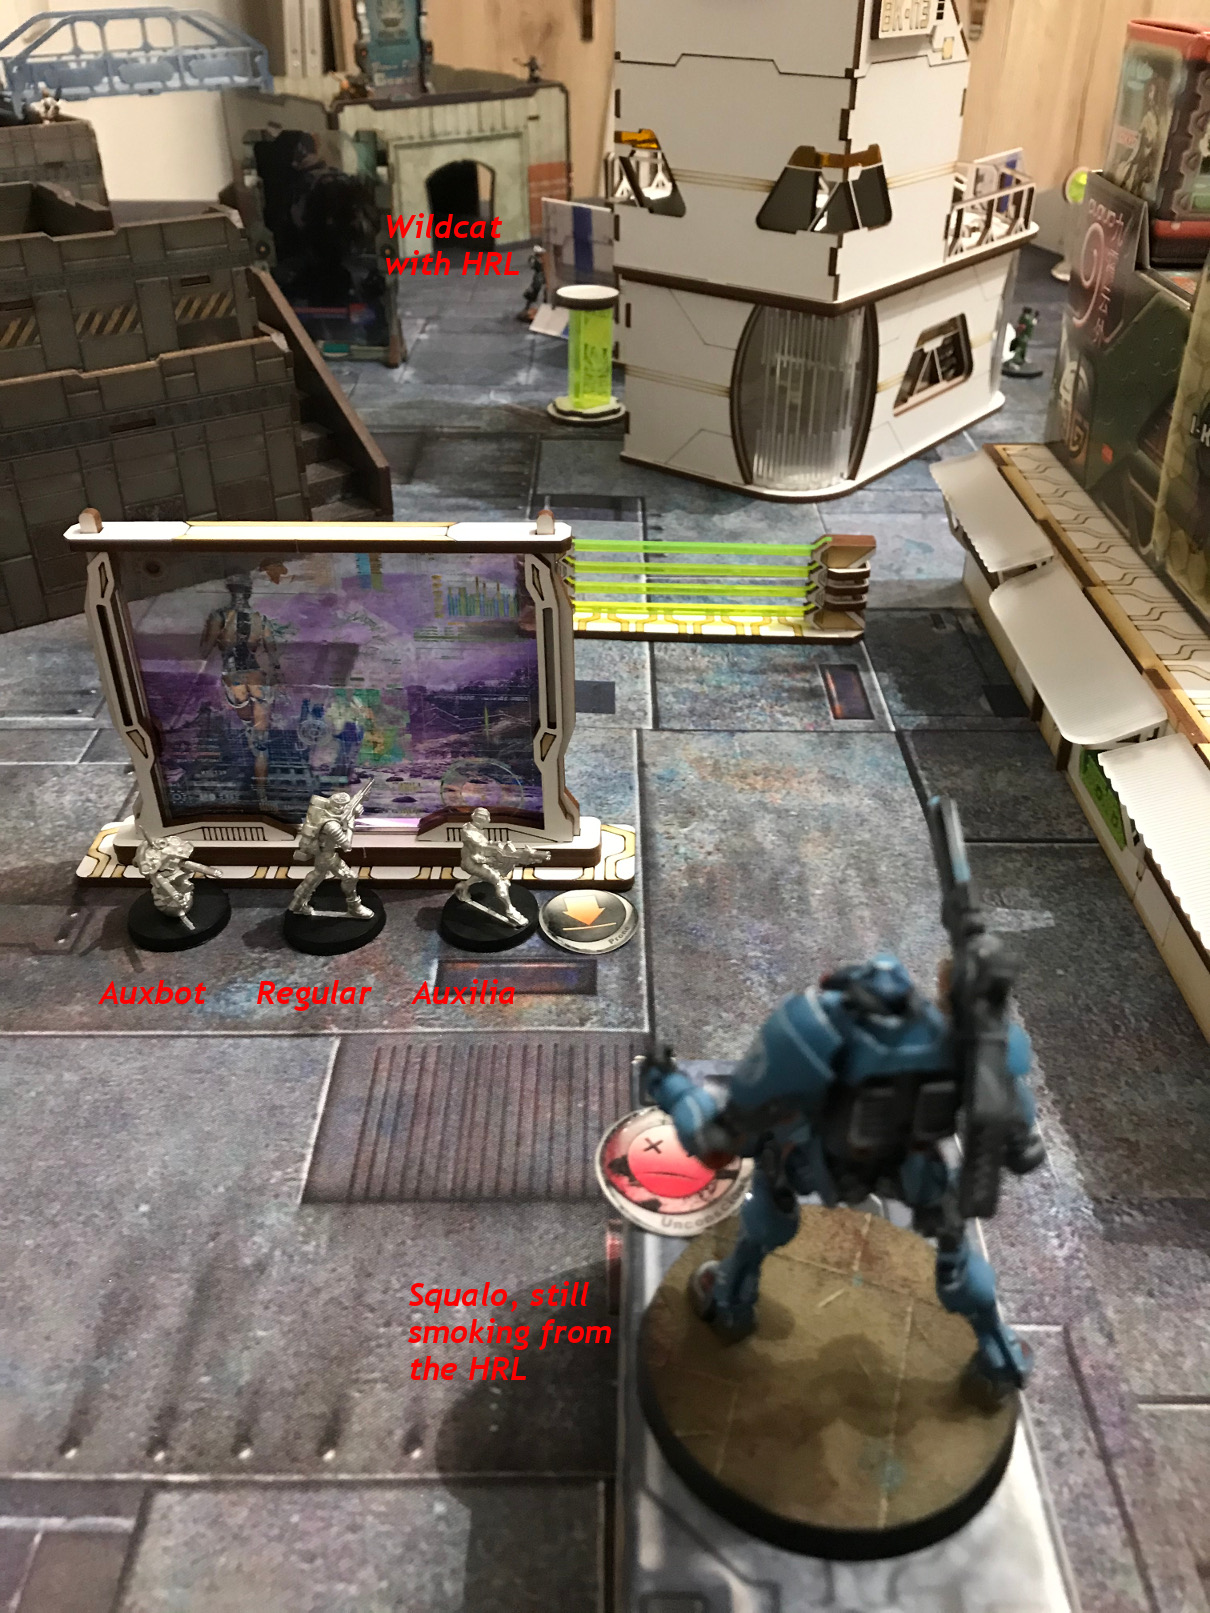
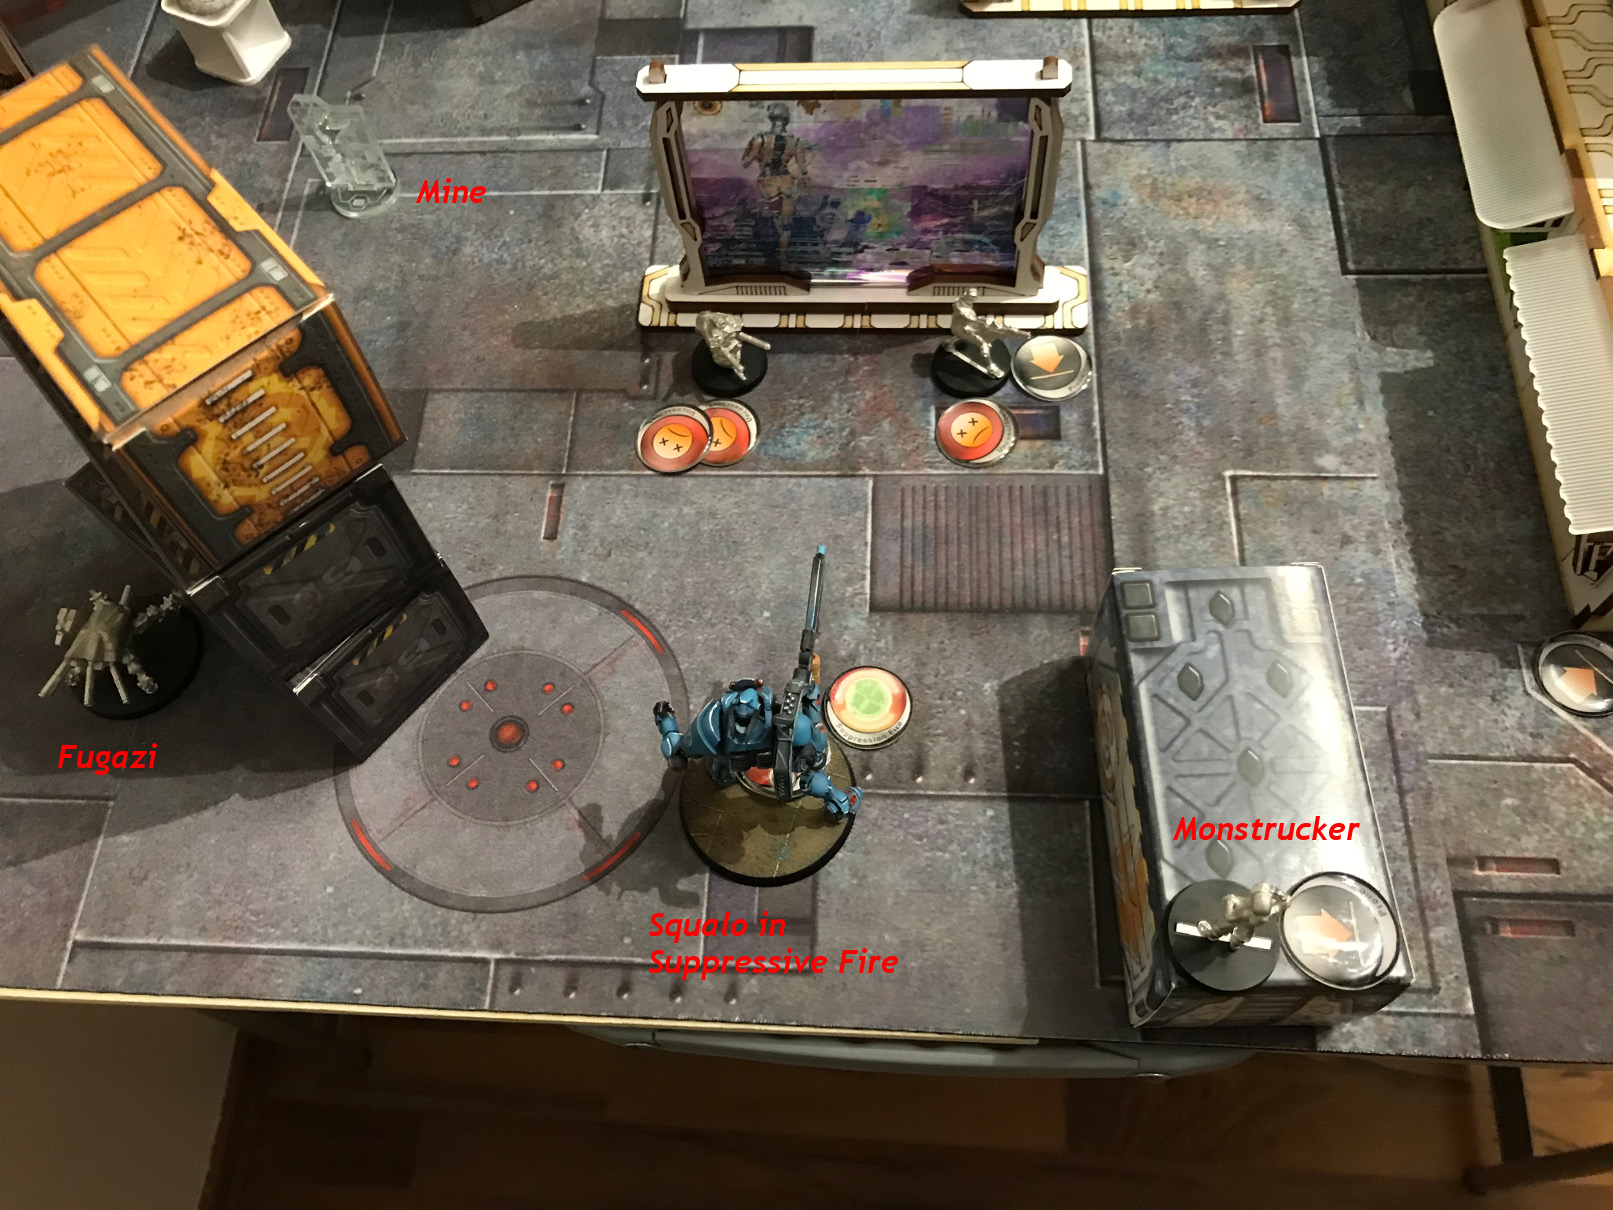
Next, because of the extremely defensive setup of PanO, the Wildcat-Link hat to do its Job. One Order for rearrangements (and dropping a repeater), then some Rockets for the Squalo. It worked, the Squalo got two hits, saved the first one, took the second. Now burning, it took another two wounds, and went unconscious before the flames went out. Great first two orders of Nomads!
Now the Fat Yuan Yuan could move more freely. First he moved to the next Decoy and tried to discover it, which didn't succeed.
So he went further forward, the motionless carcass of the Squalo giving cover from the Jotum. Now the Helot moved and shot, as did the Bounty Hunter. The Yuan Yuan dropped his Chain Rifle over both of them. The Helot hit, but the bullets were saved. The Helot himself went down, but the ABH survived the Chain Rifle.
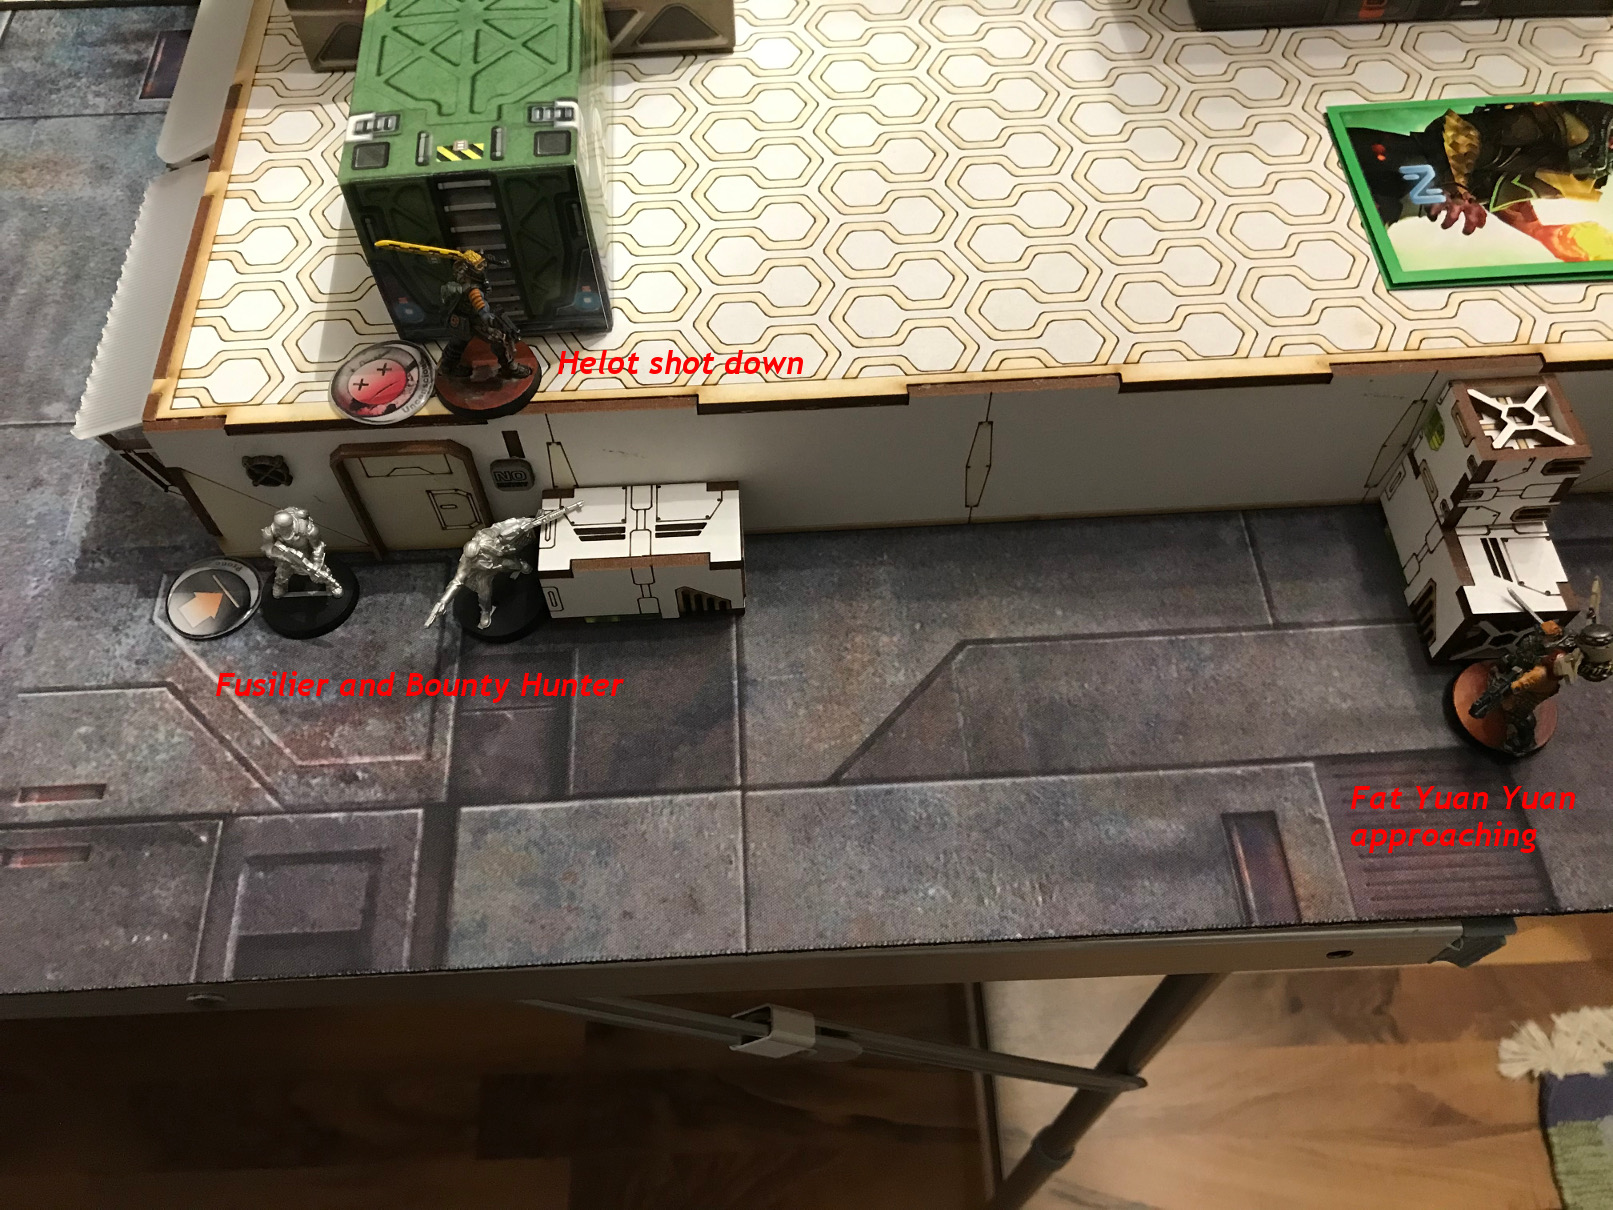
Next order some Inches more forward, the same game. The Fusilier dodged, the ABH tried to shoot the Yuan Yuan, but he saved the bullet and dropped the ABH with the Chain Rifle.

Another try, this time with the Squalo under the Template as well, to maybe get rid of it completely. This time the Fusilier shot at the Yuan Yuan. The Yuan went down, without dropping the Fusilier, but scored another wound on the Squalo.
Now it was time for McMurder.
He went forward using a smoke screen and went for the Redular and the Auxilia. Unformtunaltely only from the the result a picture was taken (I simply forgot it) but he dropped them all and in the end hat the Choise to go back or do a last attack against the Squalo. I deceided to go back and let the Squalo be. I think this was a mistake, but, I tried to save McMurrough.

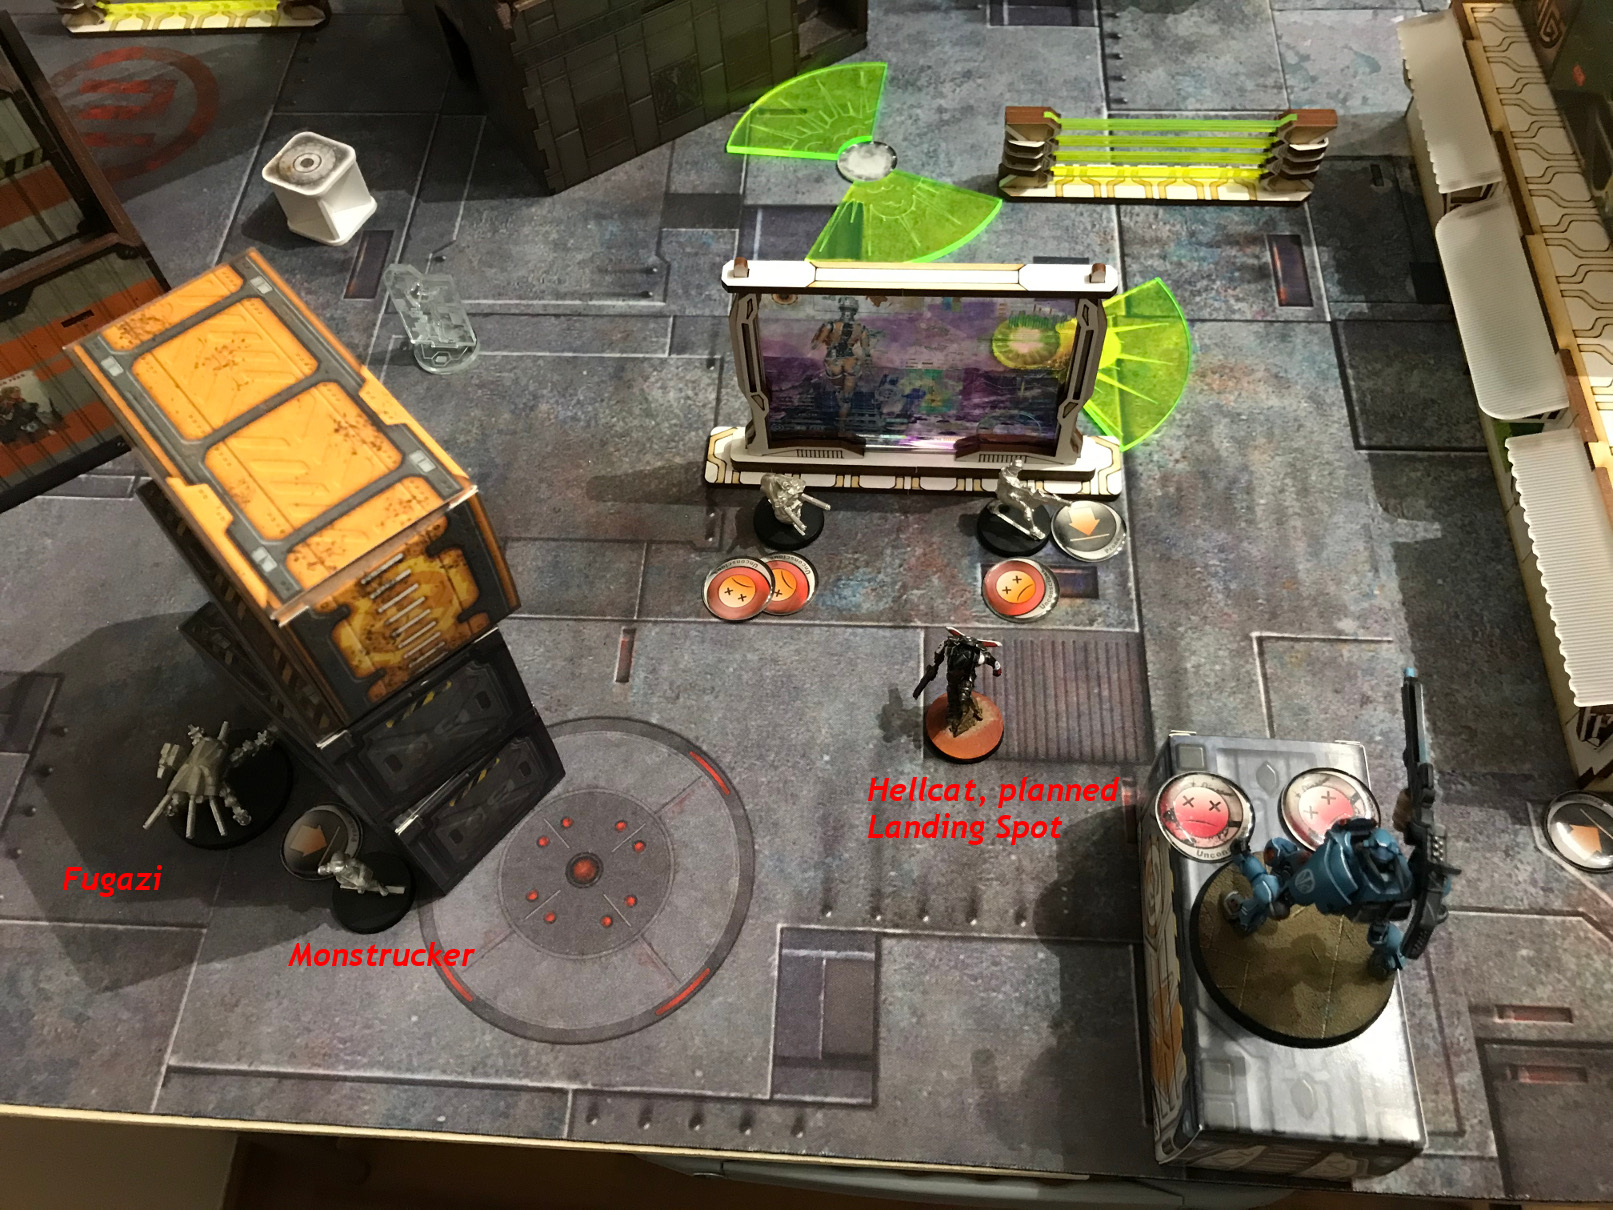
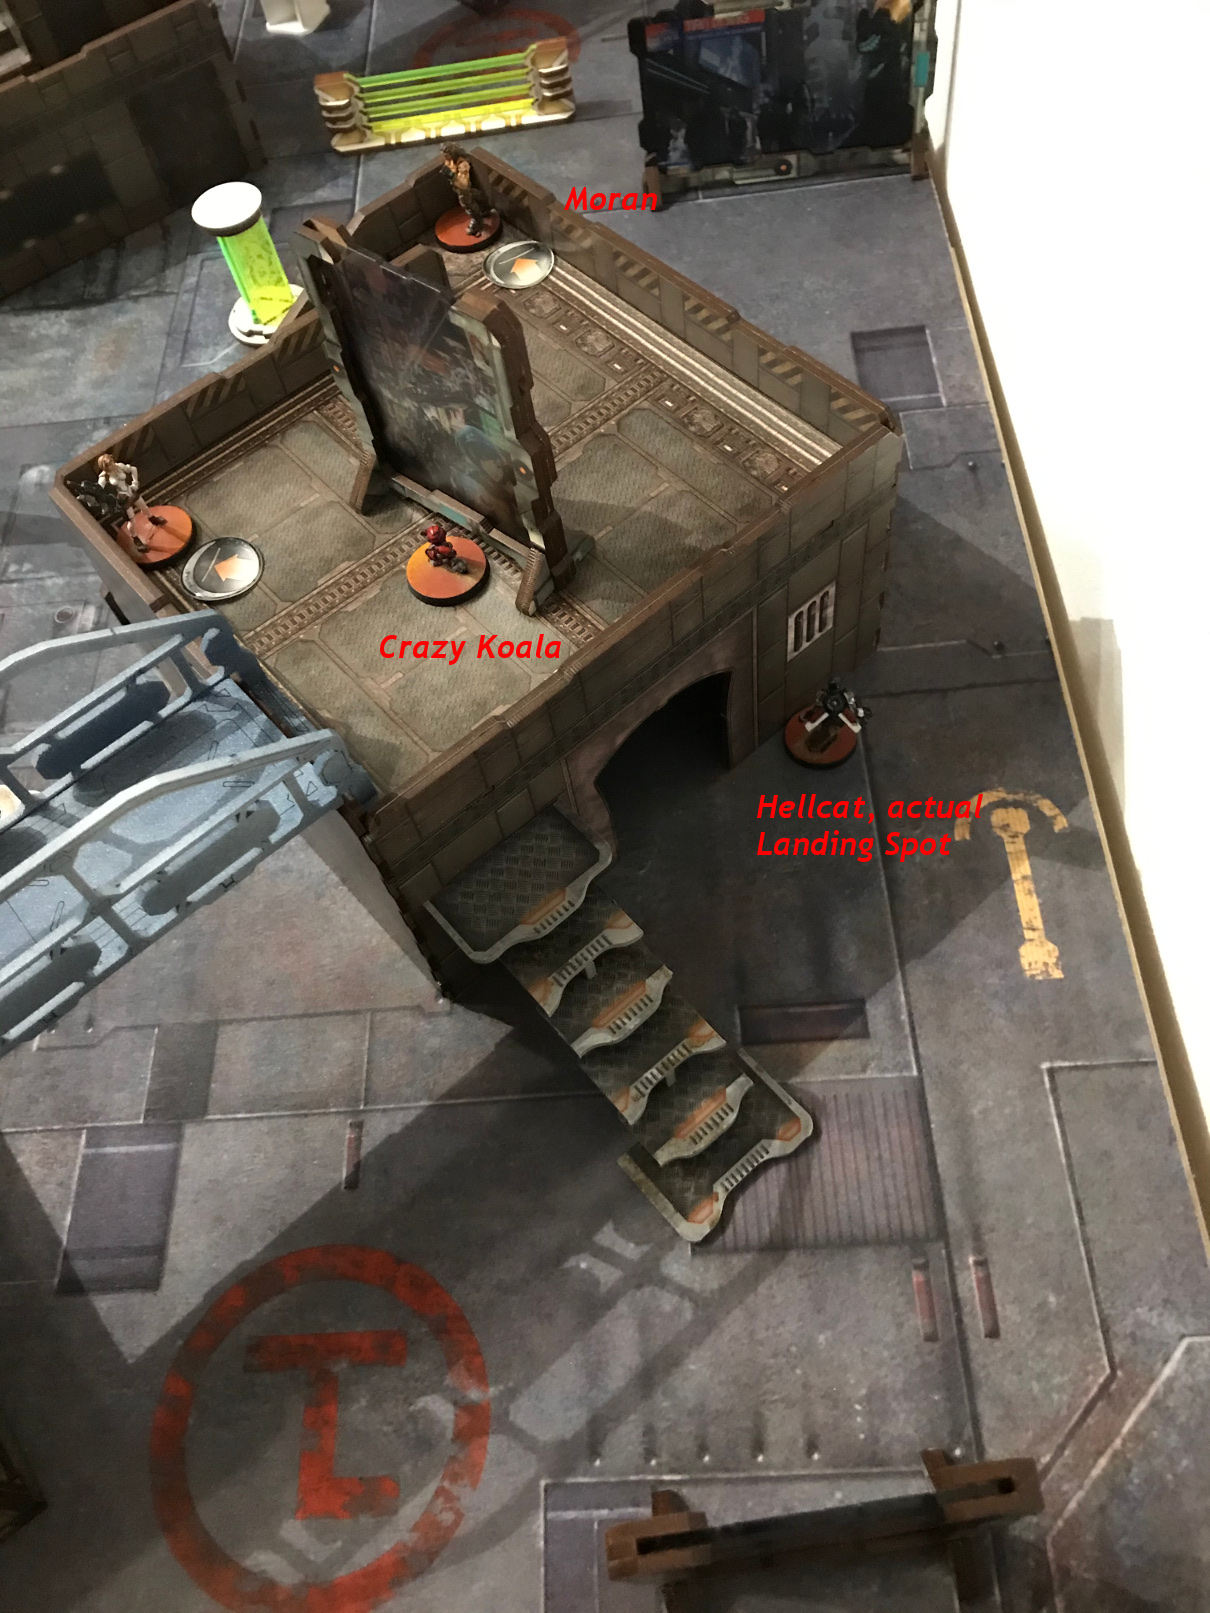
The Hellcat now tried to complete the work of the Doggie, but ... of course, failed his Deployment roll. Against 15. 25% chance of failure. Too bad. He went of the board so I put him in my deployment Zone to cover the weak right side.
Now several orders were left and Sr. Massacre used an Eclipse Grenade to move forward, behind the next cover.
Not the best turn for PanO but there were still pretty many orders left.
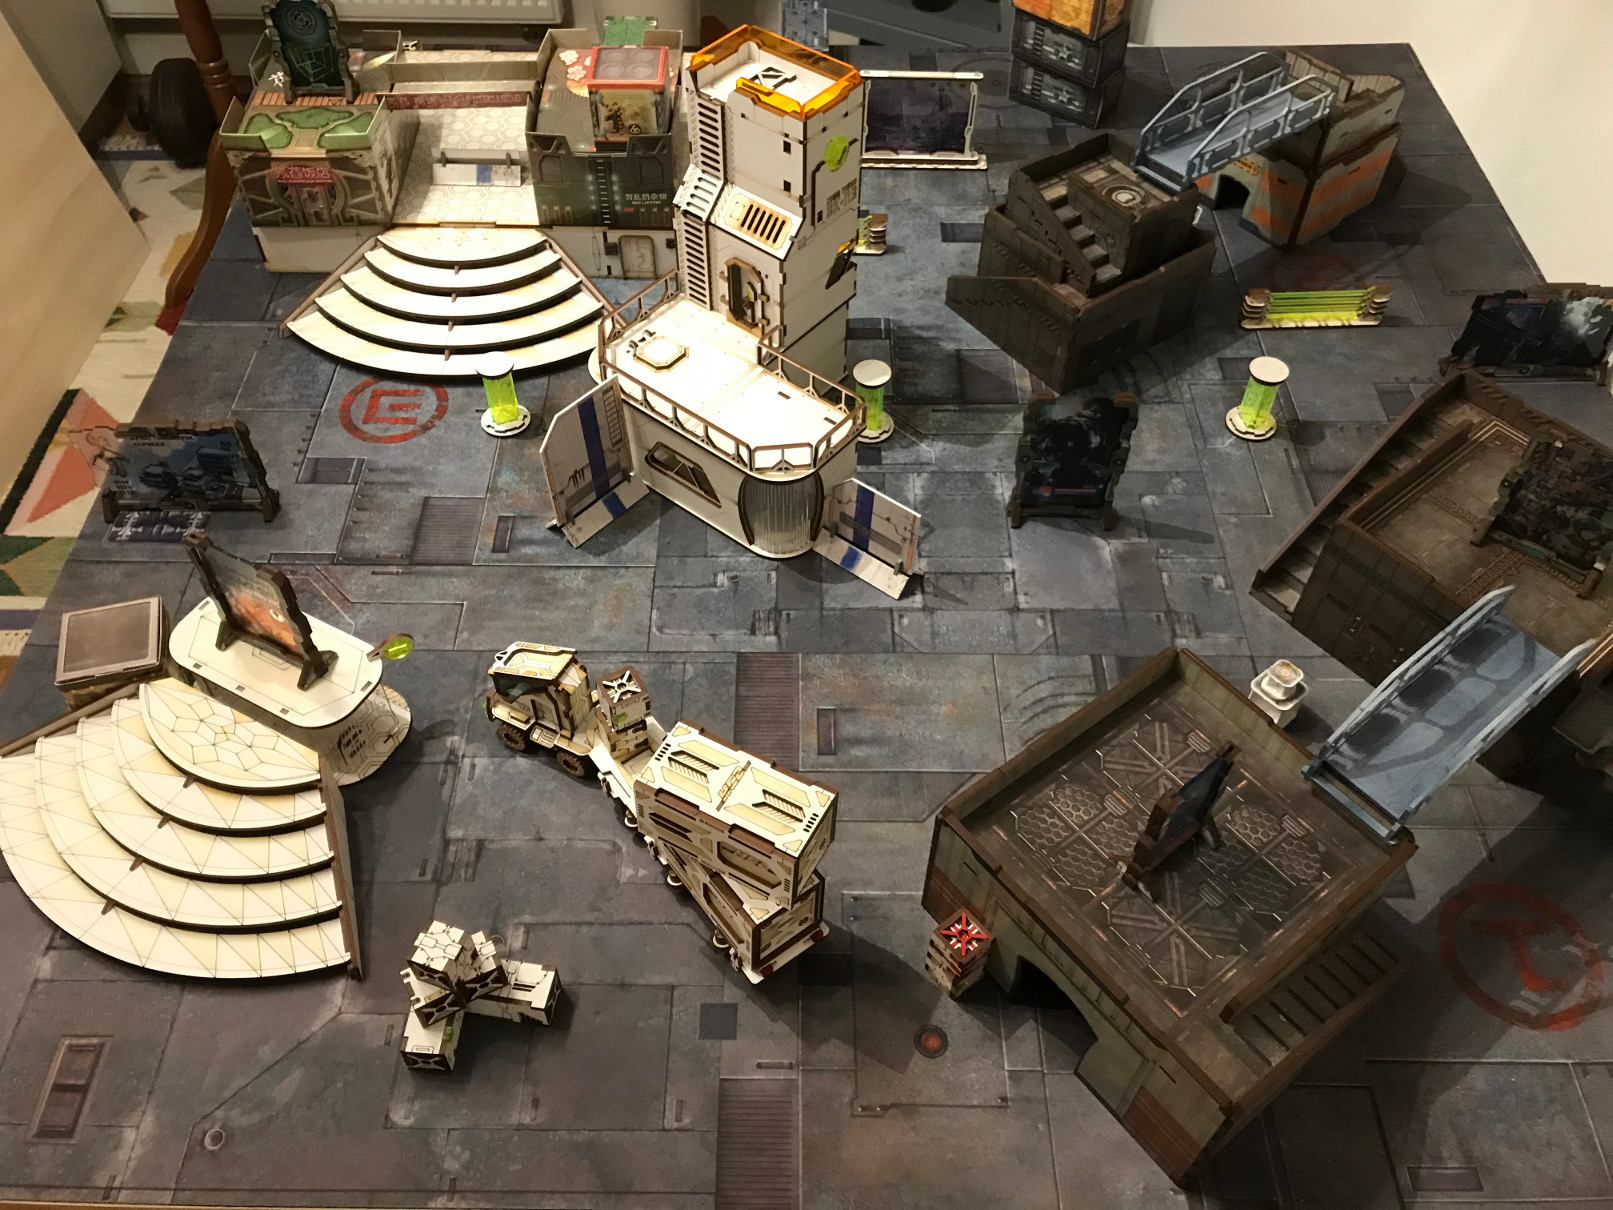
The Board at the end of Corregidor Turn 1:
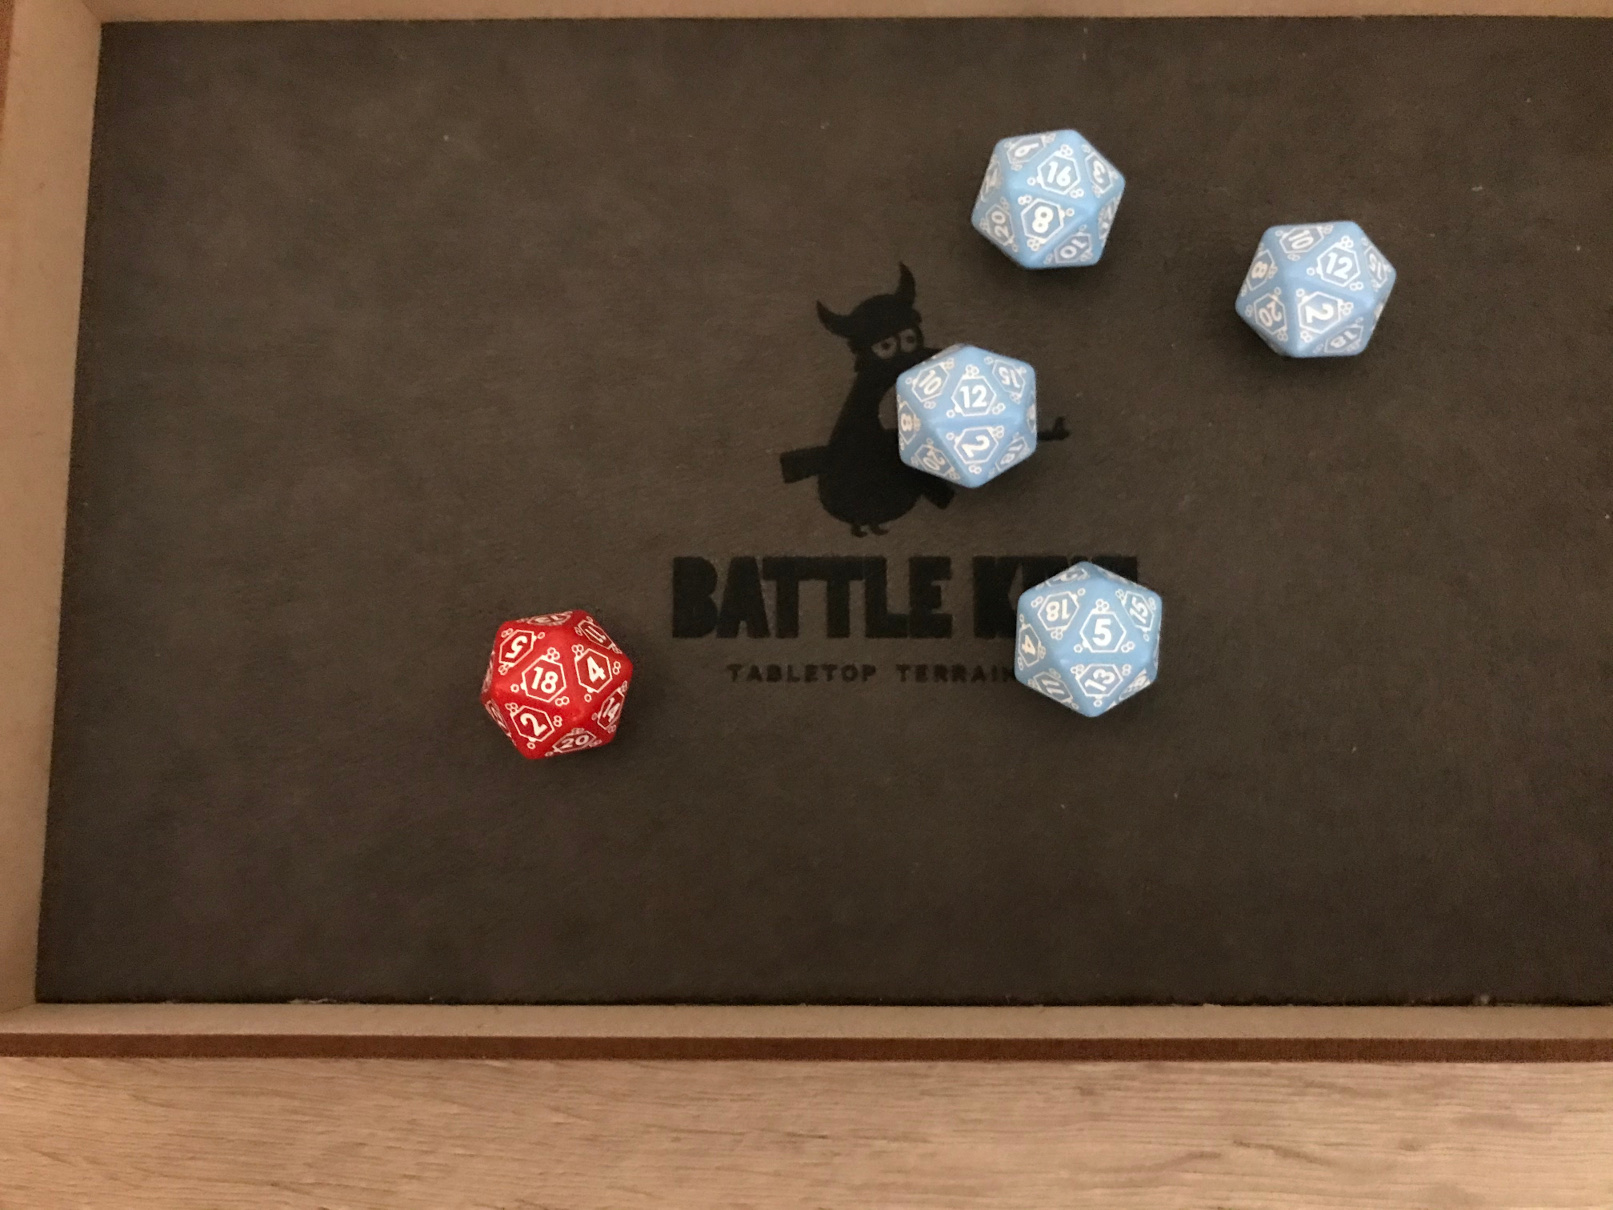
First, the Monstrucker moved to the Squalo, using Climbing Plus and ... repaired it. I hoped for a fail, but unluckily he succeeded. Now the Squalo had one Structure Point again. PanO didn't stretch its luck and did not repair it any further, instead moving the TAG down while shooting at McMurrough. He went for a Smoke Dodge and was lucky. Although PanO scored a 16, 12, 12, and 5, he won with an 18.
Frustrated the Squalo tried Speculative Fire with the HGL at the Wildcat Team, but missed the roll.
Now the Jotums and the Squalo both went into suppressive Fire and the Monstrucker went prone and that was it.
Nothing killed, good turn for Nomads, but the Squalo was alive again.
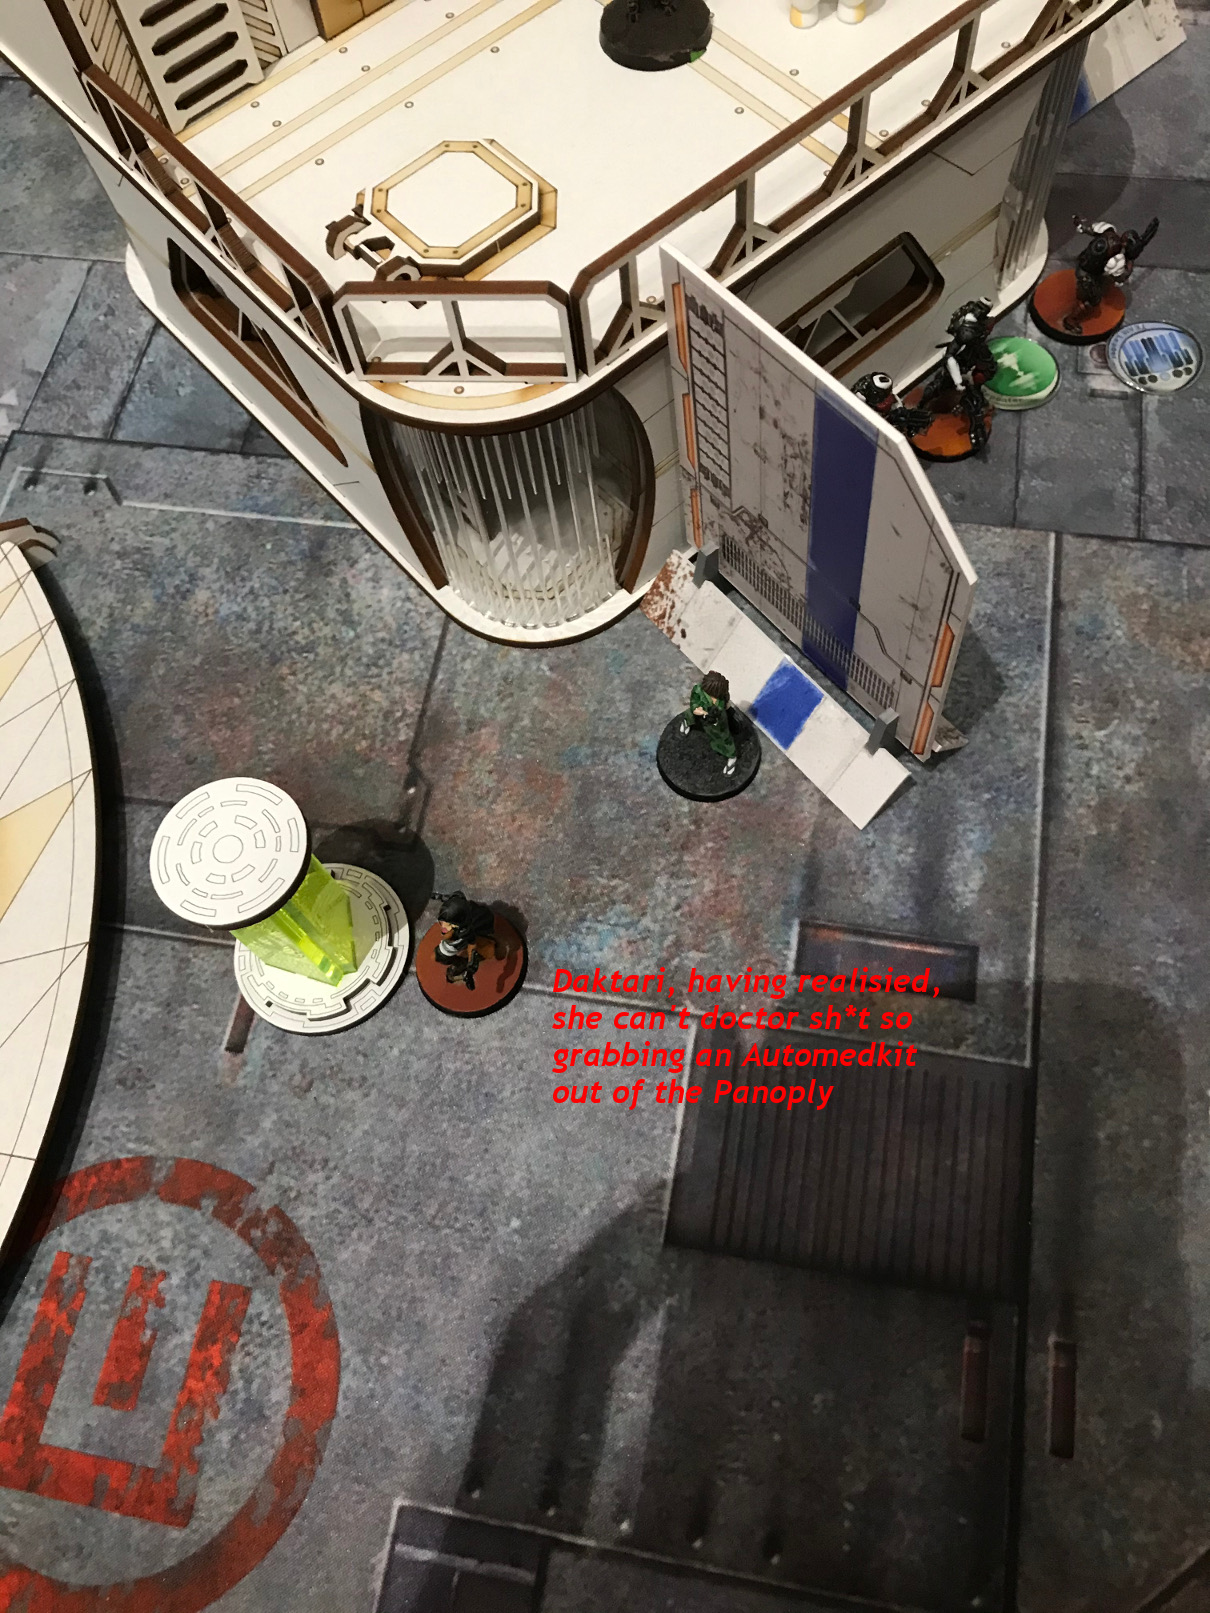
The Wildcats tried their trick another time. This time the HRL-Cat was unluckily no longer in cover, when shooting the Squalos. So the Qualos went lukcy, despite only one Shot (he was clearly outside suppressive fire ranges) and only 19% chance. So the Wildcat got his the an explosive round and went unconscious. Now the Daktari tried to heal him back up, but failed (14 instead of 13). One command token later ... she failed again (same dice: 14 instead of 13). Third attempt would have been useless because there would not be enough Command Tokens left so reestablish the Fireteam.
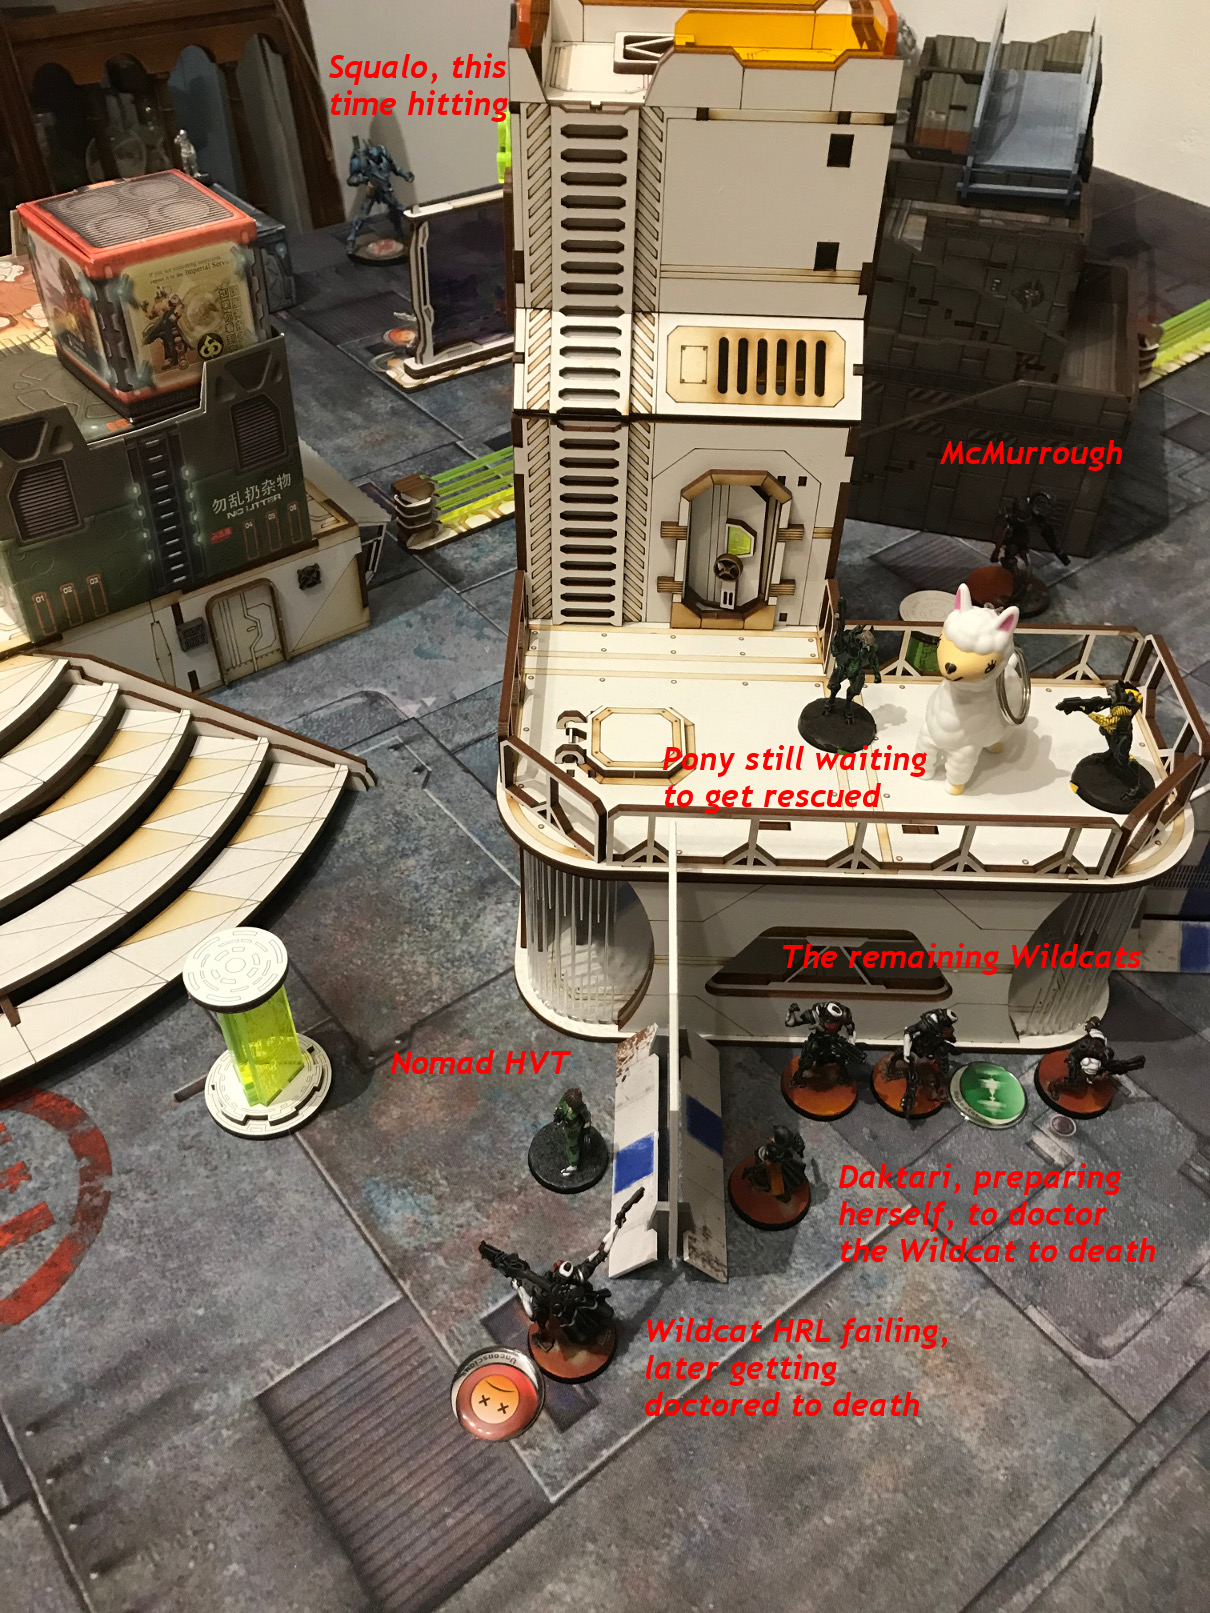
So again McMurrough had to do the Job. He went forward using a smoke screen and came in sight of the Monstrucker. The little engineer tried to shoot the Dog Warrior, but the Dog send her a nice little grenade and out went the lights.

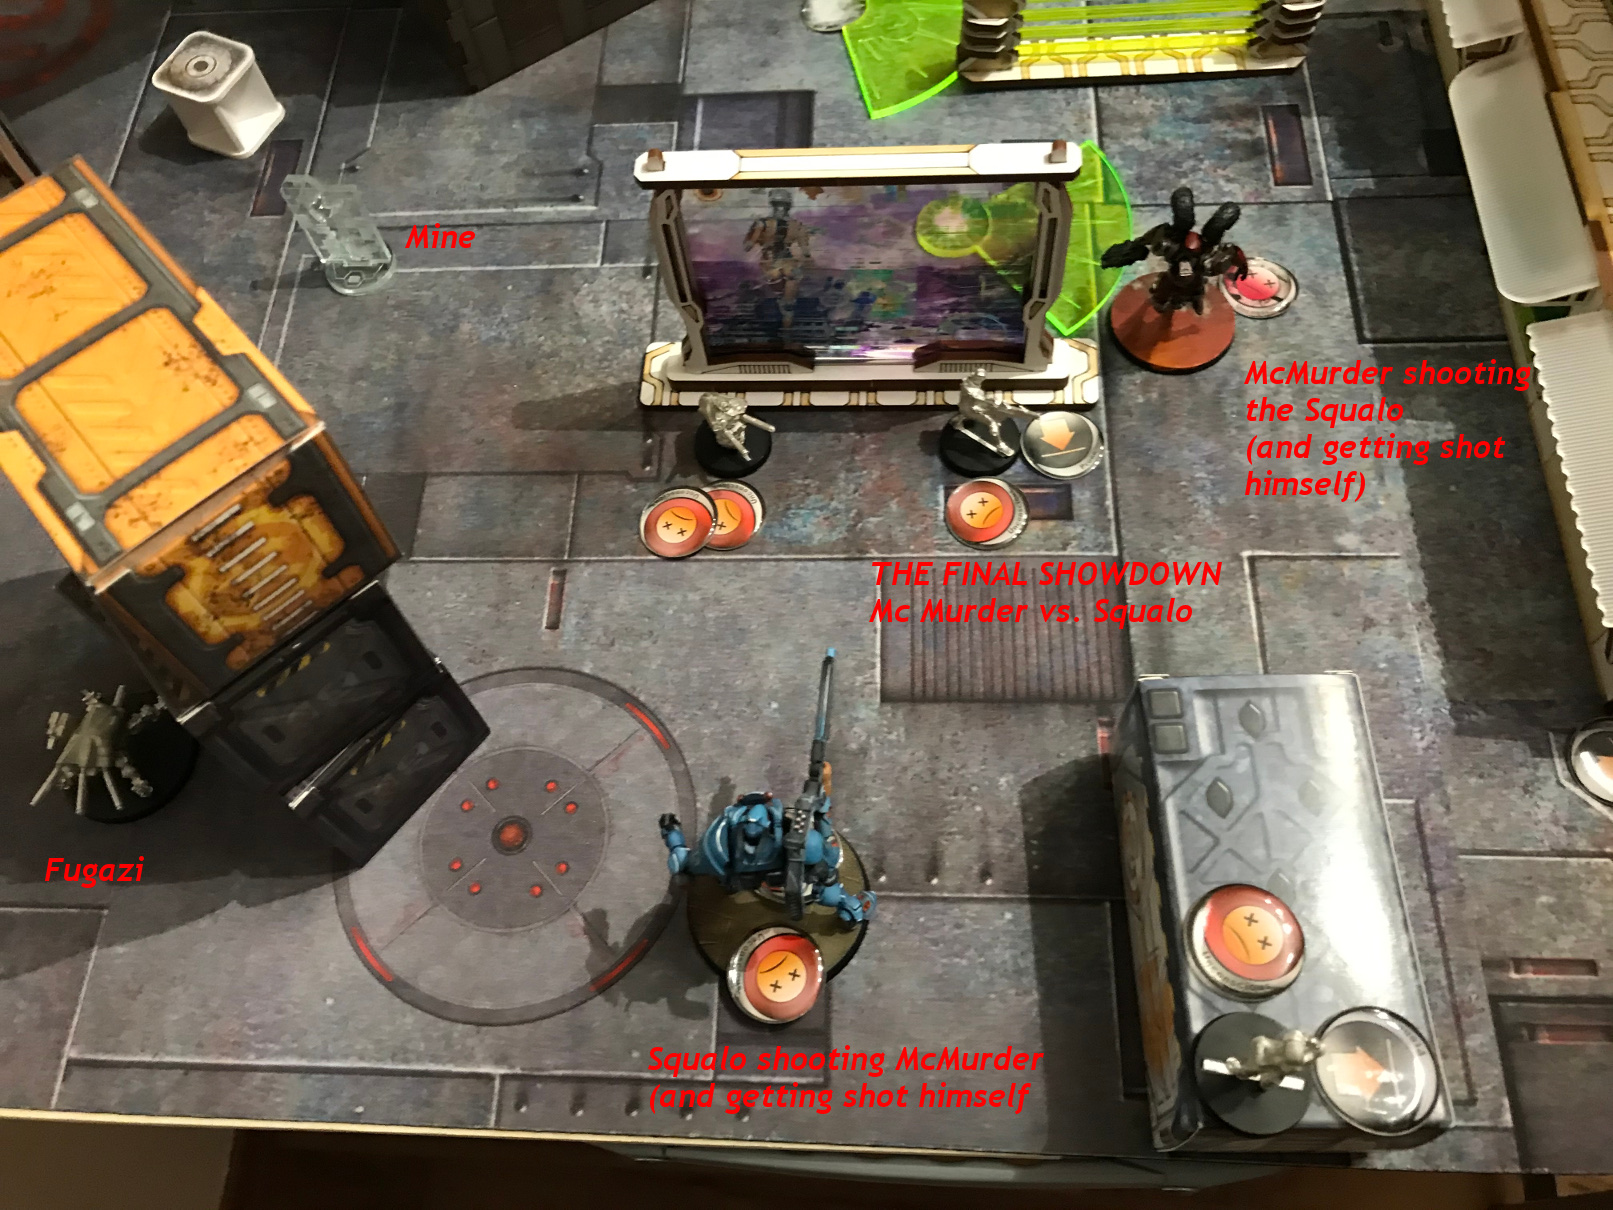
Now the Dog Warrior had the choice to either finish the work himself or to pave the way for Sr. Massacre, who had whole bunch of orders at his disposal. McMurder went for the kill, and using a smoke screen again, placed his Chain Rifles over the Squalo, who shot with his Heavy Pistol. Both succeeded and both went down in a Blaze of Glory. With the Monstrucker down, no ressurrection for the Squalos this time.
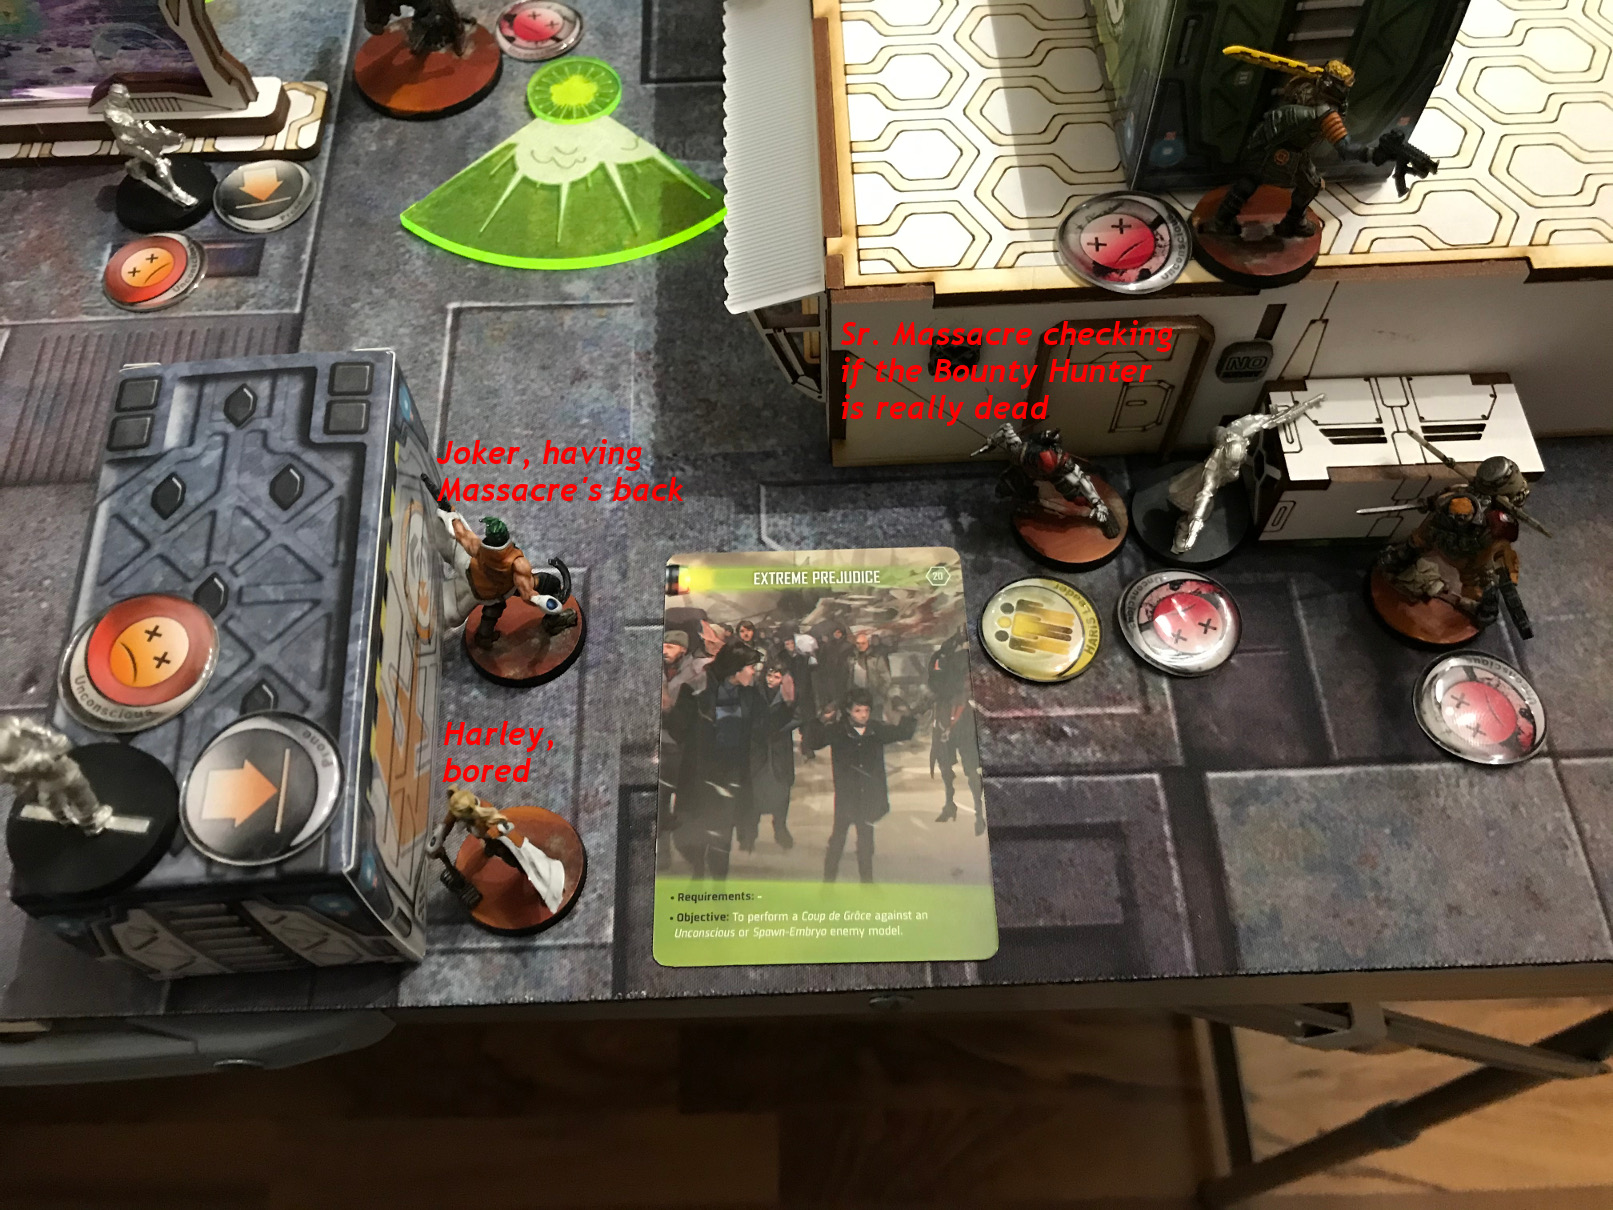
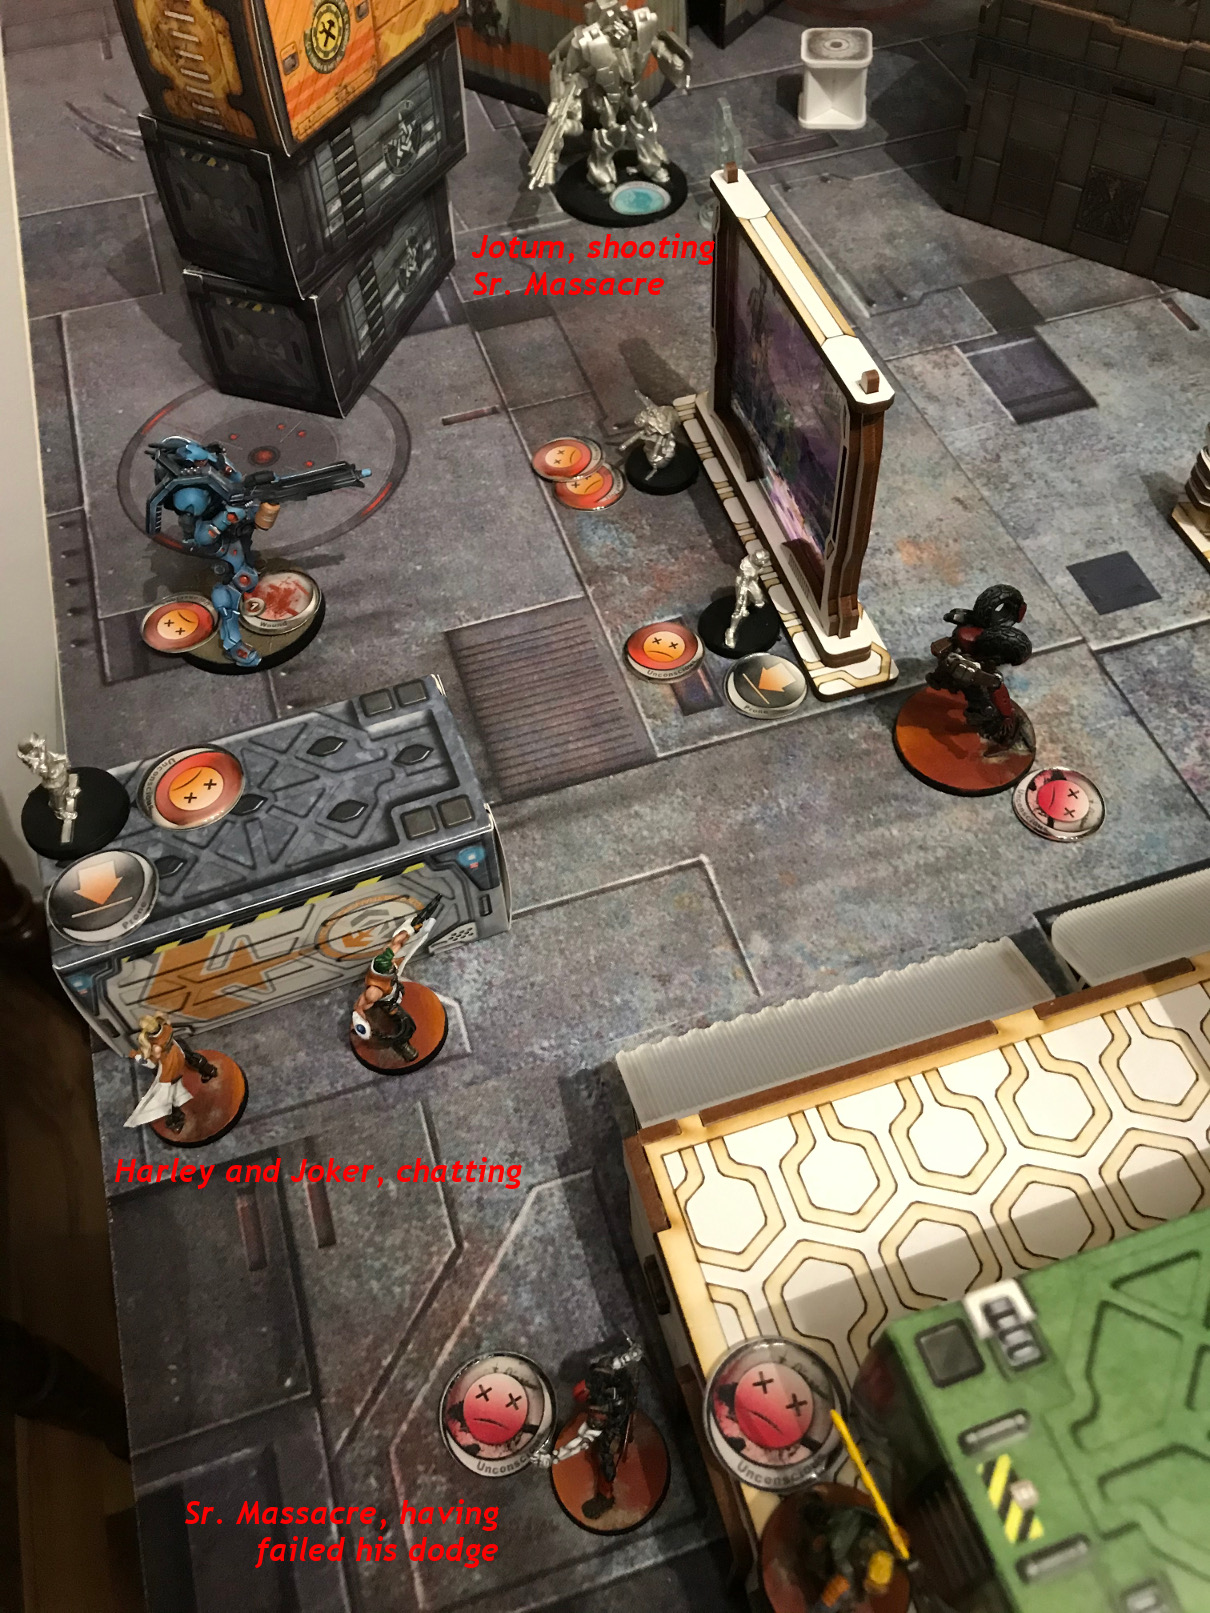
With seven orders left, Sr. Massacre and the Jaguars went forward. They crossed the whole board, placed a last eclipse grenade and went for the lone Fusilier. He dropped him with the Boarding Shotgun.

Now he went to the unconscious body and stabbed the corpse, because he had to run that far only to kill a cowardly Fusilier. Out of sheer dumbness he remained standing there when the turn ended, instead of looking for cover.
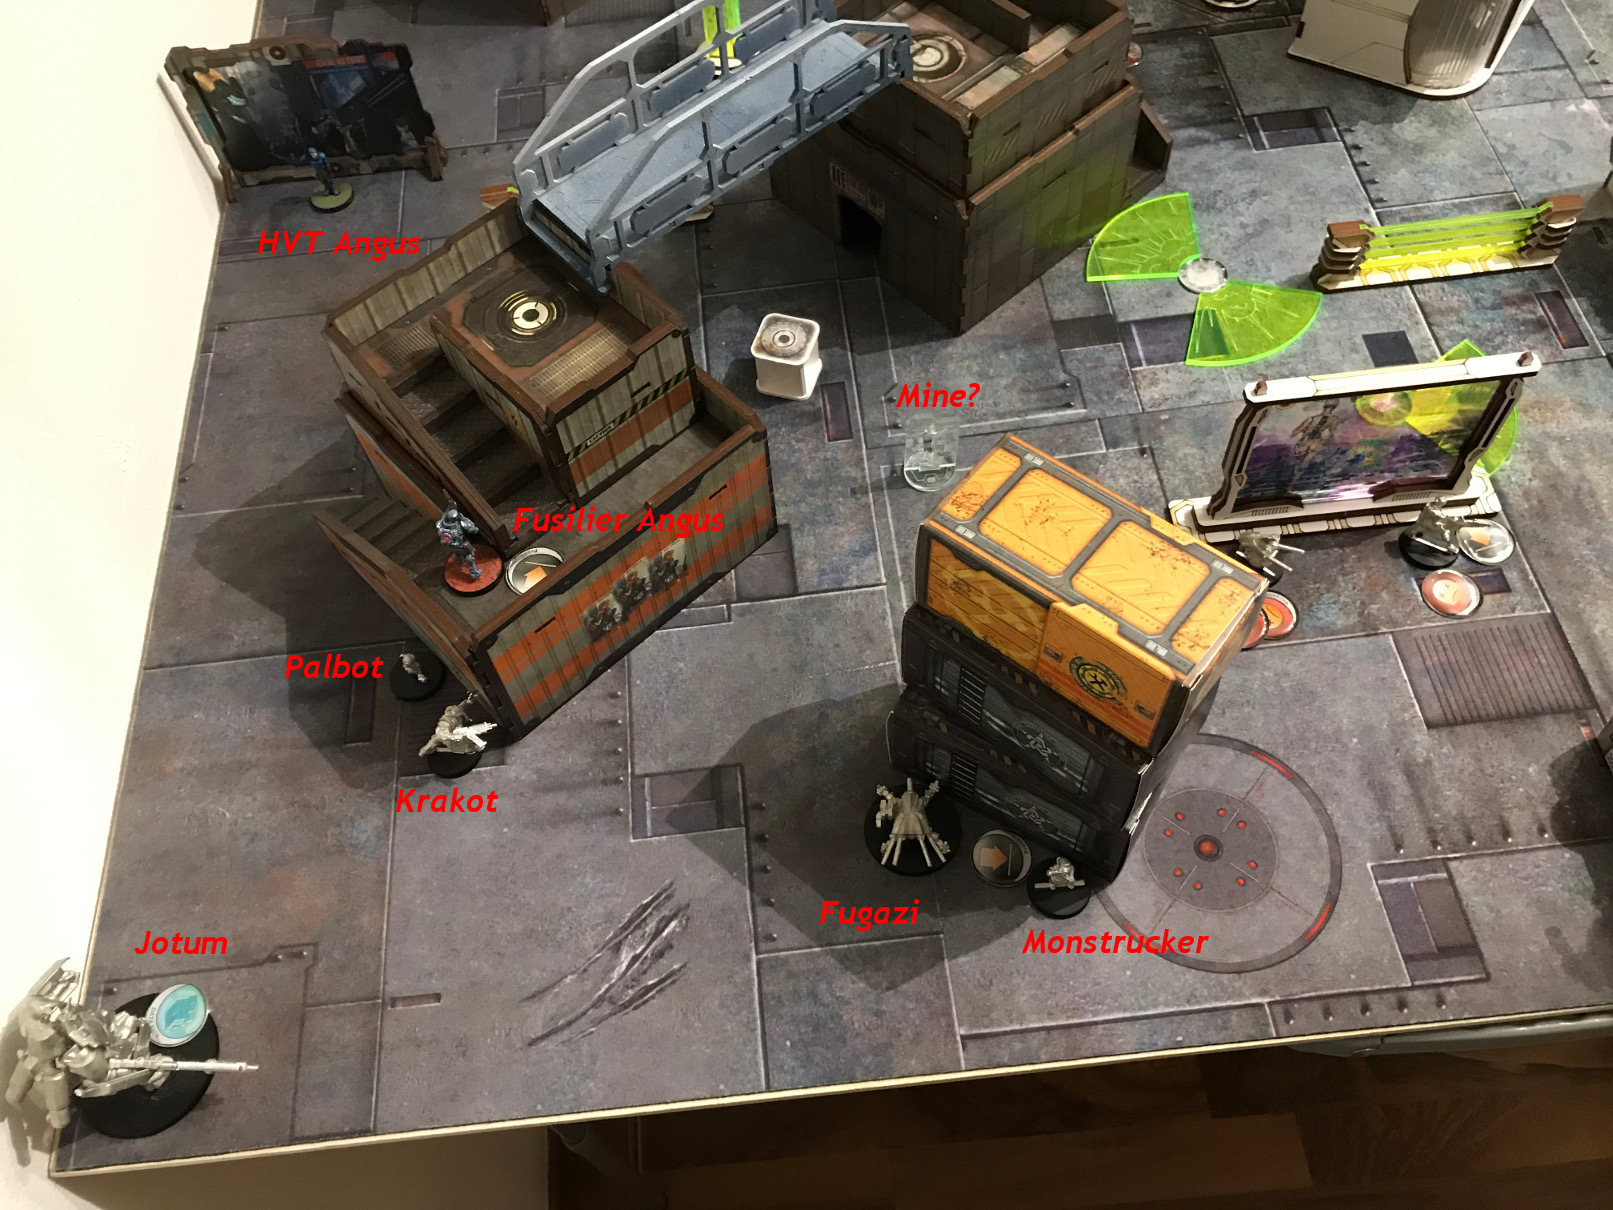
Now even more hampered, but still with too many orders left for the Jotum, PanO used a Coordinated Orders to move the Jotums and the Krakot to Sr. Massacre and Gang and Angus and Fugazi forward.
The Jotums shot at Sr. Massacre and dropped him.
Another Coordinated order and the Krakot and the Jotums closed the distance to the two remaining Jaguars. But they came too close, so Joker dropped a smoke grenade.
The Krakot still went forward and went into Close Combat using his Chest Mines. He dropped Joker and because of Total Immunity and Dogged survived the Hit of the Jaguar.


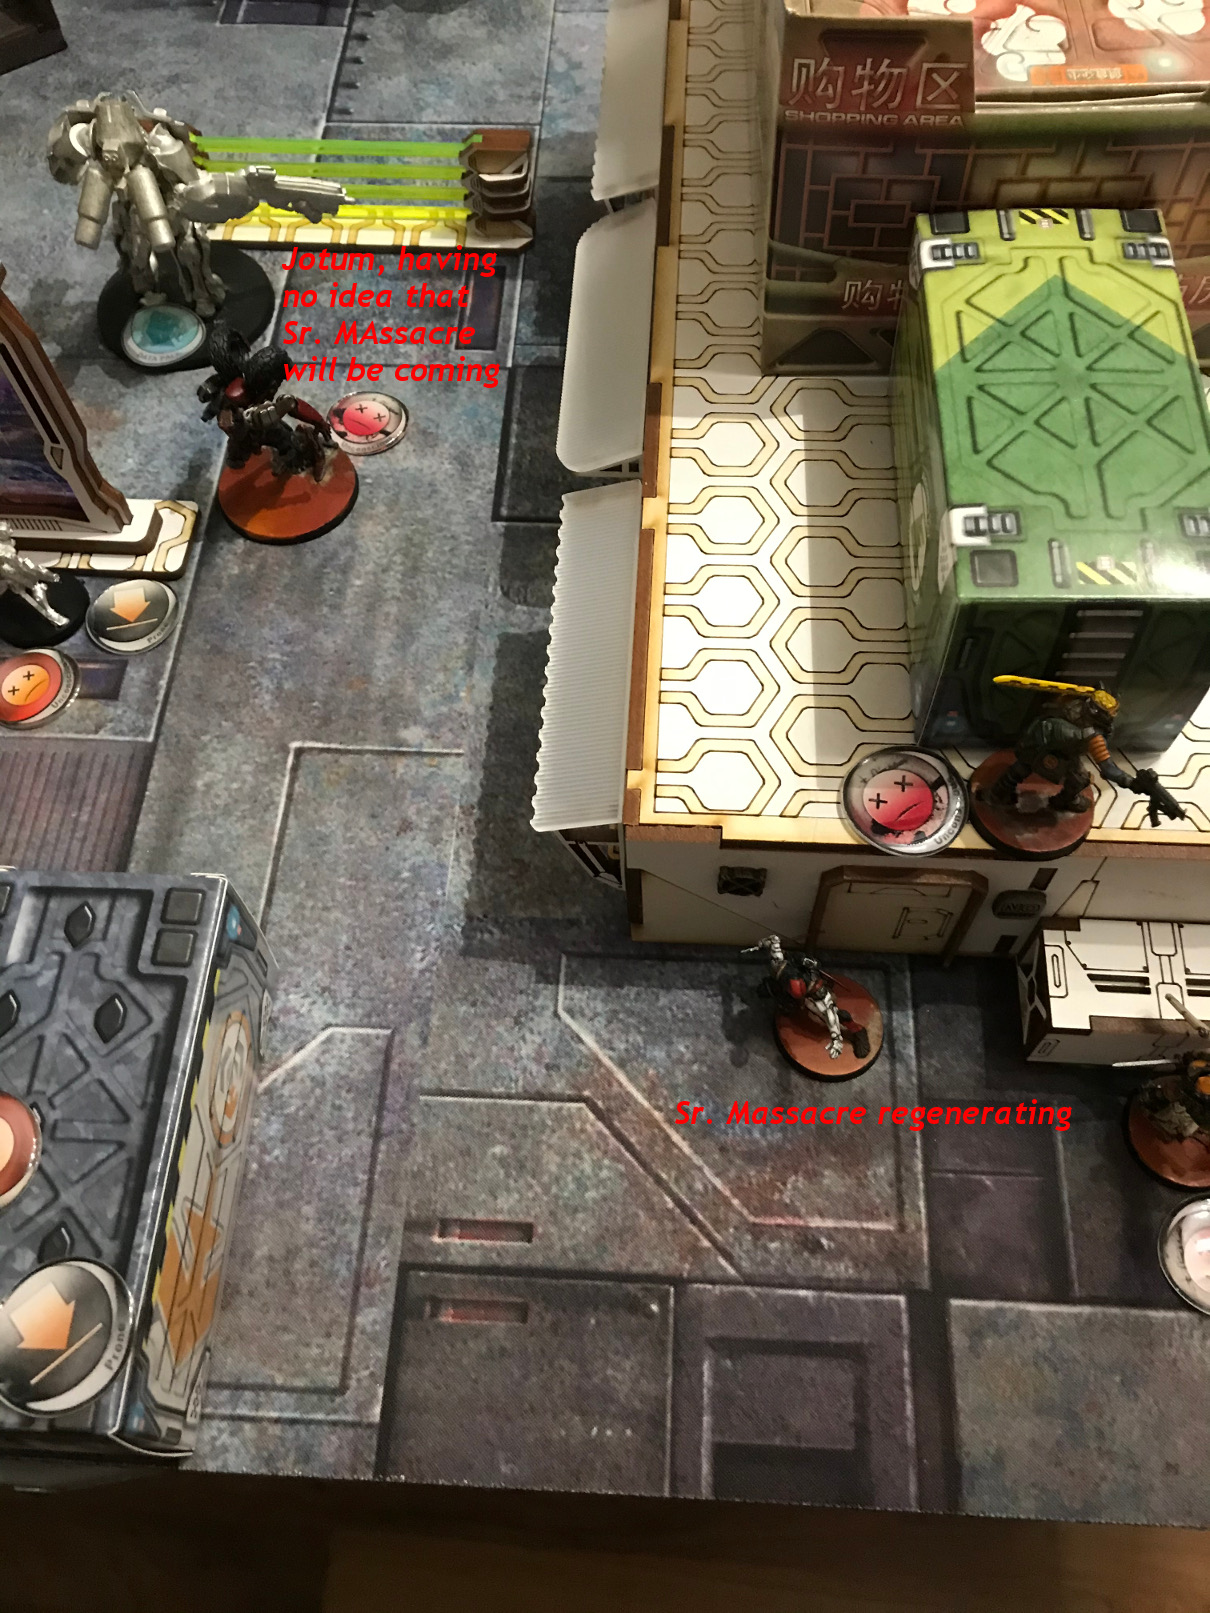
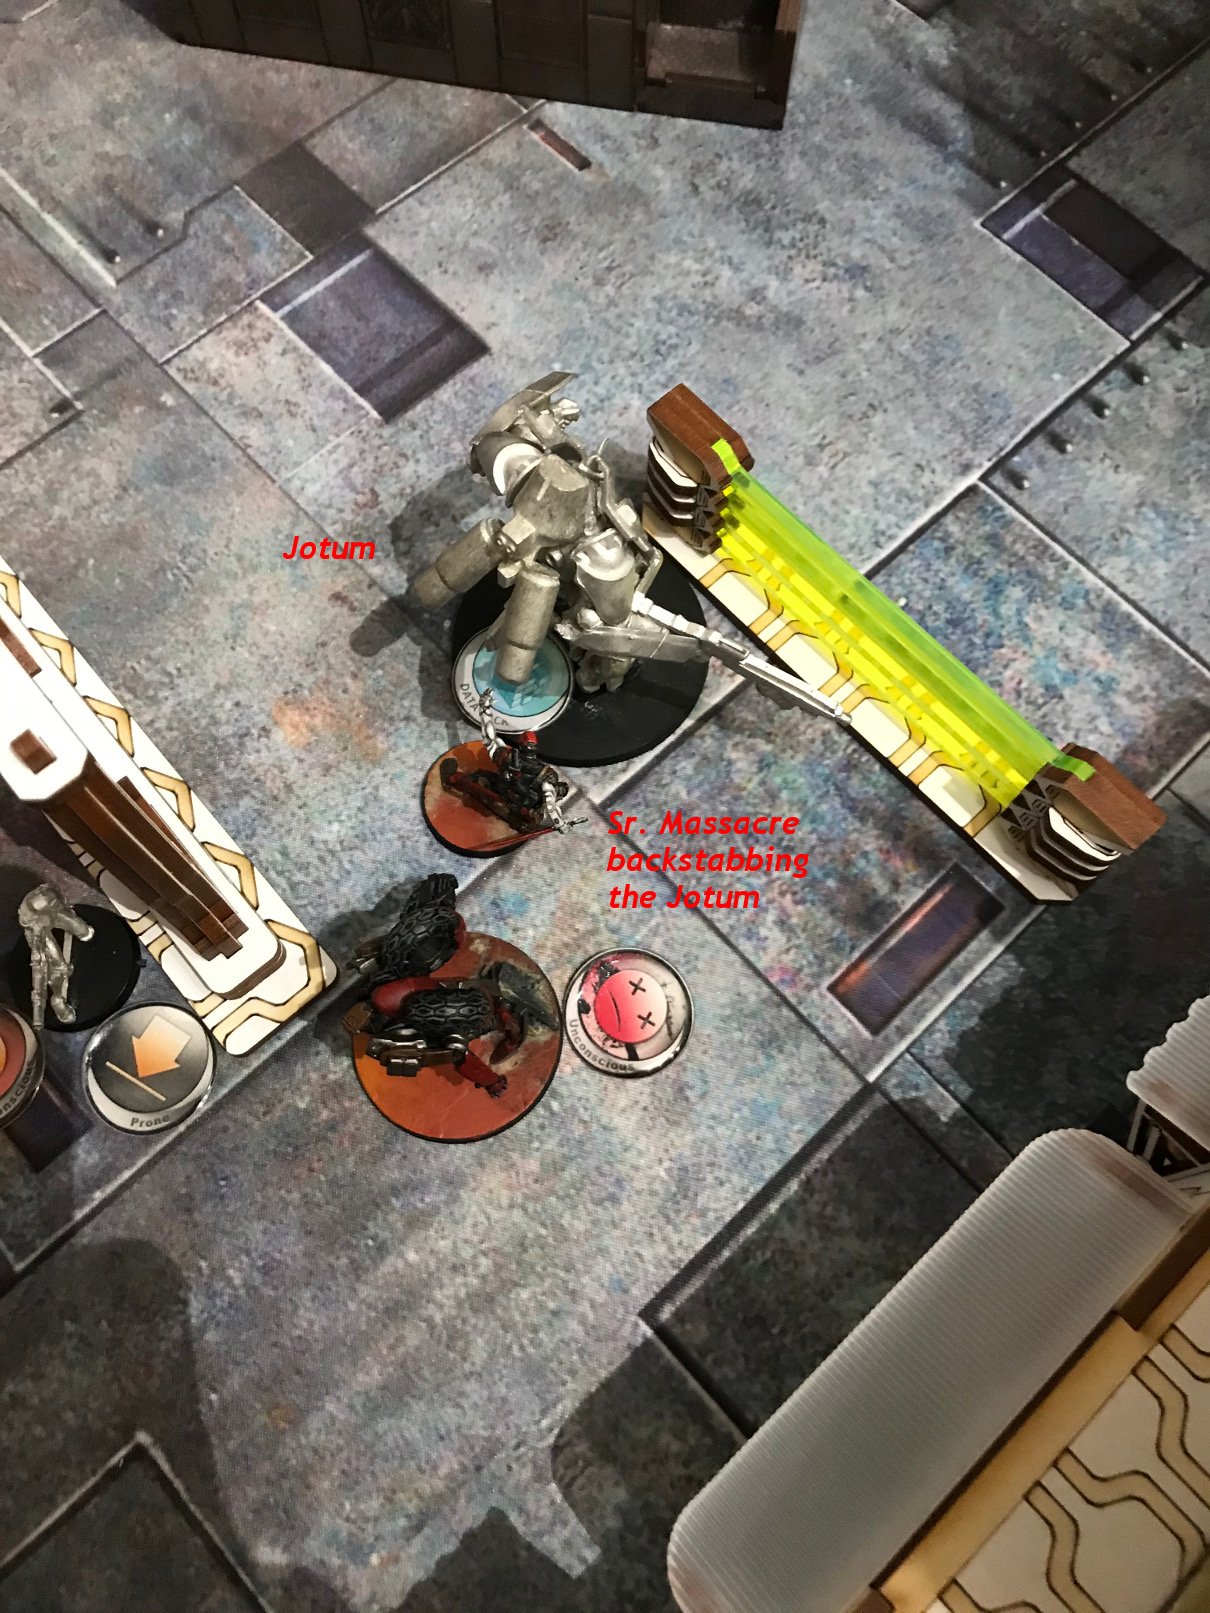
He sneakily went forward and surprise attacked the Jotums from behind. Although the odds were at his favor, he lost the surprise attack (!!!) and had to face a DAM18 hot by the Jotums.
But Sr. Massacre would not have been Sr. Massacre, if he didn't know what to do ... just roll a 20.

He kept attacking the enormous TAG, but he saved both the ARM as well as the BTS-Save. So they both stayed locked in Combat.
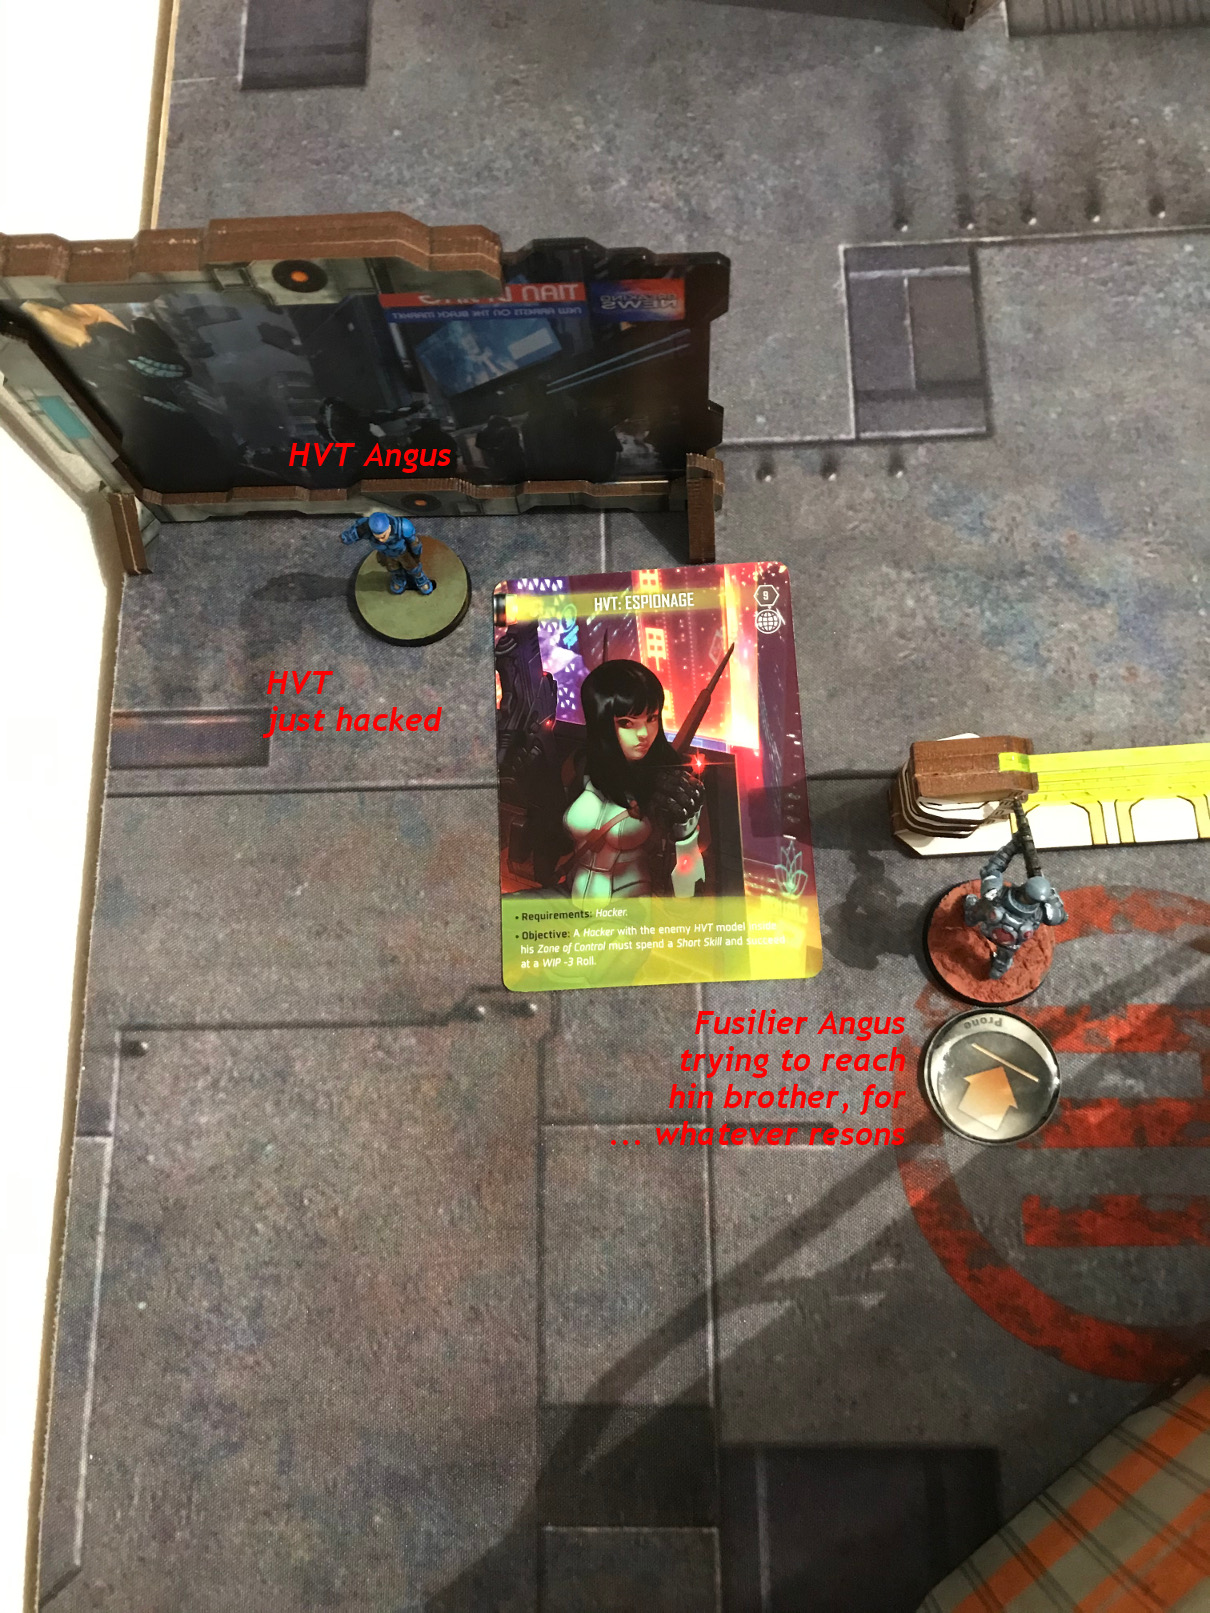
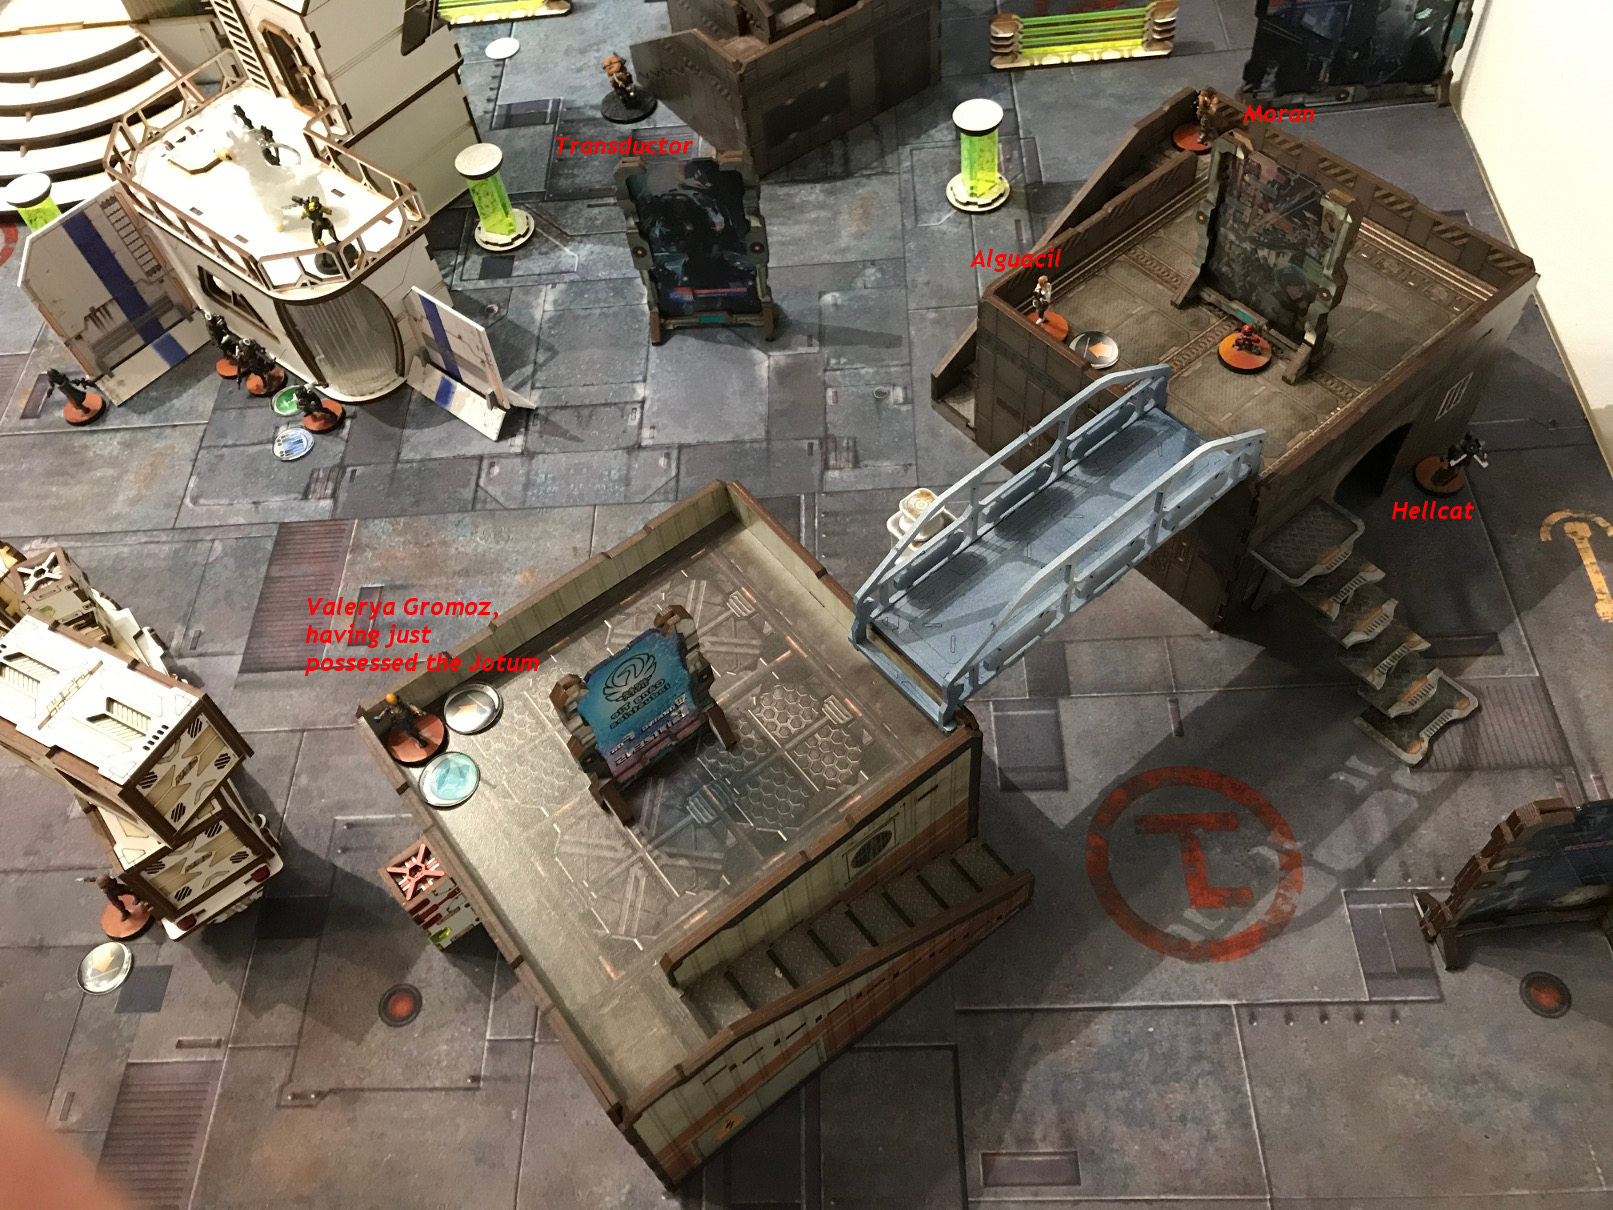
Now the other Combat Group. Valerya tried to hack the HVT. She was both lucky and unlucky. Lucky that the HVT was in range of the Moran, but unlucky that she failed her WIP-3 roll. But the second attempt succeeded.
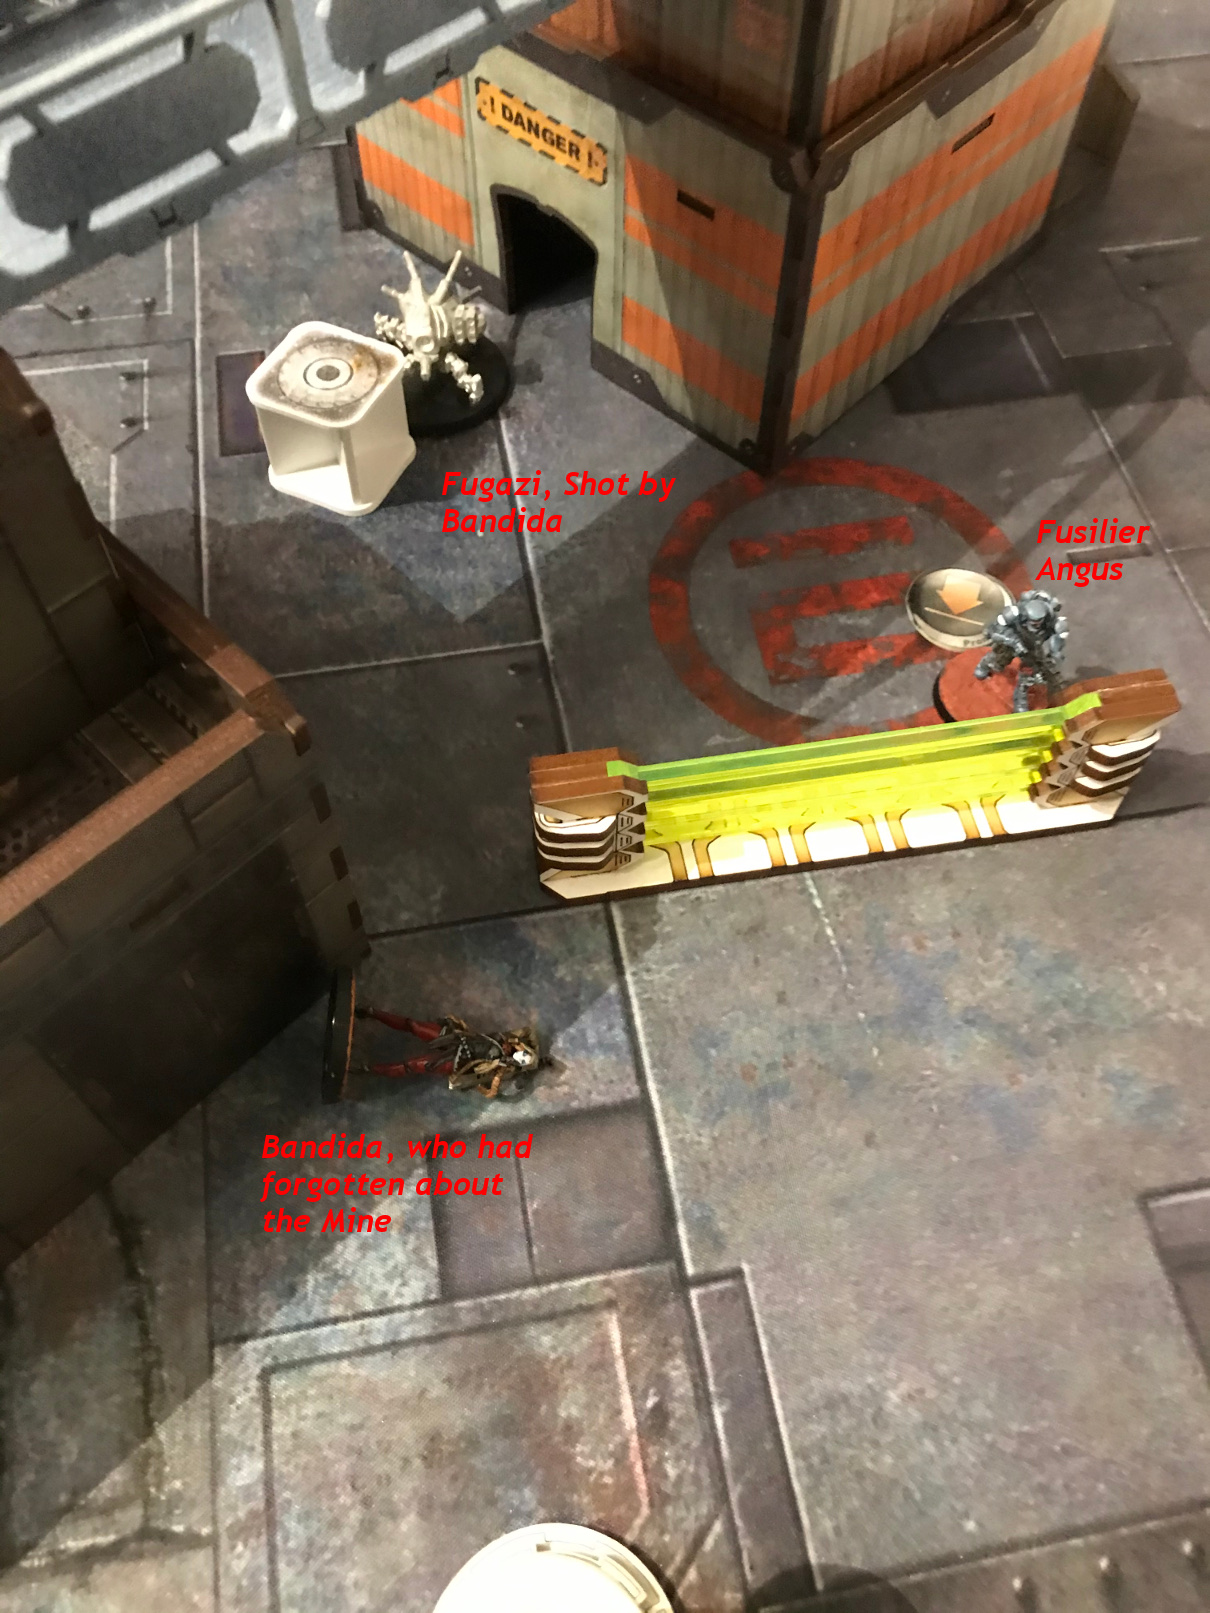
Now the Badndida went forward, trying to kill off the Fugazi and Angus. She sneaked to the corner and surprise shot the Fugazi. Unluckily she didn't see the Mine (I forgot about the damn thing) so she was blasted to pieces. But she took the Fugazi down. Bad trade, but ... my bad.
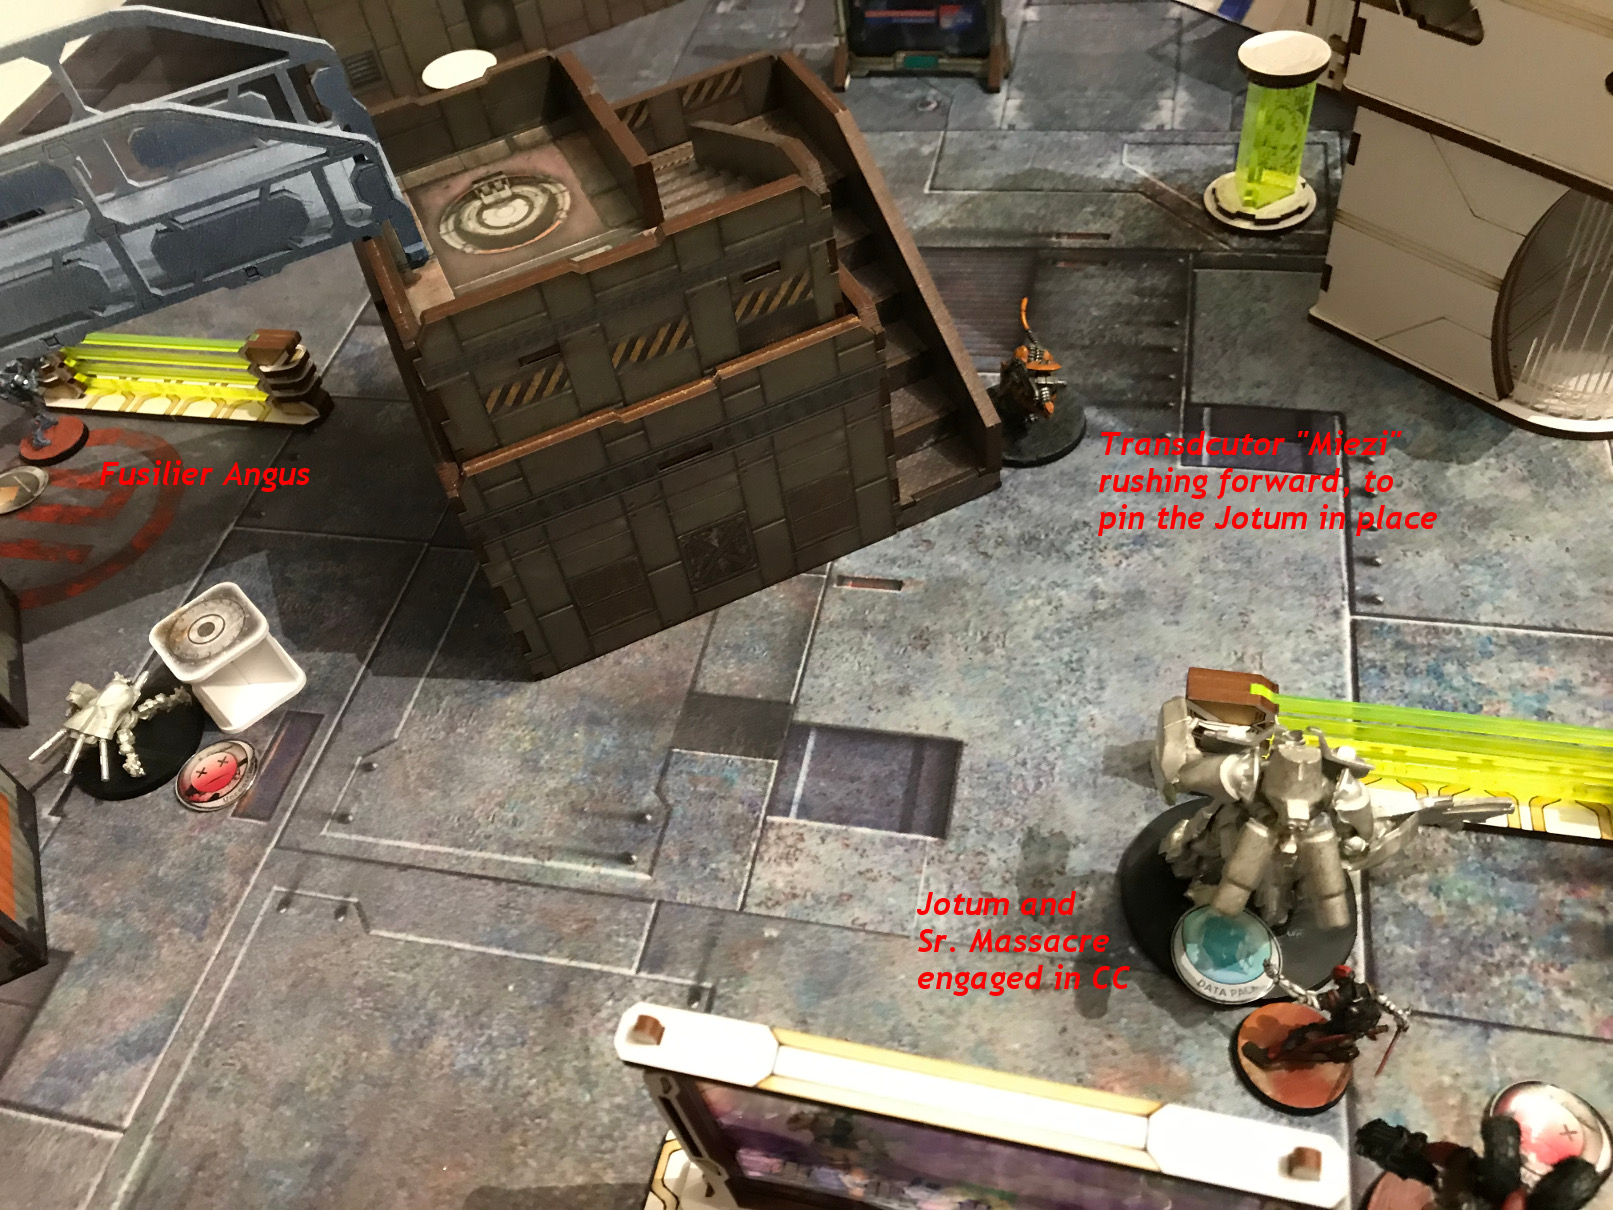
Now two Orders were left again, so the Transductor rushed forward, like the real brave Tiger he is, and placed himself in front of the Jotums, to pin it down.
Down to 2 orders, 1 irregular TacAwareness Order and the Lieutenant Order, there wasn't left much to do.
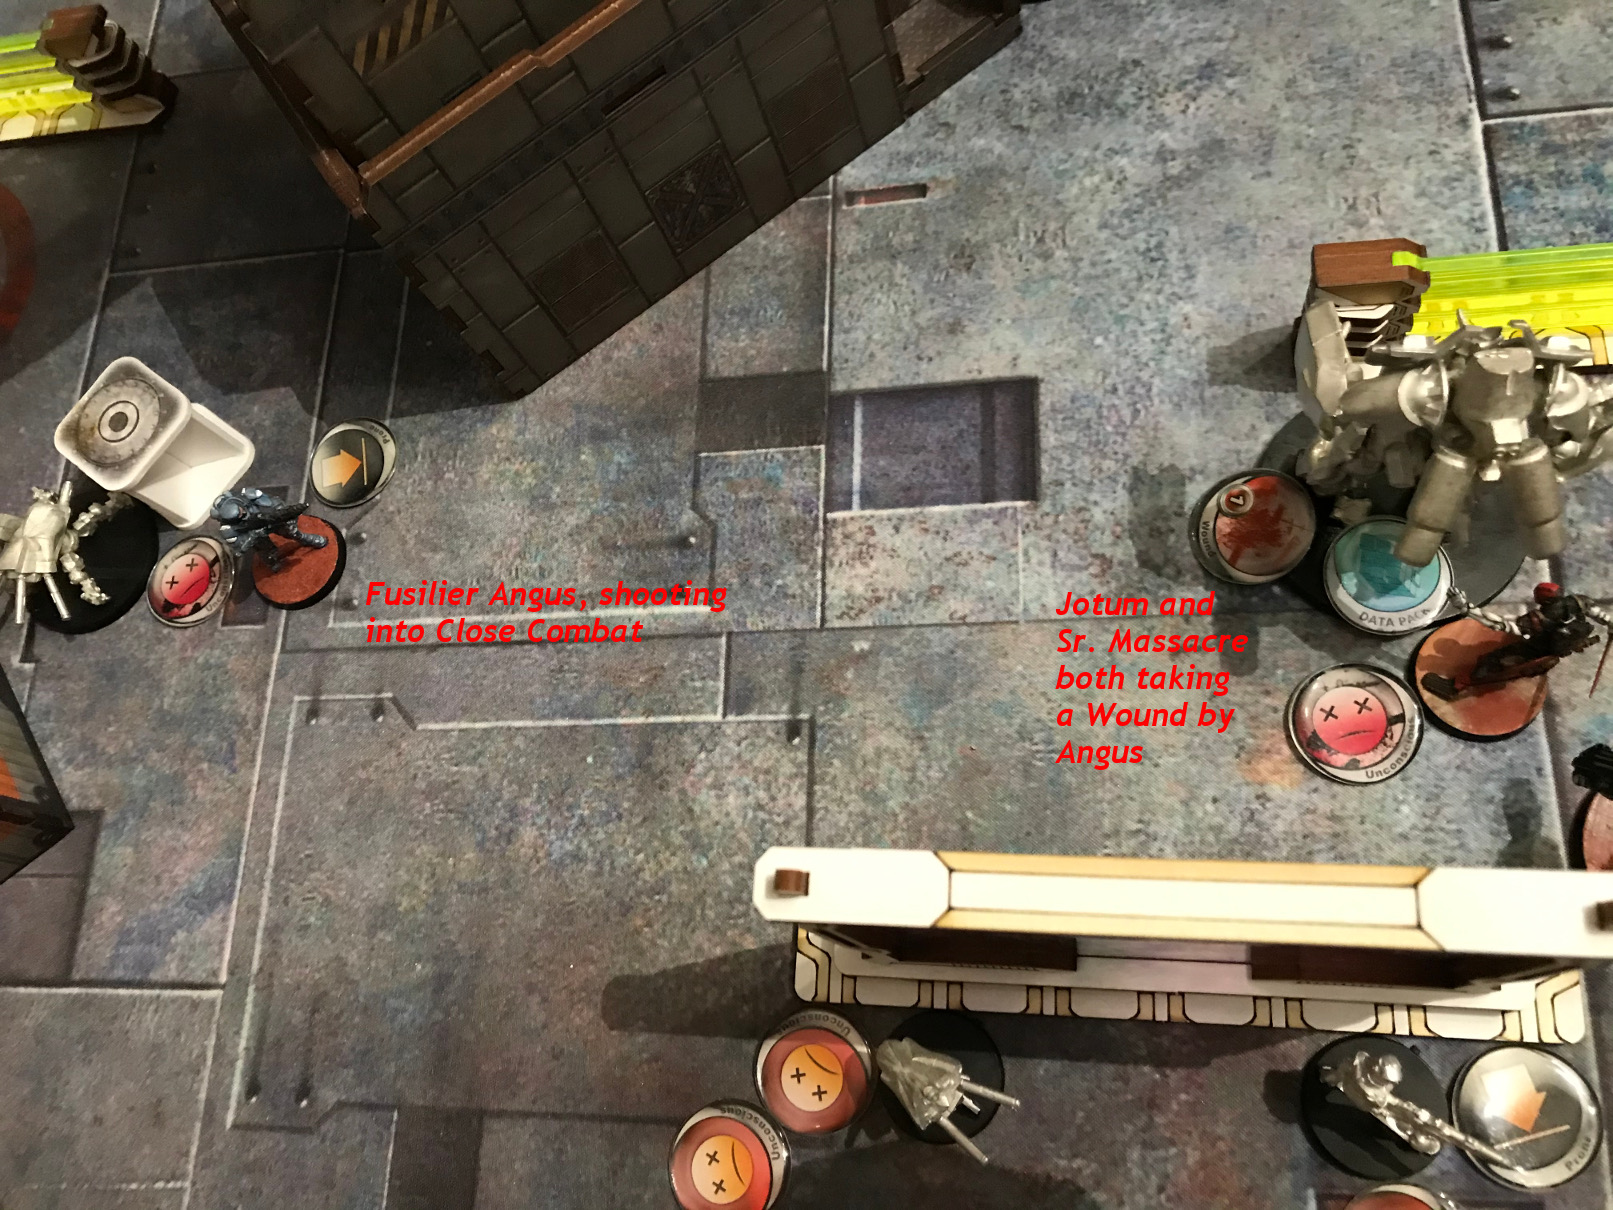
Angus went forward and tried to shoot Sr. Massacre. He failed but didn't hurt himself (or the Jotums). He tried a second time and this time one bullet hit Sr. Masacre and one the Jotums. Both took a Wound.
Not locked in Close Combat anymore, the Jotums tried to get the Daktari and went forward while reseting. Valerya tried to possess the TAG and ... succeeded (our first time ever).
Conclusion:
Sr. Massacre is too weak compared to McMurder. Too slow, not enough punch. Close Combat is weak in itself. First it takes way too many orders and then the Natural Born Warrior Sr. Massacre couldnt even succeed with his Surprise attack against the Jotums (who rolled an 11 against the 3 from Sr. Massacre (modified to 9). Even winning he didn't do damage or couldn't immobilize the damn thing.
Battle Report Author


Army Lists Used In This Battle
Recommend Commander For Commendation
Share this battle with friends
Spitfire_TheCatWins

For the Pony!!!
Well played, go go nomads!
Very well done report!
Massacre really is quite a situational guy. He’s at his best with jaguars or in foreign company, but he really isn’t as great as McMurder.
Well done bromad!
That pony xD Nice report!
that mc murrow looks like Beast Transformers …. even with wheels 😛
Good report but bad result
Stop violating the curfew.