Fought At Main Strip: Harry’s Bar
1668 days 22 hours 56 minutes ago
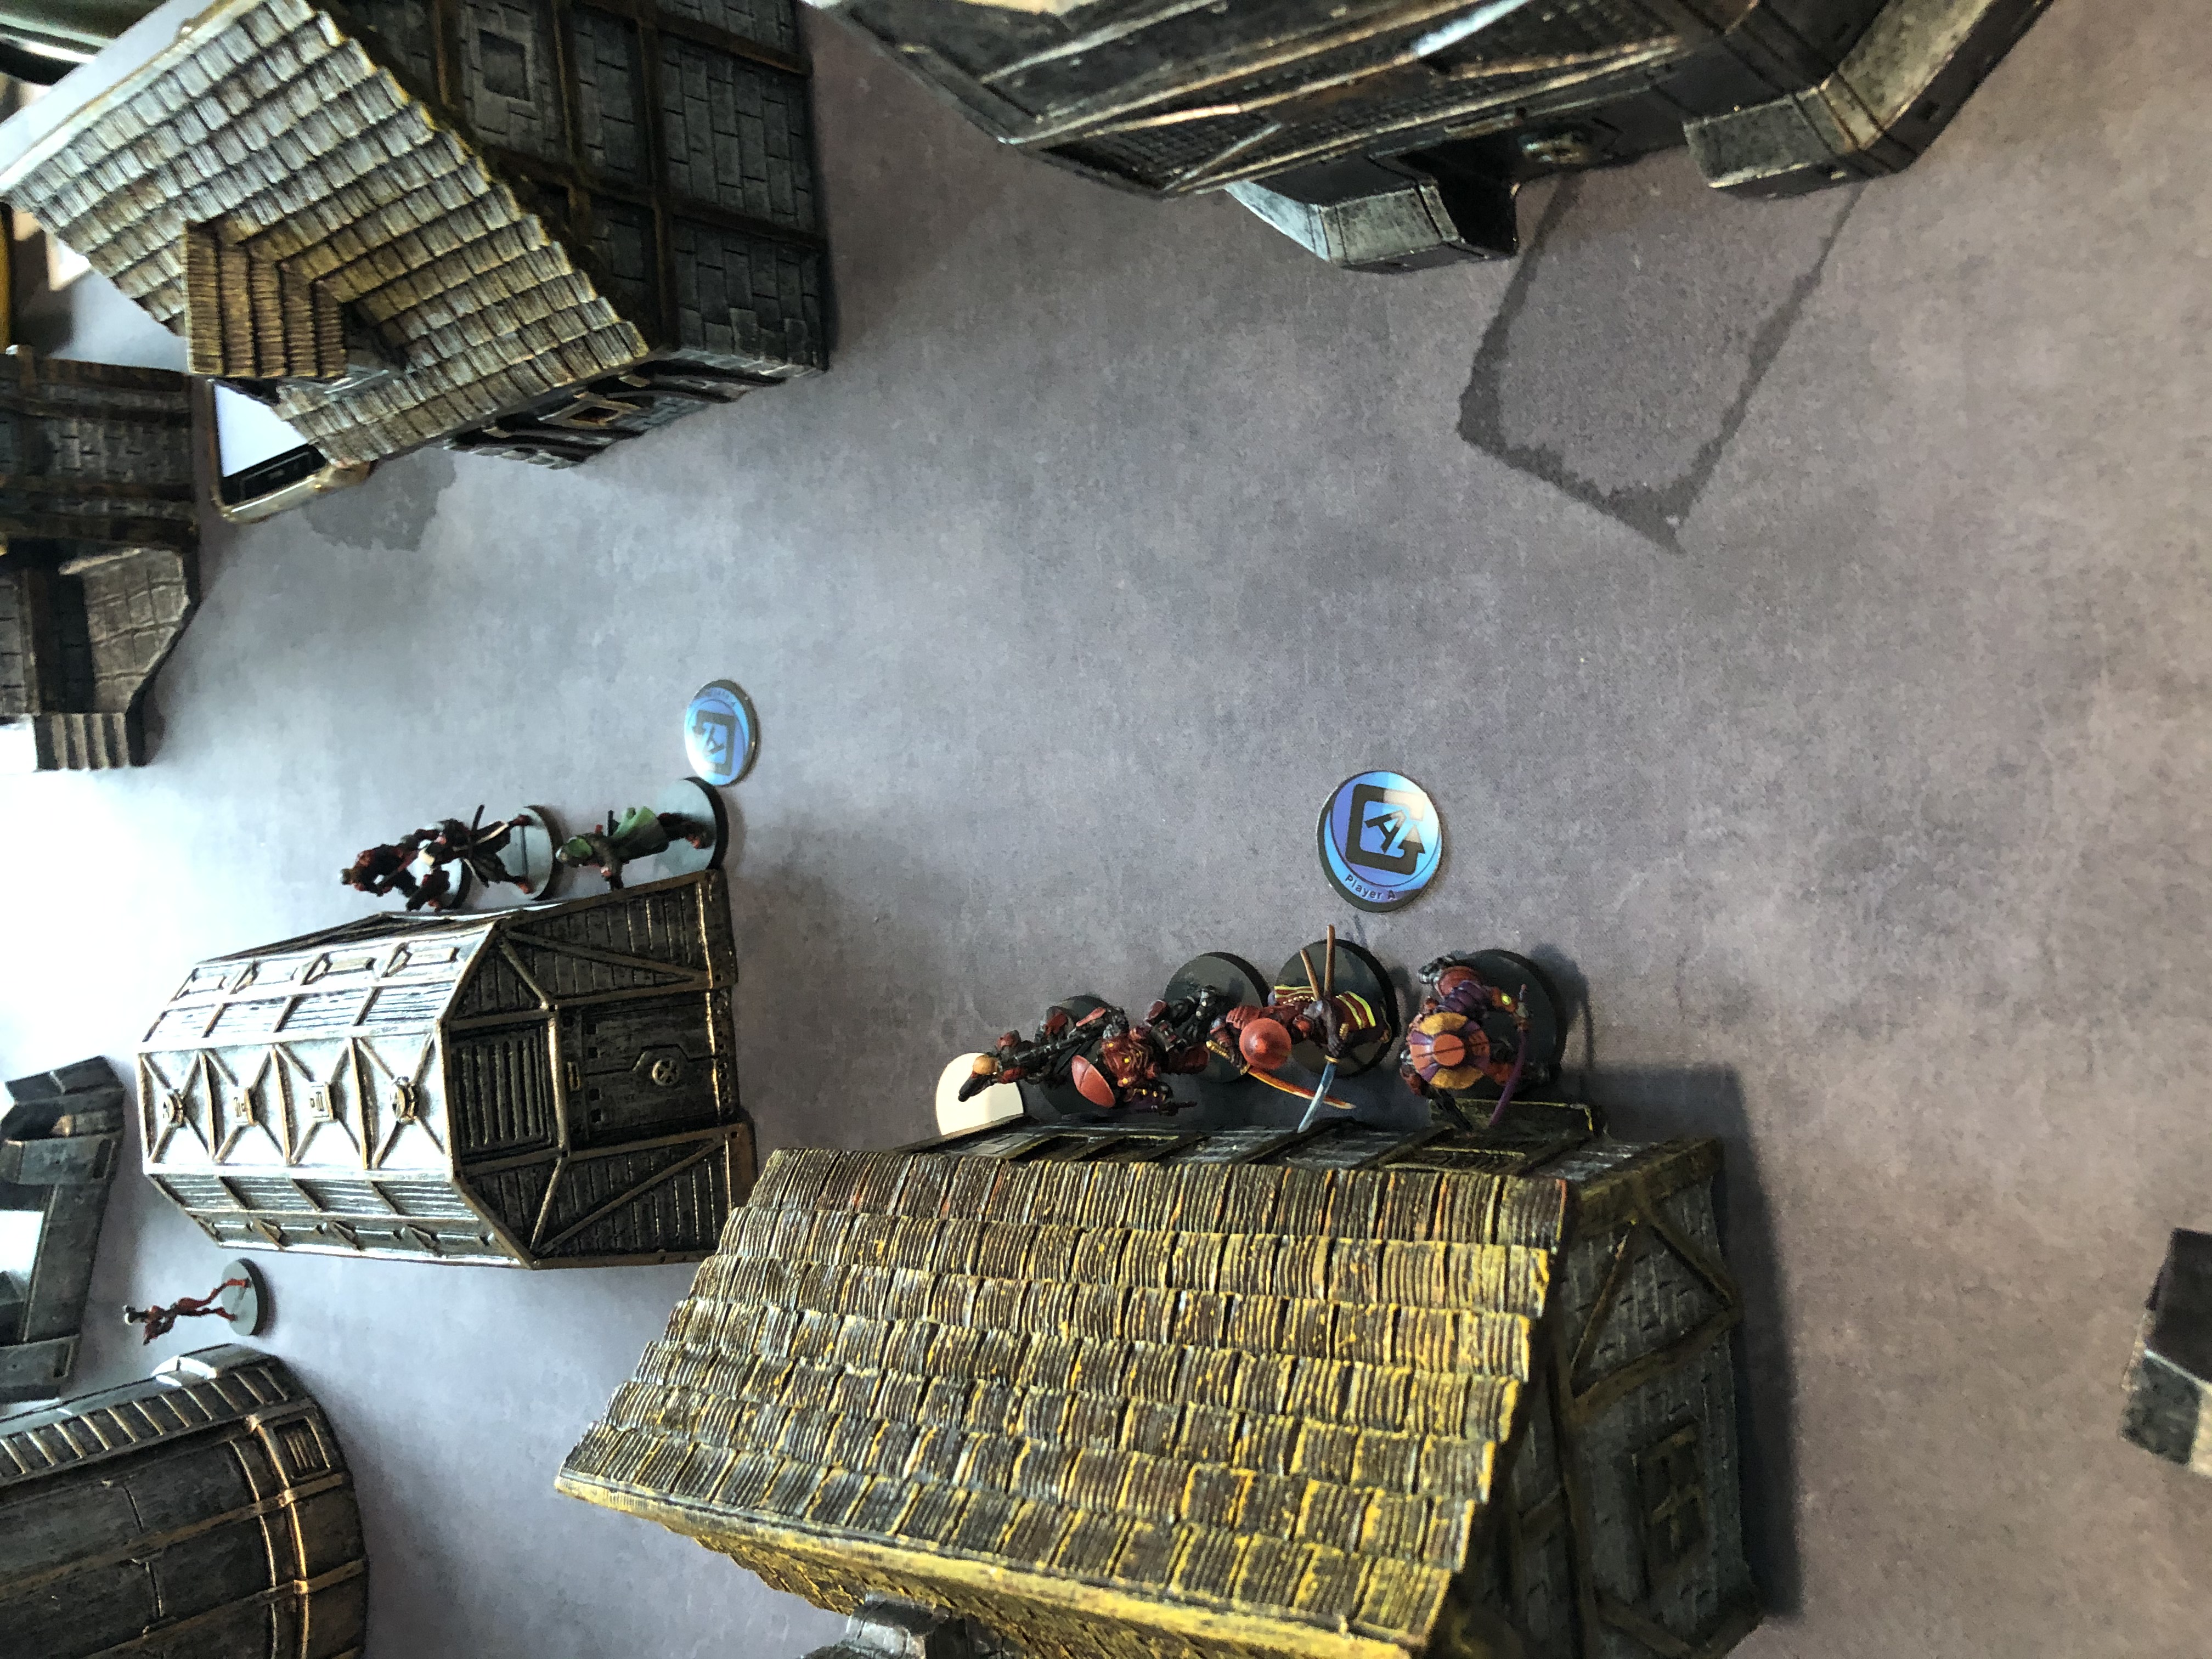
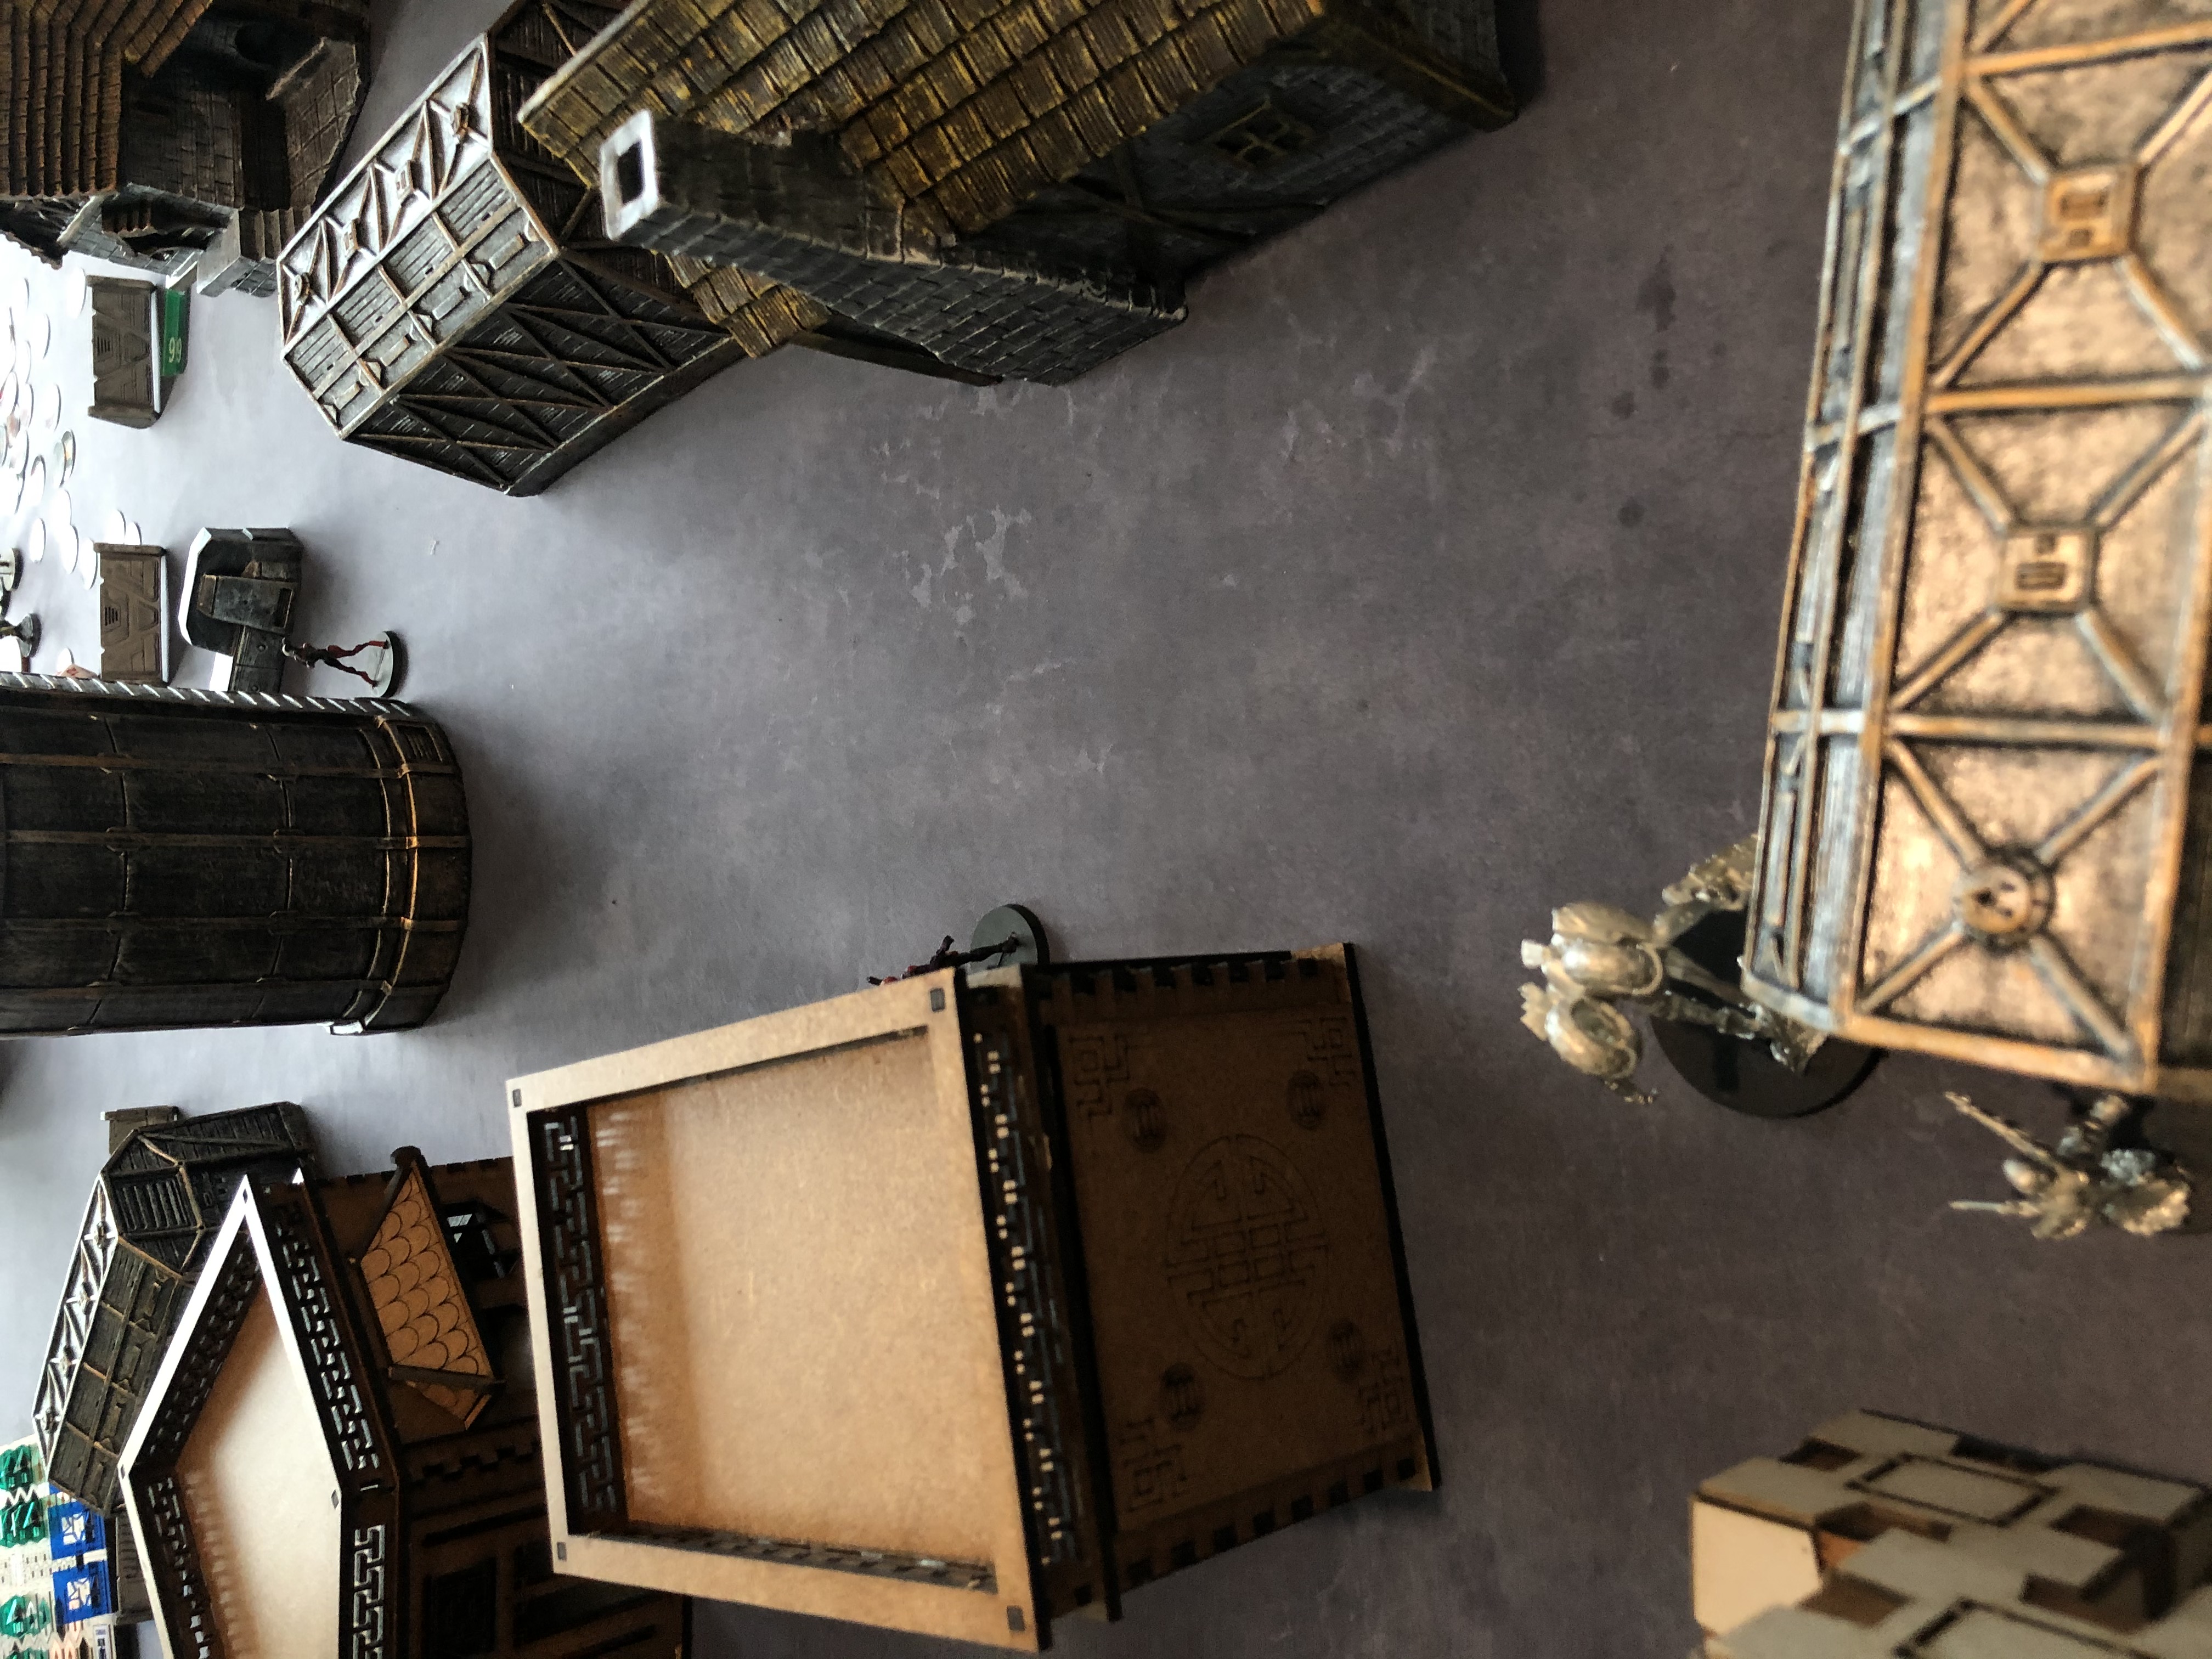
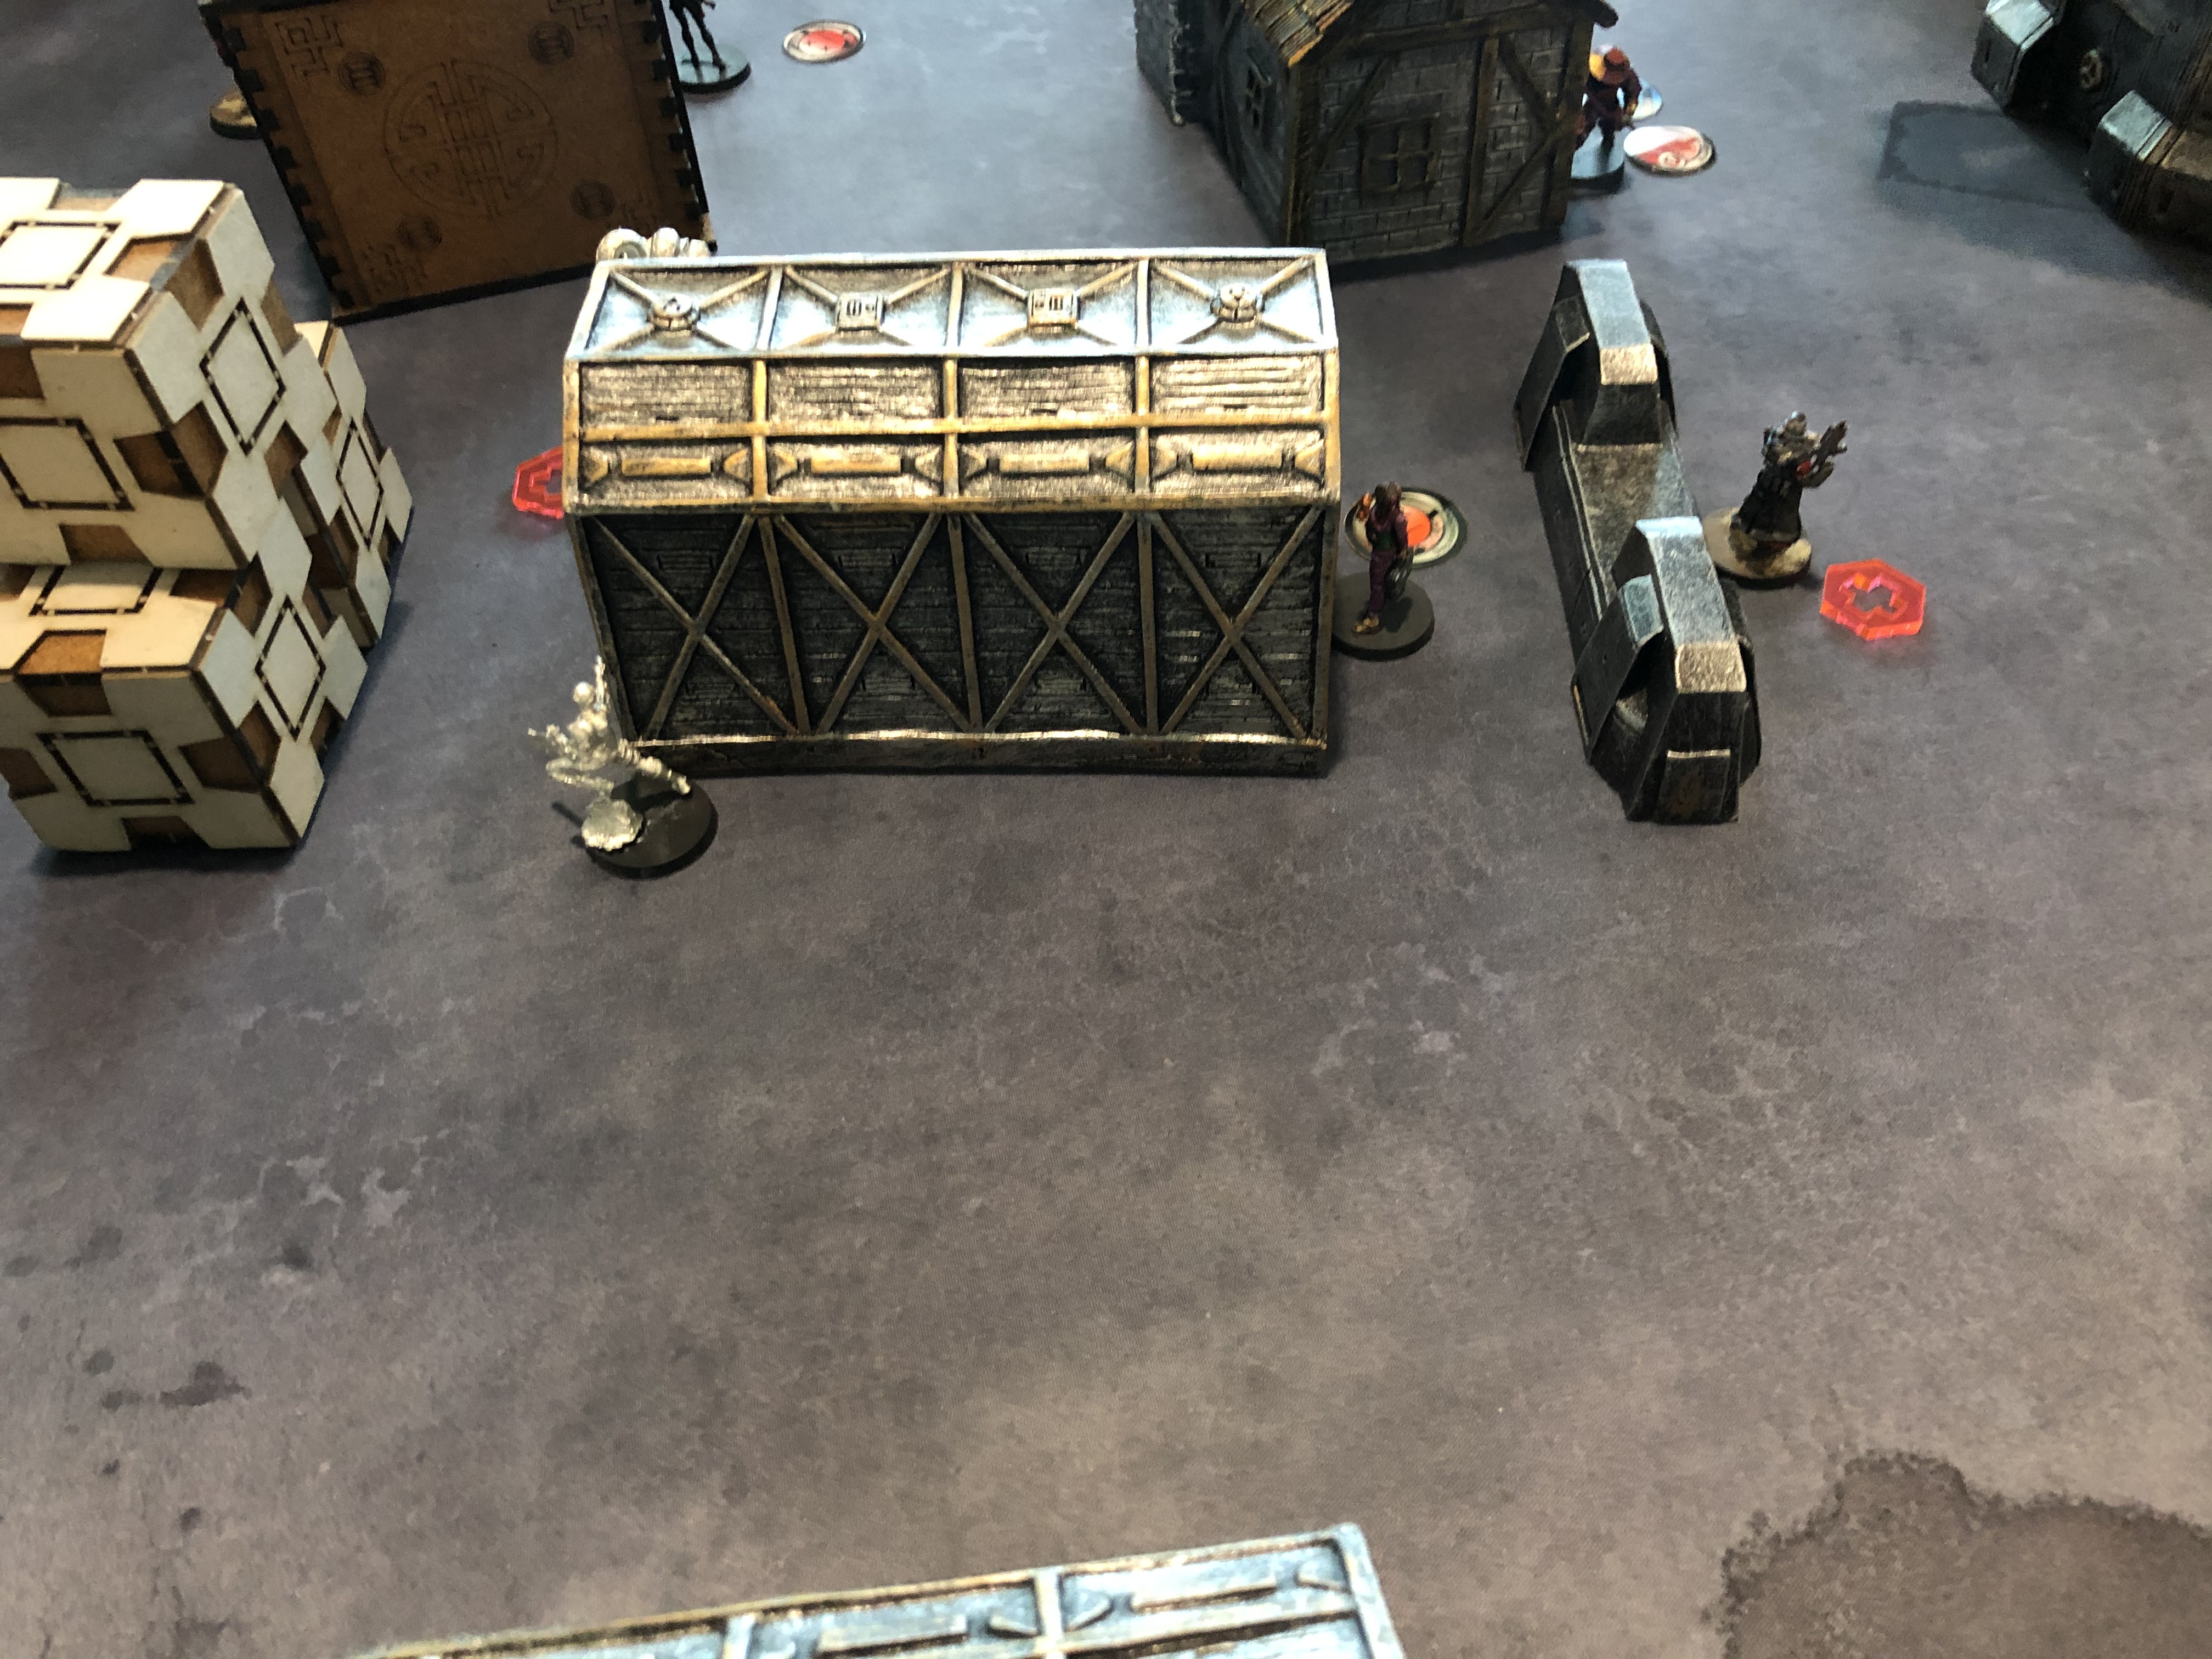
After the battle to defend Cosmika against JSA incursion concluded, Tunguskan forces tracked the lone surviving WarCor to an Izakaya down by the Strip. Prepared for some righteous payback the Tunguskans under the command of Lieutenant Interventor Raptor won the initiative and so deployed first. Attempting a new approach the commander decides a sneaky approach over brute force and deploys all his Spektrs and Hecklers in prime positions to hunt and kill the opponents HVTs. A defensive core of Securitate are deployed on the nearby base defending the LT and on overwatch against the Designated Target. I also deploy a Wild Bill Shadowshooter on the right flank to support my Heckler Datatracker.
JSA forces deploy accordingly bringing a dreaded Karakuri into the battlefield. Present too is a 4 man core of 2 Kempetai and 2 Keisotsu. A Haris of Miyamoto and 2 Tankos again. Yojimbo and a Ryuken 9 as well as an all too familiar Camo token on the high ground. He also deploys his Wildbill Shadow Shooter as his Datatracker.
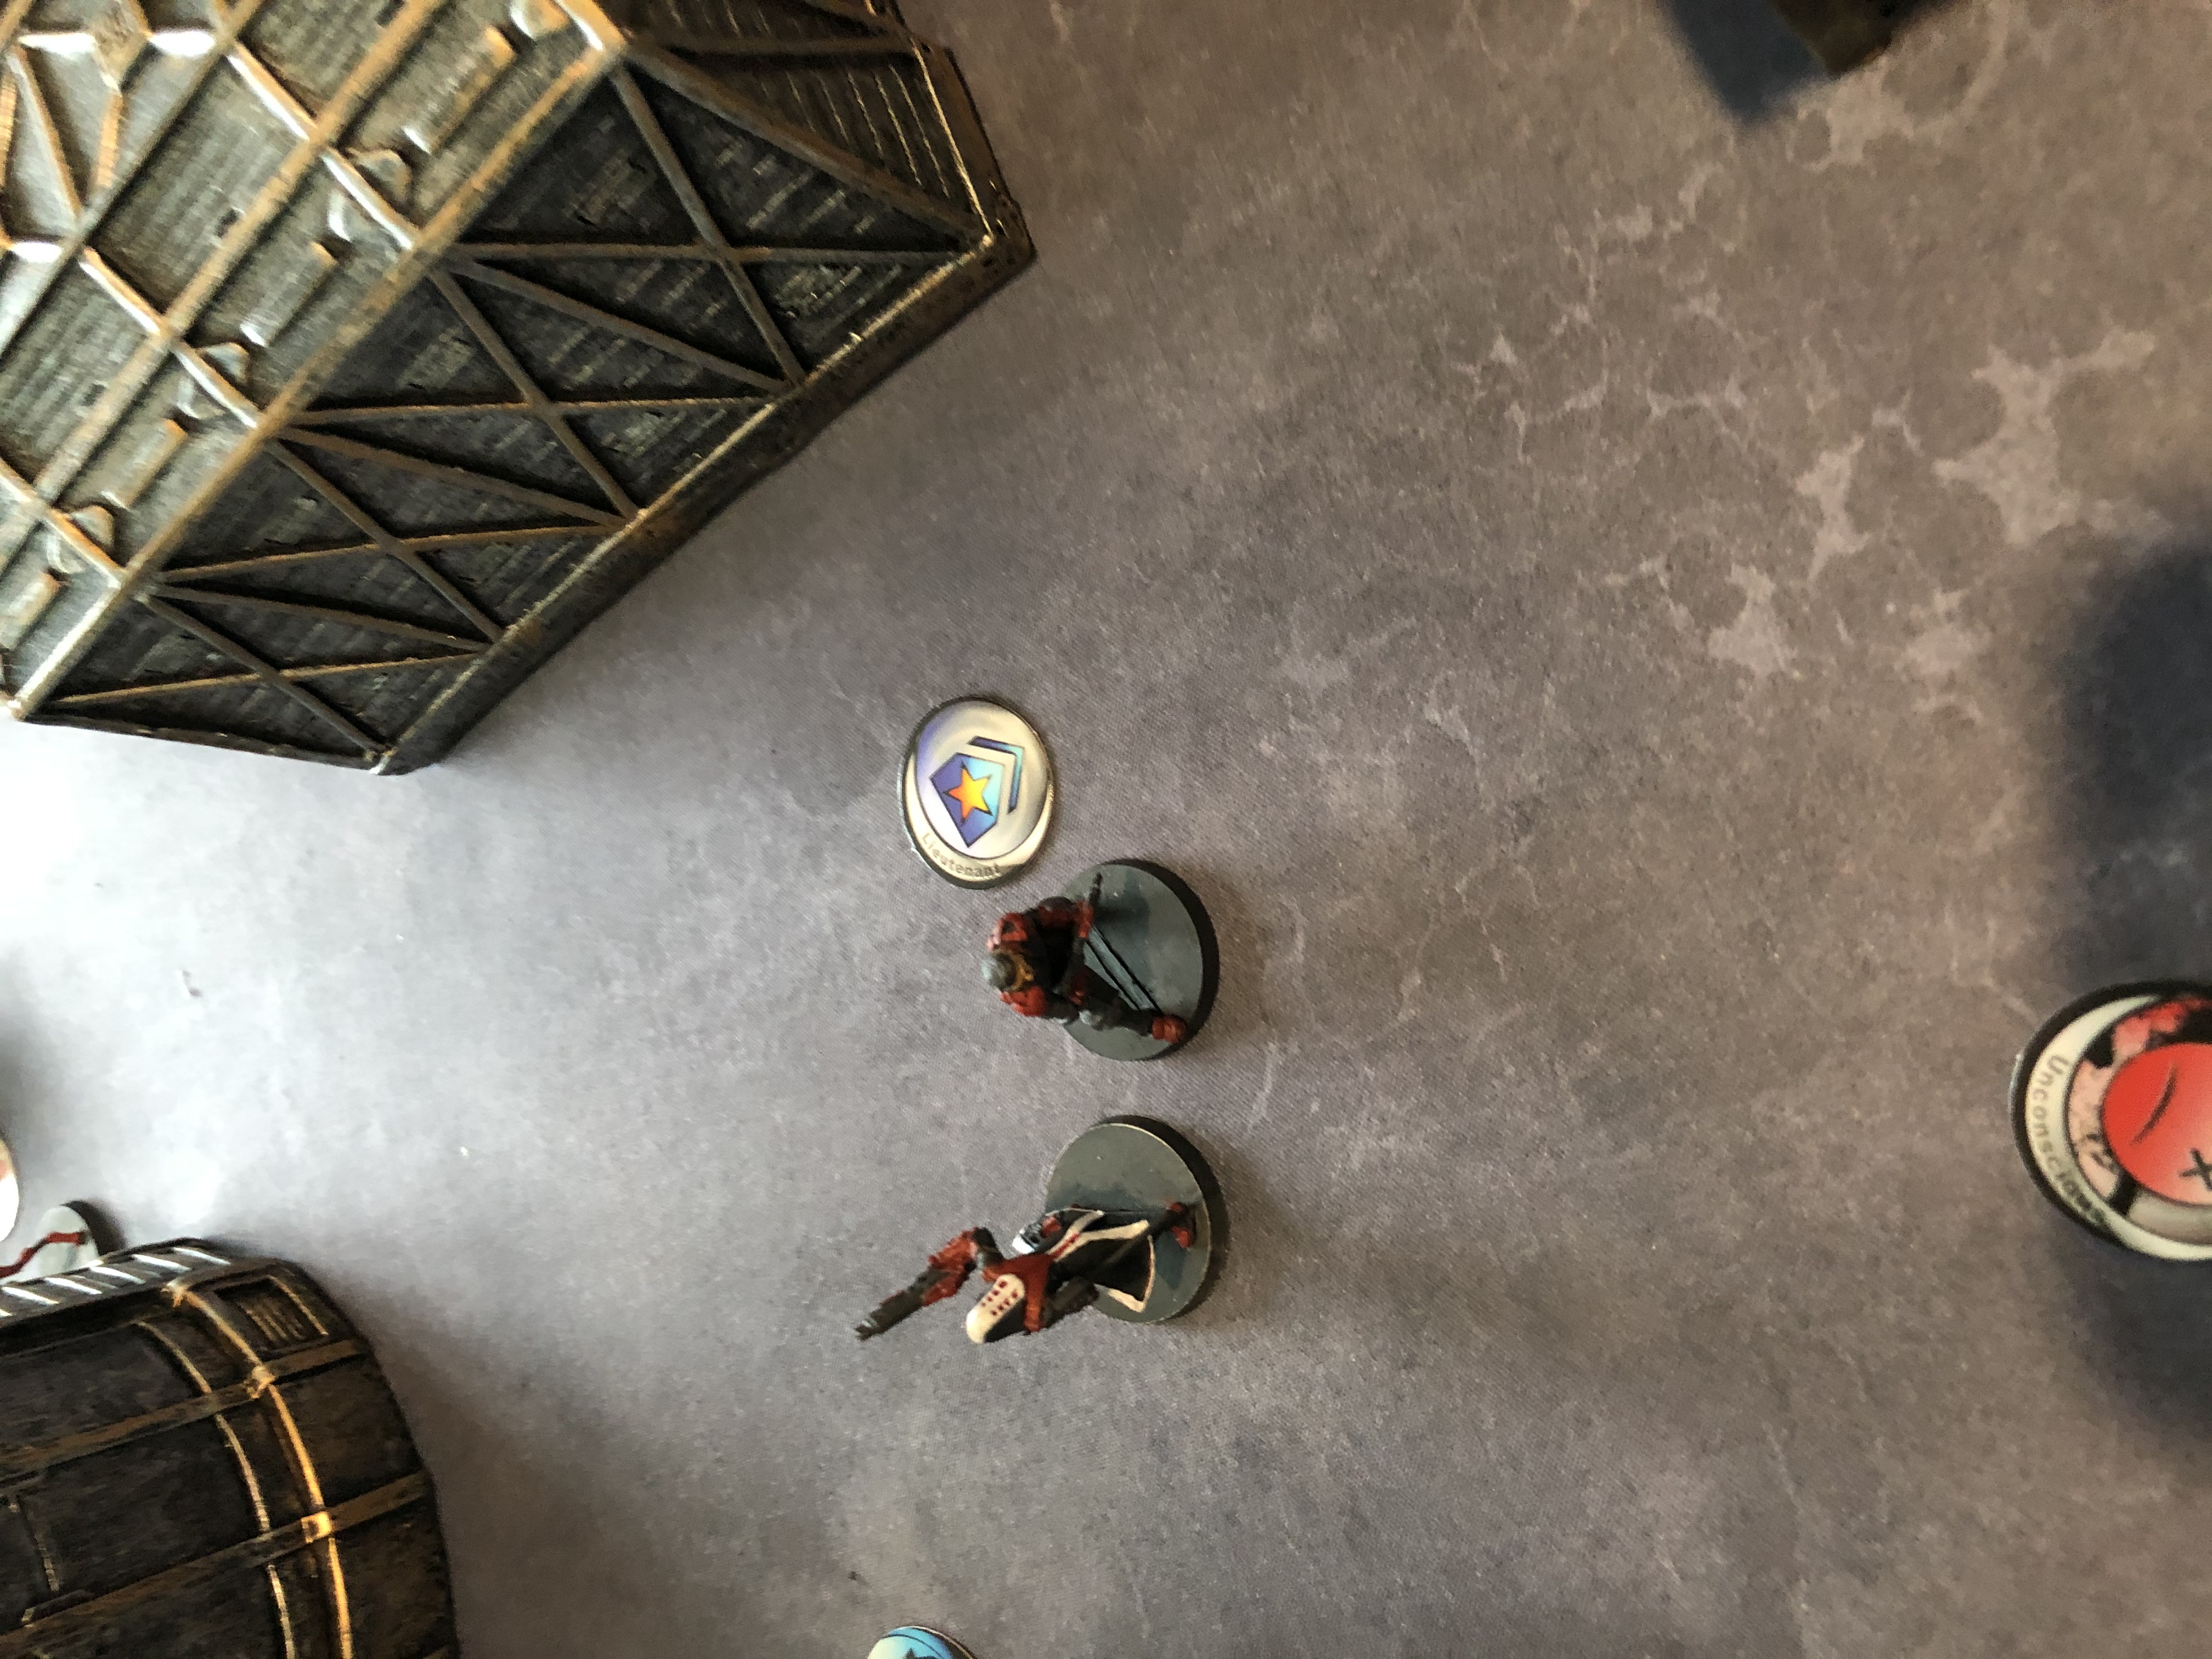
Both sides have also brought a Journalist WarCor. I deploy for the first time in my career the magnificent Specialist Anna Zondnautica ready to ride hell for leather into victory or death. My opponent meanwhile hidden deploys one his reserves passing his infiltration roll (No doubt a dreaded Oniwaban).
Tunguska Turn 1
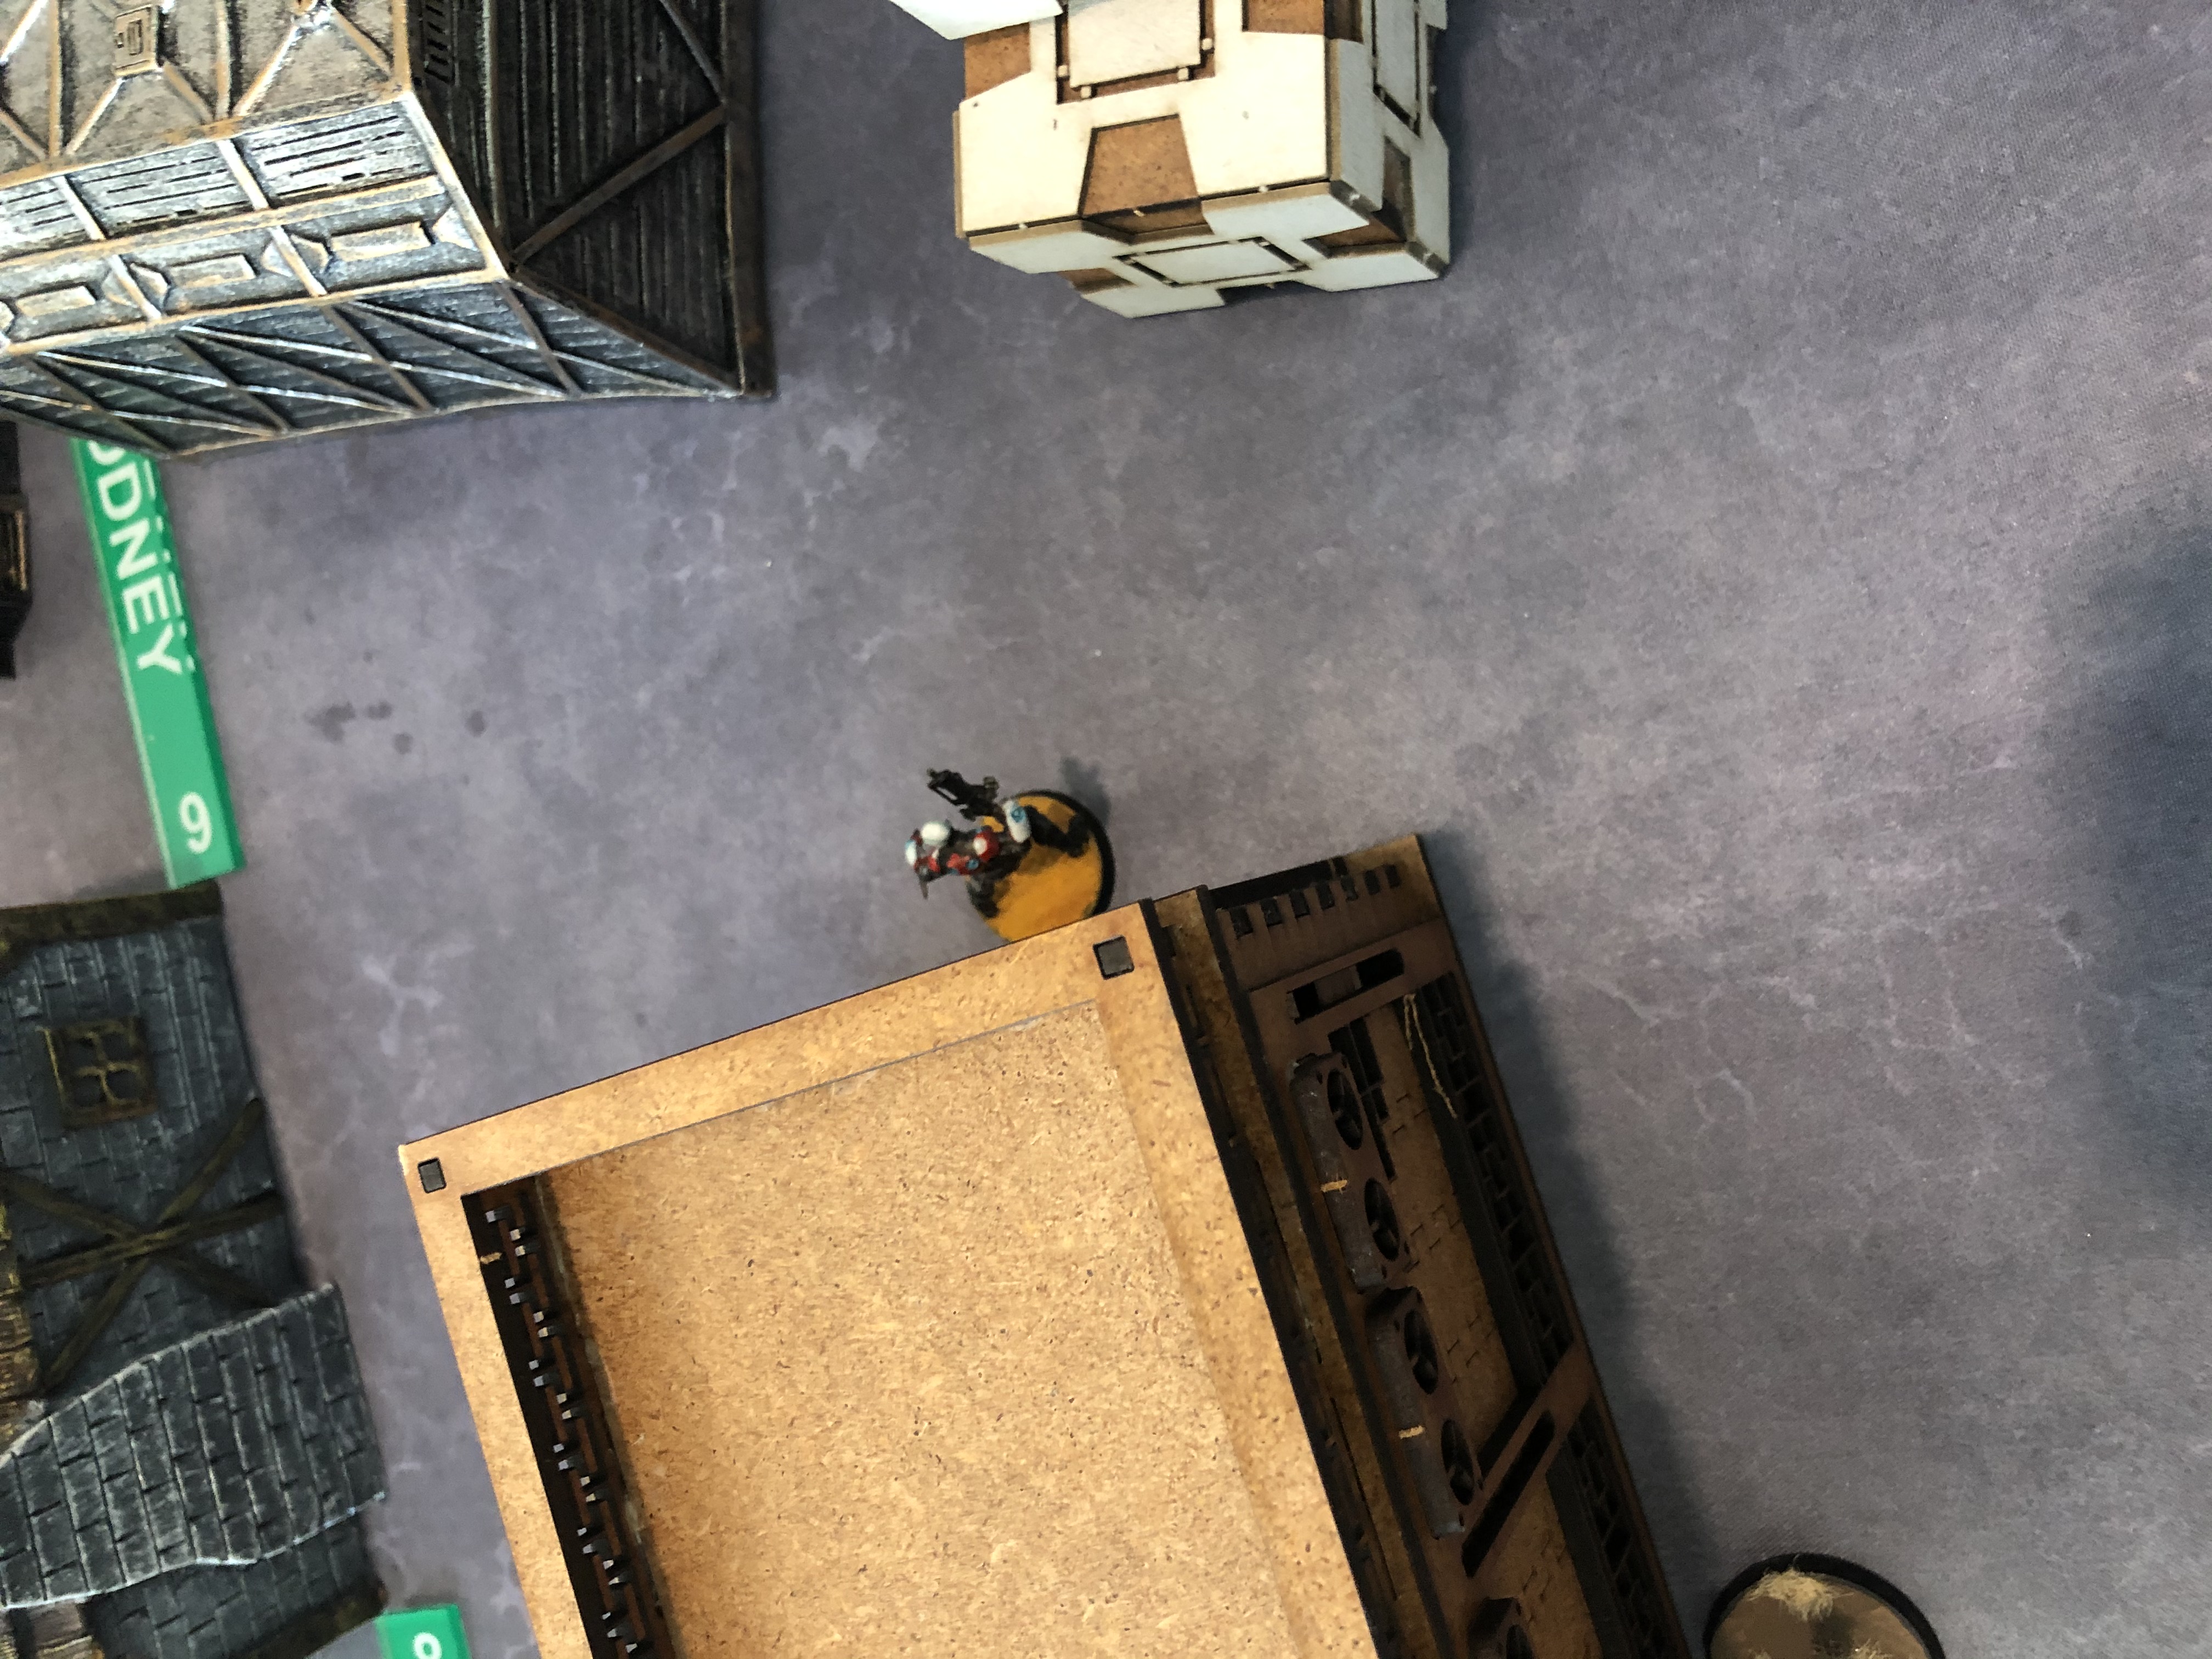
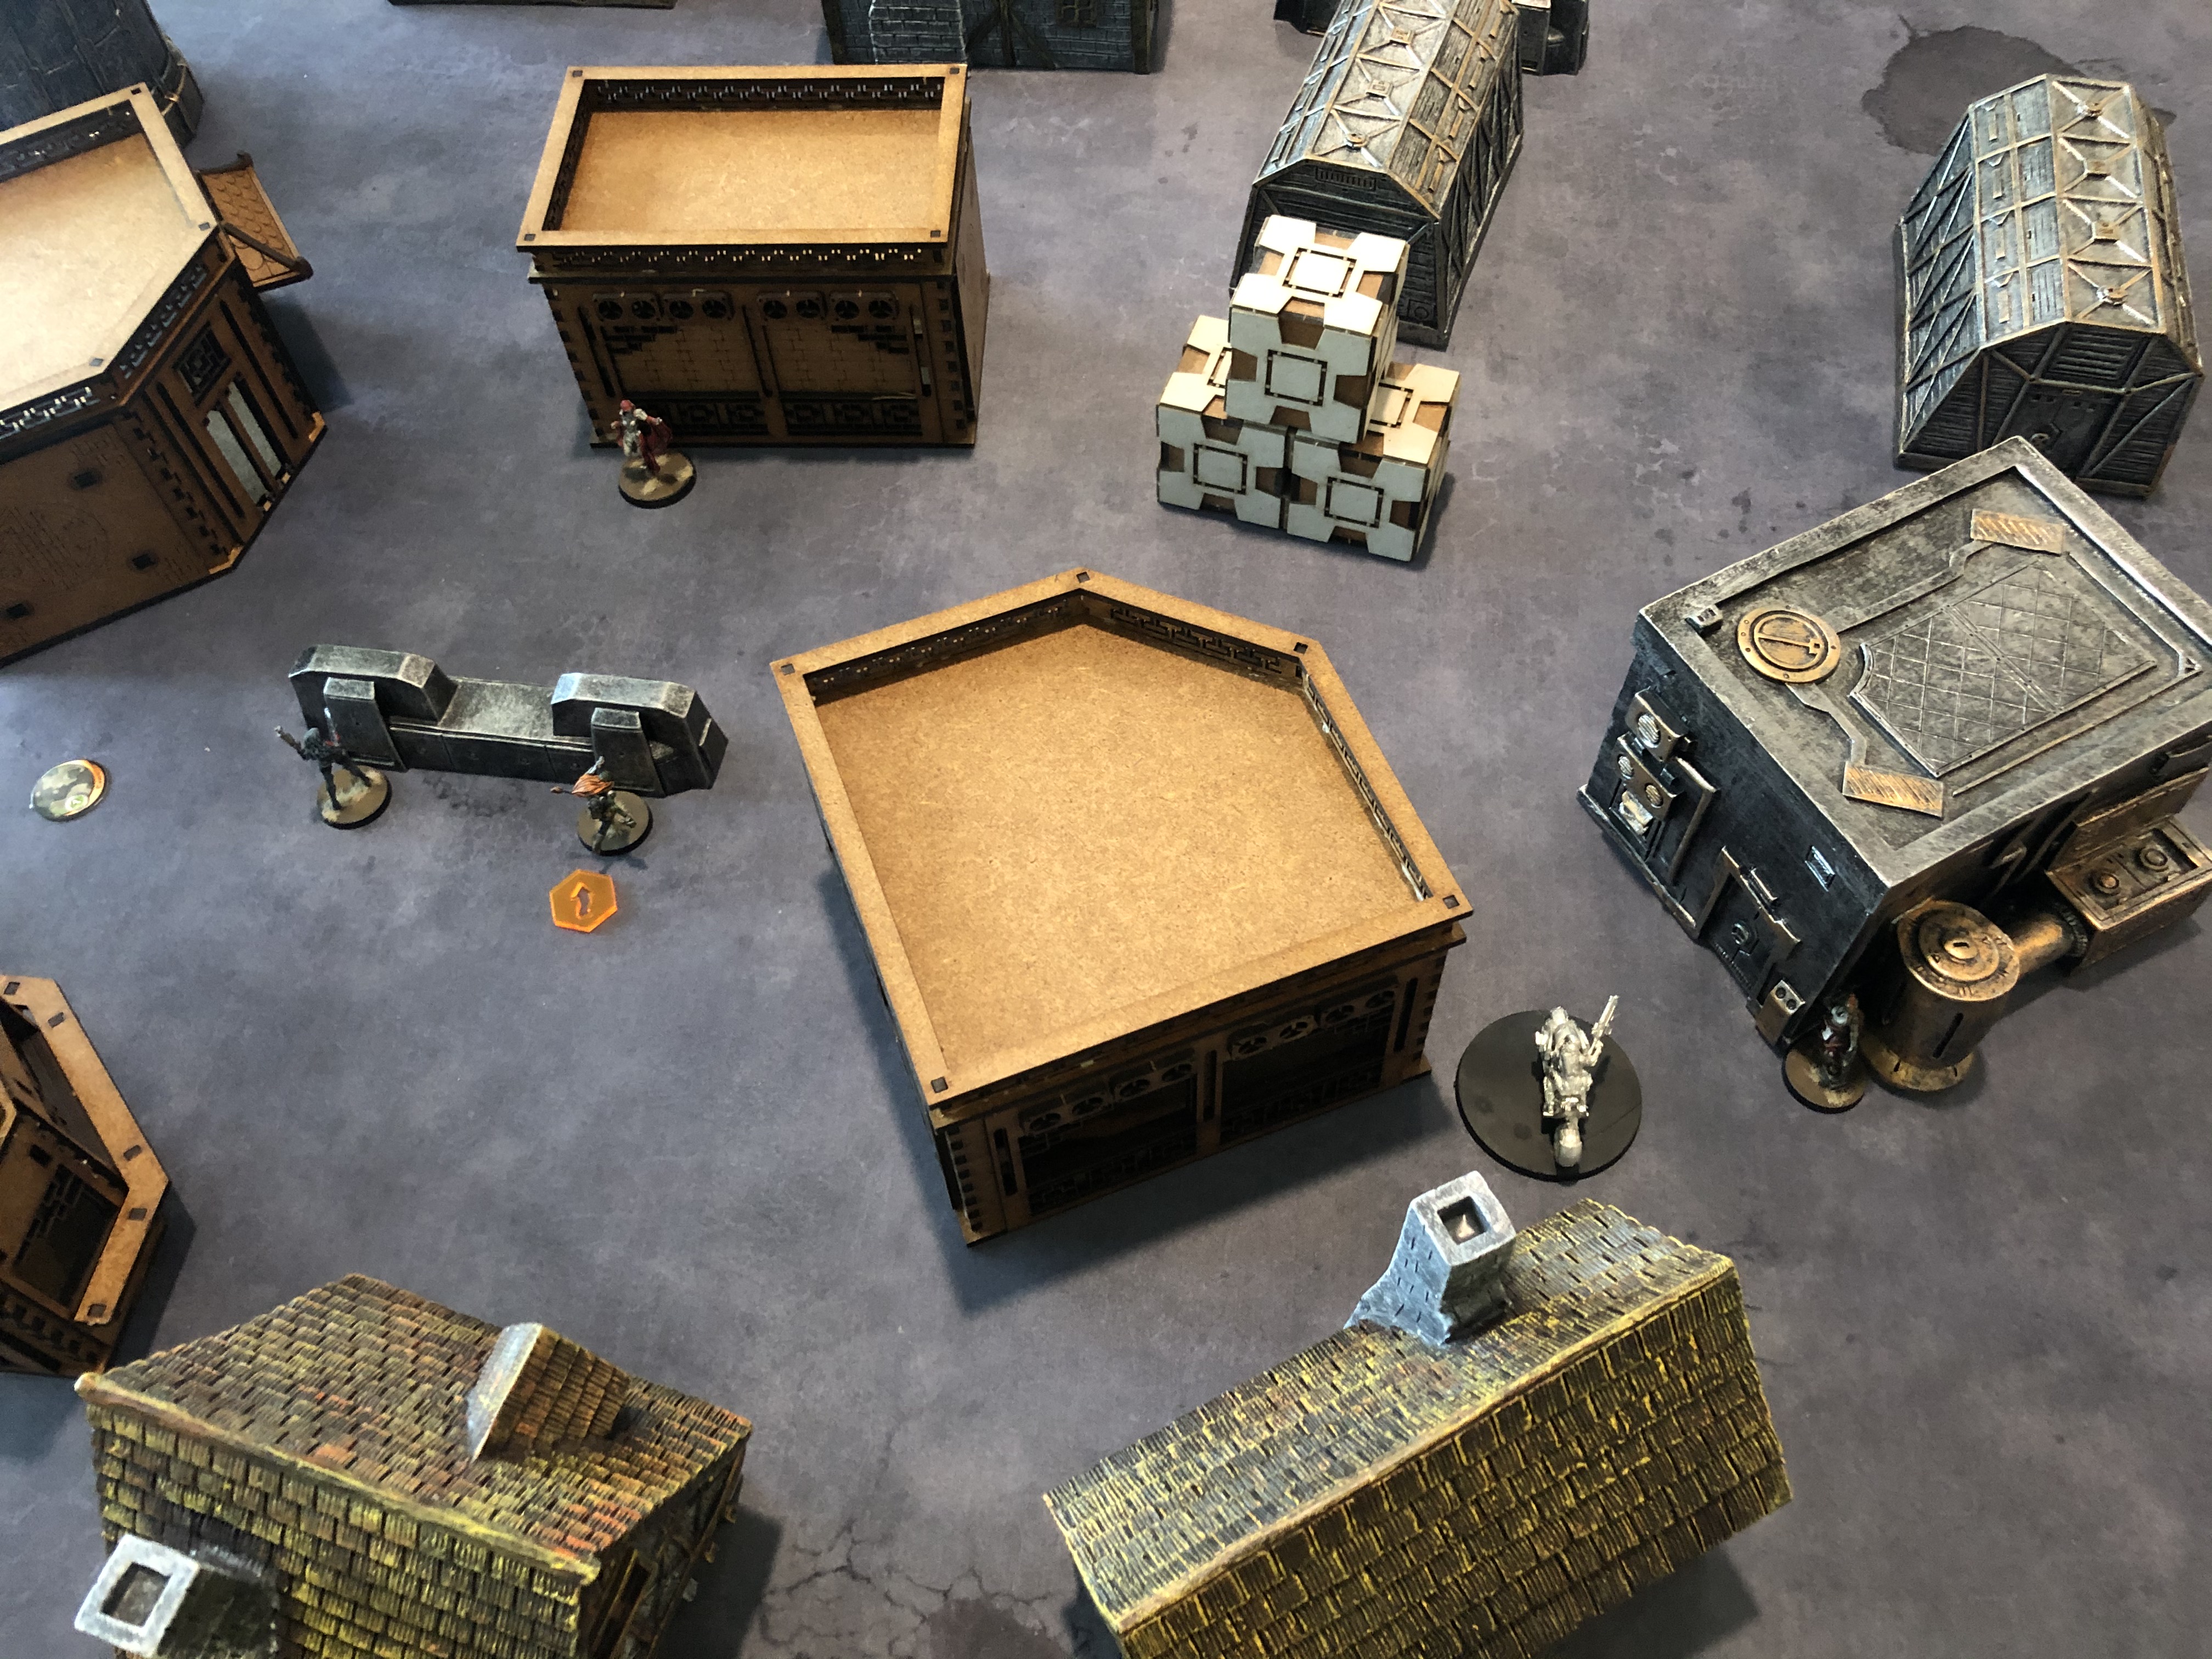
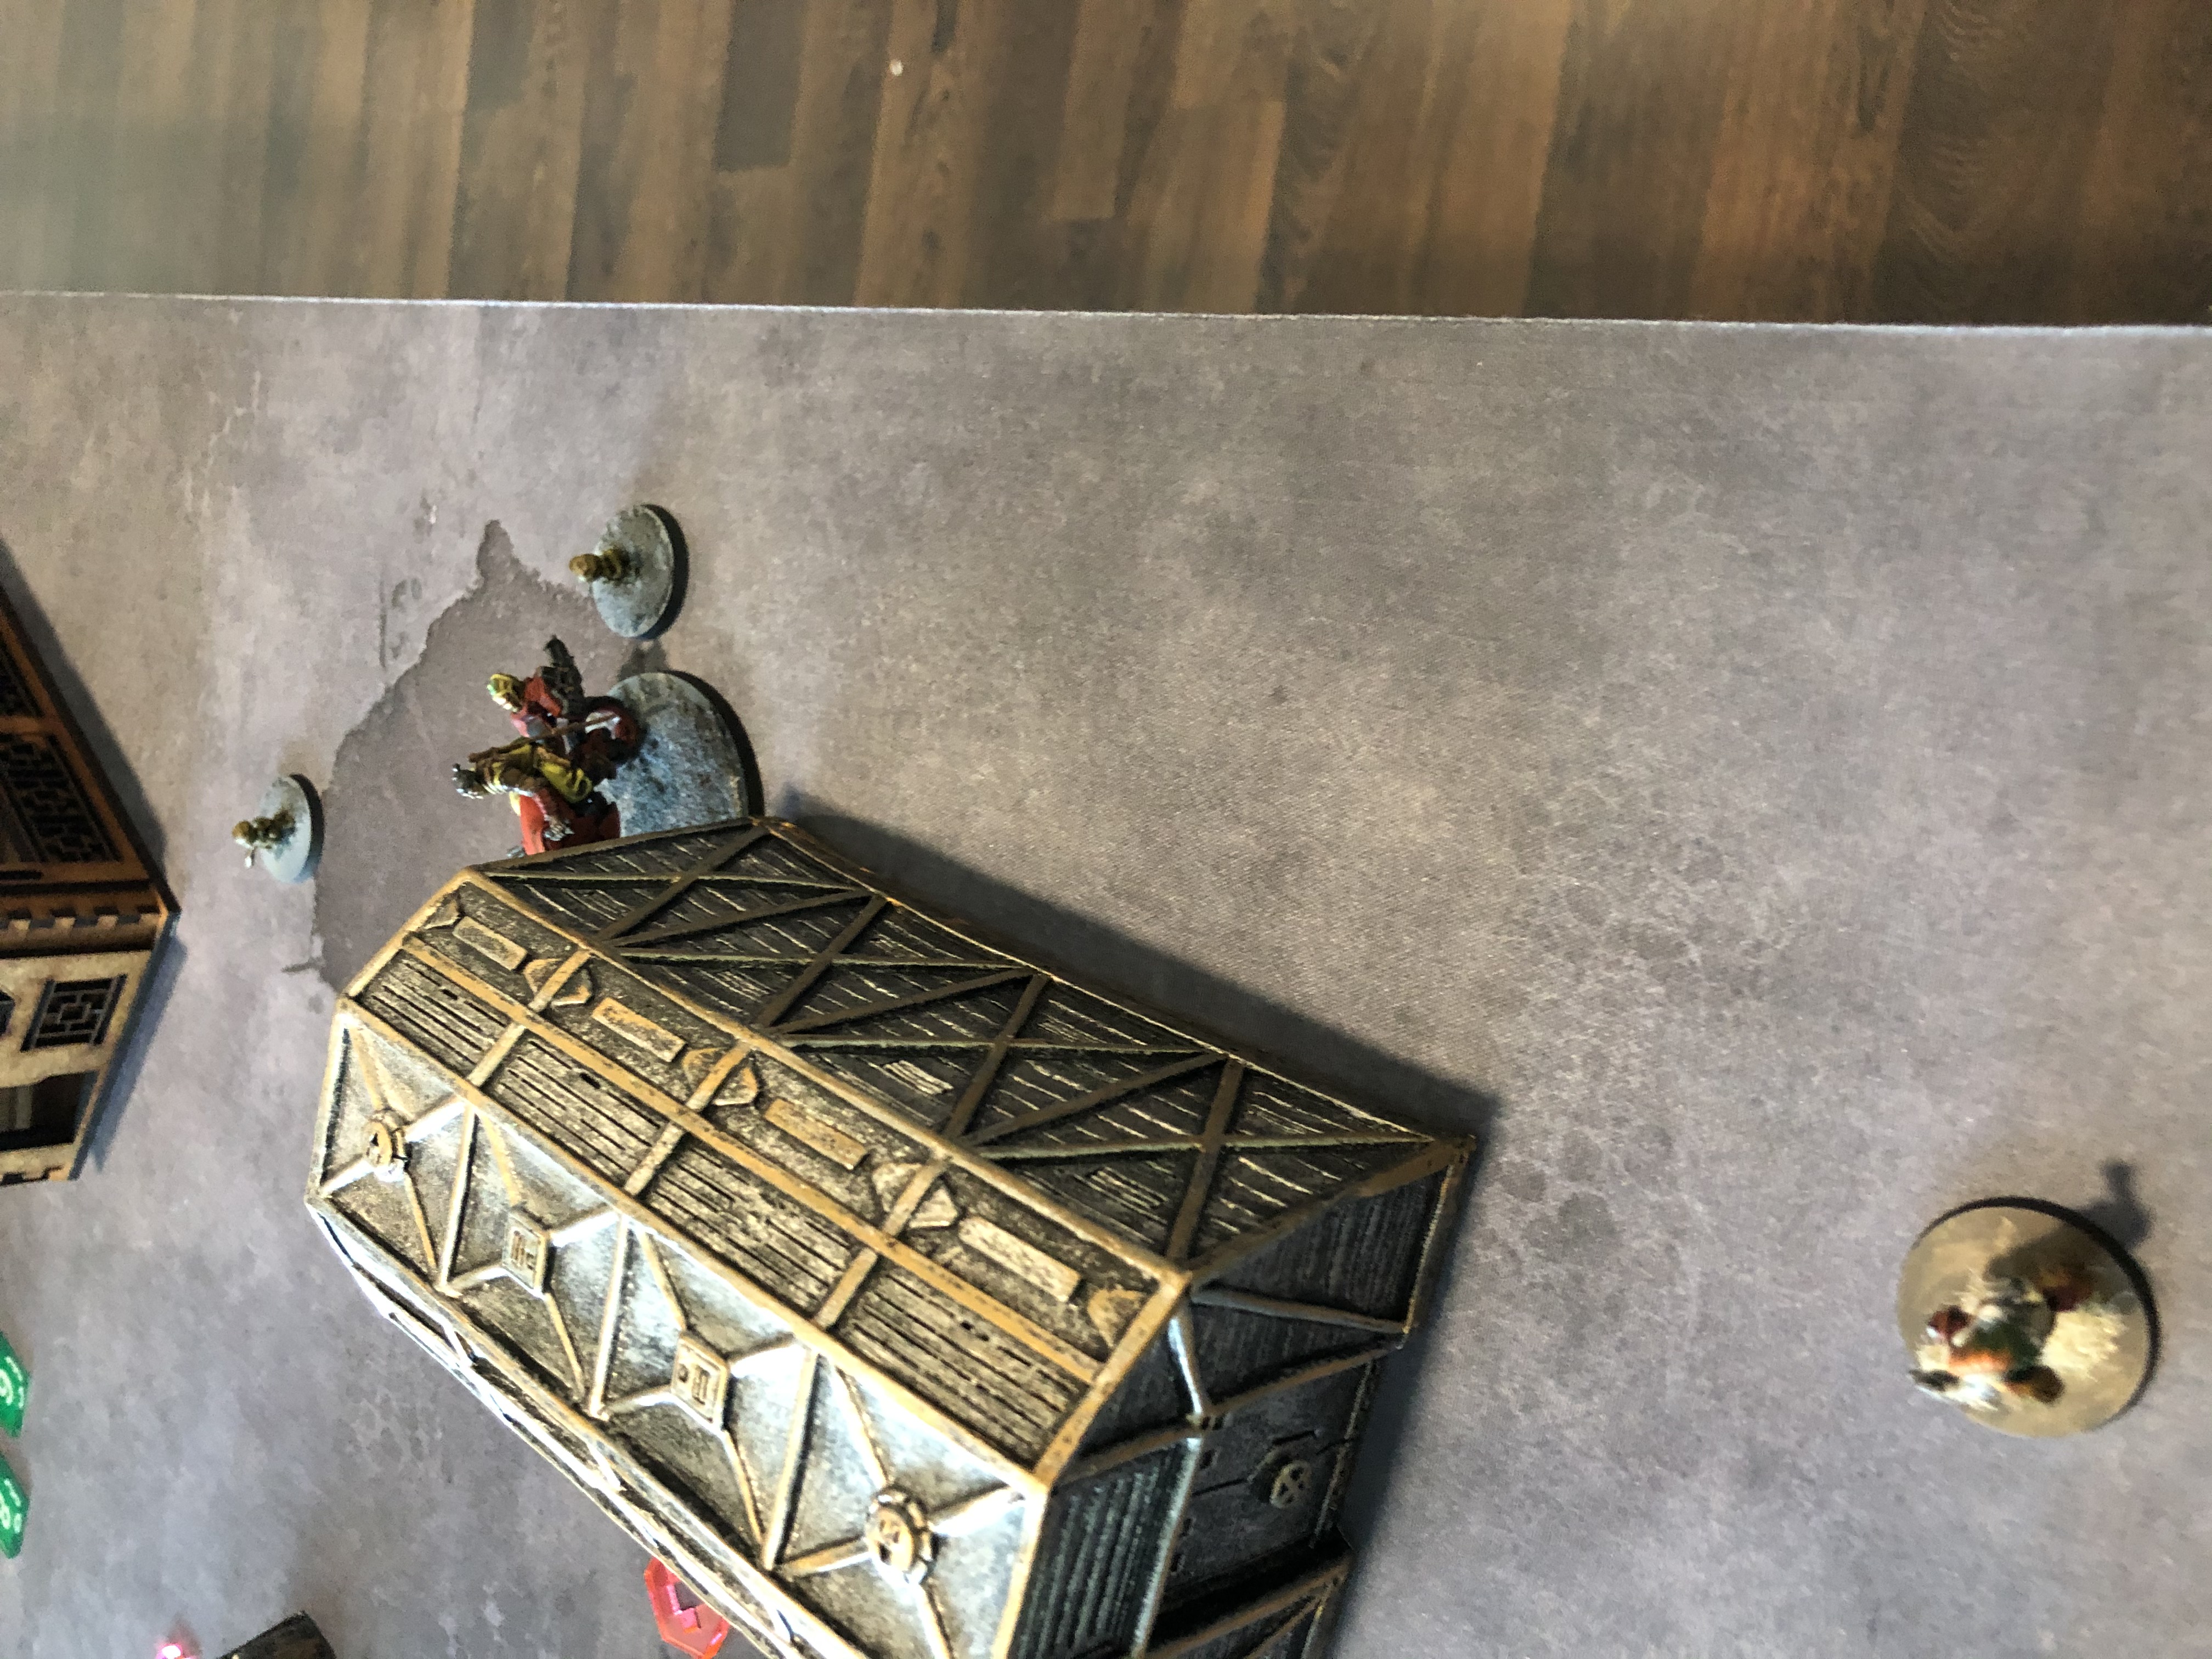
The Zondnautica Spitfire screeches towards her closest target the dreaded WildBill. However his Marksmanship L2 means nothing to a bike and he is bursted down to smithereens. Datatracker down.
With the way clear now my own Datatracker a Heckler Killer Hacker moves up to engage and kill the nearby Designated Target but is also in the line of sight of a Tanko Haris. Shots are exchanged by both sides and when the dust clears the Designated Target is no more.
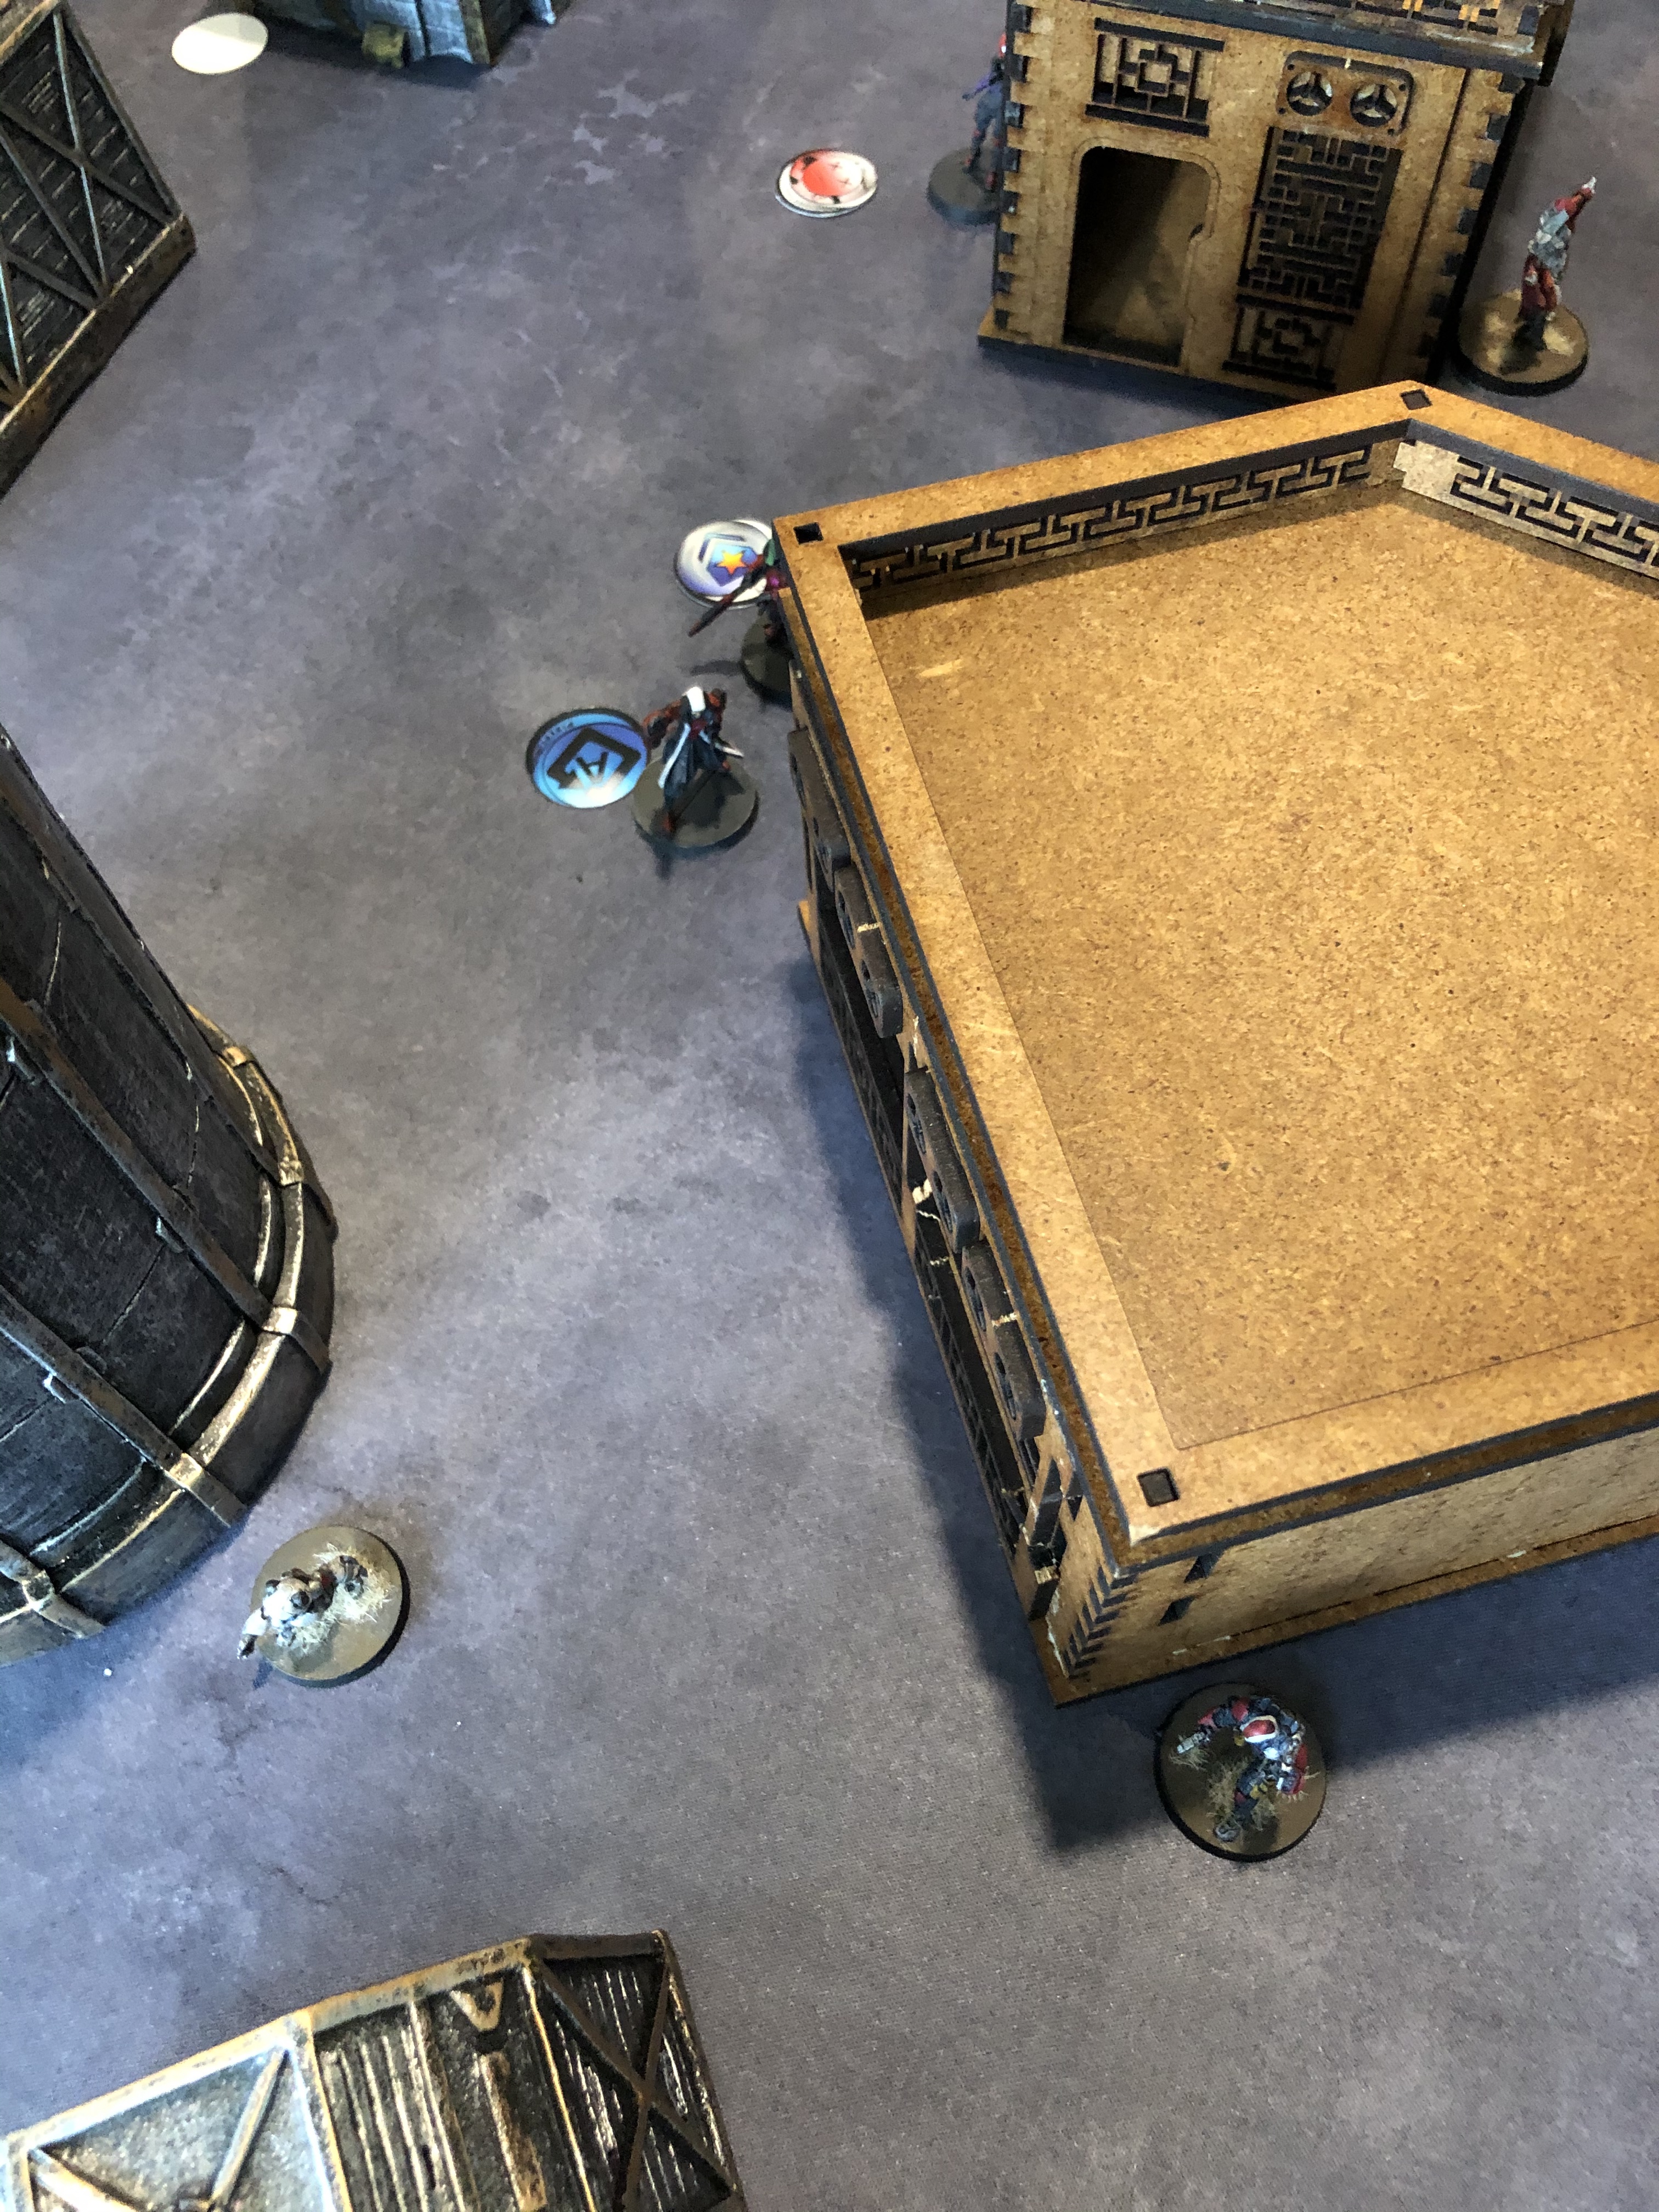
The Zondnautica dismounts then and moves up along with her Mate to engage the Karakuri and Ryuken 9. The Ryuken 9 knowing his ODD is worthless against a Chain Rifle to the face elects to take down the Zondmate with him and the Karakuri too decides to shoot the bot instead of engaging the Zondnautica feeling that if the REM did not go down it would wreck havoc on the linked teams. The Mate goes down but not before taking down the Ryuken 9 as well. 4 Shots home on the Karakuri with the Spitfire but that Total Immunity BTS 6 is no joke and she takes no damage and moves into cover.
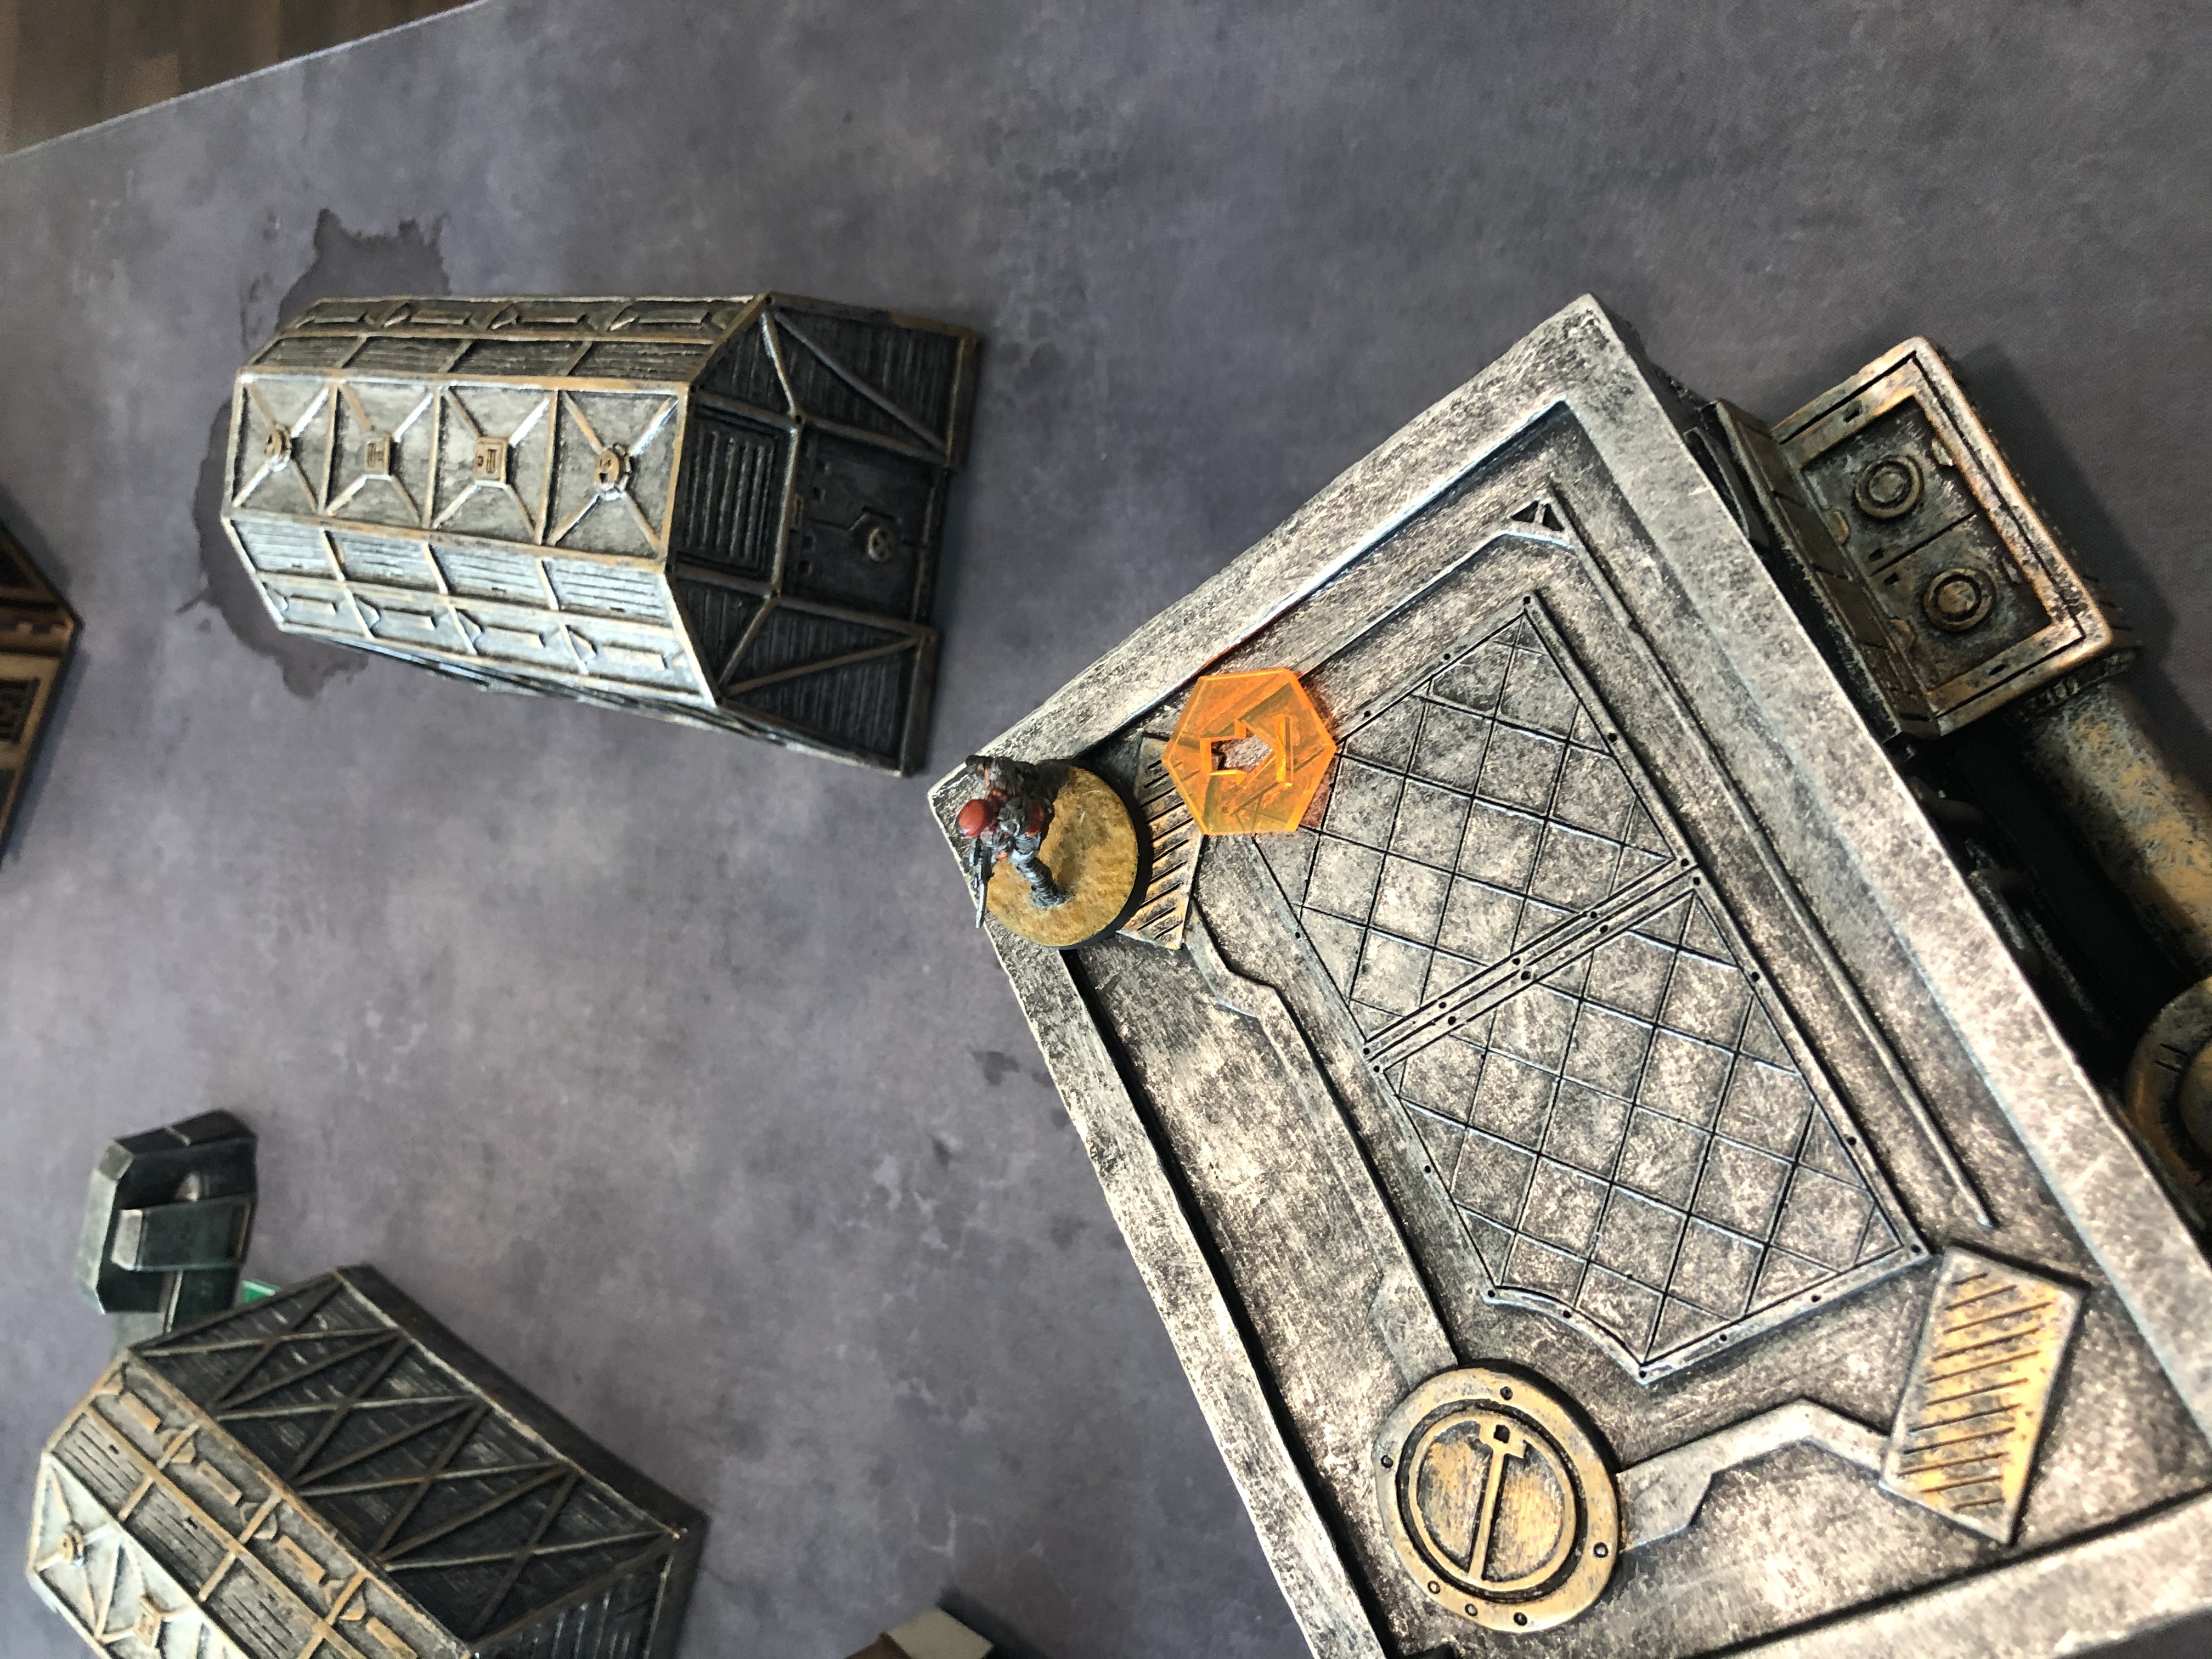
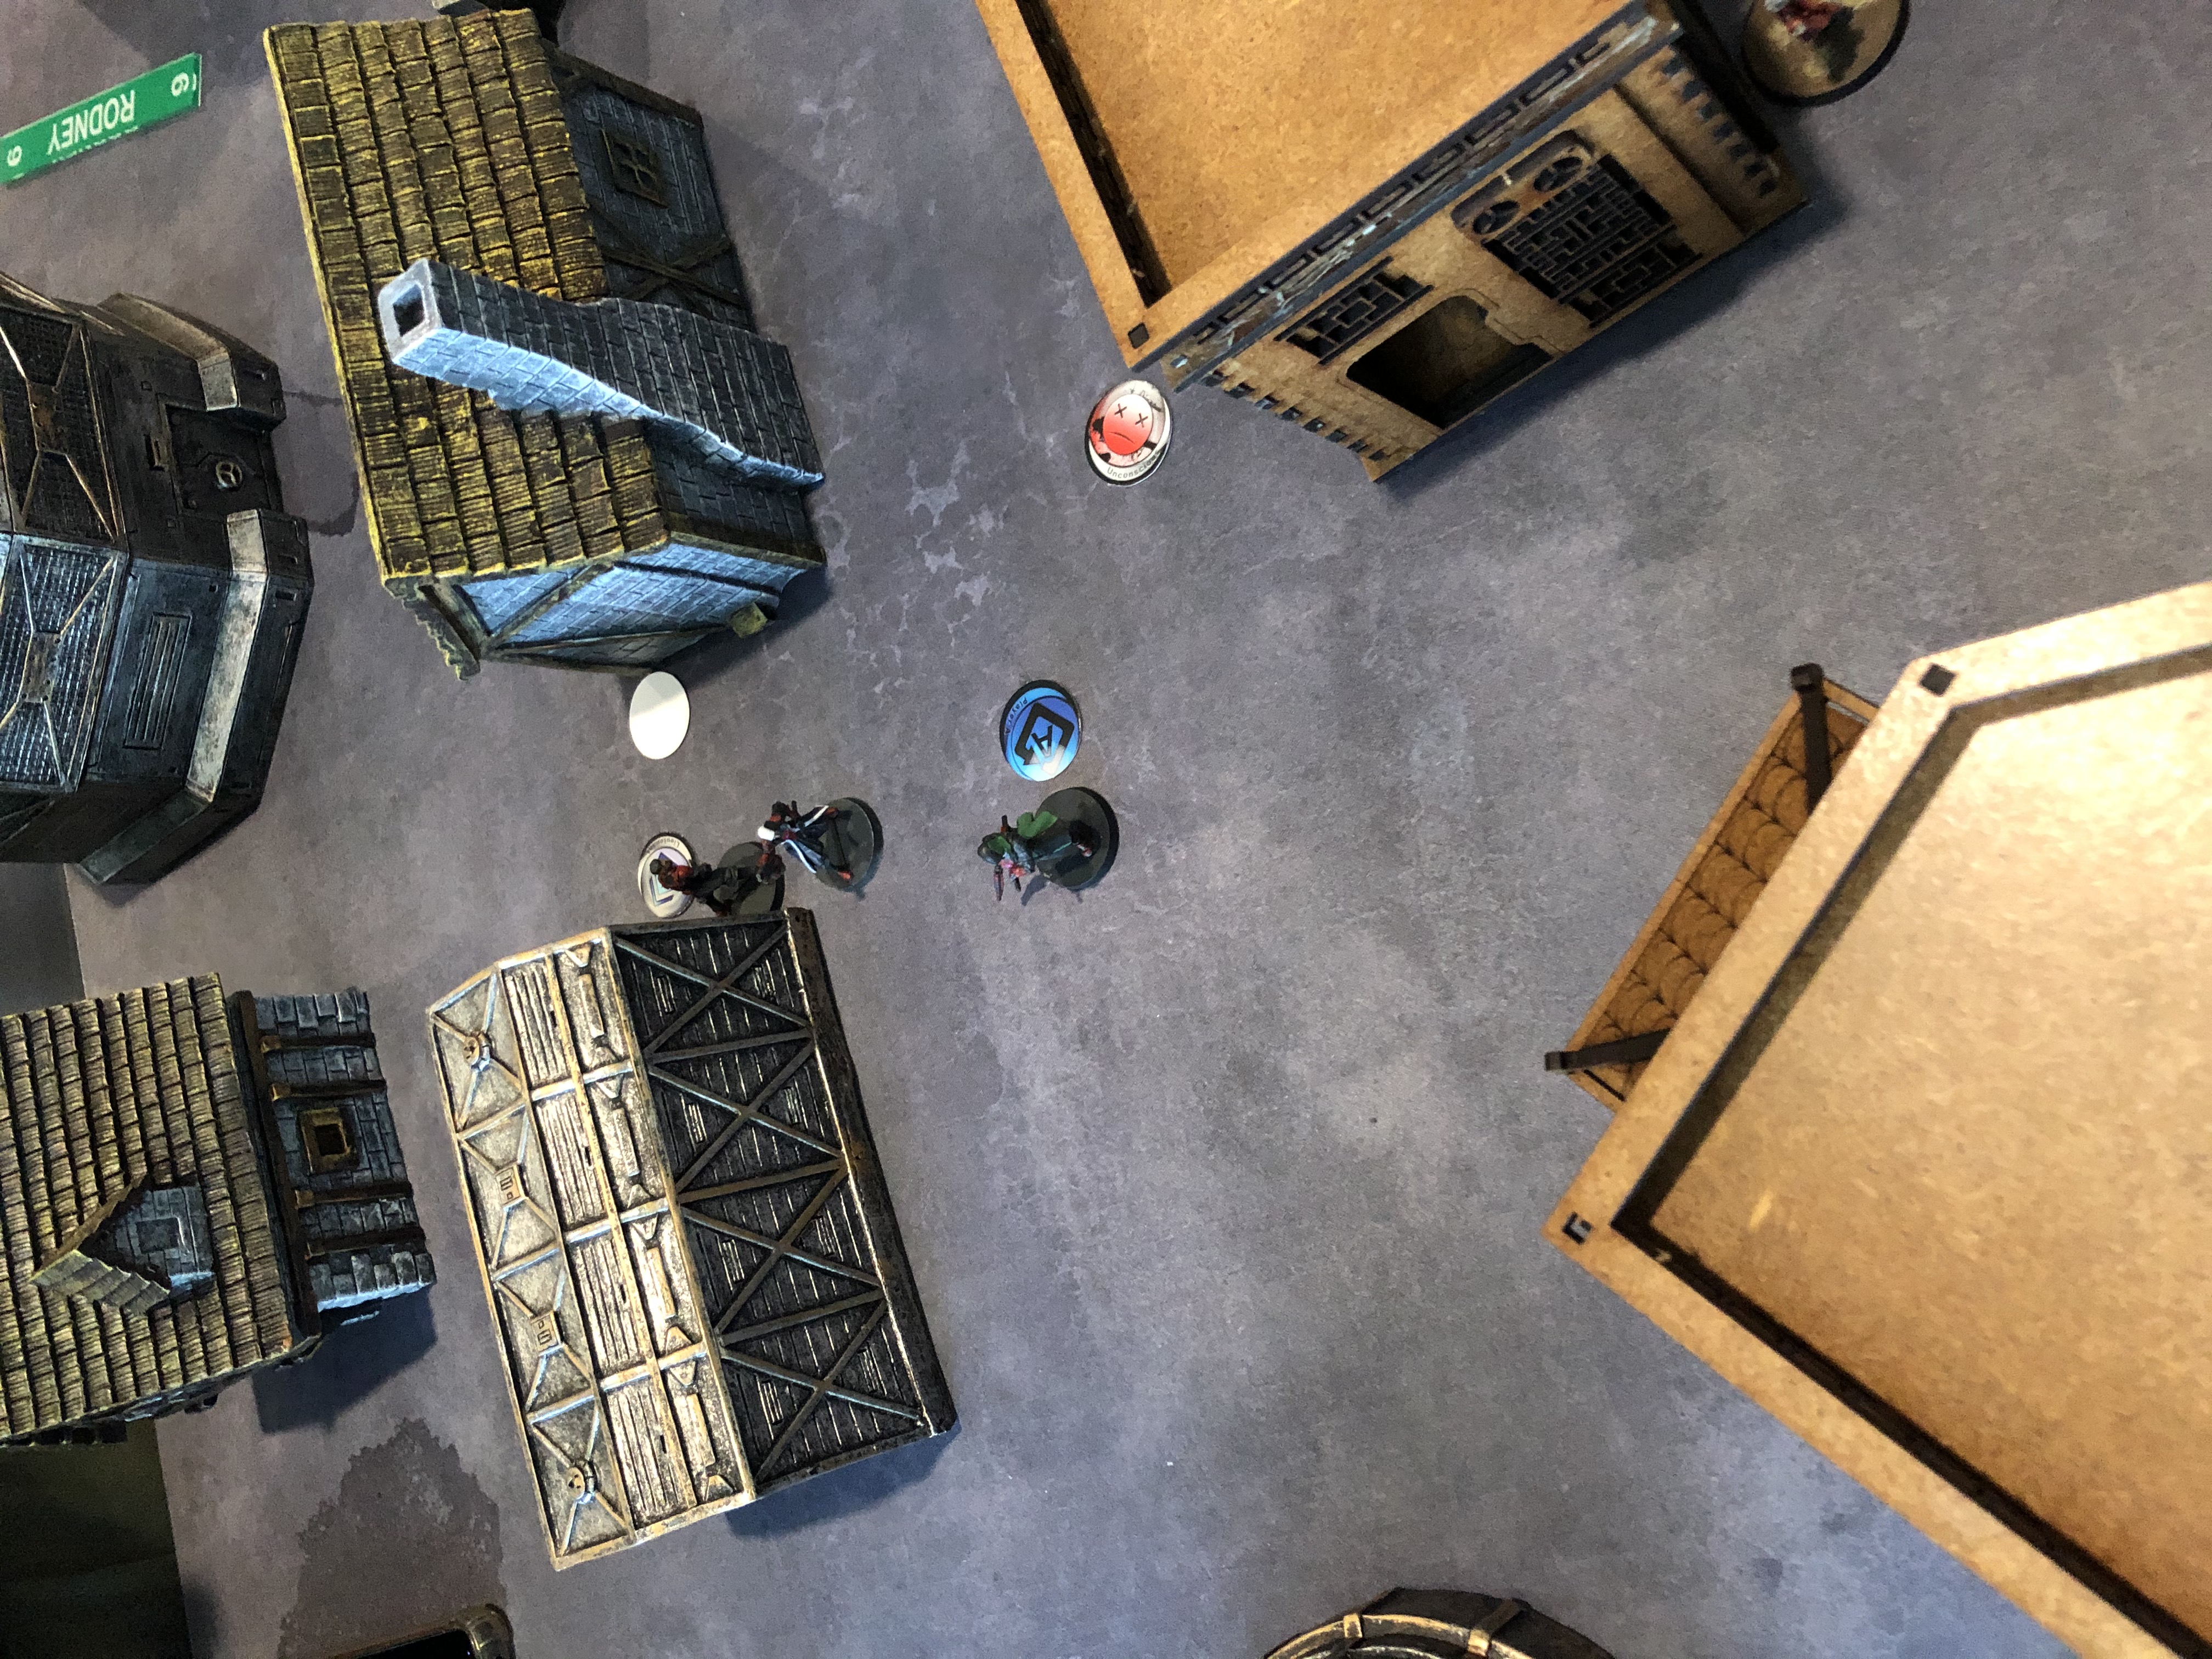
With his mission complete the Heckler moves up again to engage the Tanko in a more favorable position. Shots are exchanged but no dice. Shots are engaged again but nothing. Finally thinking he could get a better angle he jumps over the barrier and gets a bead on the Tanko out of cover but is spotted by the Core linked Kempetai. Panicking he fires 2 shots at the Tanko and one at the Kempetai managing to wound the Tanko but dying to the Kempetai.
The WarCor moves but is gunned down by enemy fire. Wild Bill moves up then and successfully takes down the Tanko before falling back.
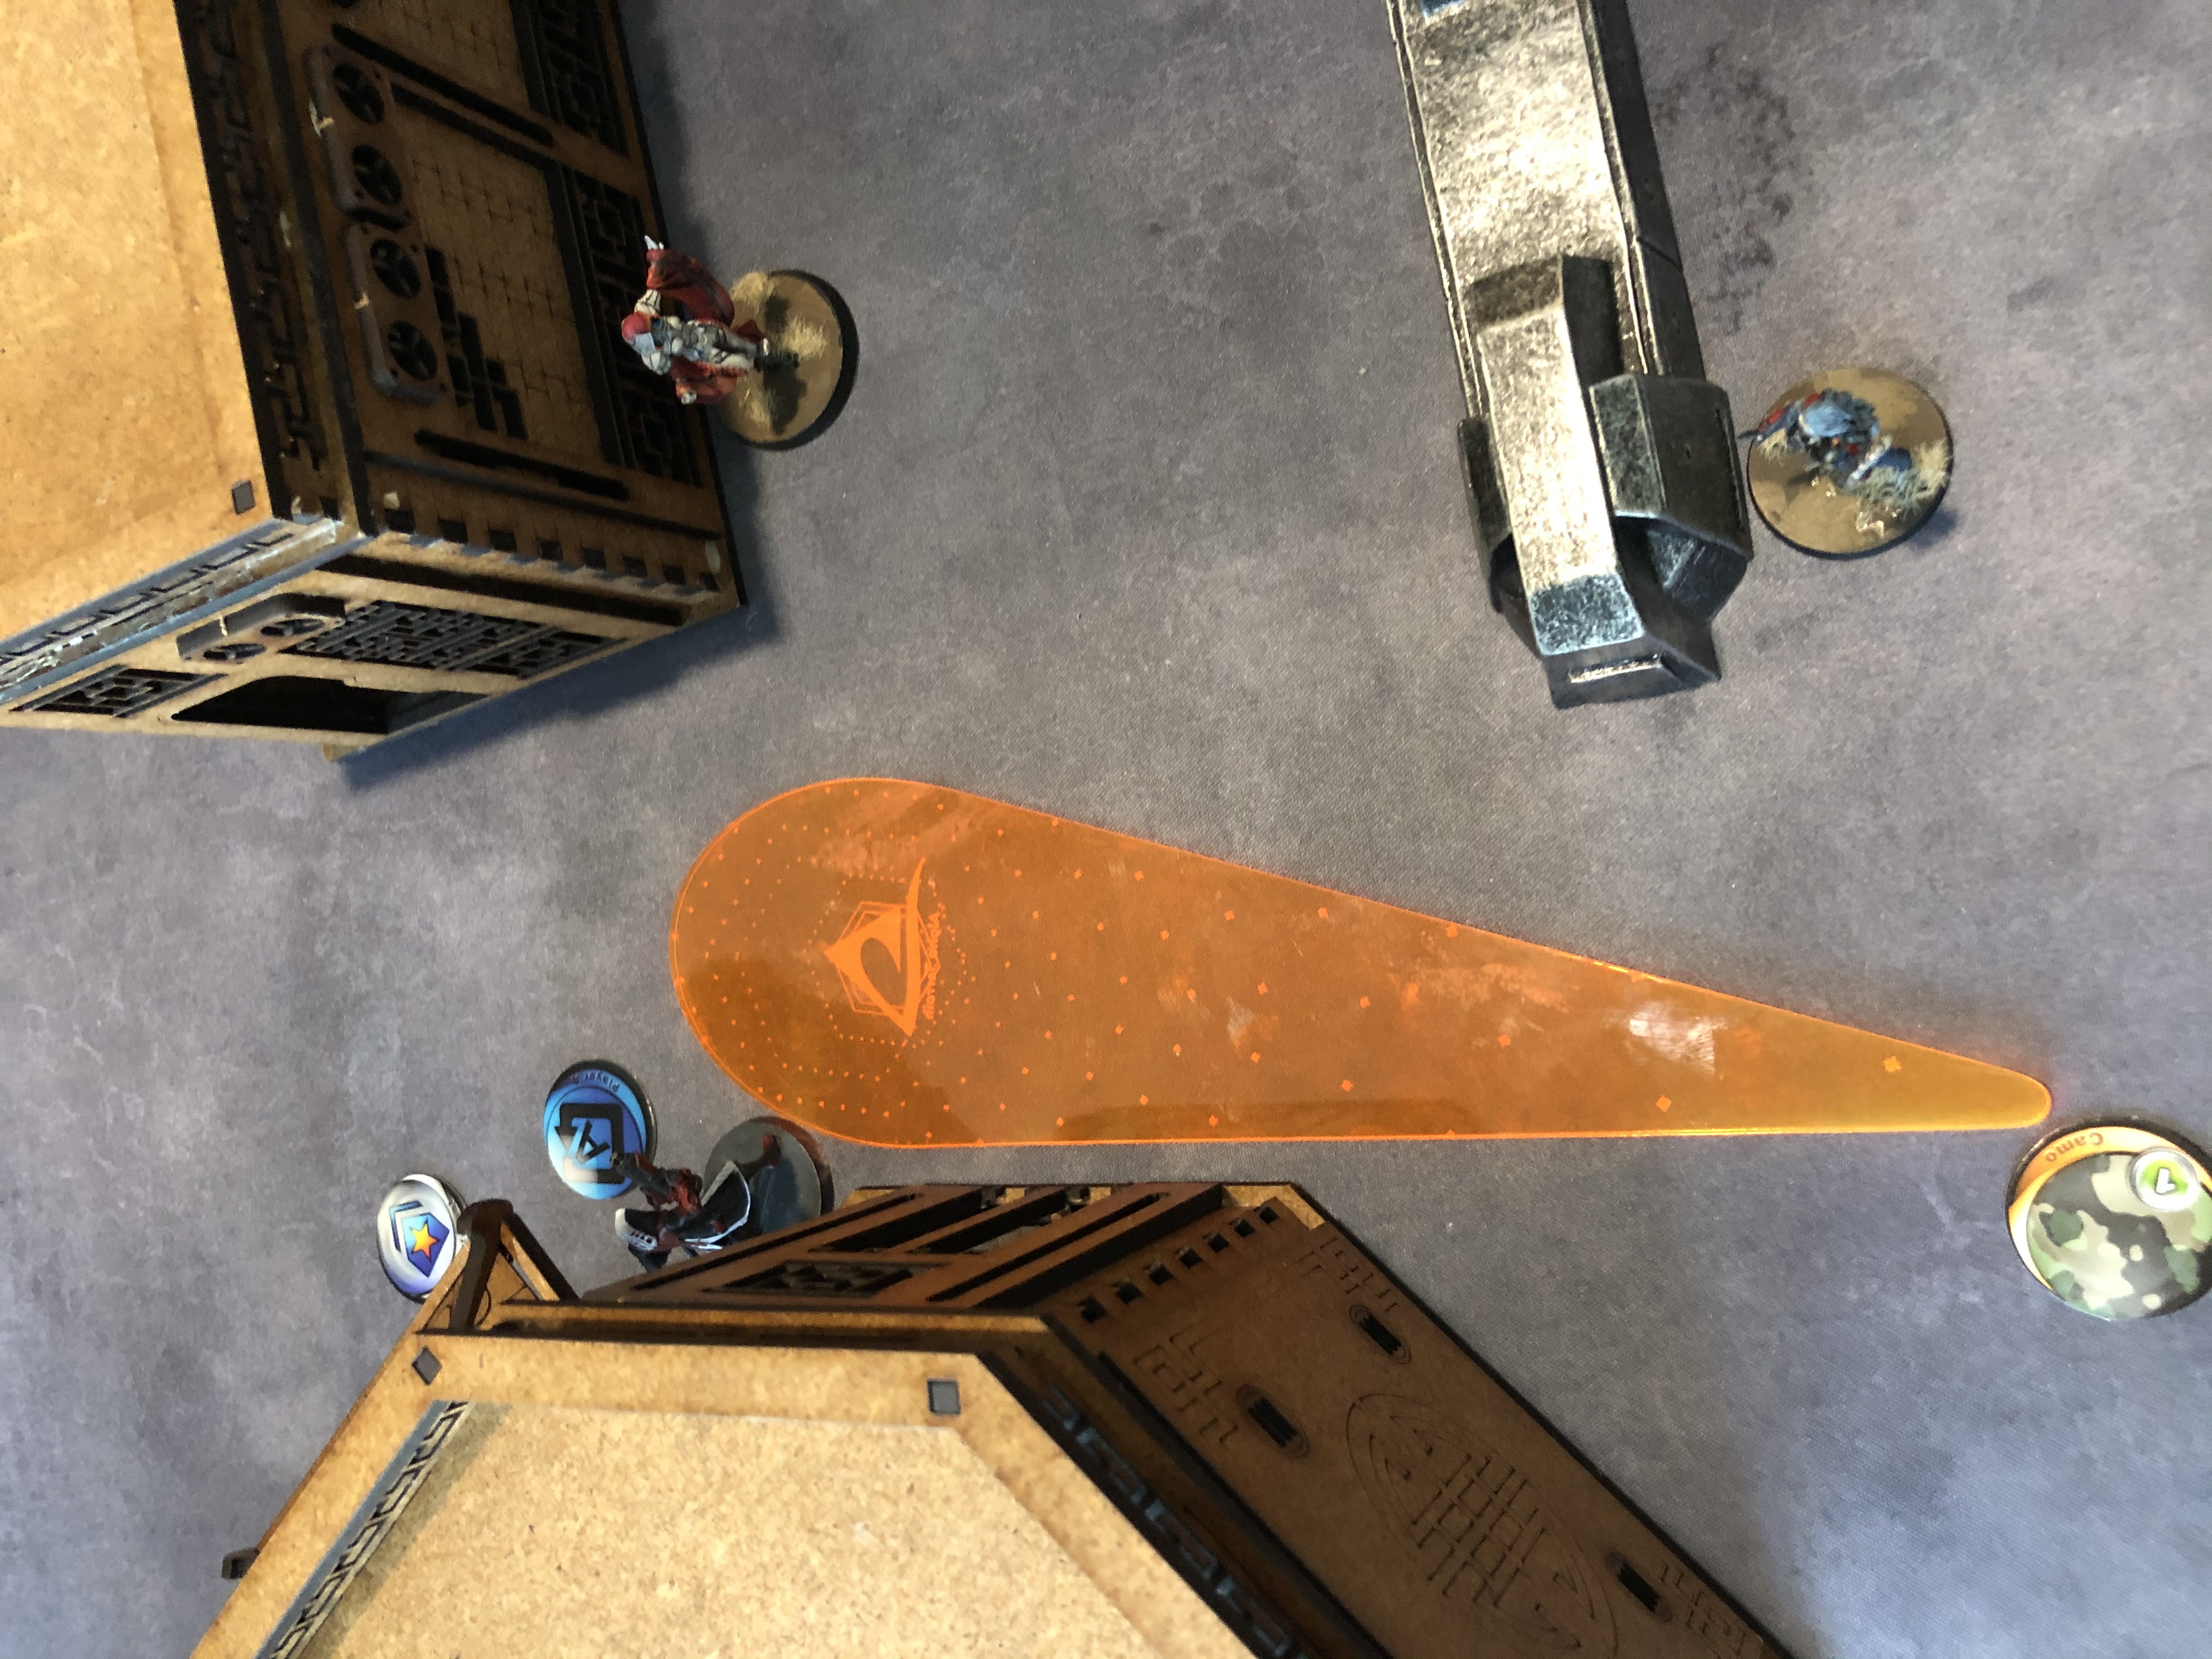
The Heckler Jammer closest to the Karakuri then moves up and launches a Fast Panda to keep her glued up. Attempting an Oblivion roll then the Interventor beats the Karakuri in a FTF however her BTS6 isn't just for show.
Using the last order in group 2 and a command token Wild Bill, Puppet Master and Interventor all go into suppression fire.
JSA Turn 1
Also going Hell for Leather Yojimbo moves up and successfully lands smoke avoiding all shots. He then attempts to take out the Zondnautica from behind but misses his shot.
The commander then peaks out his Kempeitai Missile Launcher to Engage one of the Securitate Feuerbachs but in an unfortunate roll off the Kempeitai is blown to smithereens.
The WarCor moves up and dies (go figure). The Commander then reveals his Ryuken 9 Heavy Rocket Launcher and fires on my 2 Securitate Feuerbachs. Sadly for him he too was downed by the superior training of our elite line troops.
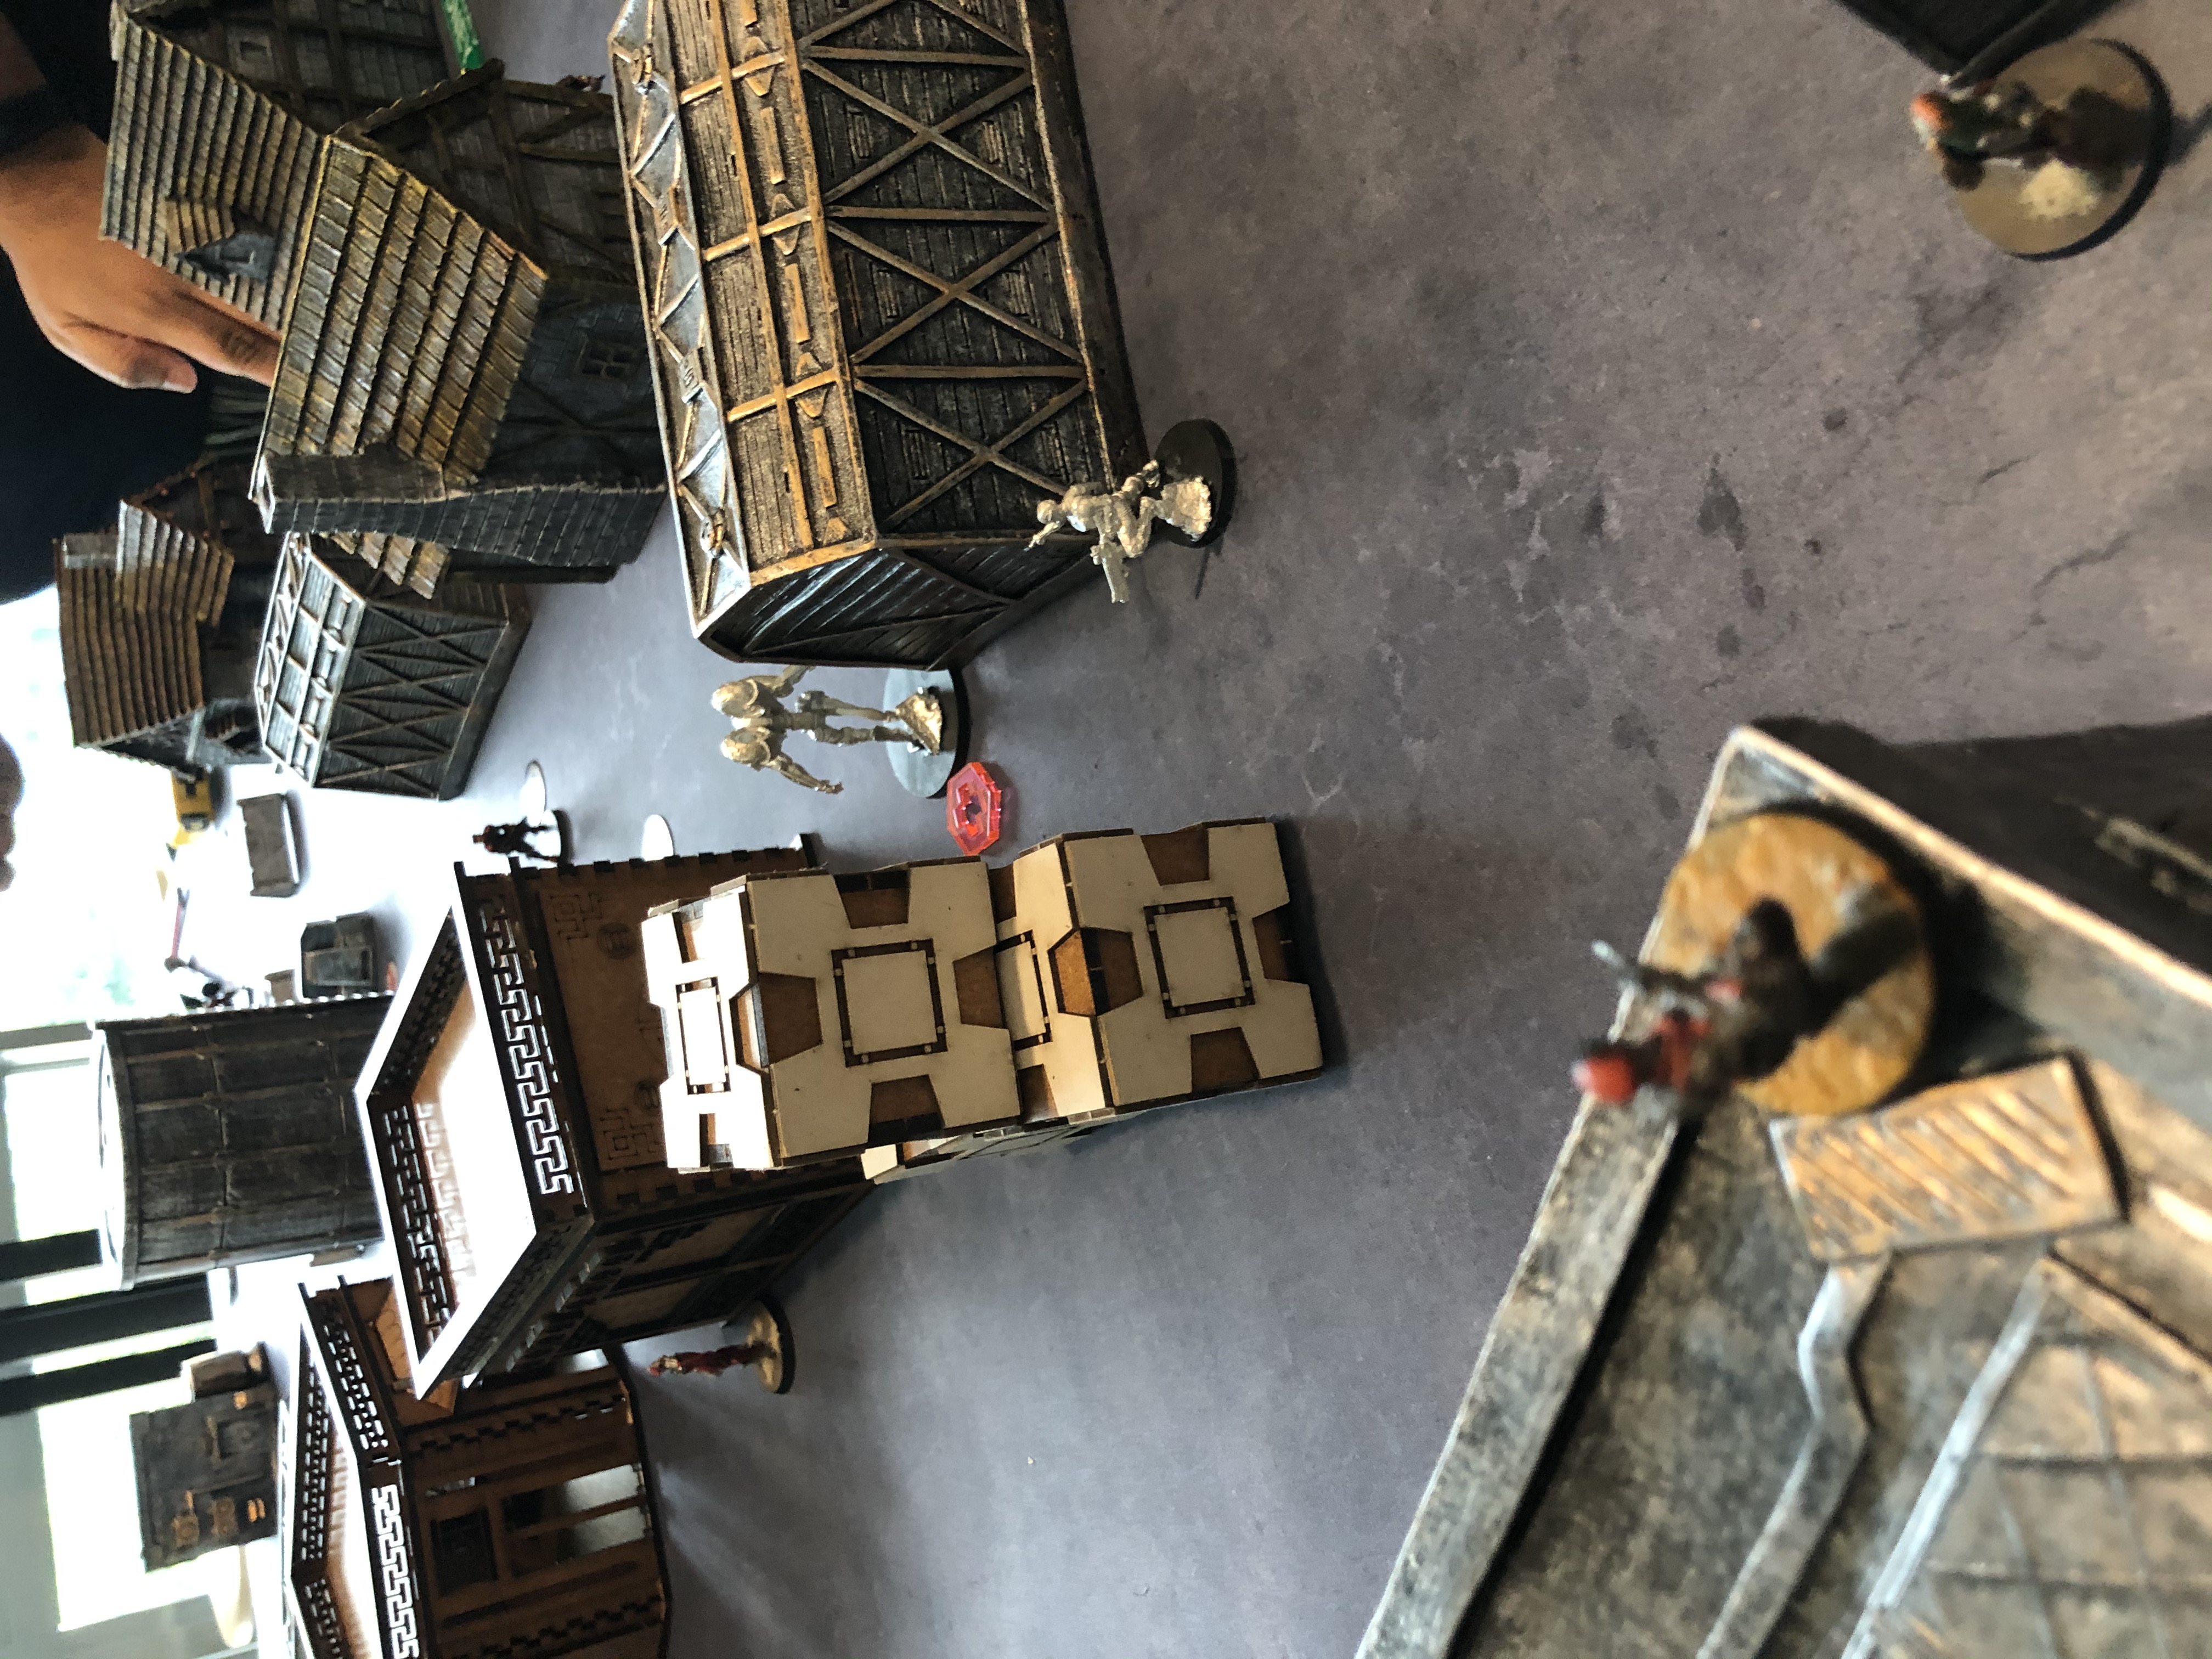
He then moves up his now 3 man link with MSV2 Kempei to destroy the annoying Fast Panda keeping his Karakuri in lockdown. However he exposed his Keisotsu LT to a surprise Spektr Sniper who fires and kills the Keisotsu while going down to the Kempei who could care less about TO camo. Mission complete she will be missed.
Reeling from that terrible turn of events his Kempei CoC becomes the new LT and he moves up to destroy the Fast Panda. The Karakuri now free to engage lights up the Heckler Jammer who is destroyed.
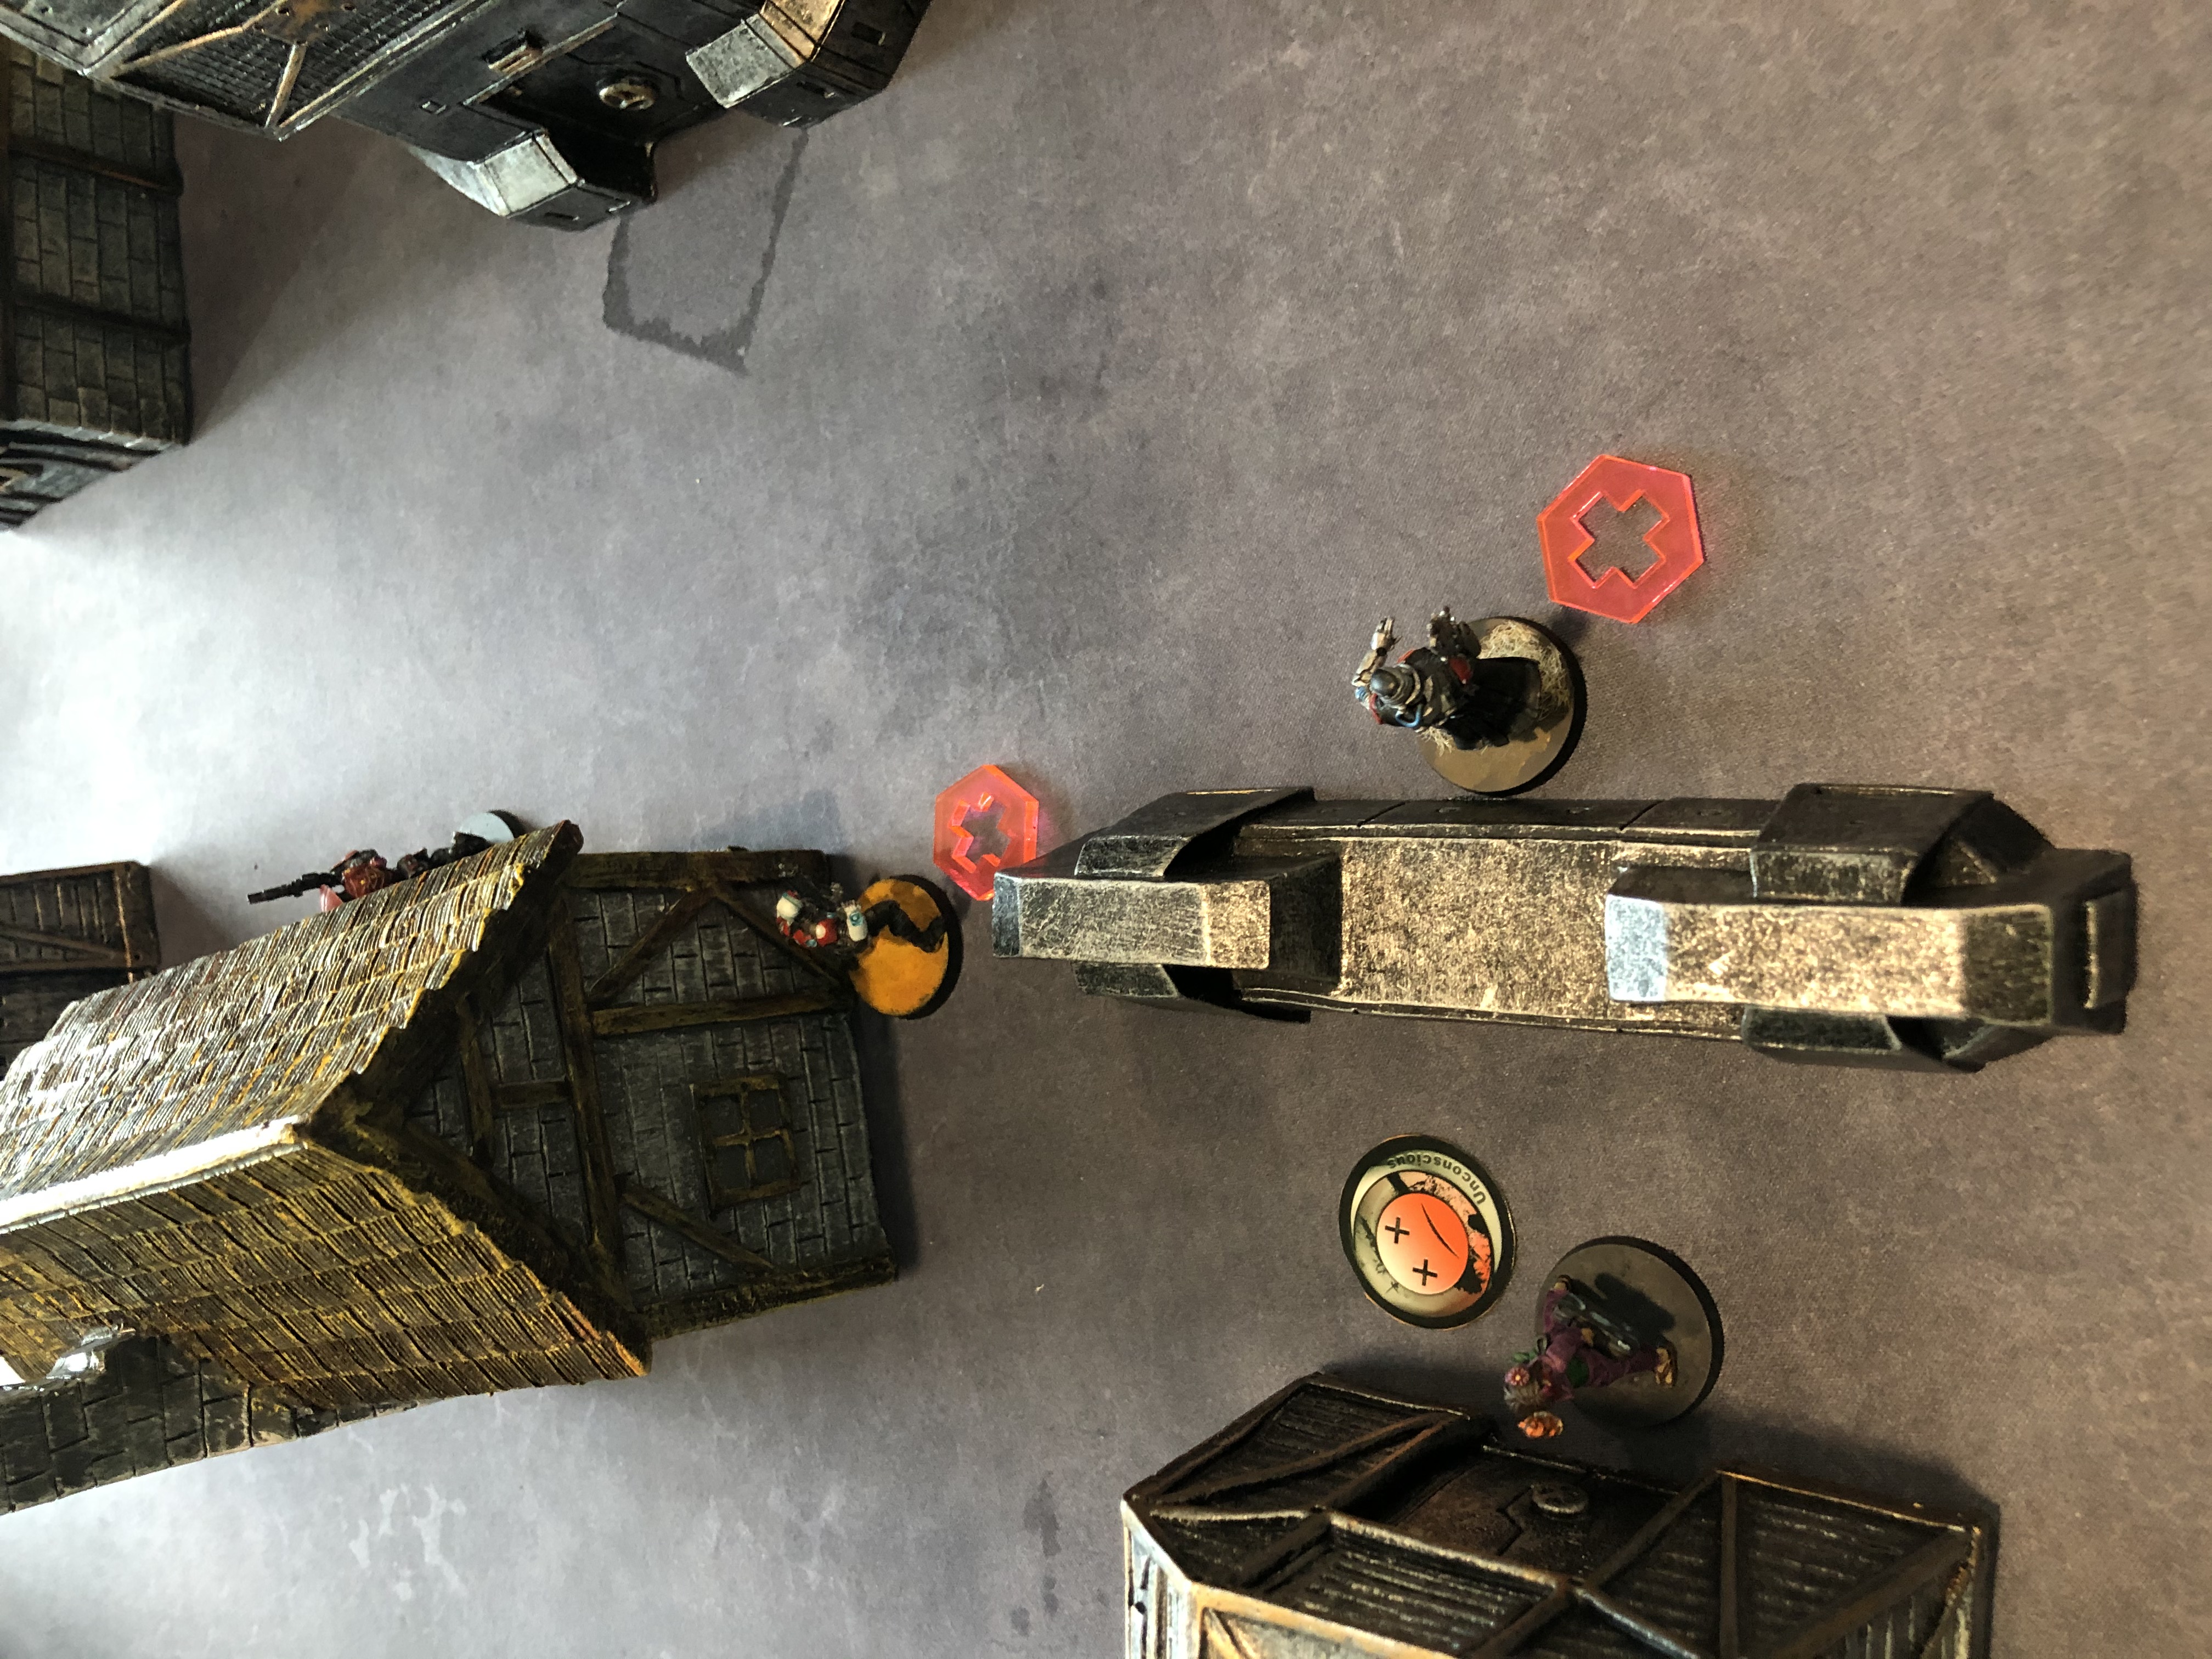
Revealing an Oniwaban he then moves up to engage and kill the Designated target but is discovered and killed.
The Kempei then moves to engage and kill the designated target but cops a mine and fails his dodge. However the sub-standard JSA armor is enough and he does not go down. He the fires and kills the target successfully.
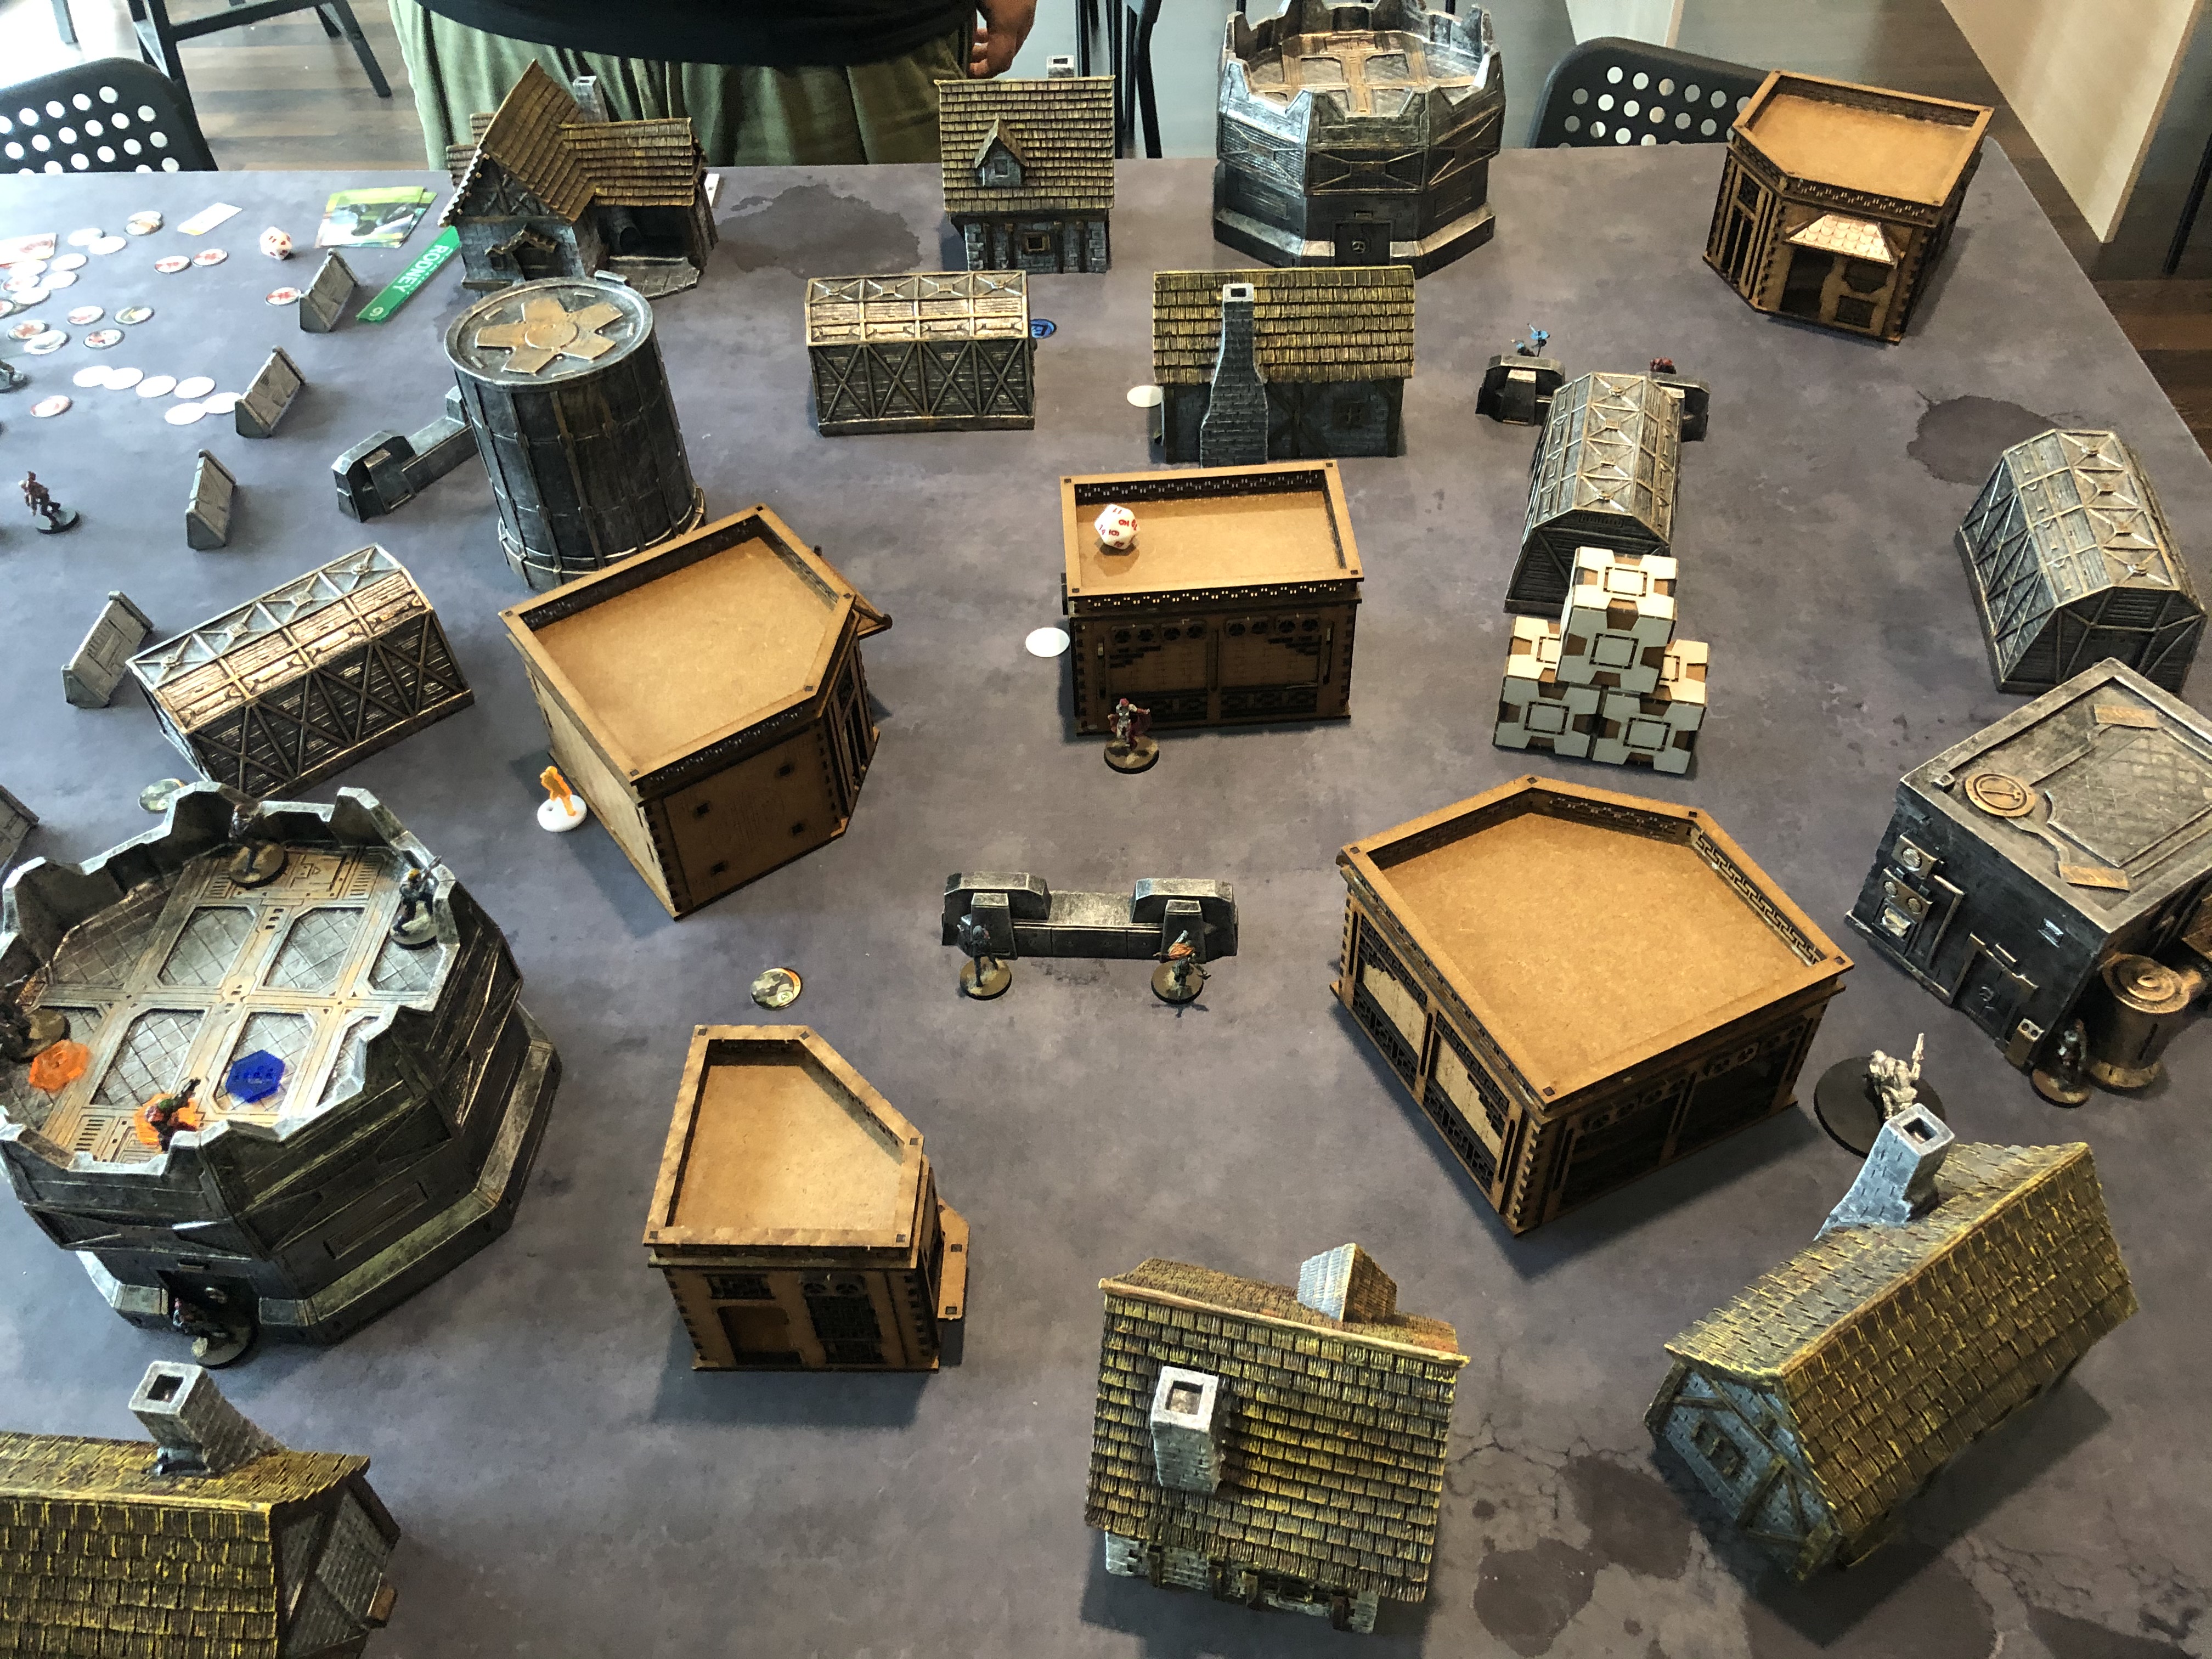
Tunguska Turn 2
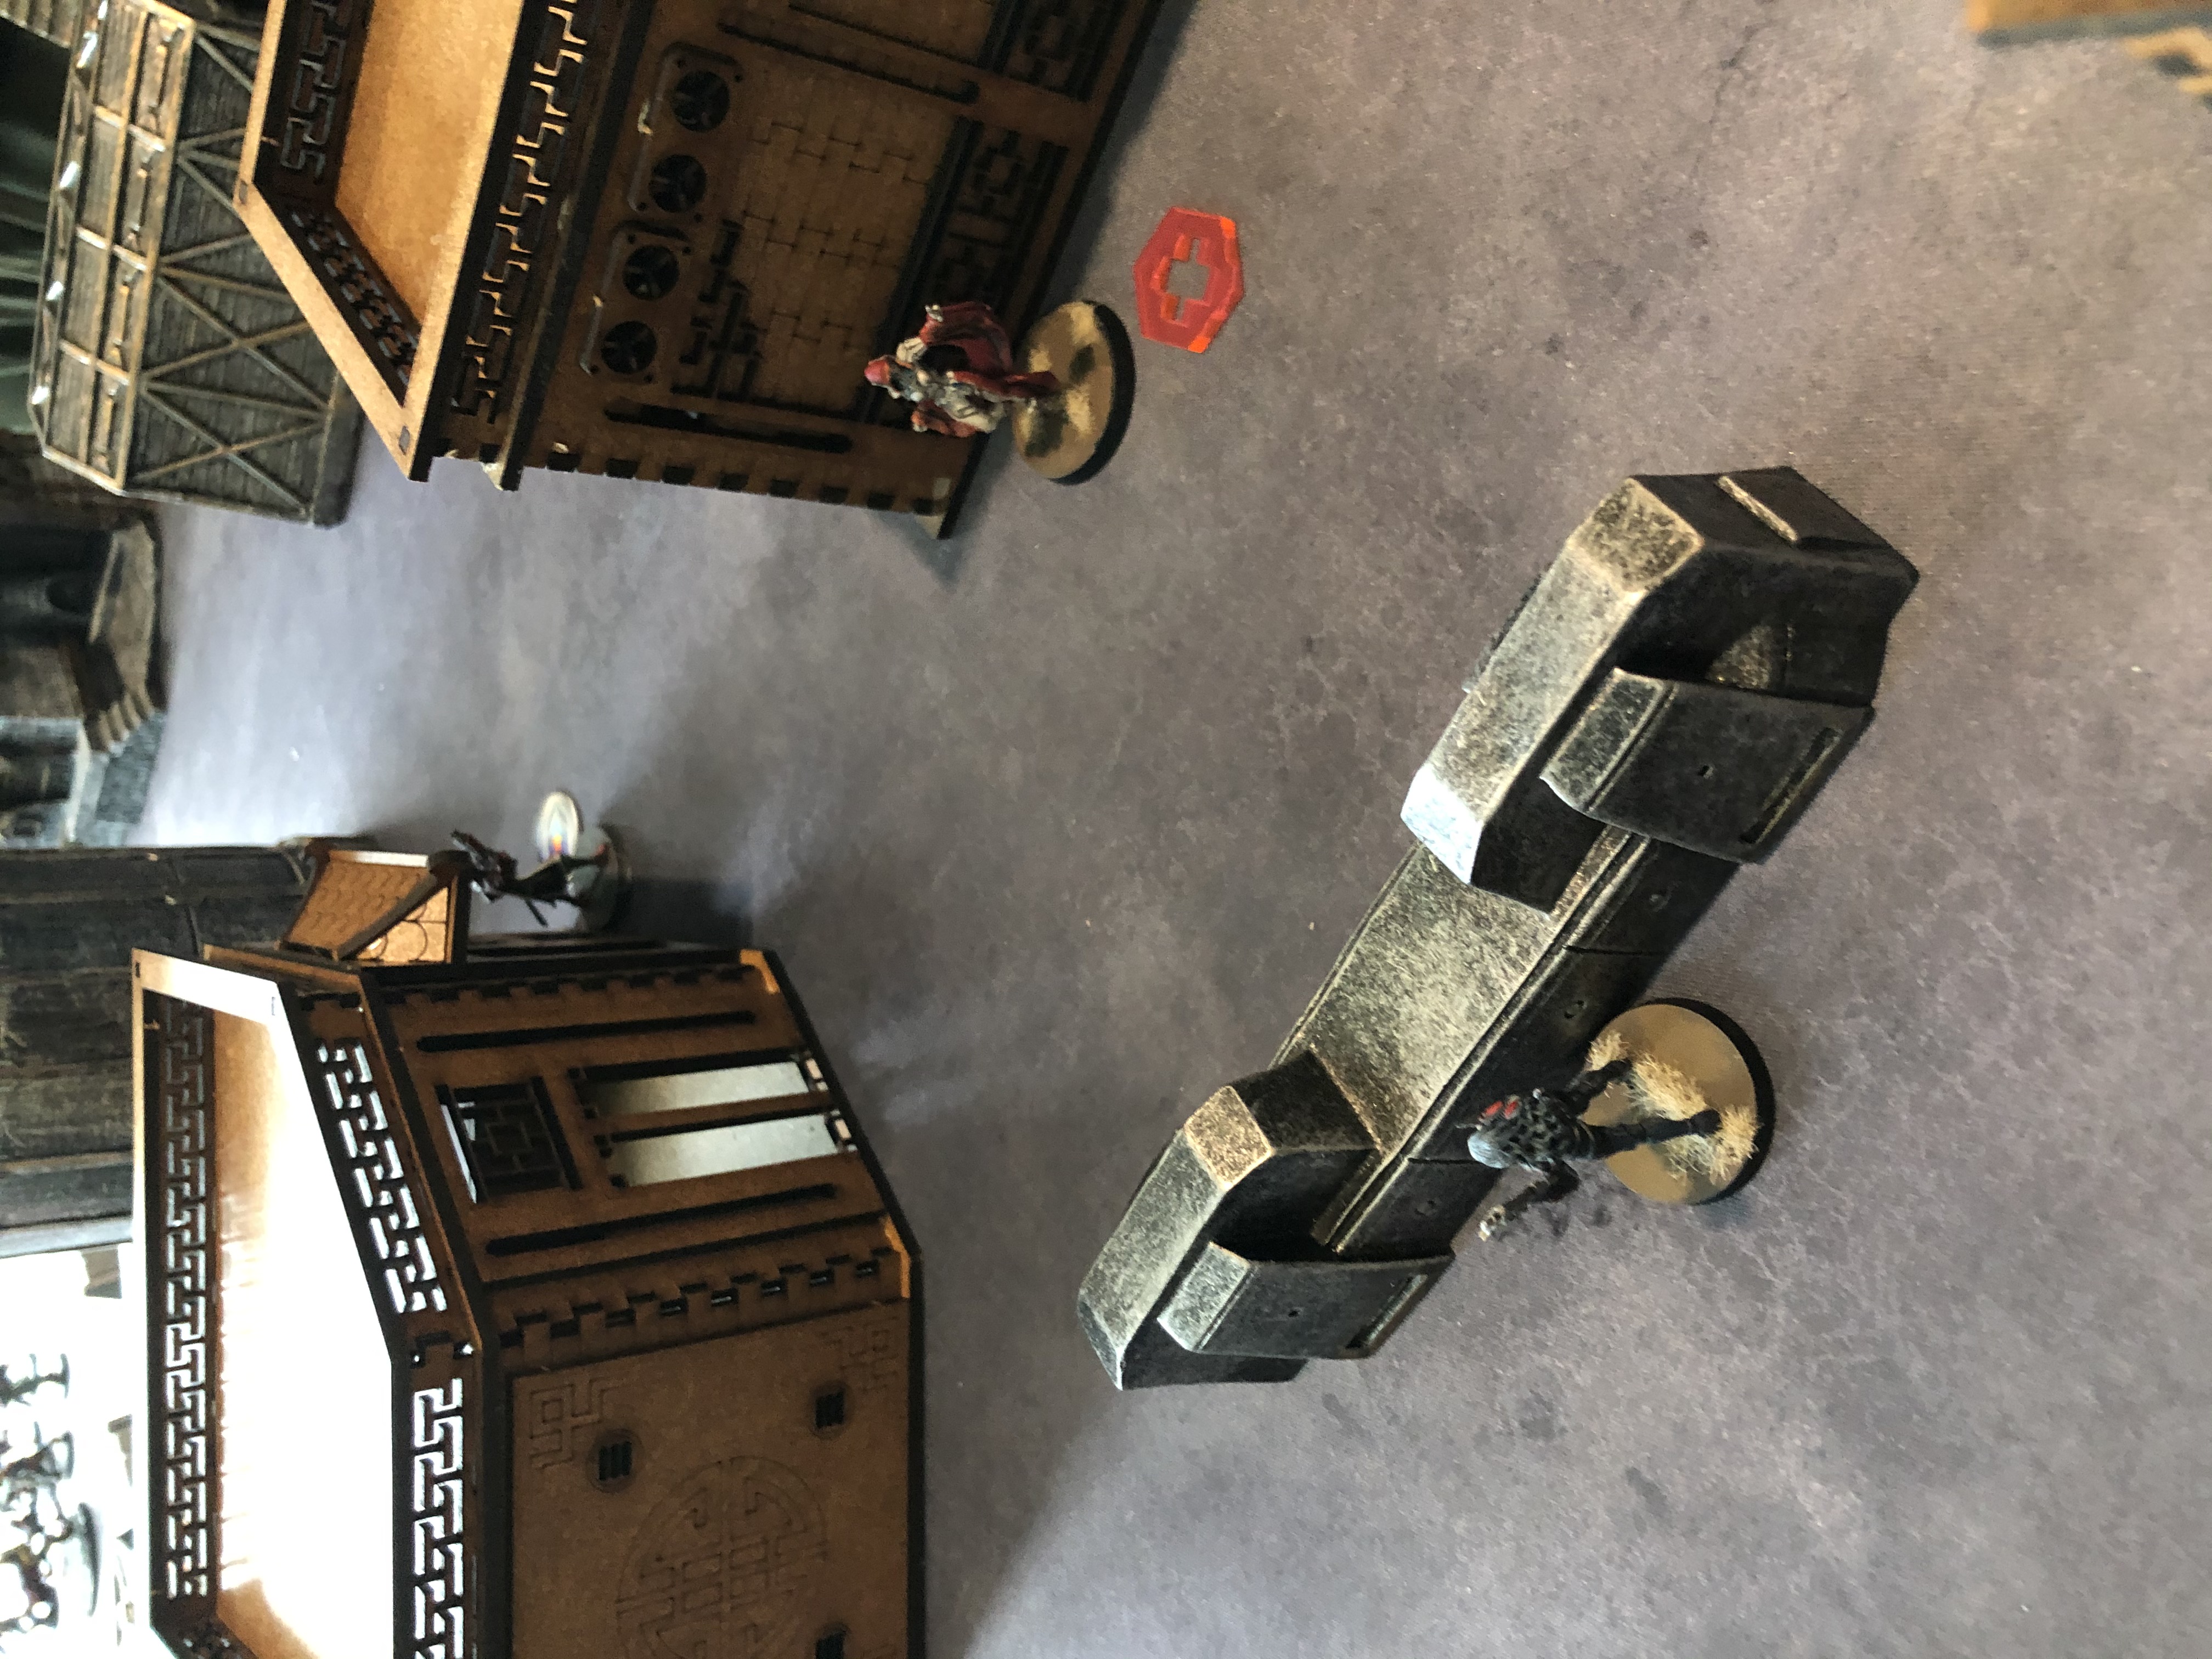
Zondnautica moves up Impetuously to Yojimbo who Chain Rifles her and somehow surviving the Spitfire shots. Wild BIll moves up then and finishes off Yojimbo with his Rifle.
I reveal my Spektr and move to place a mine in front of Musashi. He then turns the corner and shoots Musashi but instead of dodging Musashi fires his Chain Rifle and they both go down.
The Puppet Master then moves up and in 2 orders kills both the Kempei MSV2 and the Kempei CoC LT.
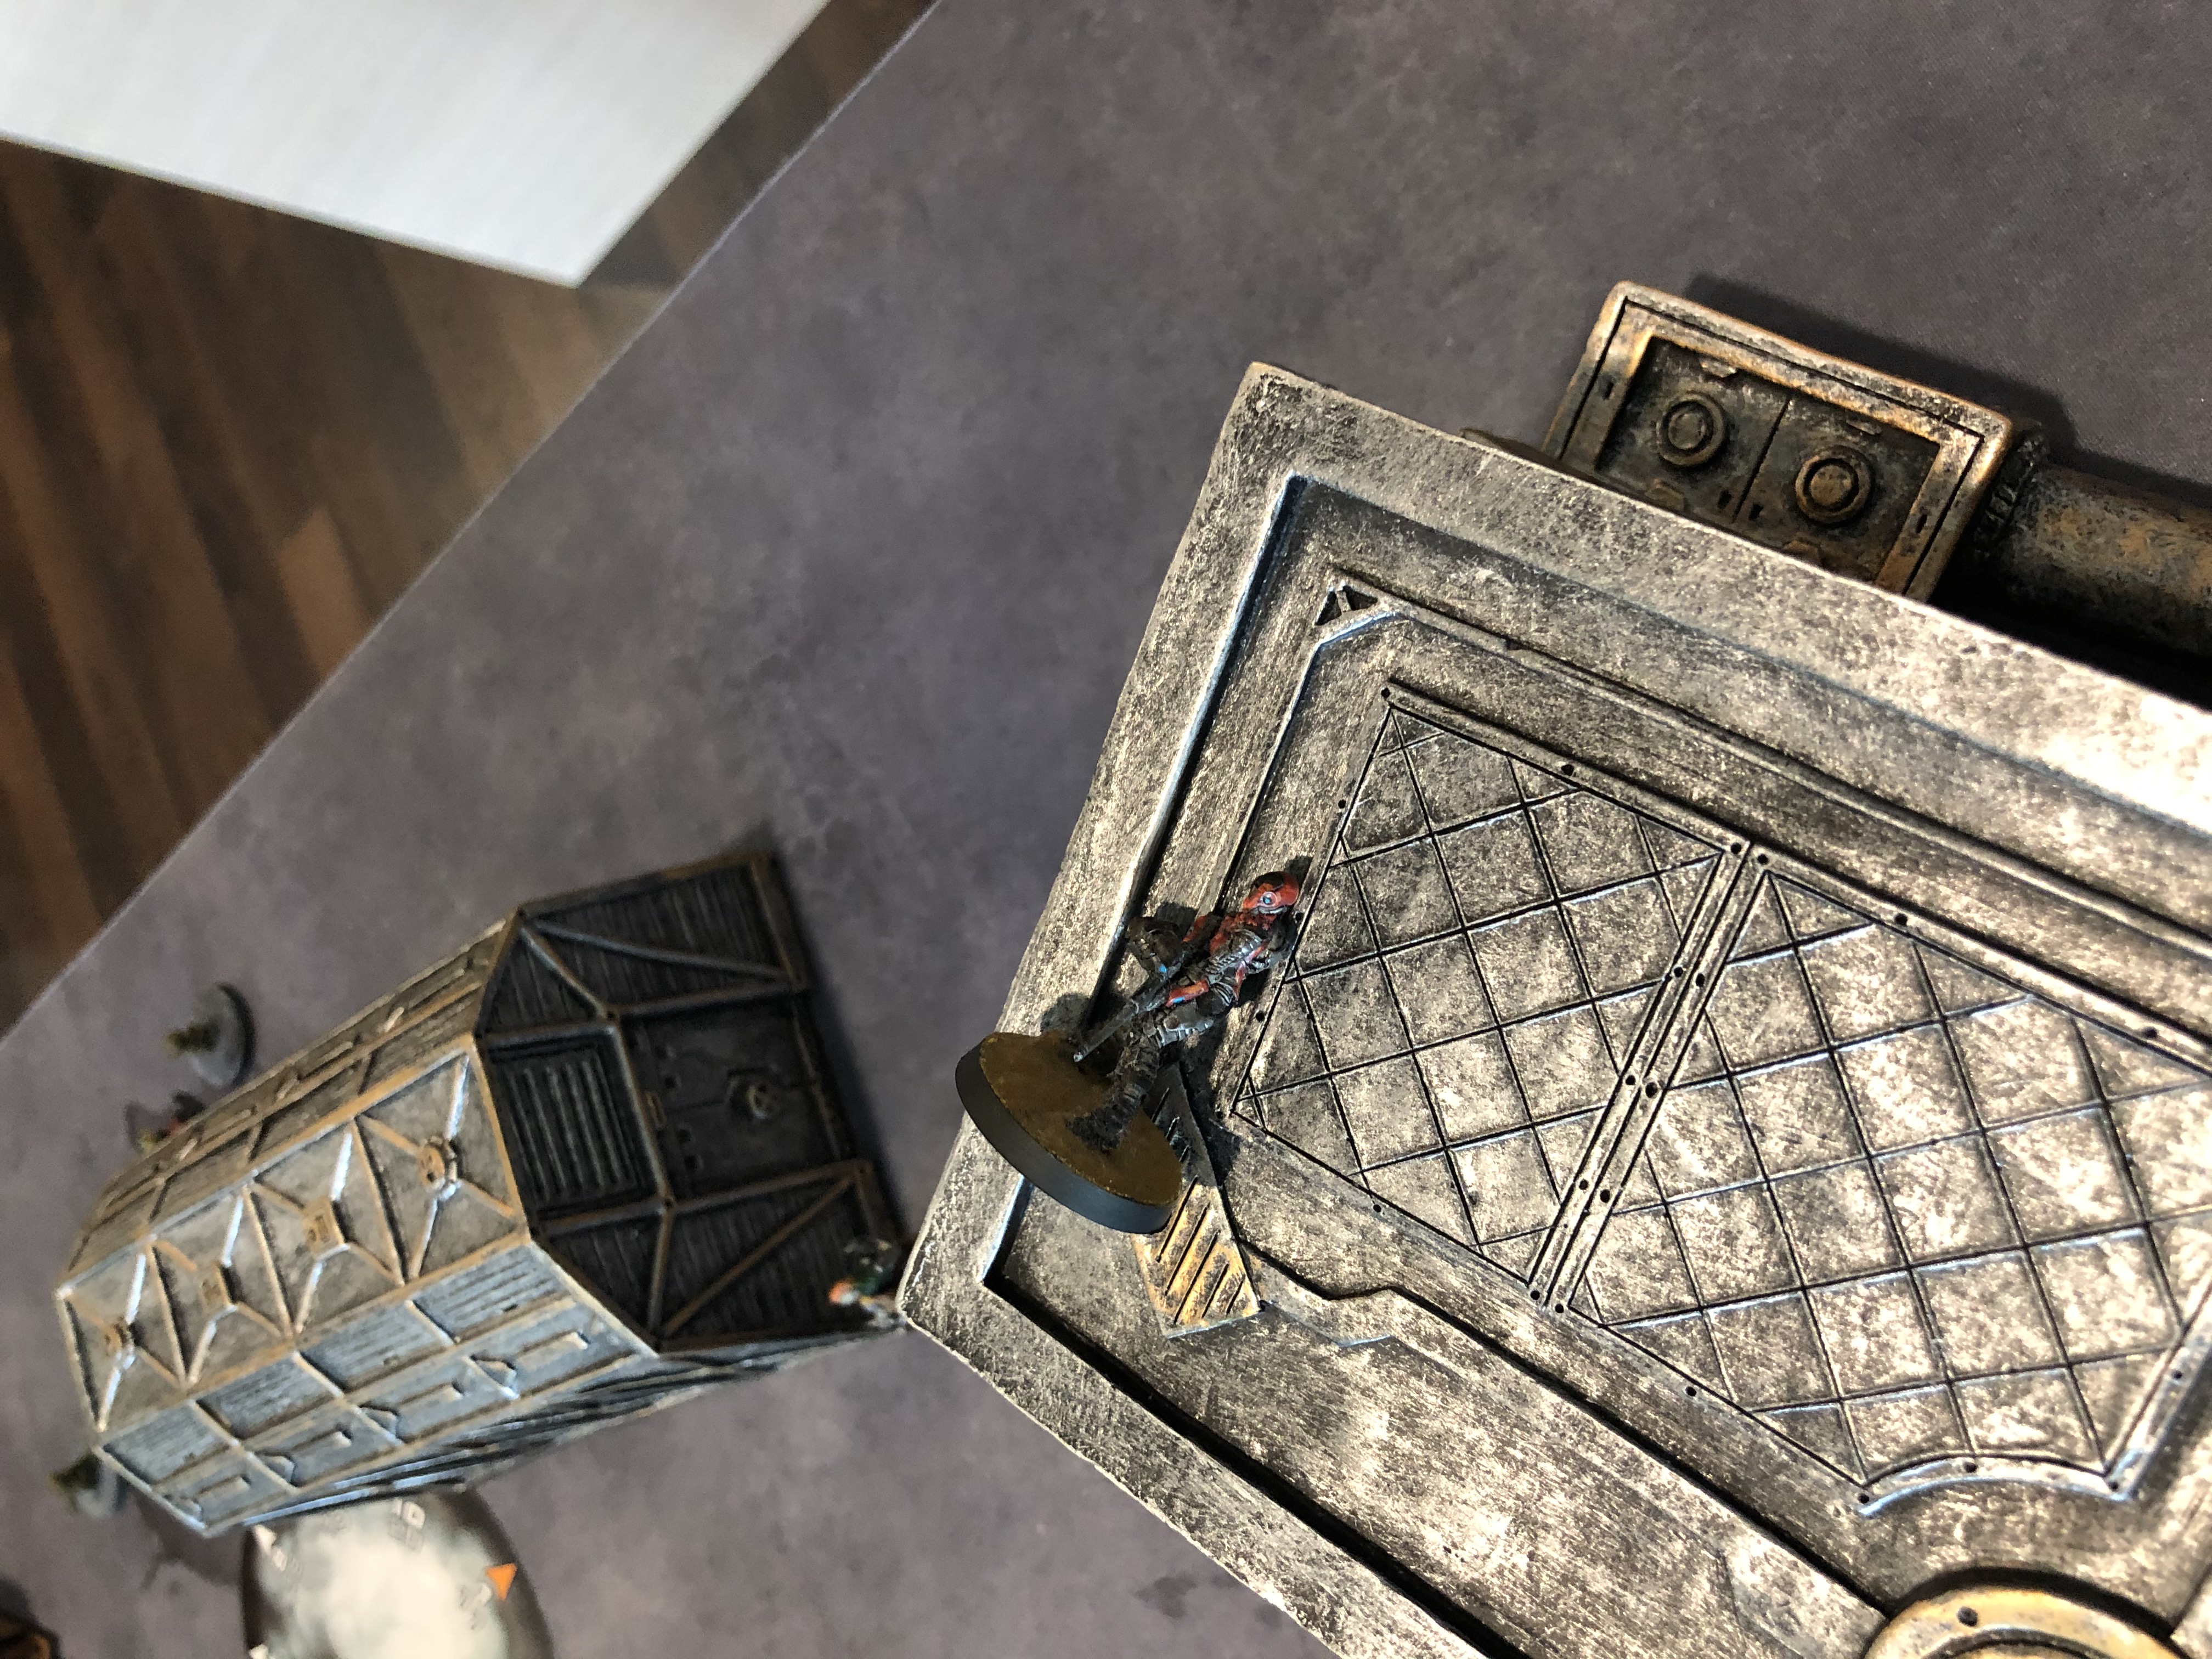
Firing with the Securitate Feuerbach I put the Karakuri into Dogged. Being too gungho the Heckler Boarding Shotgun moves into to guarantee the kill but explodes to a nanopulser to the face as both units explode.
JSA Turn 2
With only 1 Tanko left he moves to engage the Securitate Link team with his Blitzen (not realizing it does nothing to them due to Veteran and being LI) and explodes into a pile of bloody shrapnel.
Game End
Battle Report Author

Army Lists Used In This Battle
Recommend Commander For Commendation
Share this battle with friends
PhantomAI2Wins
