Fought At Liberty Cargo Logistics Center: Cross-Docking & Storage Area
1674 days 4 hours 18 minutes ago
Session 1: First Blood
300 POINTS
With the beginning of the new narrative campaign I couldn't wait to sink my teeth into some of the narrative mission with all of their weird add-ons!
Unfortunately we're all getting ready for Arizona Armageddon here at Games U-- the store that will host Armageddon-- and so we played without the +1 SWC so my opponent, the gracious and always humble Dylan could get some list practice in.
This is not my first rodeo as Varuna since I've been playing them-- and save 2 games as Caledonia, ONLY them-- since they appeared in the night some ten months ago. I dusted off a list I normally use for zone control missions and Dylan had his AA list ready for stress testing! In mere minutes, we were off to the races!
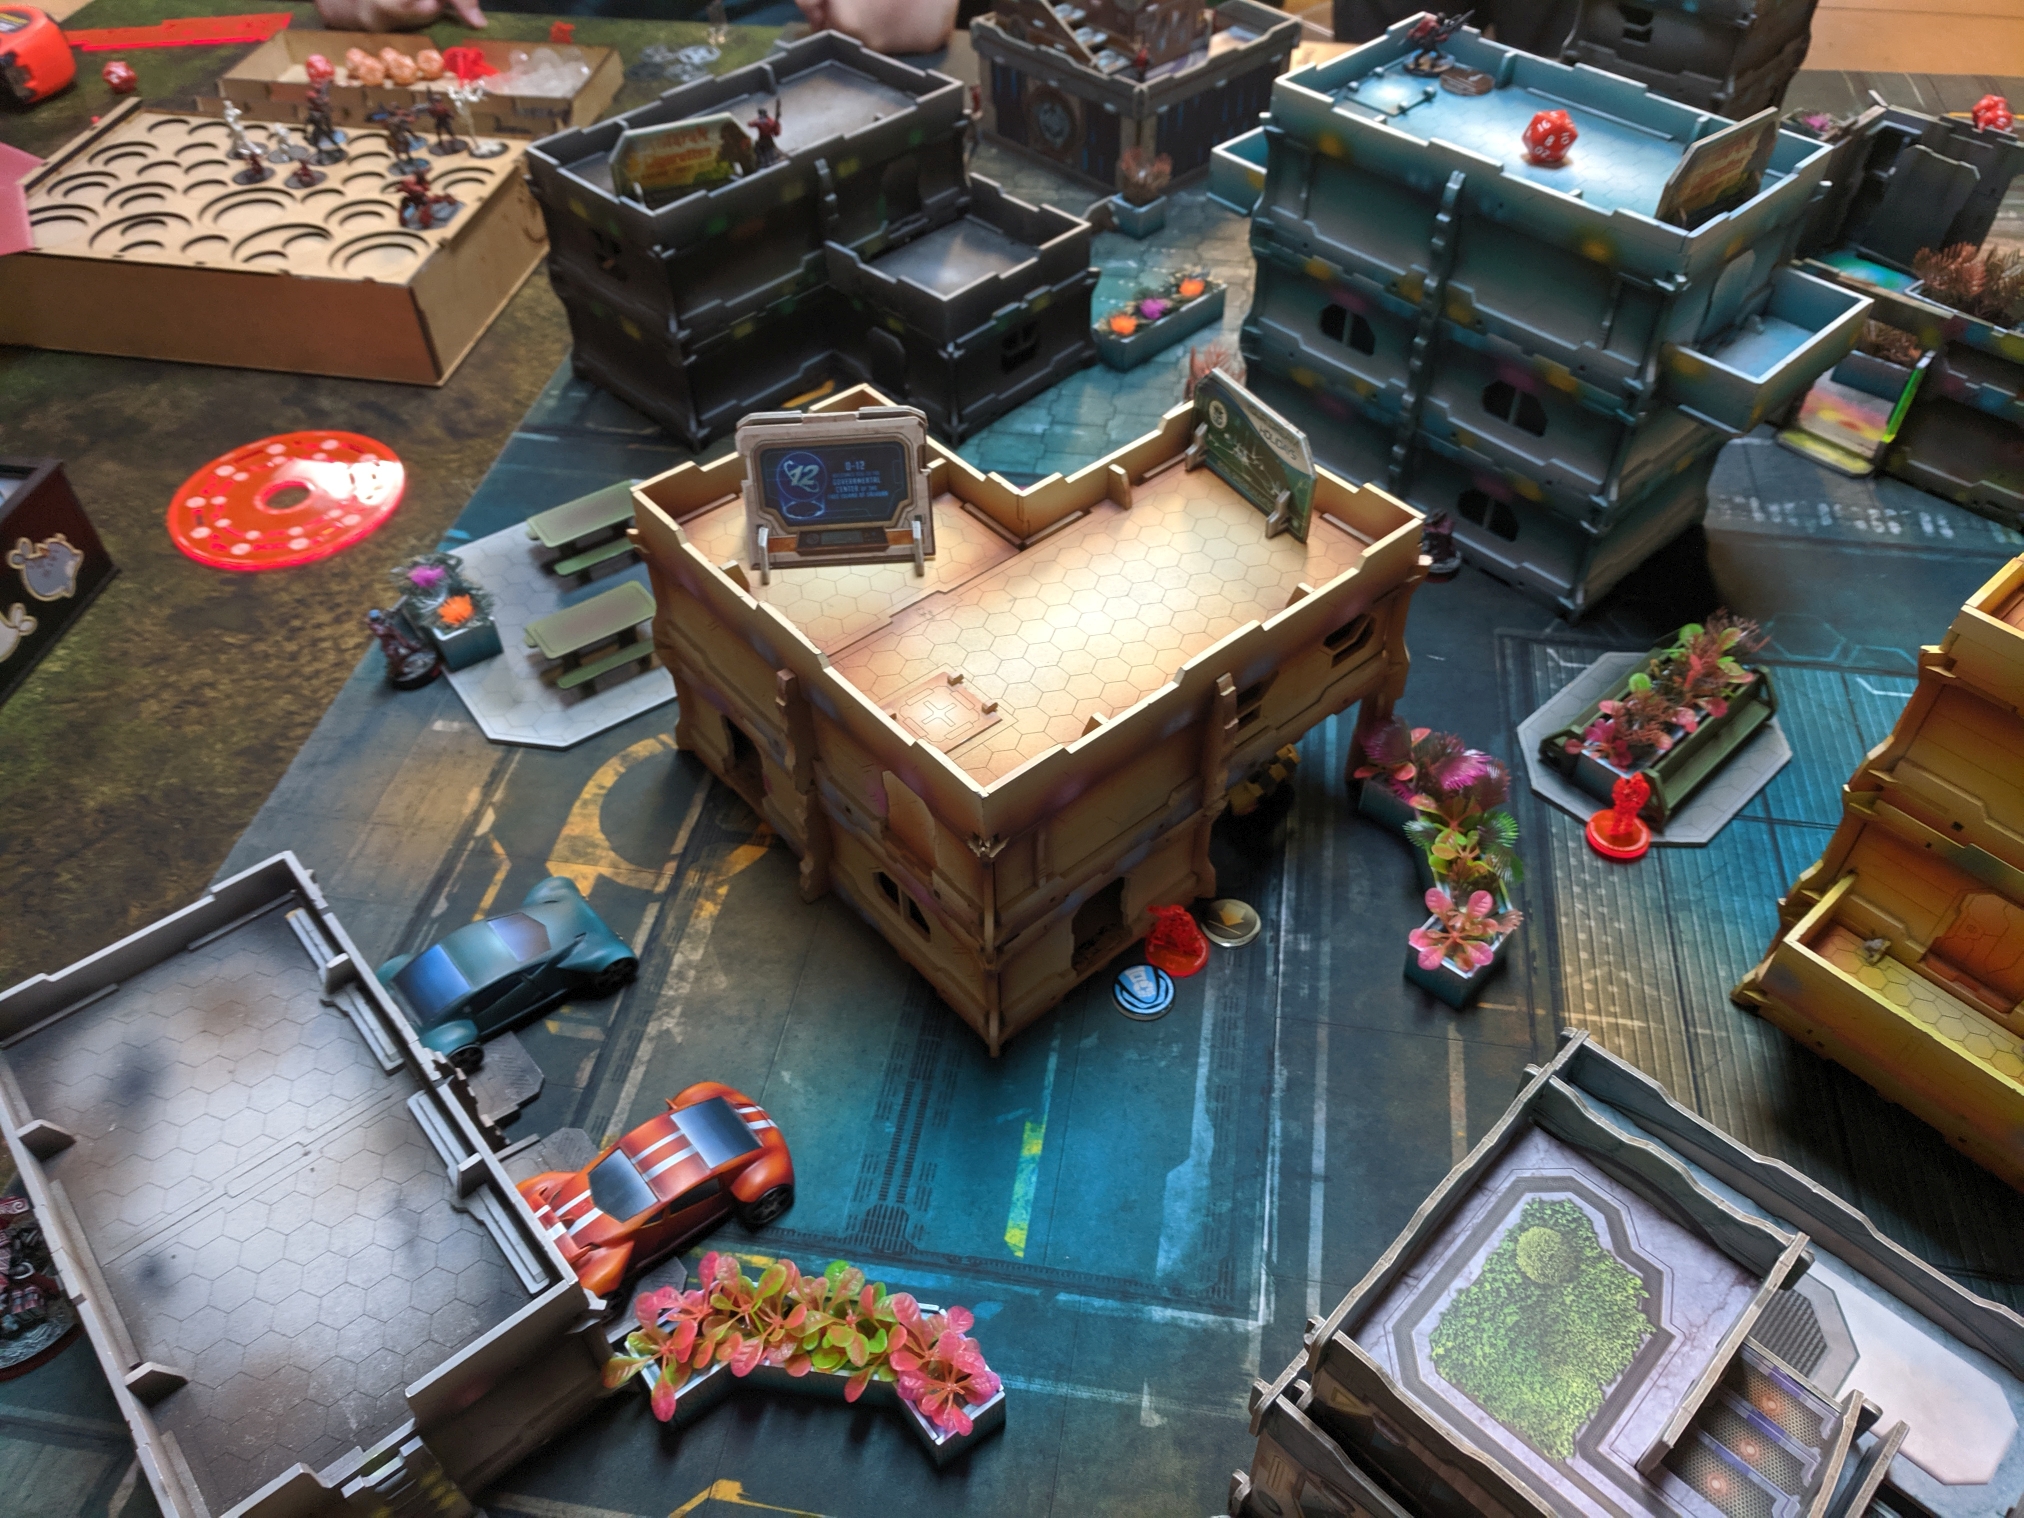
Dylan won initiative and chose deployment-- he placed me on a side of the table with some advantages that would need to be leveraged. Chief among them was a long corridor sight line building that would open me up to flank attacks, but Fort Kickass has got to go somewhere...
Going first is never a bad thing for Varuna even though it's great to get to counter-deploy. It just means I can spread my helots in Camo out on the field out of cover and then spend their irregulars moving into great positions to deny my opponent, and it means they'll take most fights within their good range bands because of that.
With that in mind we started deployment...

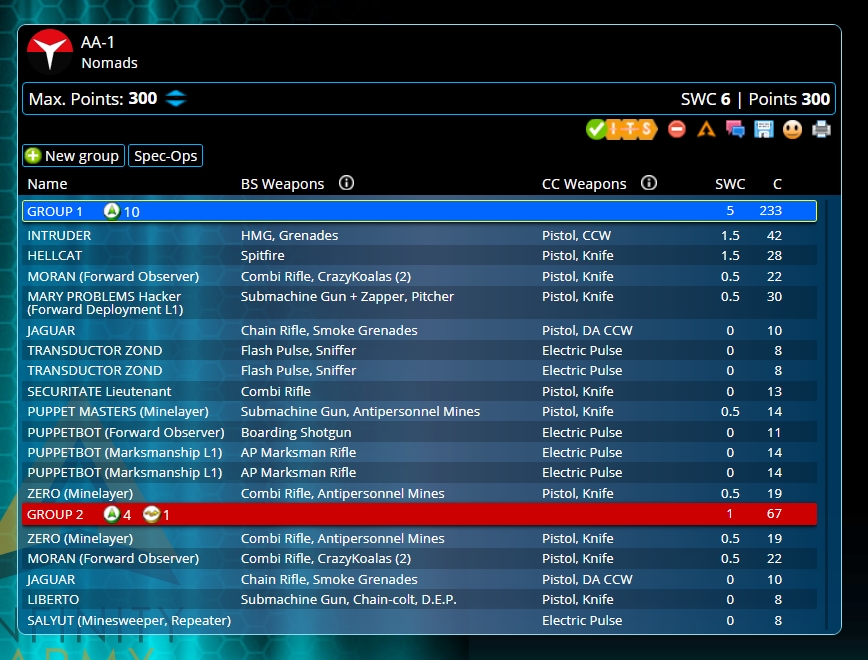
So here we have a quintessential list for me-- the double Kamau in the link, two different flavors of "I spend an order from off the table," 3 Helots in order to cause the most annoyance and three different flavors of Zulu Cobra to use as attack pieces. And as a bonus, the two Mulebots are amazing at holding my close zone against any last-minute rambo pieces since they count for a whopping 56 points together!
I have a WarCor to watch the worst vectors of approach for me and I need to take a Forward Observer to get +1 OP in case I can roll good enough at the end of the battle.
Do I miss a Kamau HMG here? Yeah, a little, but there's a lot of value in having 19 models on the board for a zone control mission.
Dylan's list is very standard for a Vanilla Nomads list, with no weird frills, just the stuff you'd expect to see. Mary Problems is one of the models I'm most wary of as Varuna since my ZC KHD doesn't really hold a candle to her, and a horde of Moran Maasai means I'm going to have to deal with a lot of KrazyKoalas... I don't know this, but Dylan also brought two Zero Minelayers, so there's a lot of area denial. I'm specifically not good at countering that without having to take a casualty. Add in the smoke trick Intruder HMG and this game really hinges on the fight I know he's going to take-- who wins, a Kamau MSV2 MSR or an Intruder HMG in smoke?
Math says the Intruder has 36.6% to drop the Kamau to the Kamau's 36.1% chance to drop the Intruder...
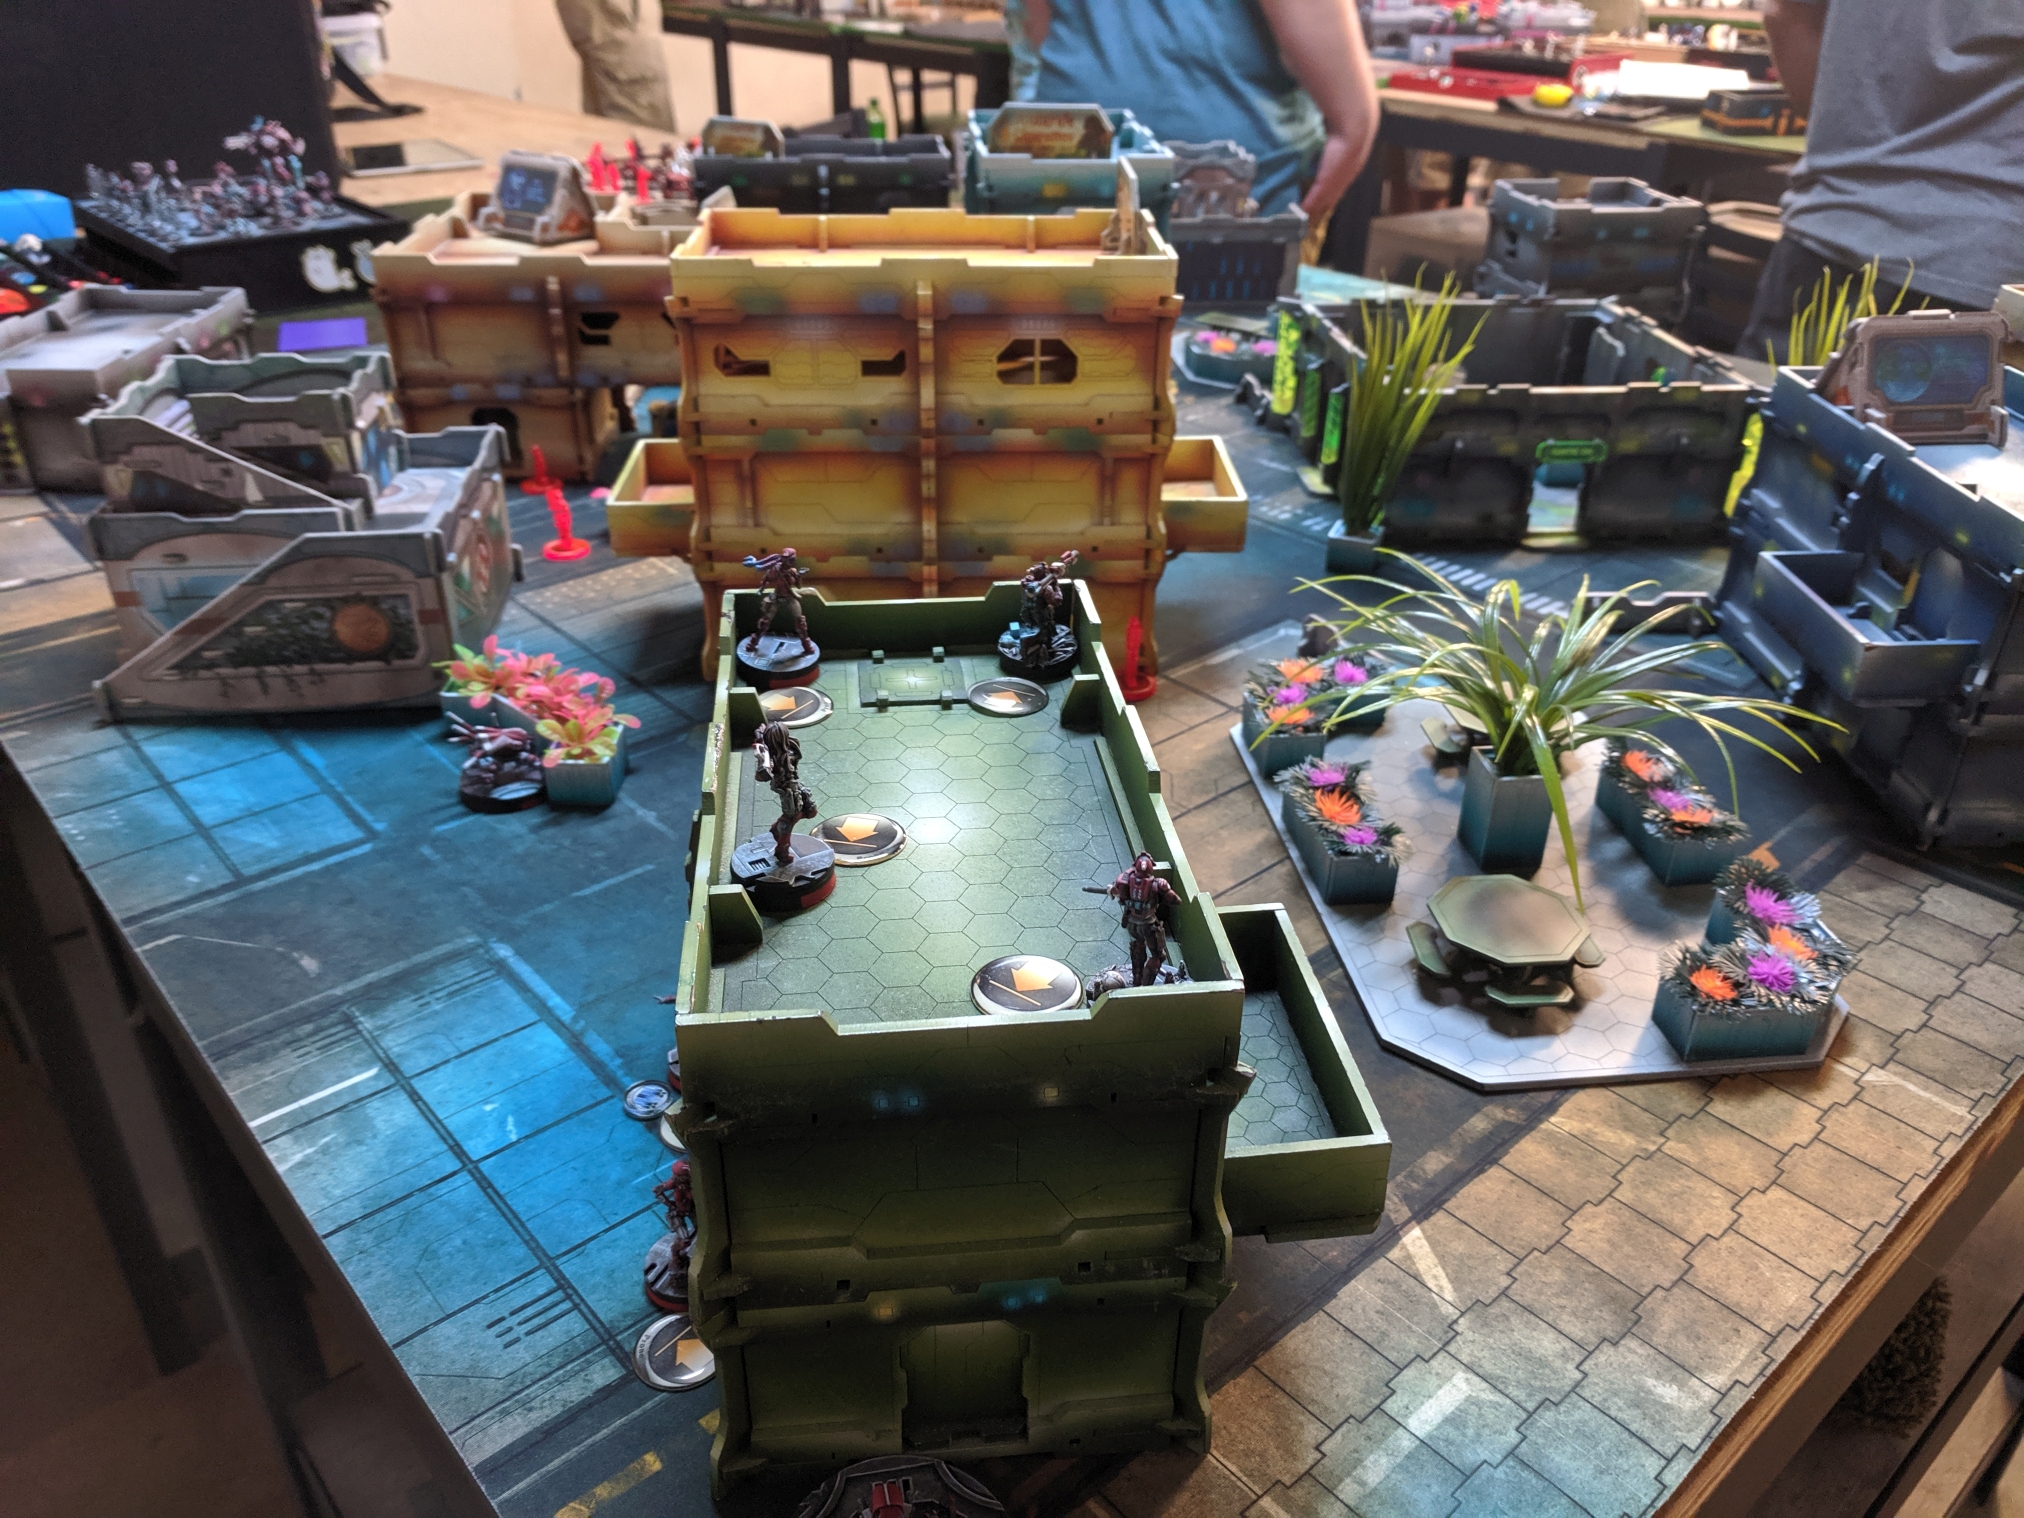
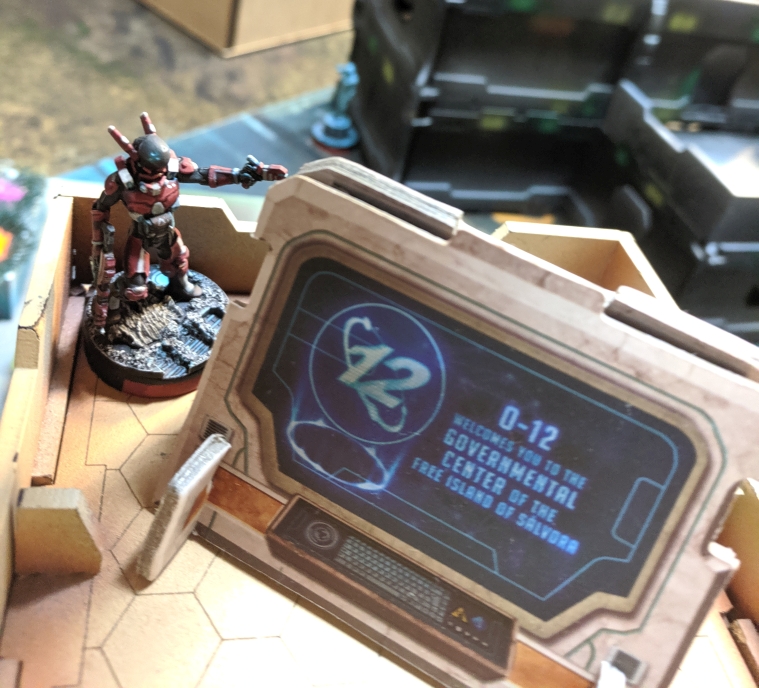
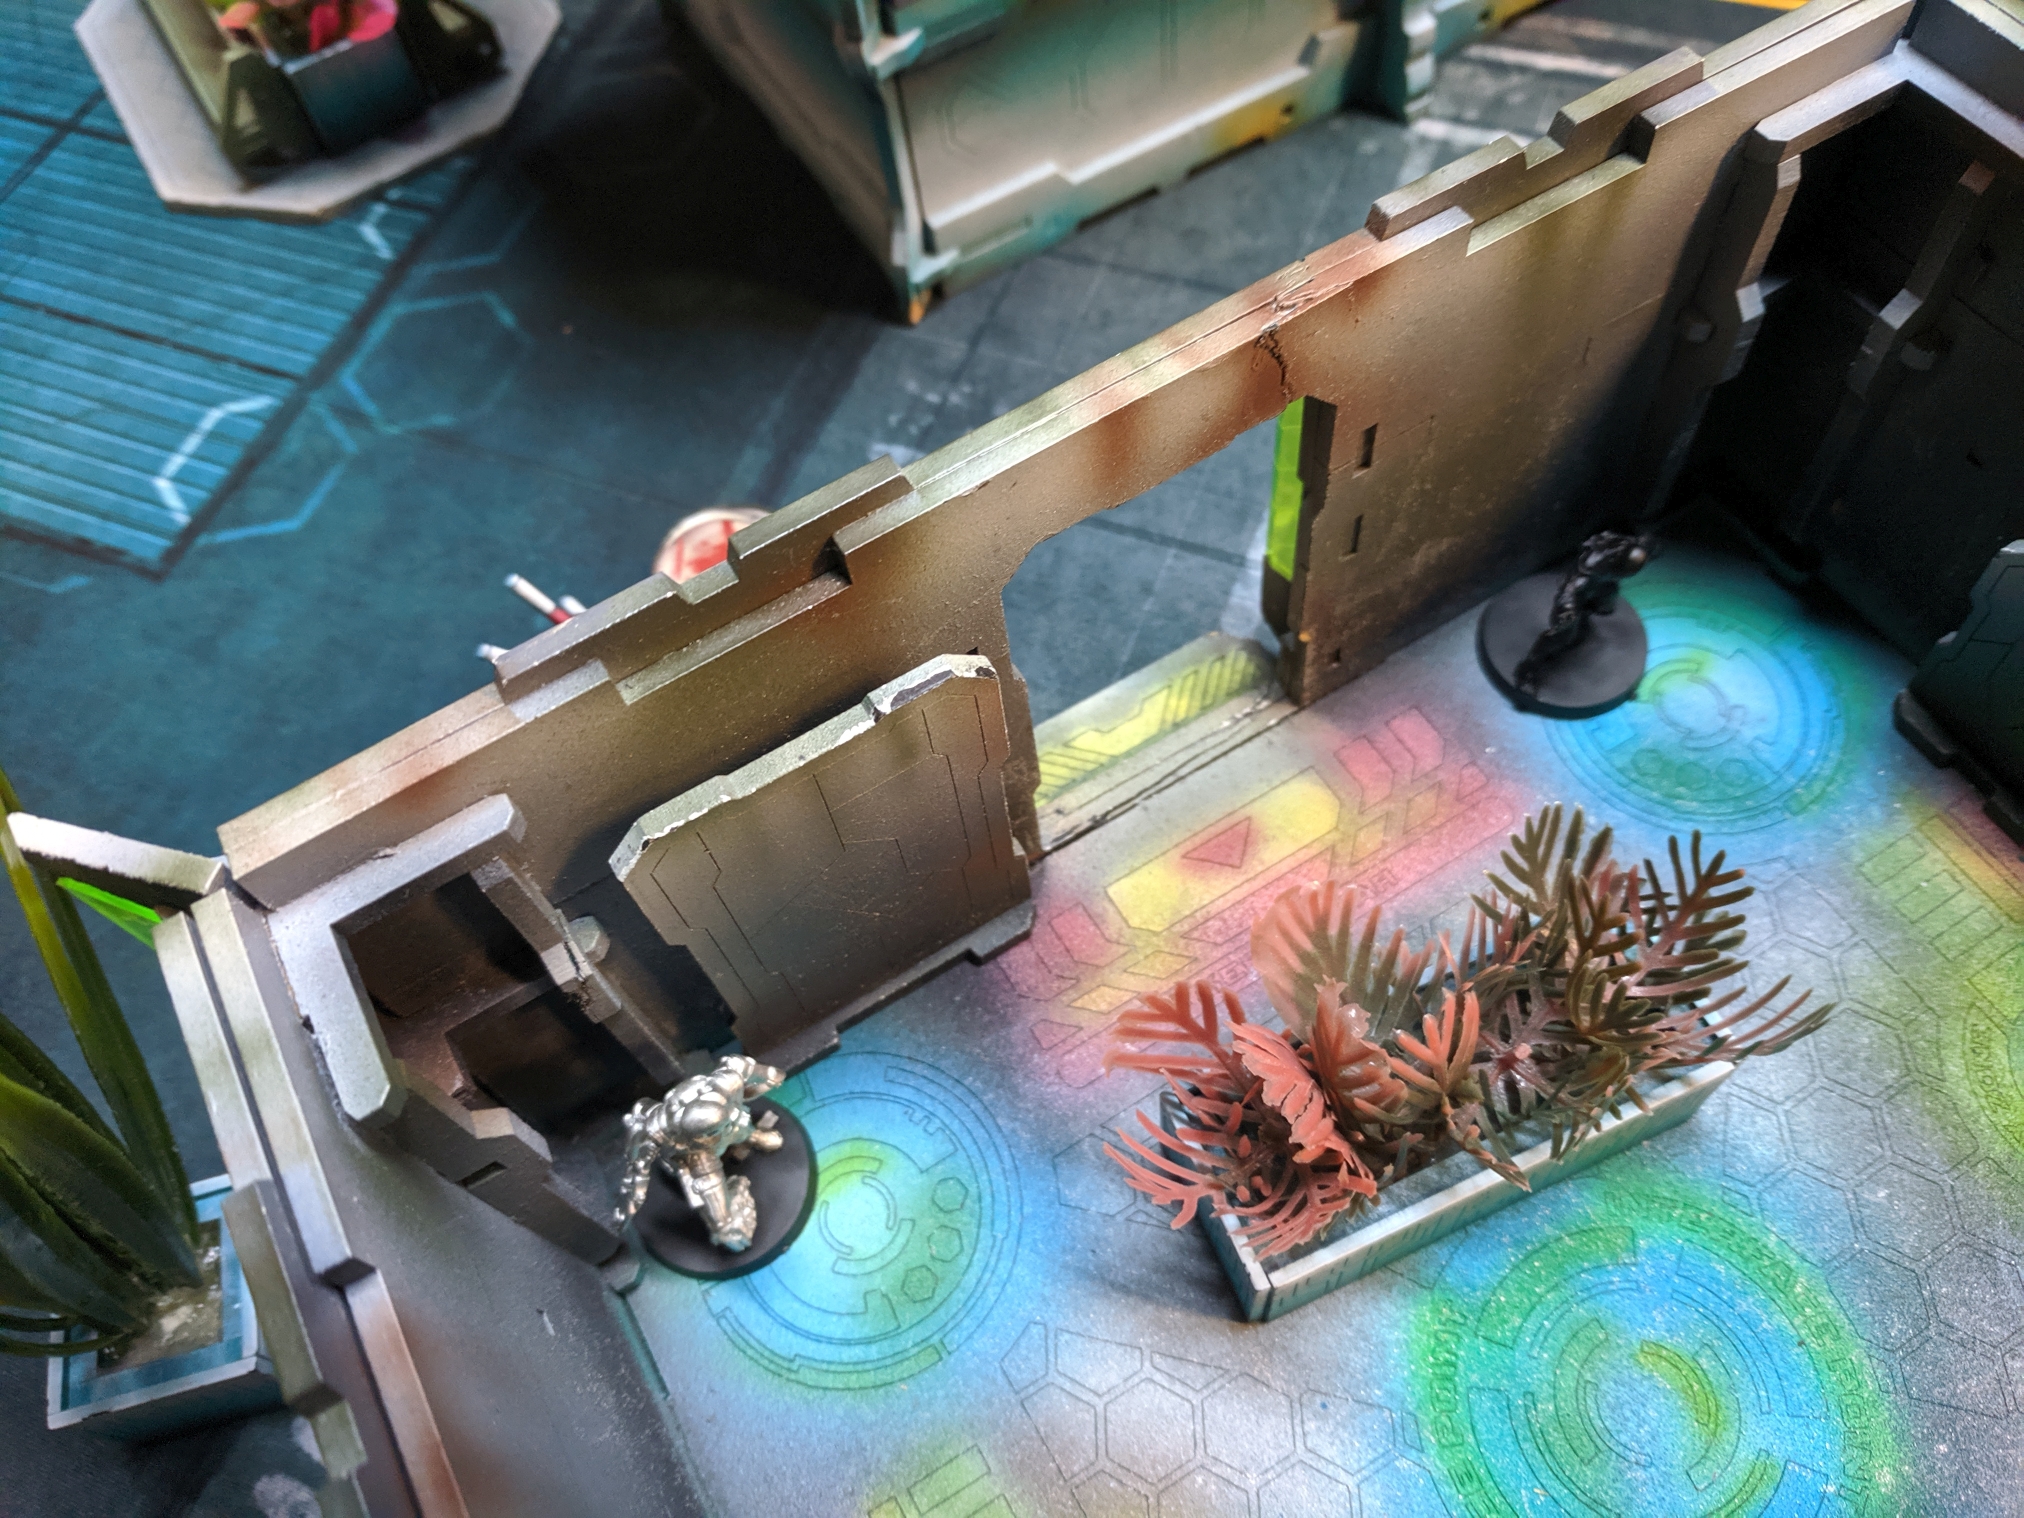
Deployment is pretty standard-- I bog up the midfield with Camo tokens just outside my deployment, just inside it, inside it by a few inches to try to keep Dylan guessing who's a ZC, who's a Helot, and to keep him from discovering which one of these is a mine laid by my Minelayer Croc Man. I take Fort Kickass here and get a great LoF to the building Dylan makes his base of operations-- he thinks he's out of sight, but I know I can Lean Out, so I can fully see him if I take a long order skill to do so.
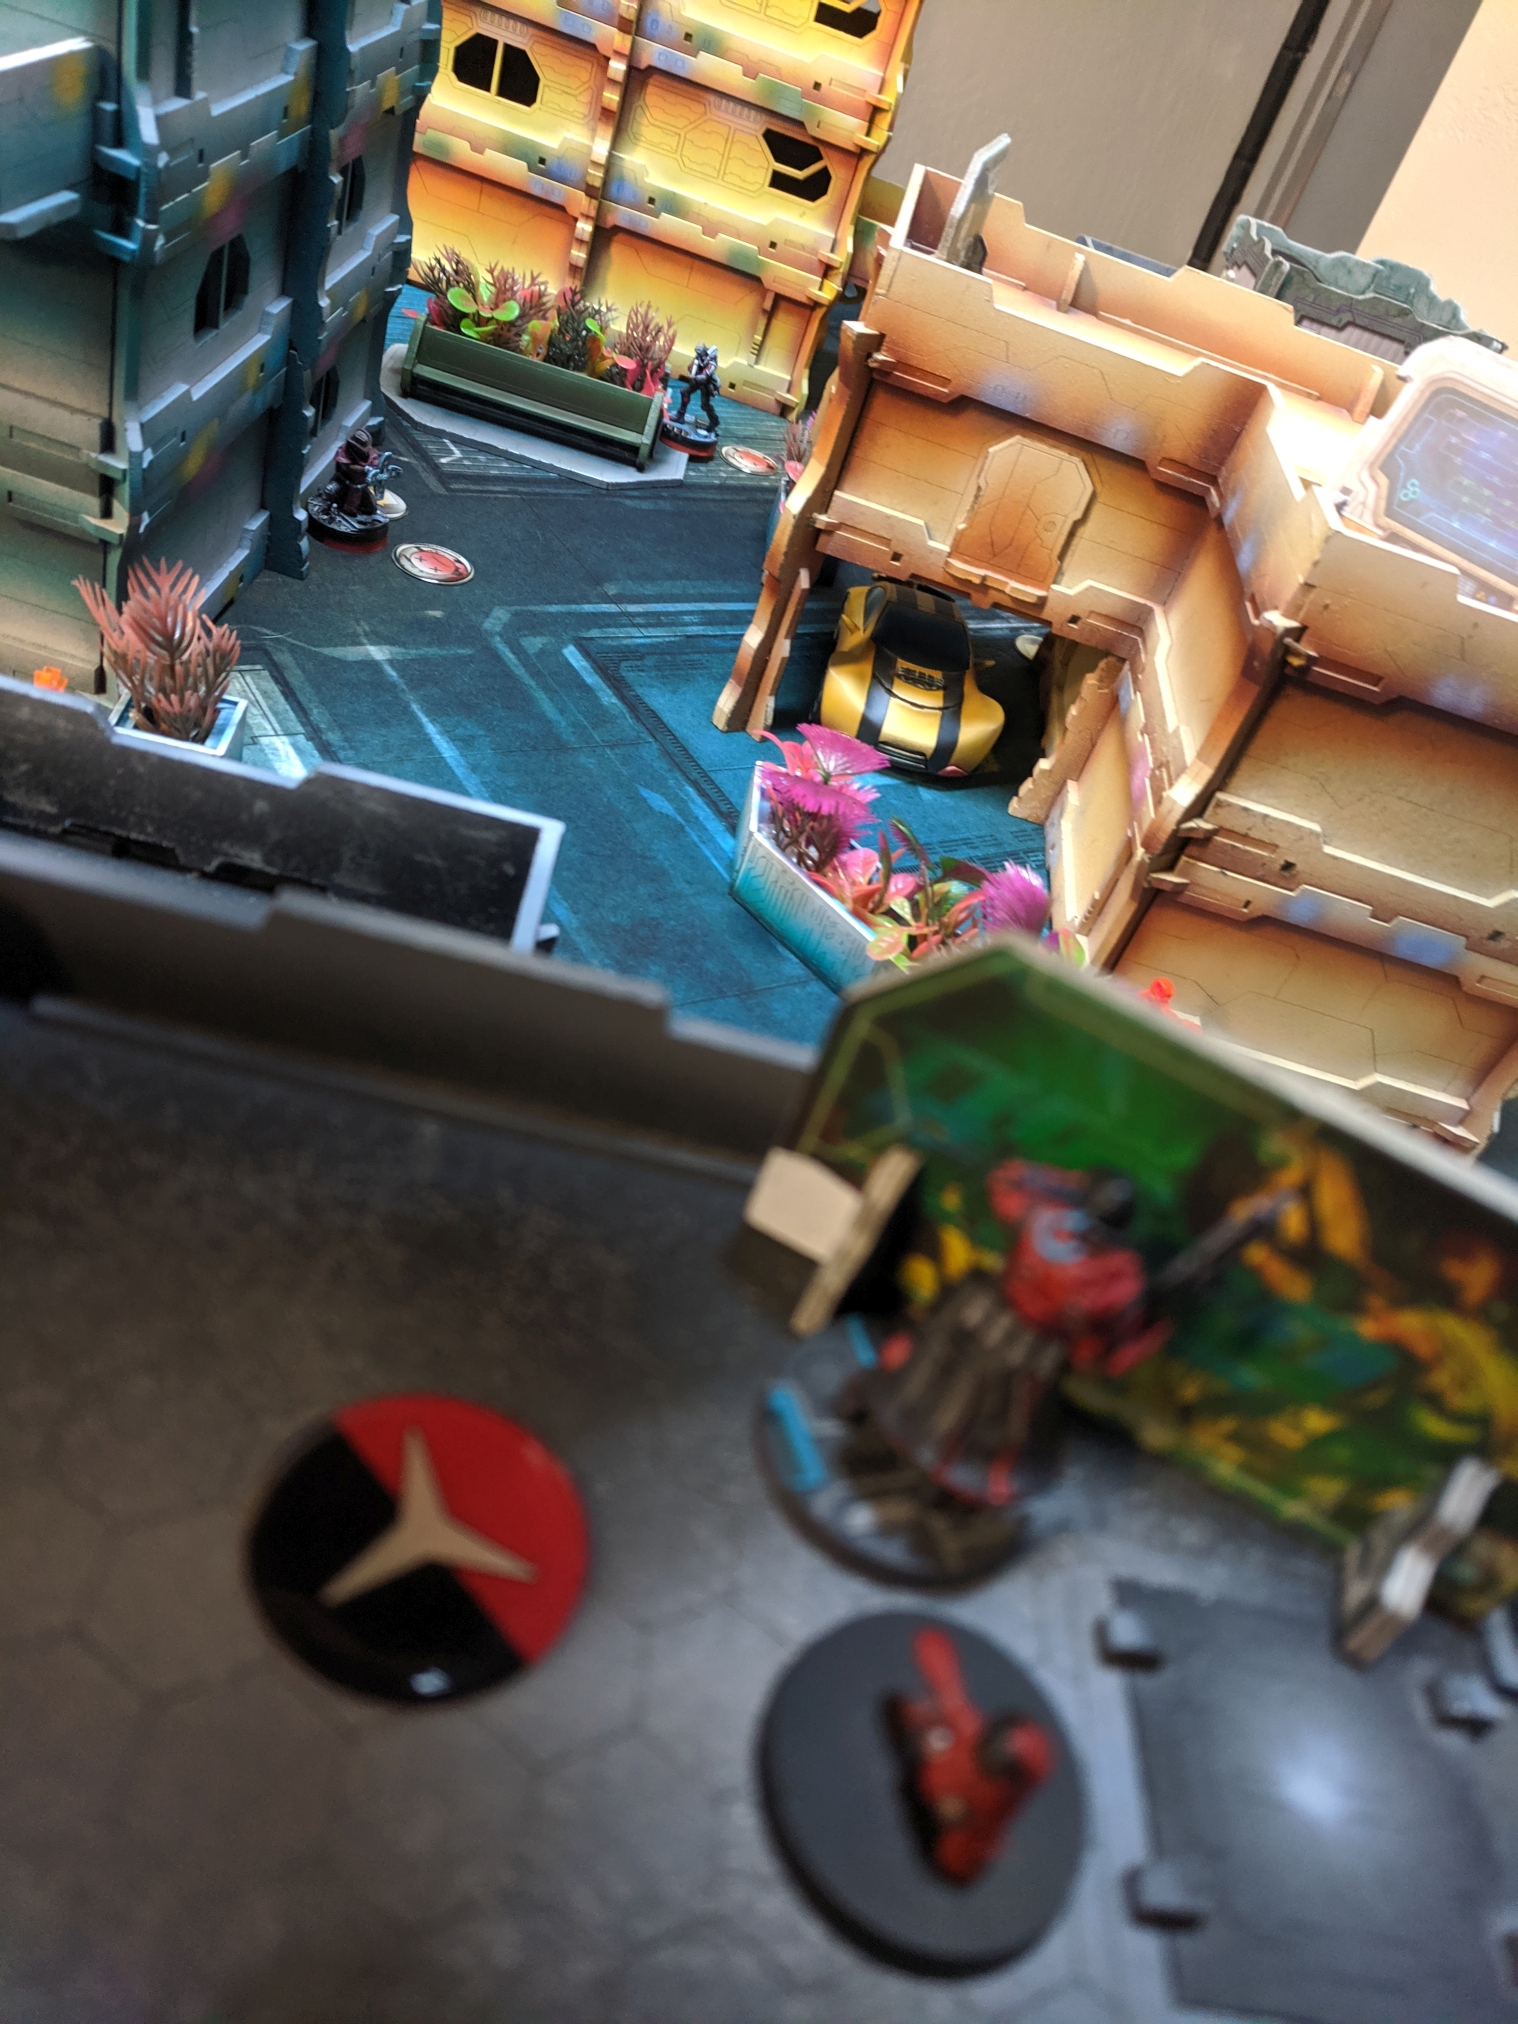
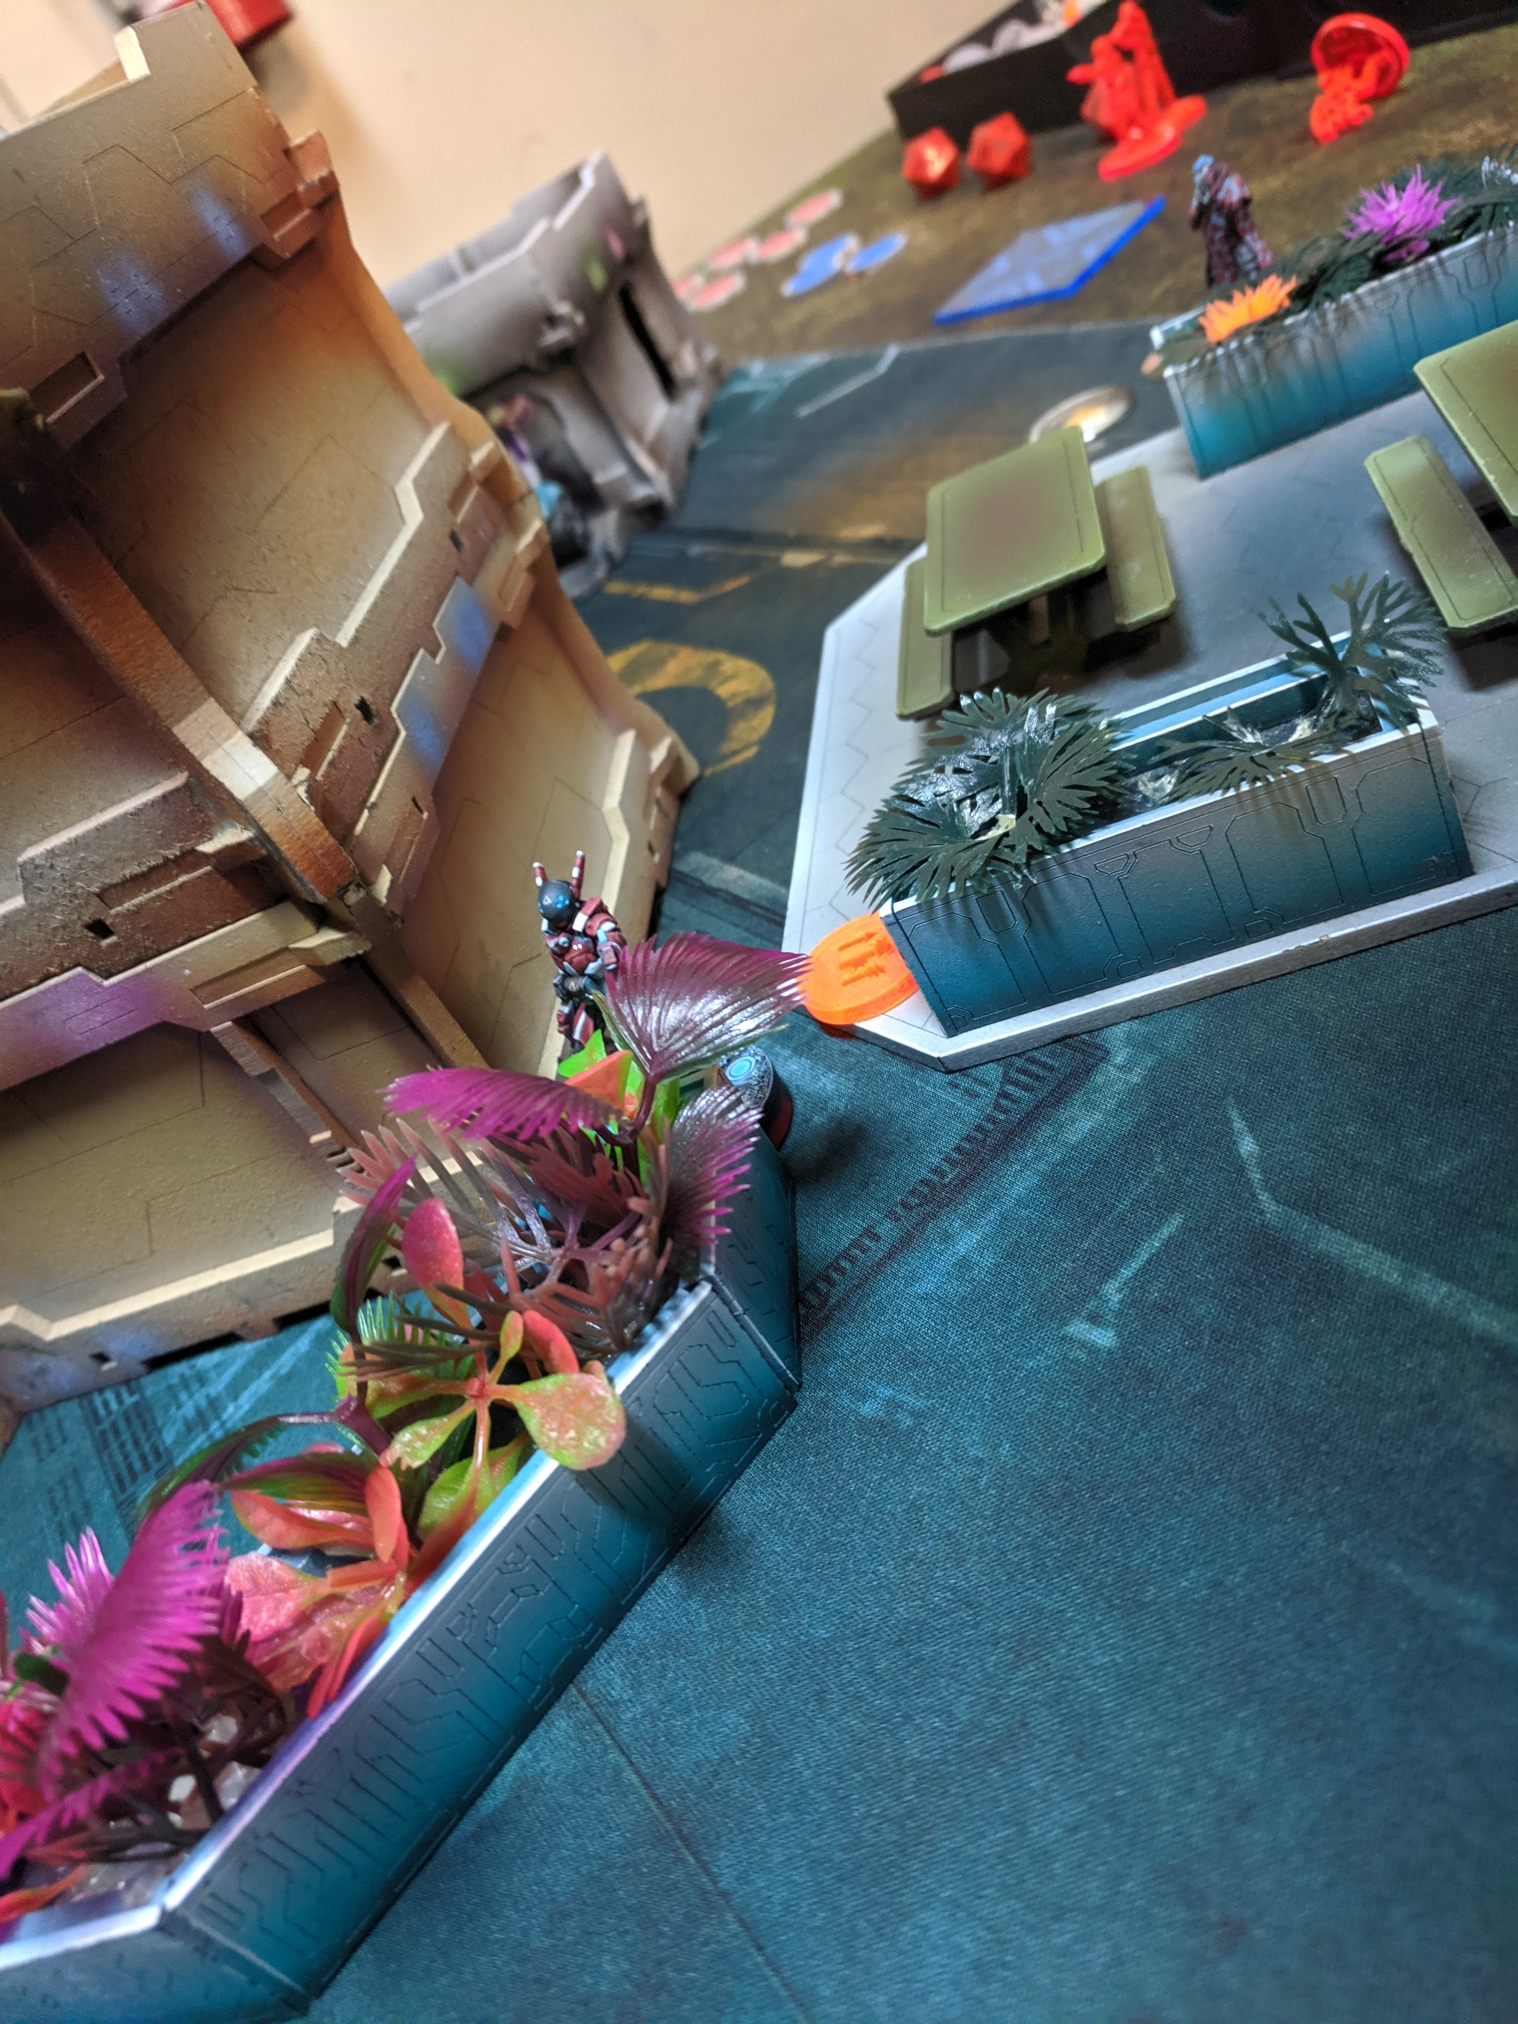
He throws down an absolute mess of camo tokens on his side of the board along with 4 koalas and 2 Moran and and and... Mary frickin' Problems, right in the path of my ZC KHD, exactly what I didn't want. He has a Camo token on top of a building near the midfield. My held is my ZC Sensor/Jammer-- and I put it nearby. I want to know what that is and if I have to worry about it ASAP.
My first turn is really uneventful. I Lean Out to see two Camo Tokens and Discover one, they do nothing, I declare BS attacks, I fail. I Lean Out again to Discover the other, they do nothing, I make the roll despite the penalties and they drop below cover since they're a mine. Cool! I Lean Out Discover with the HRL Kamau and he can see a Koala so he splits burst, successfully discovers, kills both equipments. Nice!
I move some models forward. The only thing that happens of note is I spend an irregular to move a Helot through a Puppetactica's LoF and he declares Discover so I shoot him with a Rocket on a 5-- I miss, he dodges, it's all good. I don't think I kill anyone. Maybe one Flash Pulse bot, it was really dull just scooting forward little by little.

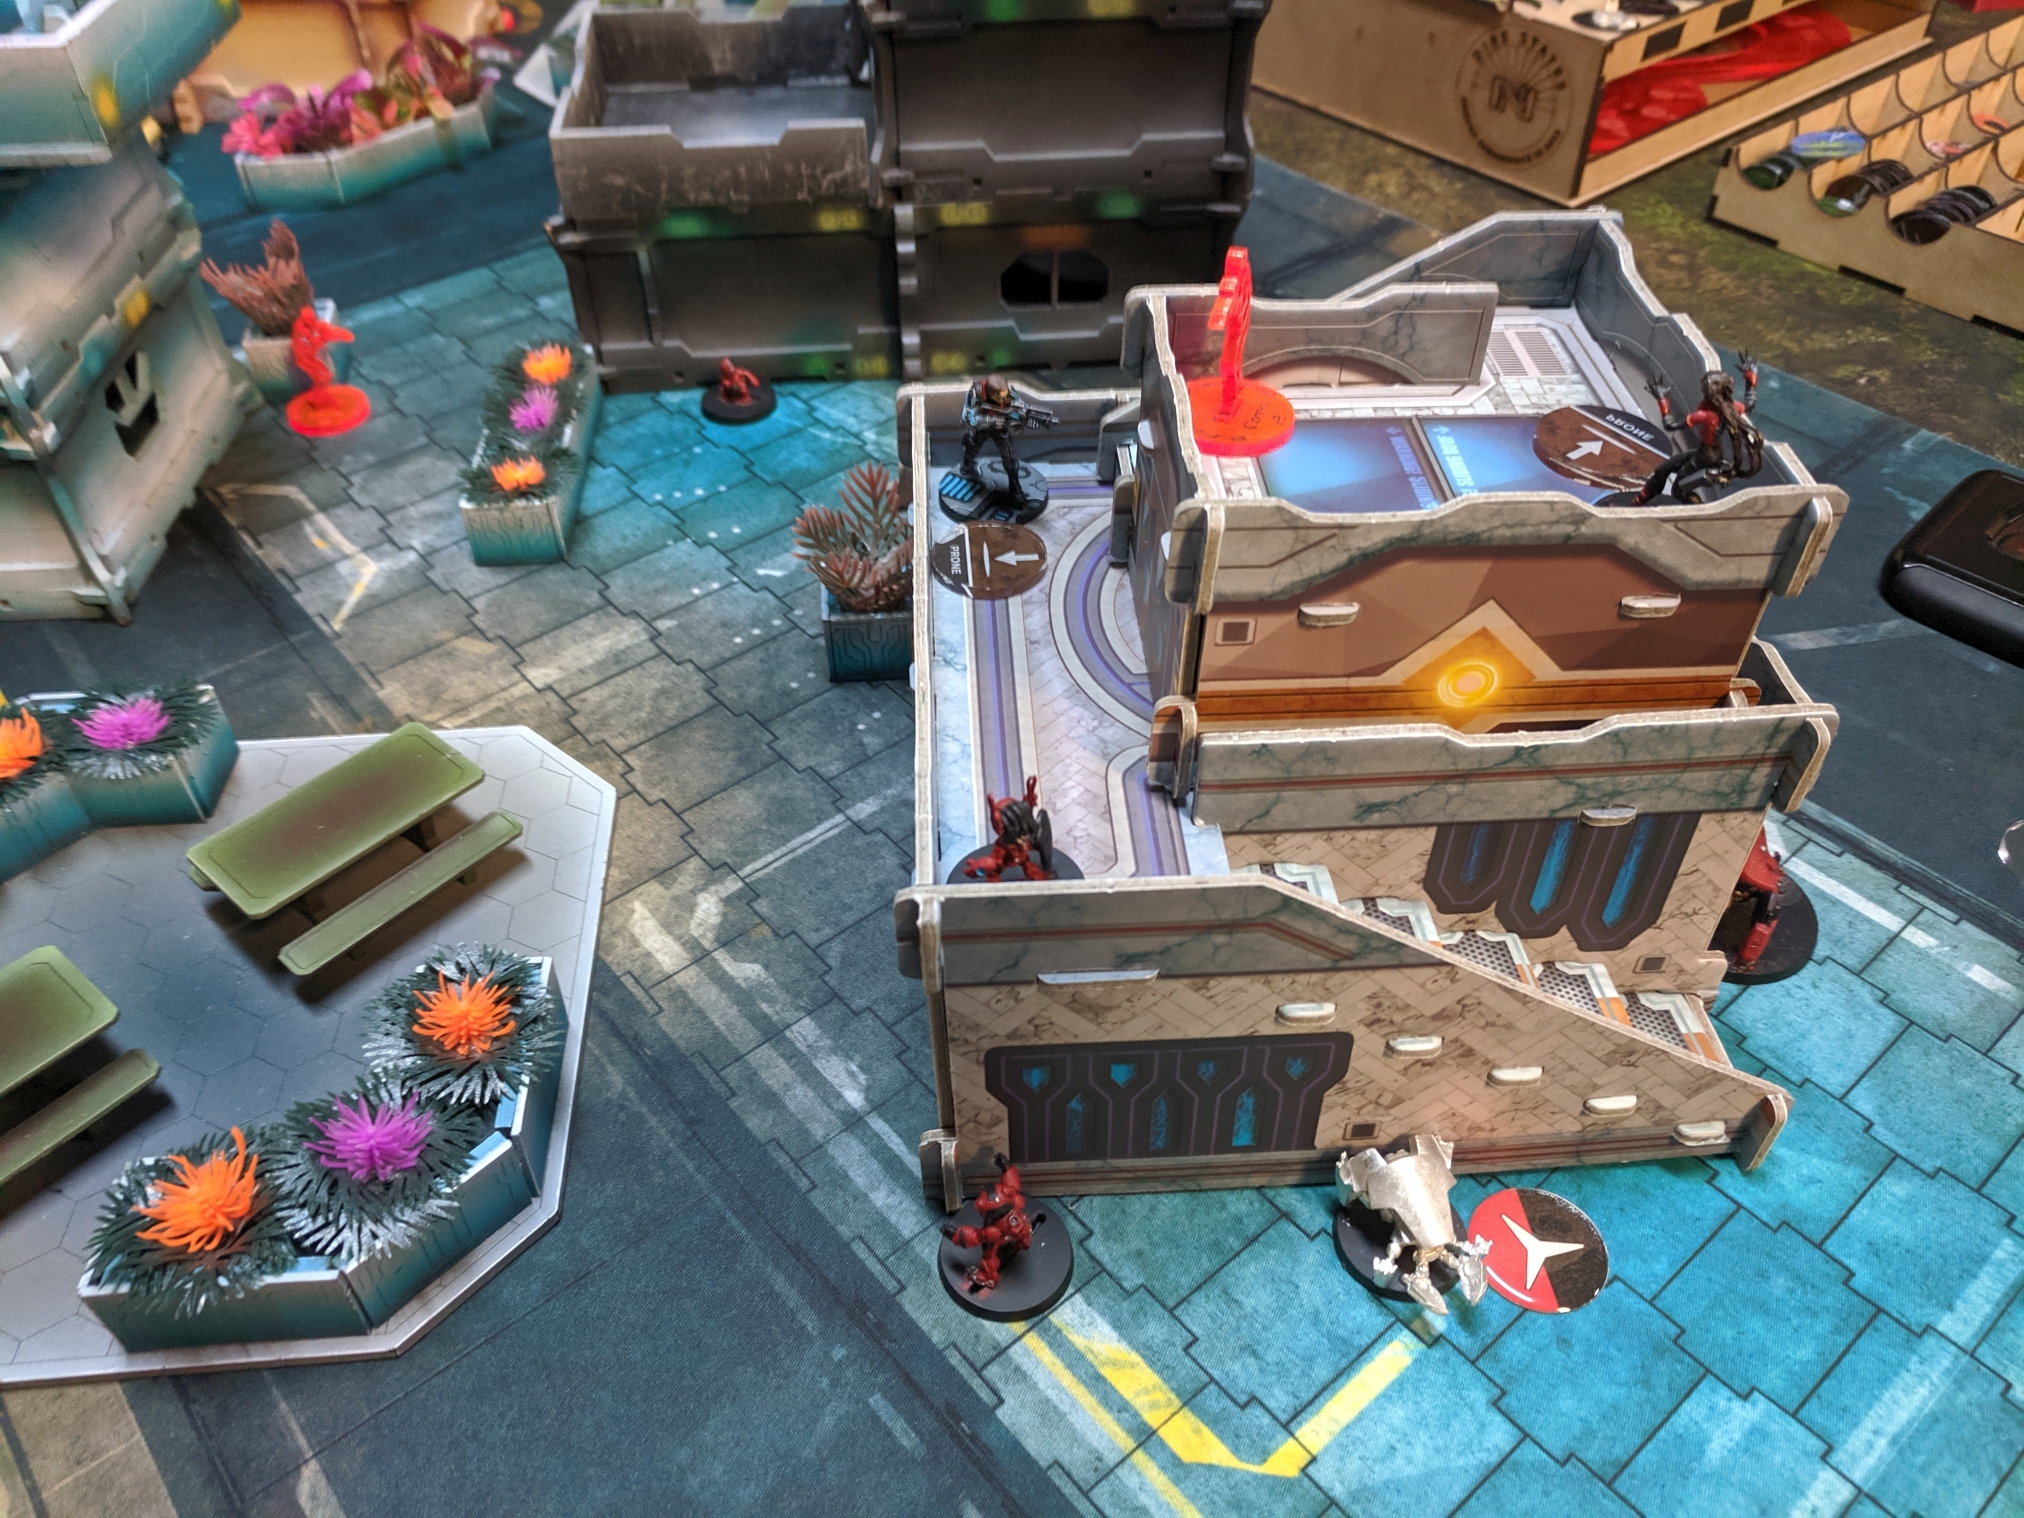
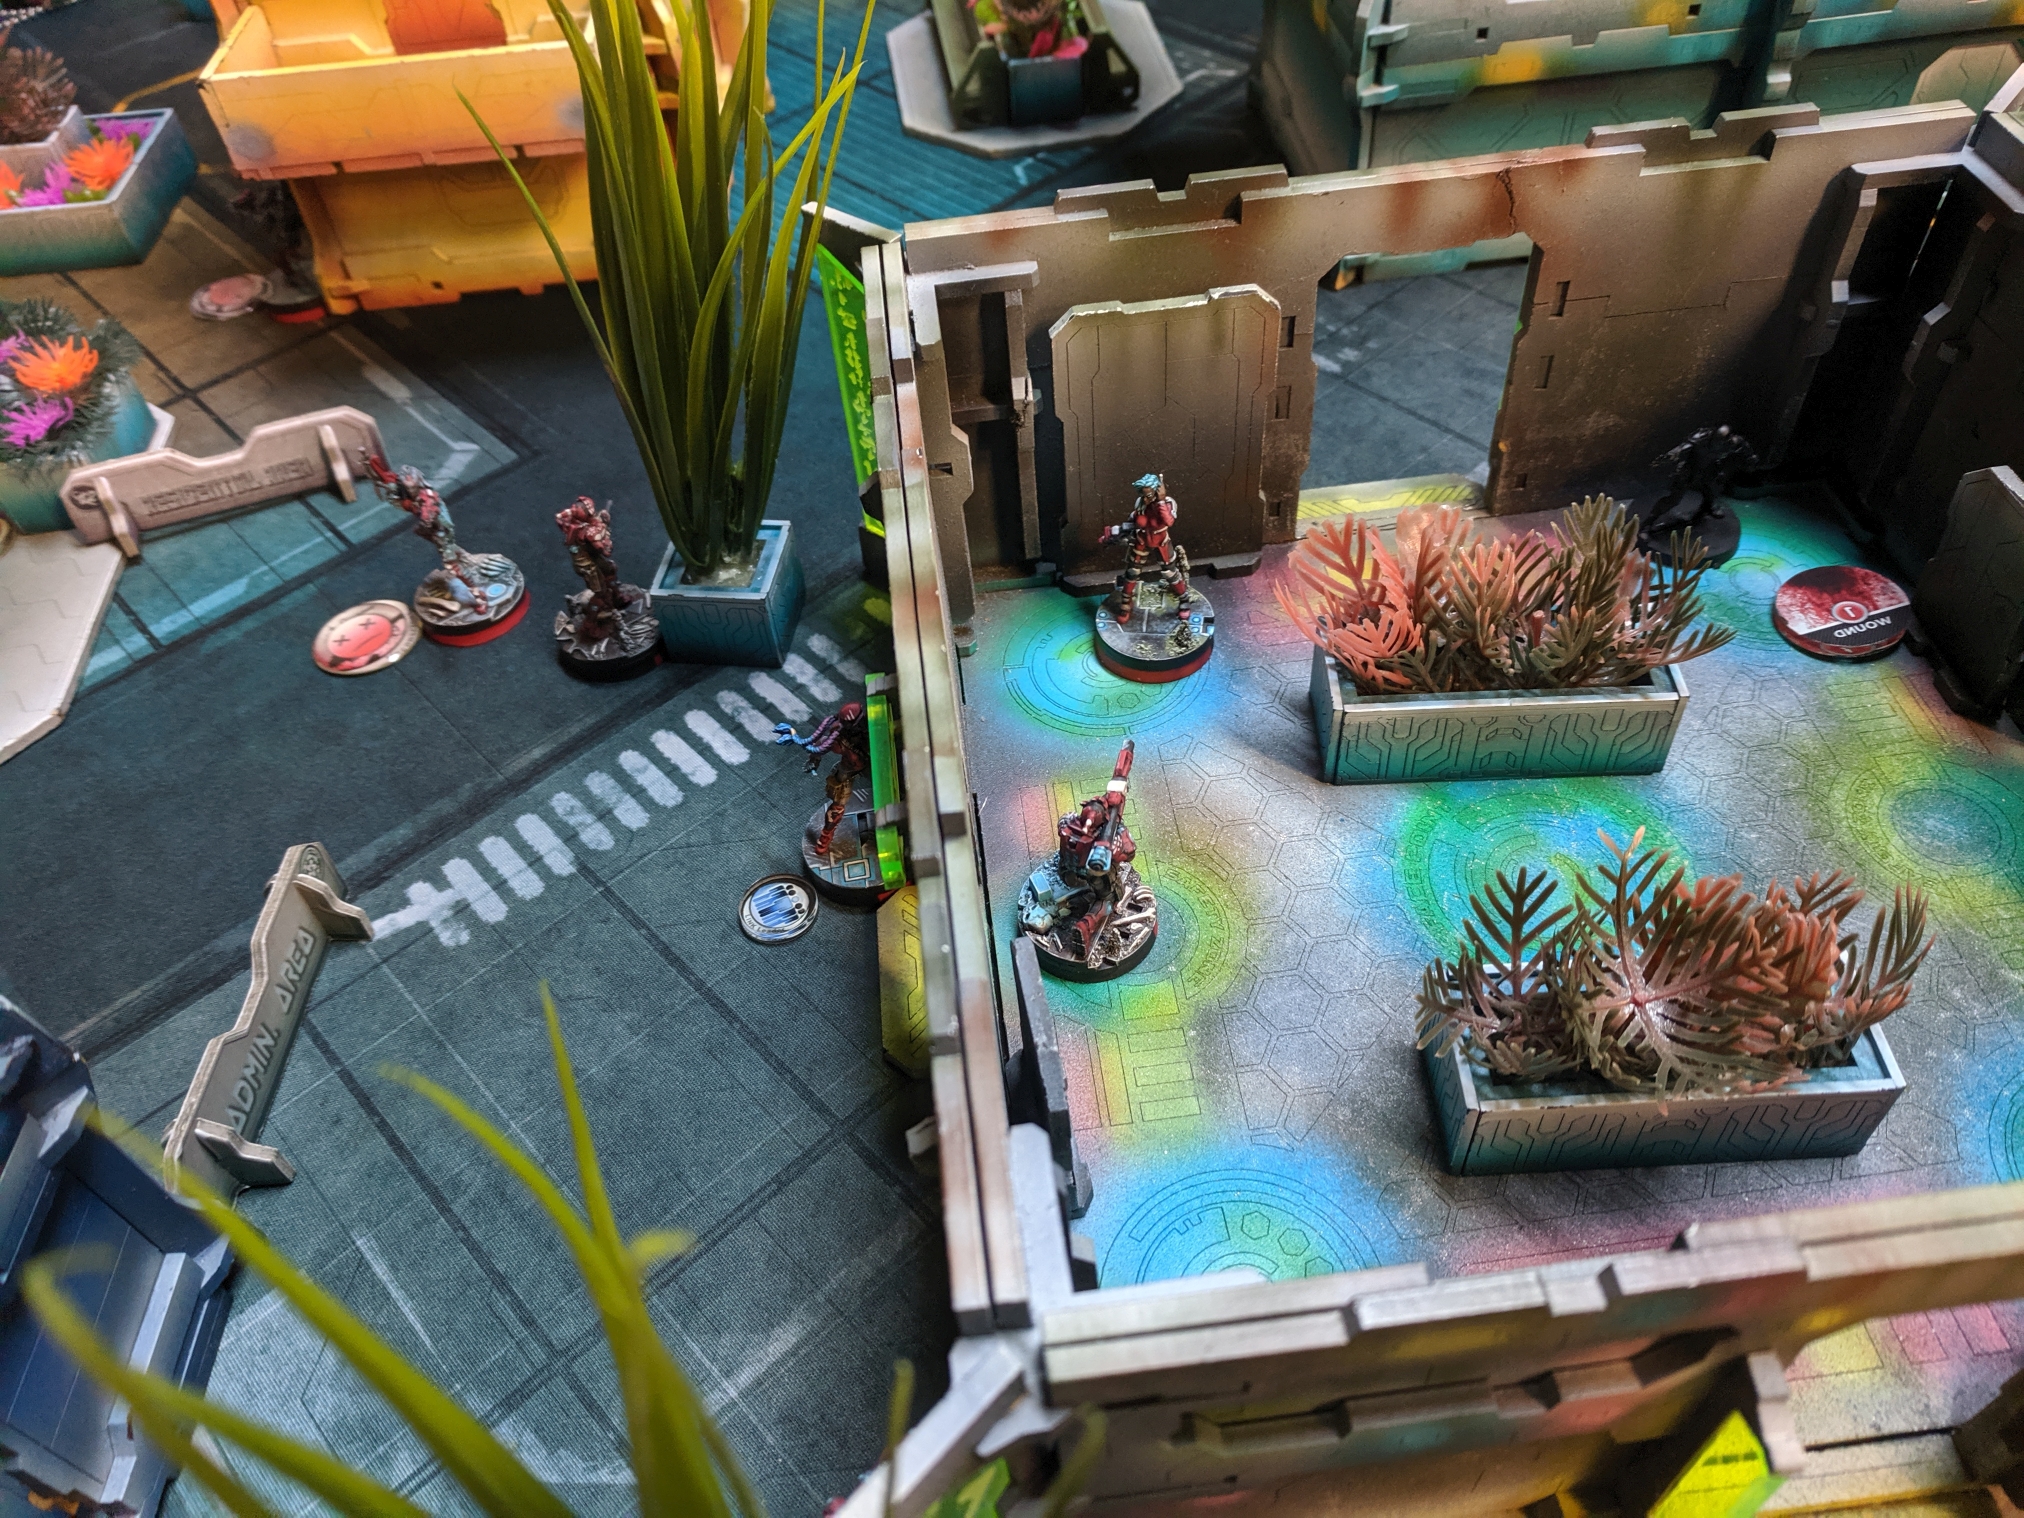
I get my ZC Sensor/Jammer to the bottom of the building and Sensor the Camo on top of it to find out it's a Zero Minelayer. Oh, that explains the Camo Token just around the corner from the ZC... Not a lot to do with that Info, so I just move closer with everyone. I get to a spot where I can shoot a Moran on top of a building if he comes out, but I get discovered while I move by a Transductor Zond and so I don't want to activate again because now I MIGHT be within 8 of the Koala... and it didn't measure for Boost because I was a Camo token until I got there. I leave him in the wind, basically dead, probably in a repeater from the Moran already, blech.
Without a lot left to do, I haul a Mulebot from my deployment all the way out to the middle zone in order to put pressure on Dylan here. I want him to reveal things to kill it so I can get a better lay of what awaits me on the other side of the building, but he doesn't, so I'm still left guessing-- just in a much more favorable spot to take the center now unless he acts.
 You can hear my ZC asking "You have a plan to save me, right?" and me enthusastically nodding while simultaneously shaking my head to the rest of the group when he isn't looking.
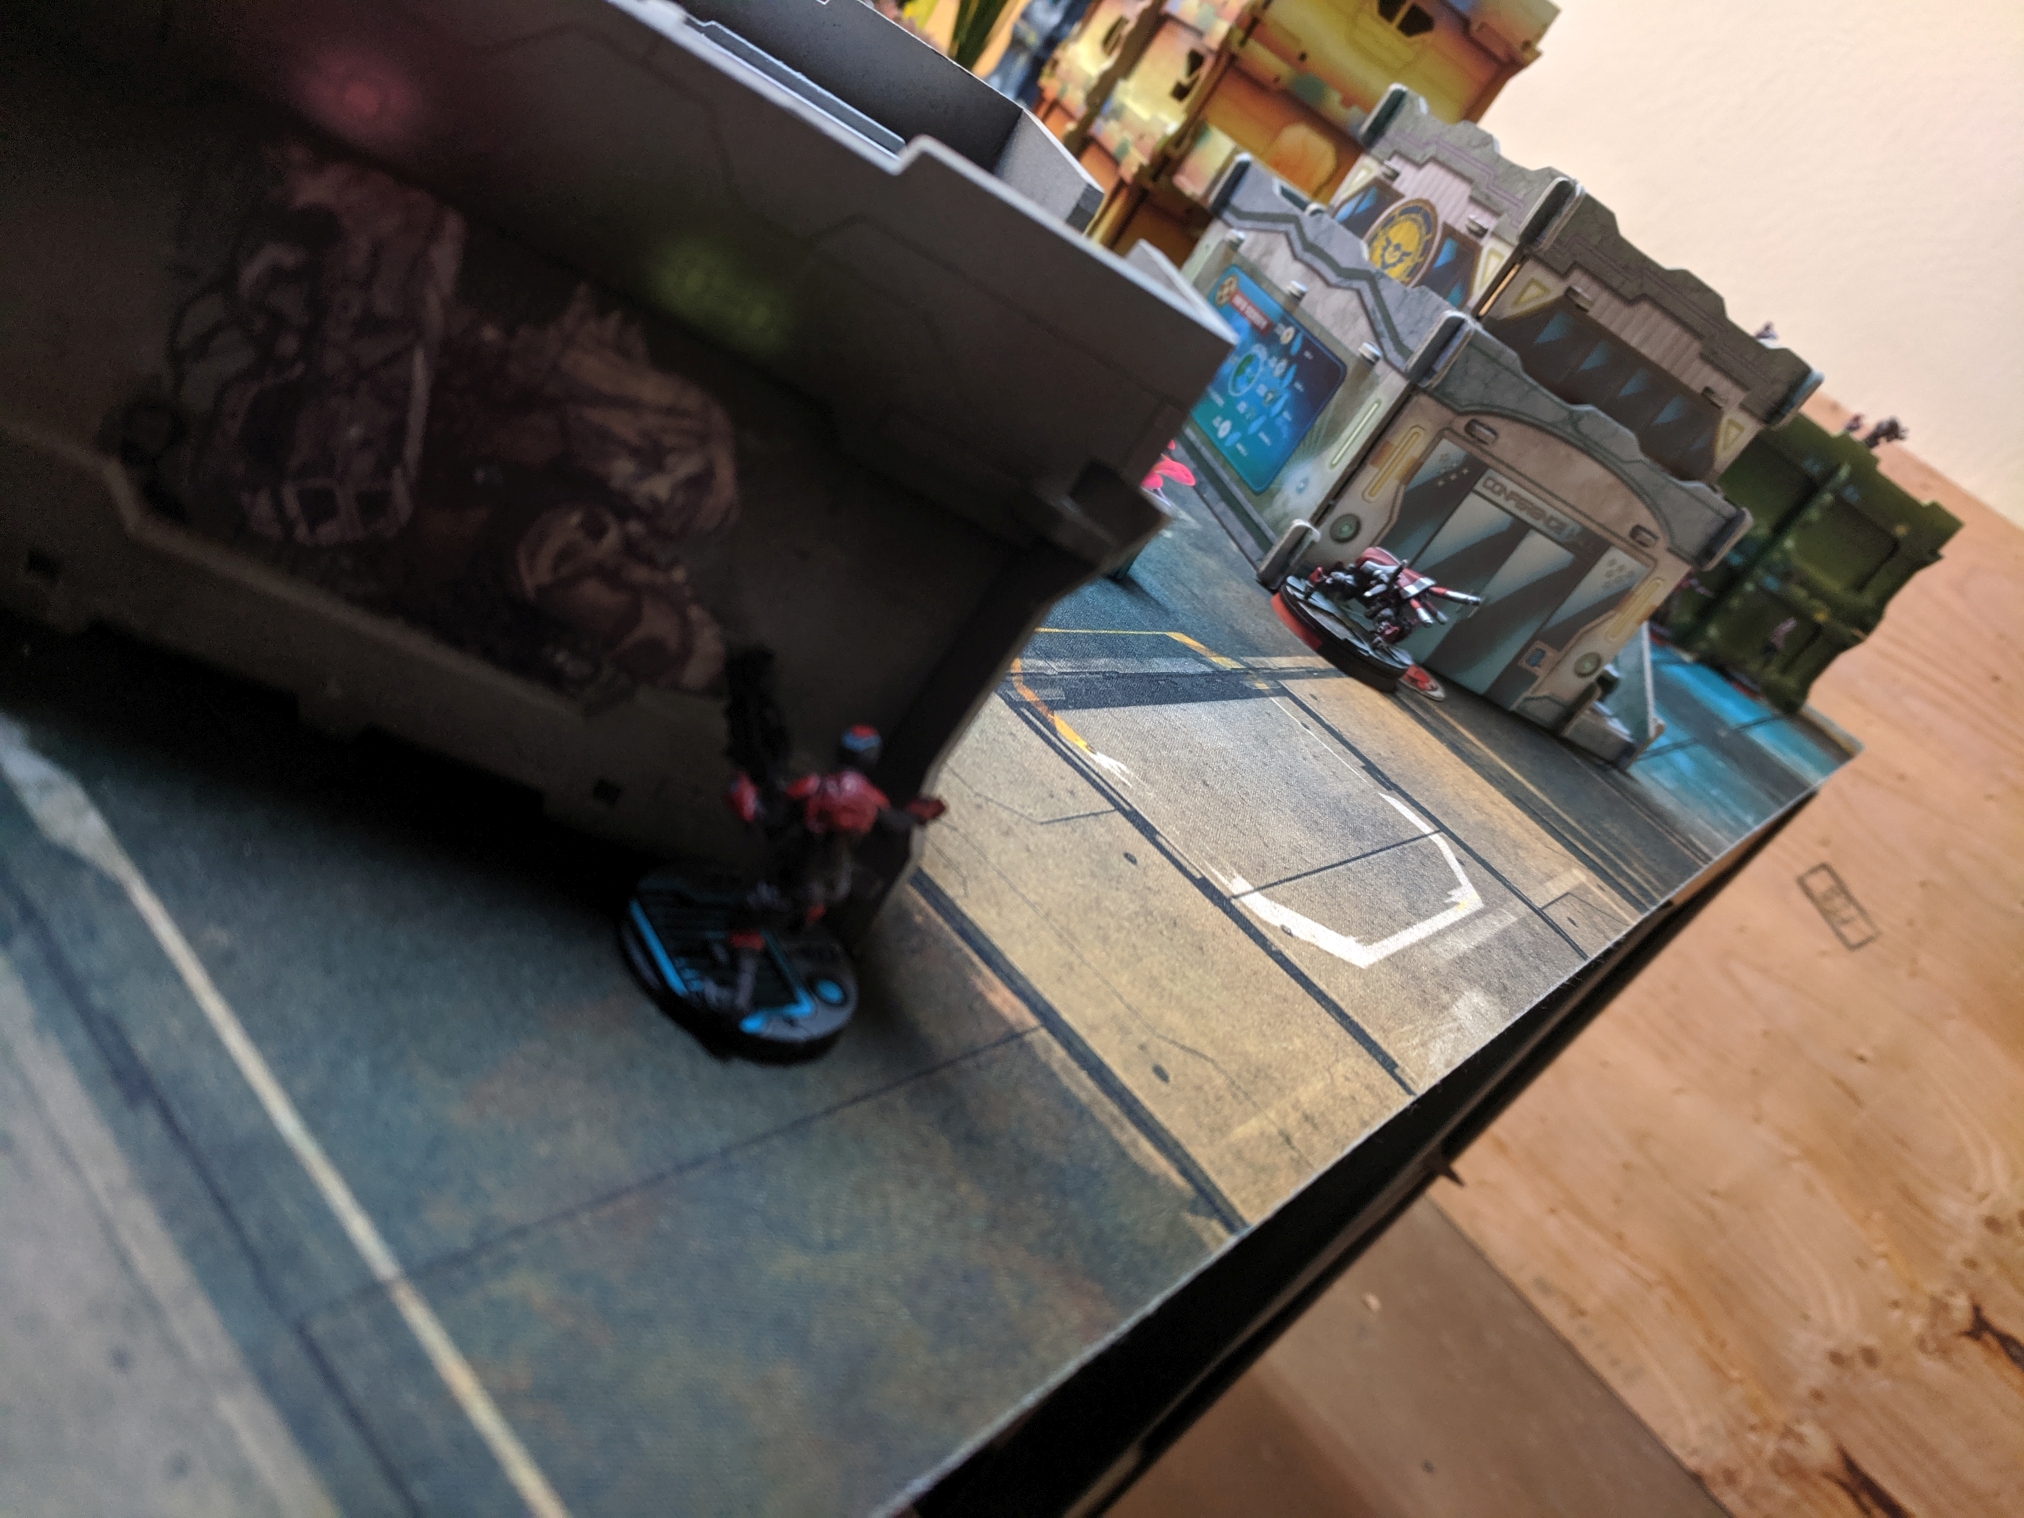
Dylan's turn begins. It's all quiet on the front. A Jaguar spec fires a smoke grenade right next to him and I realize there's a camo token back there... yeah, that's an Intruder for sure, I think to myself as the smoke lands and the Intruder reveals.
He moves out and challenges my Kamau MSV2 just like I predicted.
0.5% chance over him... but 100% chance in my heart.
Plus, I named my model. She's Tigerfish. Look at her. Does she look like she loses fights? The answer is yes, all the time, but I try not to think about them.
Dylan drops 4 dice to my 2, and his highest is an 11... edged out by a 14 and two misses. The Intruder has 3 ARM and is in Cover so he just needs 10s to be OK vs the double action shot.
4 and a 1 aren't 10 and he's dead.

So, lacking options Dylan drops a Hellcat Spitfire in my backline, next to one of my Mulebots. He lands on a 2, and the Mulebot fails to dodge-engage...
The Spitfire Hellcat moves out, shooting one of my Fugazi Dronbots... and he kills it. My Mulebot fails to dodge-engage...
The Spitfire Hellcat shoots the Mulebot, who fails to Dodge Engage.
So here's a Spitfire behind all of my Camo tokens. Dylan needs to clear the way with his Puppetactica in order to get a good shot at my Liason Officer, prone behind a building (he's got the Gateway Gauntlet token marking who it is!). This means he needs to kill the ZC Sensor/Jammer to rodeo the Camo Token to get him vulnerable, So he proceeds forward... directly up against a Helot I positioned to protect the ZC.
The Helot shoots at the Puppet as the troupe moves through the blast, but only one of them burns to a crisp, sparing the others and a bystander Jaguar caught in the conflict. It's not long before the Helot bites the dust. The Puppet moves across a gap to get a good line of fire on the ZC Sensor/Jammer and comes up against a Fugazi Dronbot at the same time!
While the ZC shoots, the Puppet puts one shot on the Fugazi only to find with range penalties and Mimetism and cover he's at a -12 and misses. The ZC misses, and the Puppet misses him, but the Fugazi lands a flash pulse and blinds the Puppet. Nice!
The Moran on the building my ZC KHD was worried about stands up, says "I guess I'll have to do this myself" and drops my KHD with Combi fire. He turns to the ZC Sensor/Jammer and drops him with Combi Fire too. Oof!
Here's where Dylan makes a big error-- he has his Hellcat step out in front of my lone Camo token Liason Officer now, intent on taking it out, but doesn't watch LoF and ends up crossing my Kamau MSV2 Sniper and a Fusilier in my link team. I also flash pulse him with my WarCor-- just more people to split burst on!
The Hellcat splits 1 on the WarCor, 2 on the Kamau and 1 on the Fusilier and gets hit by every one of them, dying in a blaze of glory that has me very, very relieved.
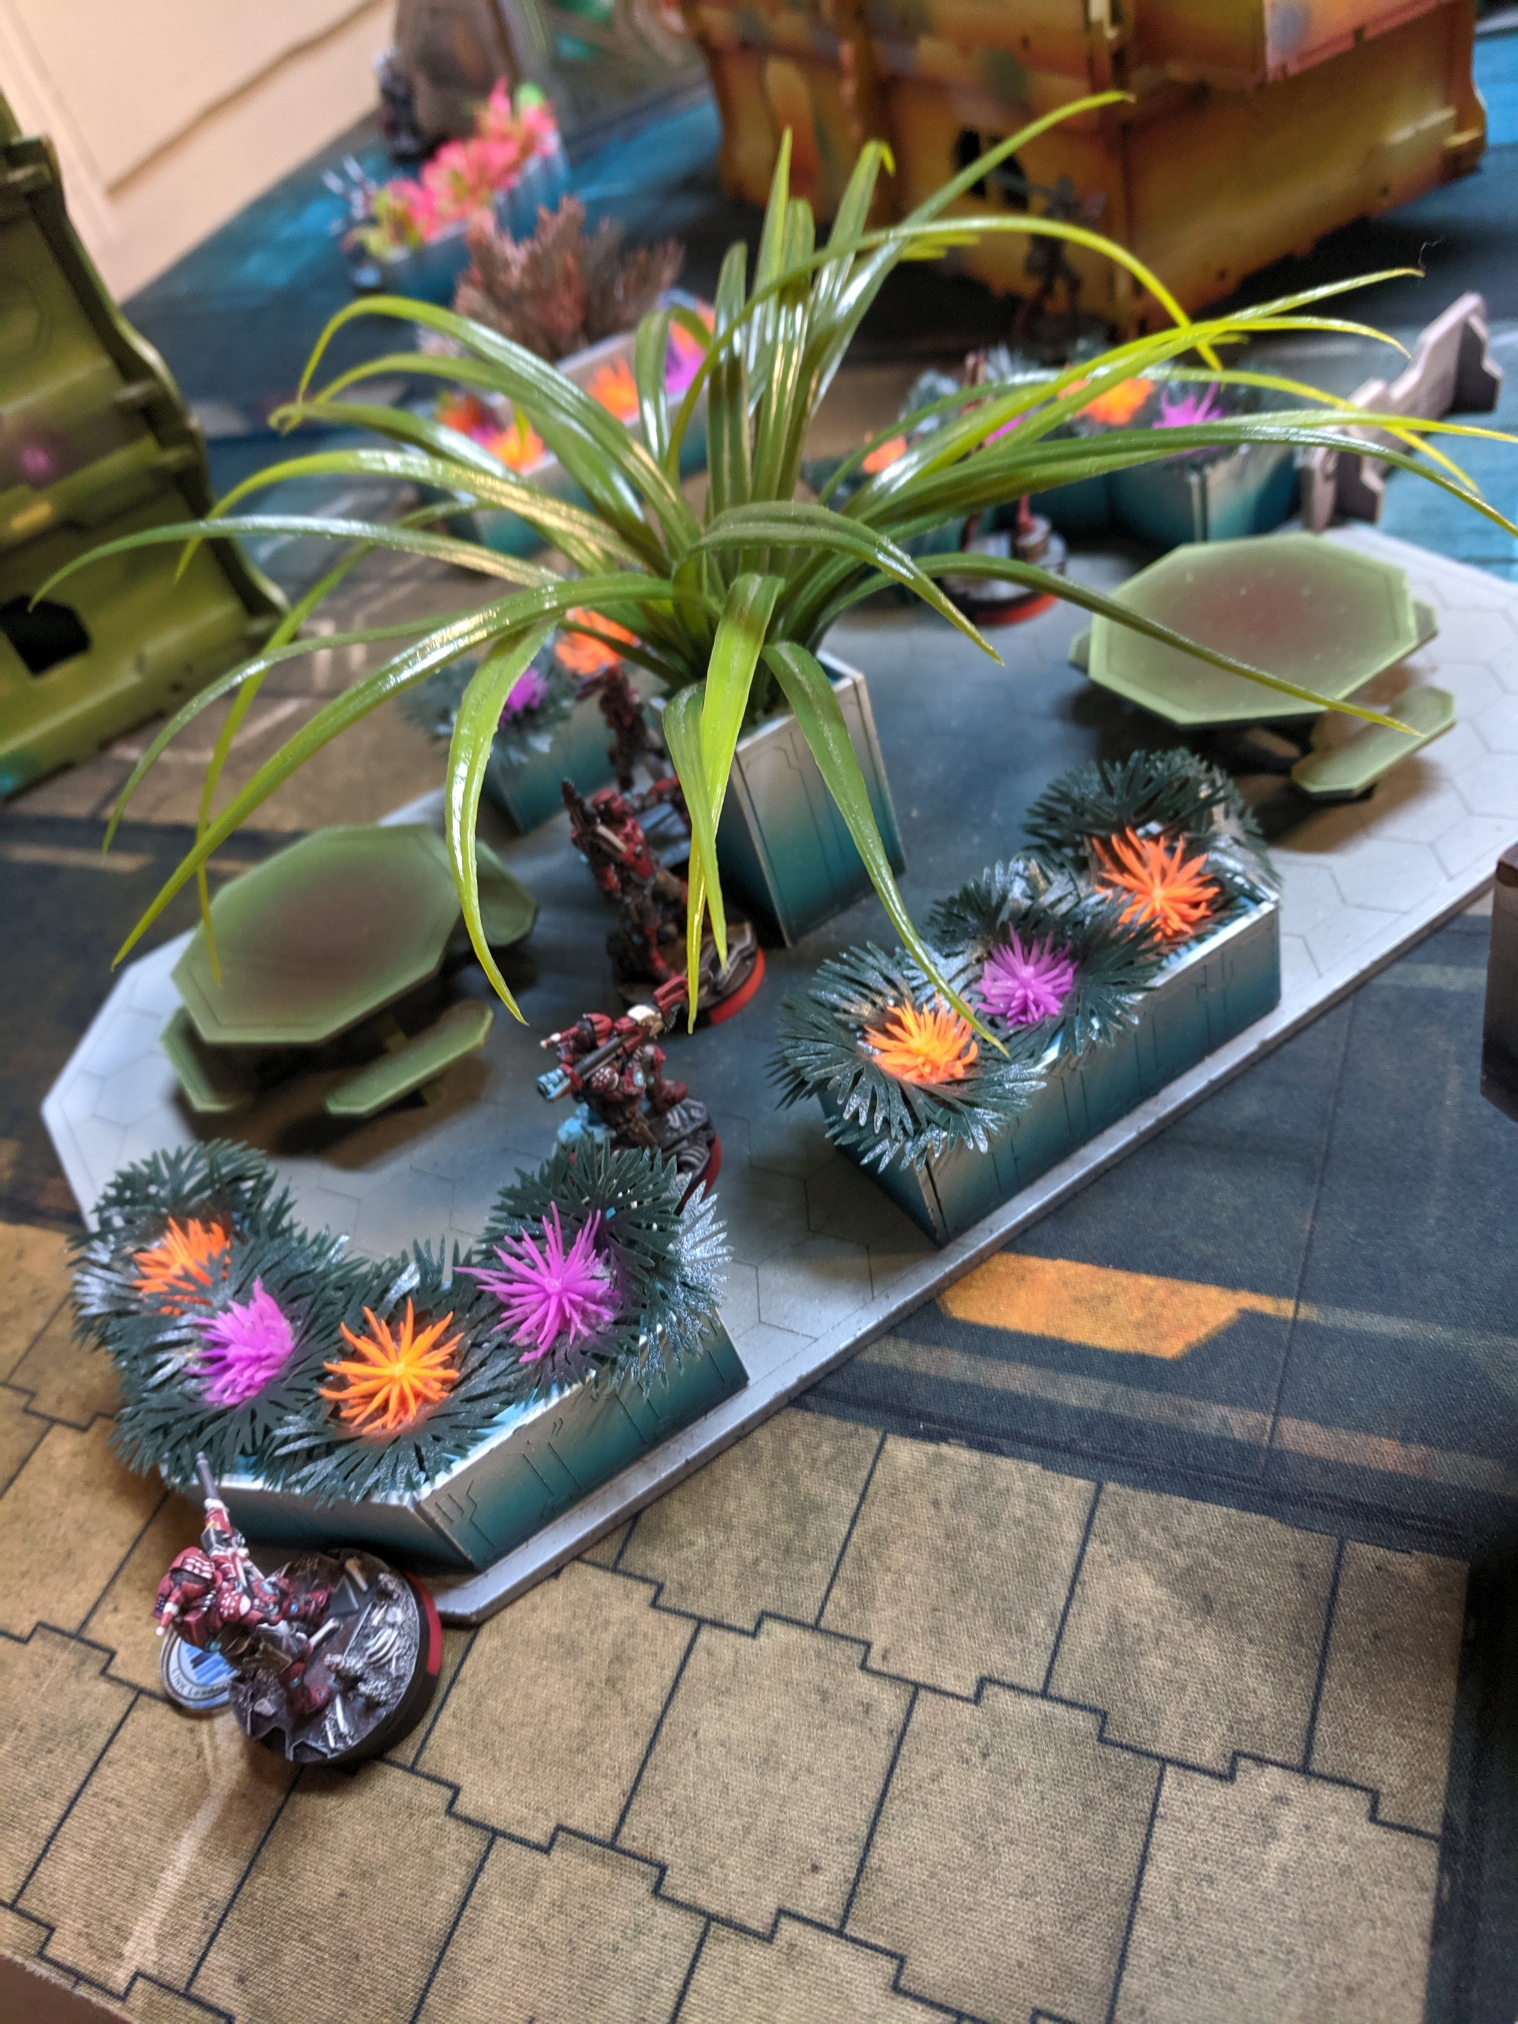
I start the round by doing something I'm starting to enjoy-- I abandon Fort Kickass with my entire Link Team and have them Climb-Climb to descend it, ranging out into the midfield to take advantage of the wide open sight lines.
First victim is the flashed Puppetactica left in place from last round. I put a pair of sniper shots into it and it goes down and follow up with the HRL on the next one attempting to clip Mary Problems. It doesn't get her, but it gets the bot, and now that area is way less dangerous.
Now I need to focus on two things-- protecting my backline from Mary and keeping the link safe against the Moran inside of a building nearby and the Camo token next to him. I have a Helot rush the KrazyKoala guarding the Moran and the Helot goes down-- grenade successfully jumped on, though. My Croc Man appears beside the Moran's hiding spot and lays a mine on the closer exit to the building, cutting him off for now.

The western flank needs reinforcement now that two of my 3 ZCs are dead-- and so I bring on the Echo Bravo Red Fury beside the ZC KHD who I know now is probably just in the range of the Koala. I avoid the Koala, step out in front of the Flash Pulse bot with the idea I'll be going into suppressive fire after I drop it, but then I learn I'm kind of in a bad band, he's cover and mimetism, I'm on a 3, and he crits me. Nowhere to hide and stupid to stay out I rush him into a nearby building and HIDE!

Dylan begins his turn by having a Jaguar rush forward to intercept the mine my Croc Man laid. He throws smoke successfully vs two Fusiliers and then jumps on the mine, eating it and chain rifling my Croc Man in the process! The Croc barely dodges, edging around the corner to get full cover, but thankfully the Jaguar dies to the mine.
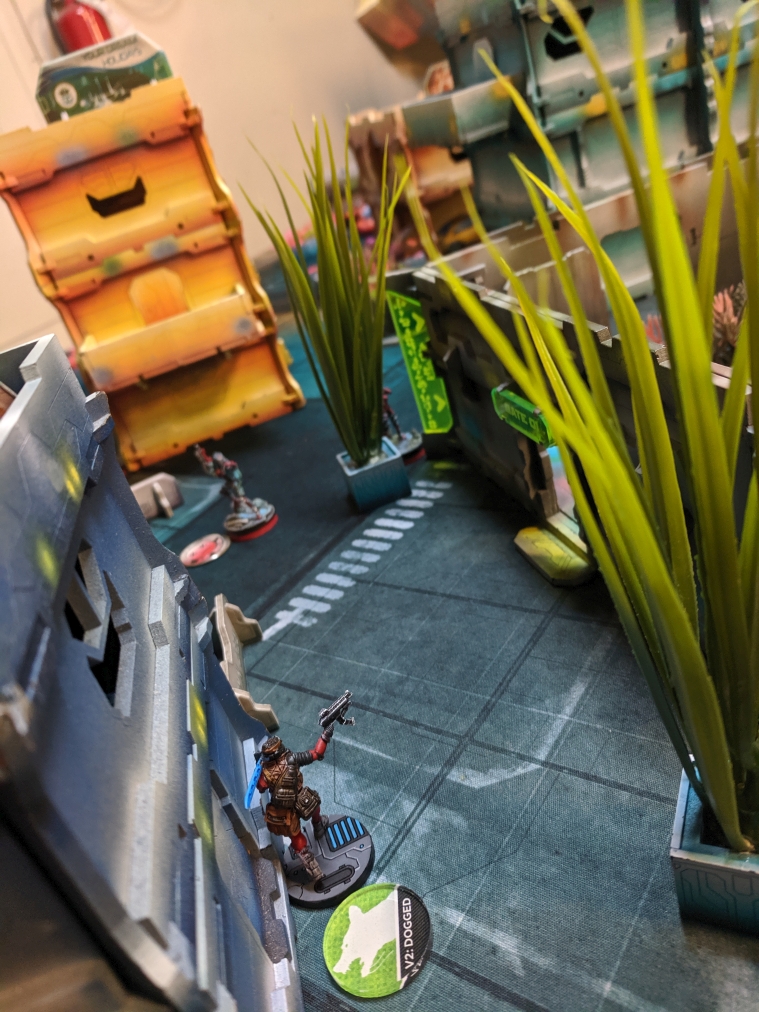
The Camo token I was wondering if it was a hacker or not turns out to be a frickin' Liberto and it comes for my Croc Man in the NIGHT. He walks up in cover and surprise shots her with his DEP, and the Croc Man responds by shooting. A critical shot from the Croc keeps her alive and the Liberto goes Dogged, which is only worse because now he just runs at the Croc Man with his chain colt, eager to lay a template on her to avoid taking penalties from TO Camo. A second lucky dodge cements this as the best performance I've ever gotten from a Croc Man as she slams around the corner of the building to avoid a second Chain Colt shot.
Now the Liberto has access to my fireteam, and he runs out of cover directly towards them. The Fireteam is forced to dodge, and he SMGs the HRL Kamau in an attempt to break the link. Weirdly, my PanO physique kicks in and the Kamau dodges all of the SMG shots-- luckily, that's Dylan's last order for the Liberto, but that was legitimately terrifying!
Mary Problems decides to go on the move, and she Cybermasks before walking out in front of my WarCor and the Fugazi dronbot who flashed the Puppetactica before.
They decide that there is no disguising yourself from the mighty WIP of PanOceania and roll a 1 to discover her. Mary goes cover-to-cover but he's very worried now because the Echo Bravo Red Fury is right there and he might hunt her. She tries to kill the WarCor and the Fugazi but they are -not- having it, fighting off her long-distance SMG shots with flashes that she passes BTS on easily. Drained of orders after the intensive move-move, cybermask, move-move, shoot, shoot, shoot he's just done, Dylan has Mary climb up the building beside her to join the Zero Minelayer I sensored at the game's beginning, successfully hiding from anyone who could reach her-- for now!
With his last few orders, Dylan reveals a second Zero Minelayer and has him join the cornered Moran in his building. Not only does he lay a mine in the door he walks in from, but he sidles up to the Croc Man and lays a mine pretty much right next to them, preventing me from moving her or my link forward without eating a hefty template...
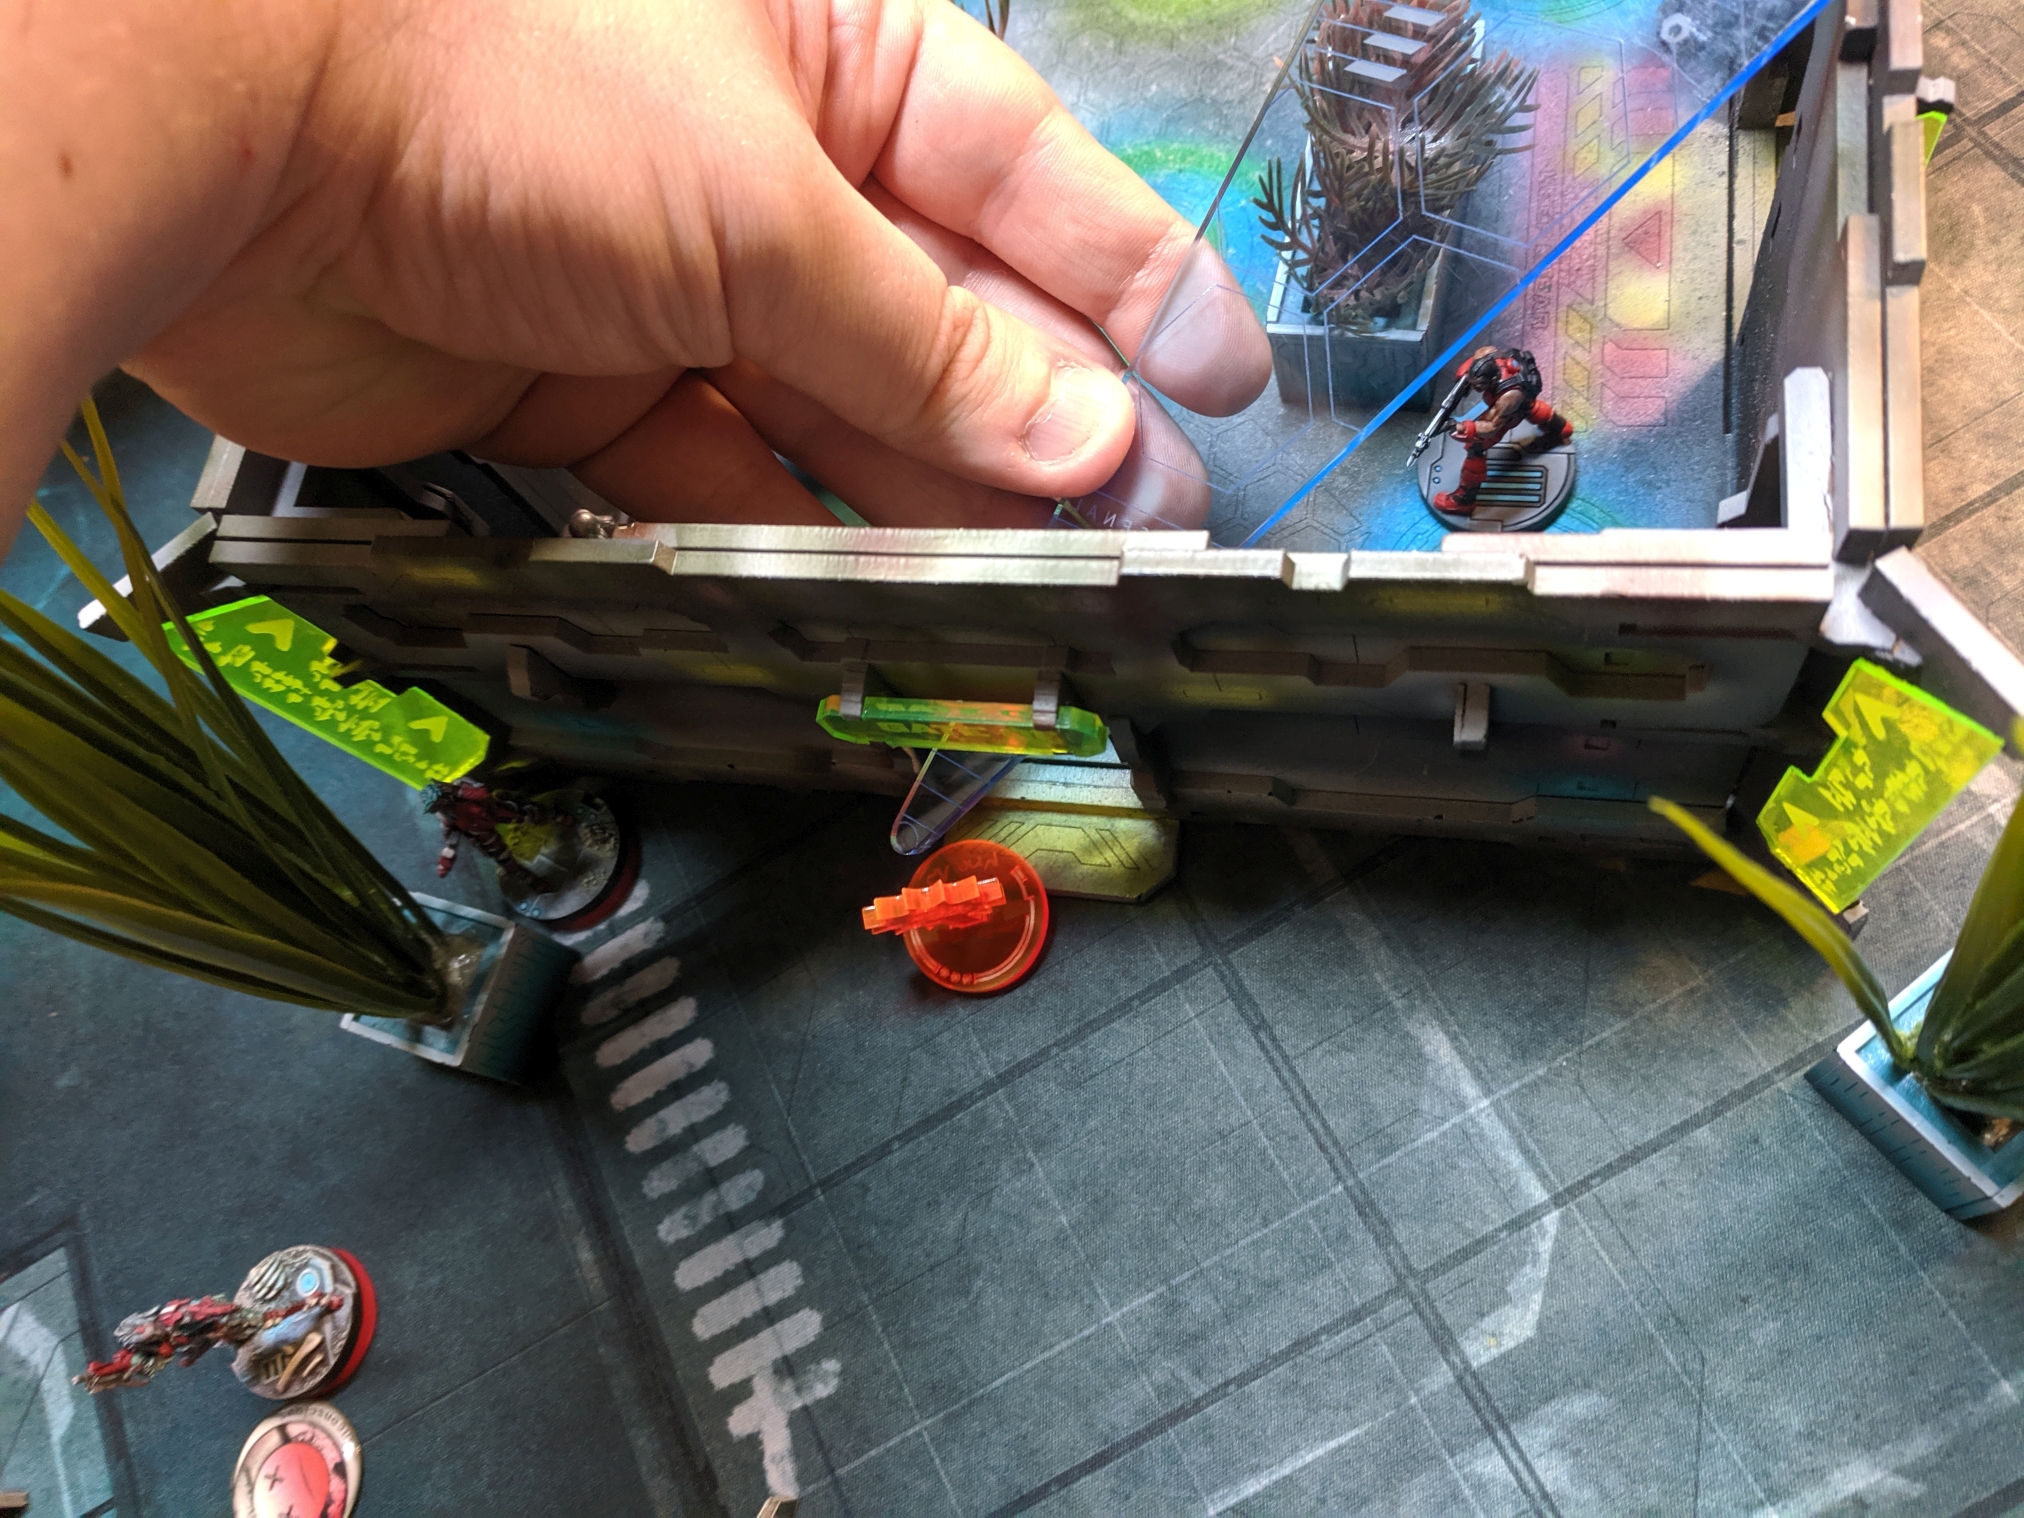
Luckily I still have one fast moving throwaway model-- my Dronbot-- and he takes off towards the mines. It only takes 2 orders for him to run into both of their areas of effect (the second JUST BARELY), taking a Zero combi shot in the process. Only 1 successfull ARM save. the poor thing goes Unconscious L2 in one go without contesting the roll...
But that's what I want! Now the mines are cleared!
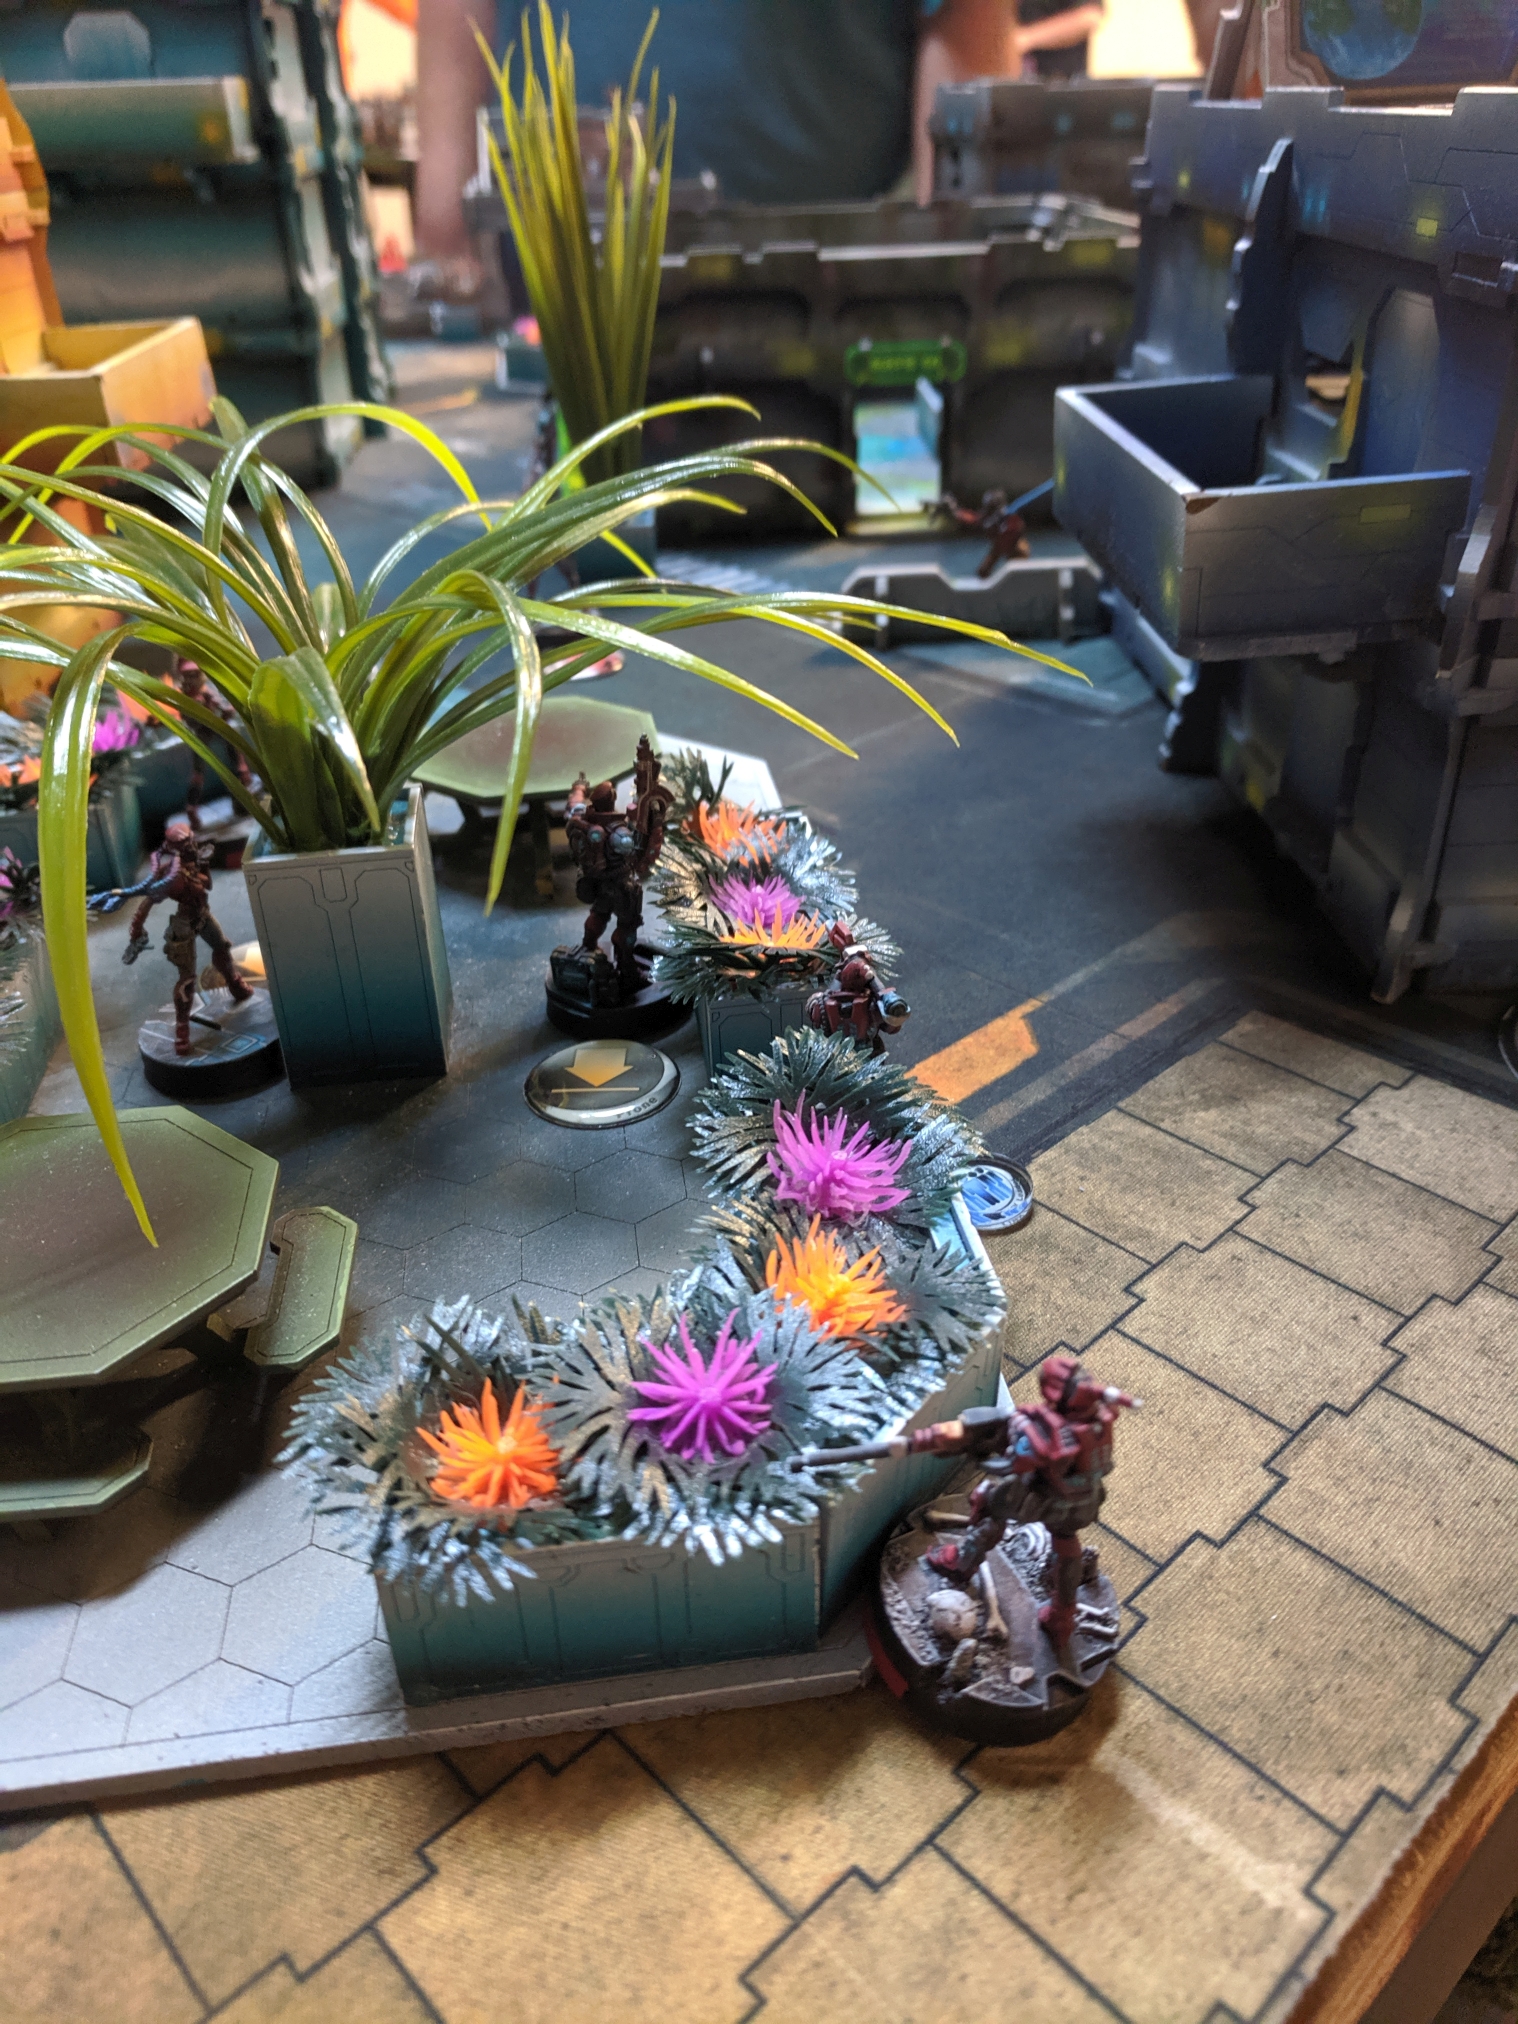
I engage in full Infinity movement trickery at this point as I have the Croc Man move up to the edge, not quite seeing the Zero, but enough to feign that I'm going to drop a mine. He does nothing, as does the Moran around the corner when I declare I'm not using Stealth, so the Croc Man dives into the middle of both of them on her next short skill.
I follow up by laying a mine as my first skill, so they both shoot her with their Combis. The Croc Man runs into melee with the Moran, hoping their TO Camo will hold out vs the Combis-- and the Croc Man gets hit once but missed once. A 20 ARM has them in the clear as they have the Moran pinned down now.
The Link quickly surges up and into the doorway. A Fusilier kills the Zero with their Combi and then the Link arranges itself around the area with the express purpose of shooting the absolute HELL out of the Moran if he dares activate in melee with the Croc Man. I The MSV2 Sniper watches the other side of Mary's building, ready for her and more than likely standing in the center control zone to contest it-- trying to out-points Mary if I can, but not quite. I'll need the Echo Bravo to pin her down and be in her zone, and that means stepping out again and trying my luck with 4 dice on 3's vs 1 on 10...
 I'm calling her my Croc Man for short, but she's really a Croc Person. We don't need labels in Varuna. Free love and helots, brother.
The Echo Bravo steps out of hiding, still needing 3s against the Transductor Zond that has him pinned down. That's what he rolls-- a 3-- to crit the Zond off the face of the planet, getting into position and going into Suppression Fire just outside of where Mary will emerge.
Meanwhile, my Liason Officer who has been cowering in Marker State all game-- also goes into Suppression Fire since he's conveniently right near where Mary may try to pass by to get into the zone closest to my deployment.
I don't have any other moves to make, and it's now Dylan's turn for the bottom of the round. I just have to hope these were the right ones, and that I can weather Mary and whatever else might happen. If he can get the EB and my ZC down, Mary takes my closest zone and the score gets a lot, lot closer.
Dylan's turn begins and he has a lot of orders. A Jaguar, a Securitate, Mary, the Zero Minelayer, a Puppetactica guy, a Salyut and a Transductor Zond...
Mary steps out to see my Echo Bravo and SMGs him. Mary needs a 5 and the EB needs, after ODD and Cover... a 3! The Echo Bravo shows just how much he's willing to commit to his role of Sole Protector of the Major Victory by rolling THREE 20s on his Suppression Fire. Thankfully the spirits of the Infinity Dice Calculator are with both of us as Mary whiffs all of her shots as well!!
Mary is just out of 8 and moves out of cover on the balcony closer to see the EB. She SMGs again, and is still just out of 8 because of the vertical diagonal-- so by maybe 10mm! Mary needs a 5 to hit thanks to -3 cover and suppression fire, and now without Cover, the EB needs a 6. Mary gets a 4-- and the EB crits on a 6, shocking Mary Problems off the board.

Seeing his options now as denying a major, Dylan has his Moran Maasai activate, surrounded by my link team and in CC with a Croc Man. The Croc Man melees back with her knife as the Kamau HRL uses his dusty, dusty SMG and a Fusilier shoots into the scuffle with her Combi as well. The Maasai misses his melee, the Croc Man lands her knife, and the Maasai is also dead-- but now we need to roll my shots vs the Croc Man...
The Kamau hits the Maasai, and misses hitting the Croc Man by 1! The Fusilier hits the Maasai and misses hitting the Croc Man again by 1!
Dylan throws it all forward, trying anything, spending all of his orders, but the link shuts it down. His last move is to have the Zero Minelayer try to kill the Echo Bravo in case my sniper isn't in the central control zone, and the Echo Bravo crits and kills him on a 6 as well, cinching the game.
After the fact I lament that I didn't move my Liason Officer forward to get a free +1 OP. I'm also sad we both forgot our HVTs-- so as I usually do, I put mine beside 2 of Dylan's models to give him a free OP and he put mine beside one of mine, so we had to do the classifieds. Dylan got his, but mine, Rescue, was a bit tough when nothing really wanted to die-- or had PH 1 lower than they needed to pick up a Helot (I'm looking at YOU, Fusiliers!)
A roll of 13 on the Liason Officer check netted me 1 OP for participation, making the game a 9-1!

Battle Report Author

Army Lists Used In This Battle
Recommend Commander For Commendation
Share this battle with friends
Kazavon V7Wins

Go go Kaz! need more battles and wins!
#DEUSVULT
I wondered where Ariadna’s sledgehammer got off to. Now I know; it joined PanO!
Yeah! Ft. Kickass has no room for prisoners. No mercy.
Great report man. I thoroughly enjoyed it.
Awesome report! Grats on the victory
What a nice table and miniatures! And a great batrep as well. Commendation well deserved
This is a great writeup, and good job on your game!
I love that table so much!
Wow. Such a great Batrep!
WiseKensai — Dude!! Thank you! I’m definitely including this on the battle reports I post from here out, that’s awesome!
The wrong side won but it’s still a good report. Begrudging congrats 😛
Great work commander!
Keep it up.
Nice table, nice miniatures, lovely report)
10 stars from me, great report!
Very good Report!
Also nice plants on your table 🙂
Cool!
Nice report!
ʕ•ૅૄ•ʔ Nice
Oh bother, the comments section doesn’t allow img tags… made a graphic, if you wanted to add it for funs: https://www.bromadacademy.com/wp-content/uploads/2019/09/bounty_tigerfish.png
Nomad command is issuing a bounty on Tigerfish!
Gorgeous PanO army, great report.
Boooo! We’ll be back to take out Tigerfish! Just you wait!
Great report, commander!
#BromadFistBump
Awesome. The table, the report… Everything!