Fought At Main Strip: Harry’s Bar
1663 days 21 hours 51 minutes ago
Get away from Harry’s bar!
Things are messed up by Harry’s bar.
The informants are nervous, have juicy information and are looking for a friendly ear with pockets full of money with which to pay their dose of “blue kiss”.
There are people asking questions out there, people with a pano accent with more money than they would. It is not known very well why but a sure informant who has prepared a surgical operation to assault Harry’s bar. It stinks a priest in the alleys.
Given the complicated situation that is being experienced these days in the asteroid, reinforcements have arrived from the Dahshat Company and the workshops are full of work repairing equipment, including an old Maghariba who returns to service …
————————————————————–
Las cosas están revueltas por el bar de Harry.
Los informantes están nerviosos, tienen información jugosa y andan buscando un oreja amiga con los bolsillos llenos de dinero con los que pagar su dosis de “beso azul”.
Hay gente haciendo preguntas por ahí, gente con acento panoco con más dinero que sesera. No se sabe muy bien porqué pero un informante segura que se ha preparado una operación quirúrgica de asalto al bar de Harry. Apesta a sacerdote en los callejones.
Dada la complicada situación que se está viviendo estos días en el asteroide han llegado refuerzos de la Compañía Dahshat y los talleres están a tope de trabajo reparando equipo, incluido un viejo Maghariba que vuelve a servicio…
—————————————————————————————–
+++++++++++++++++++++++++++++++++++++++++++++++++++++++++++++++++
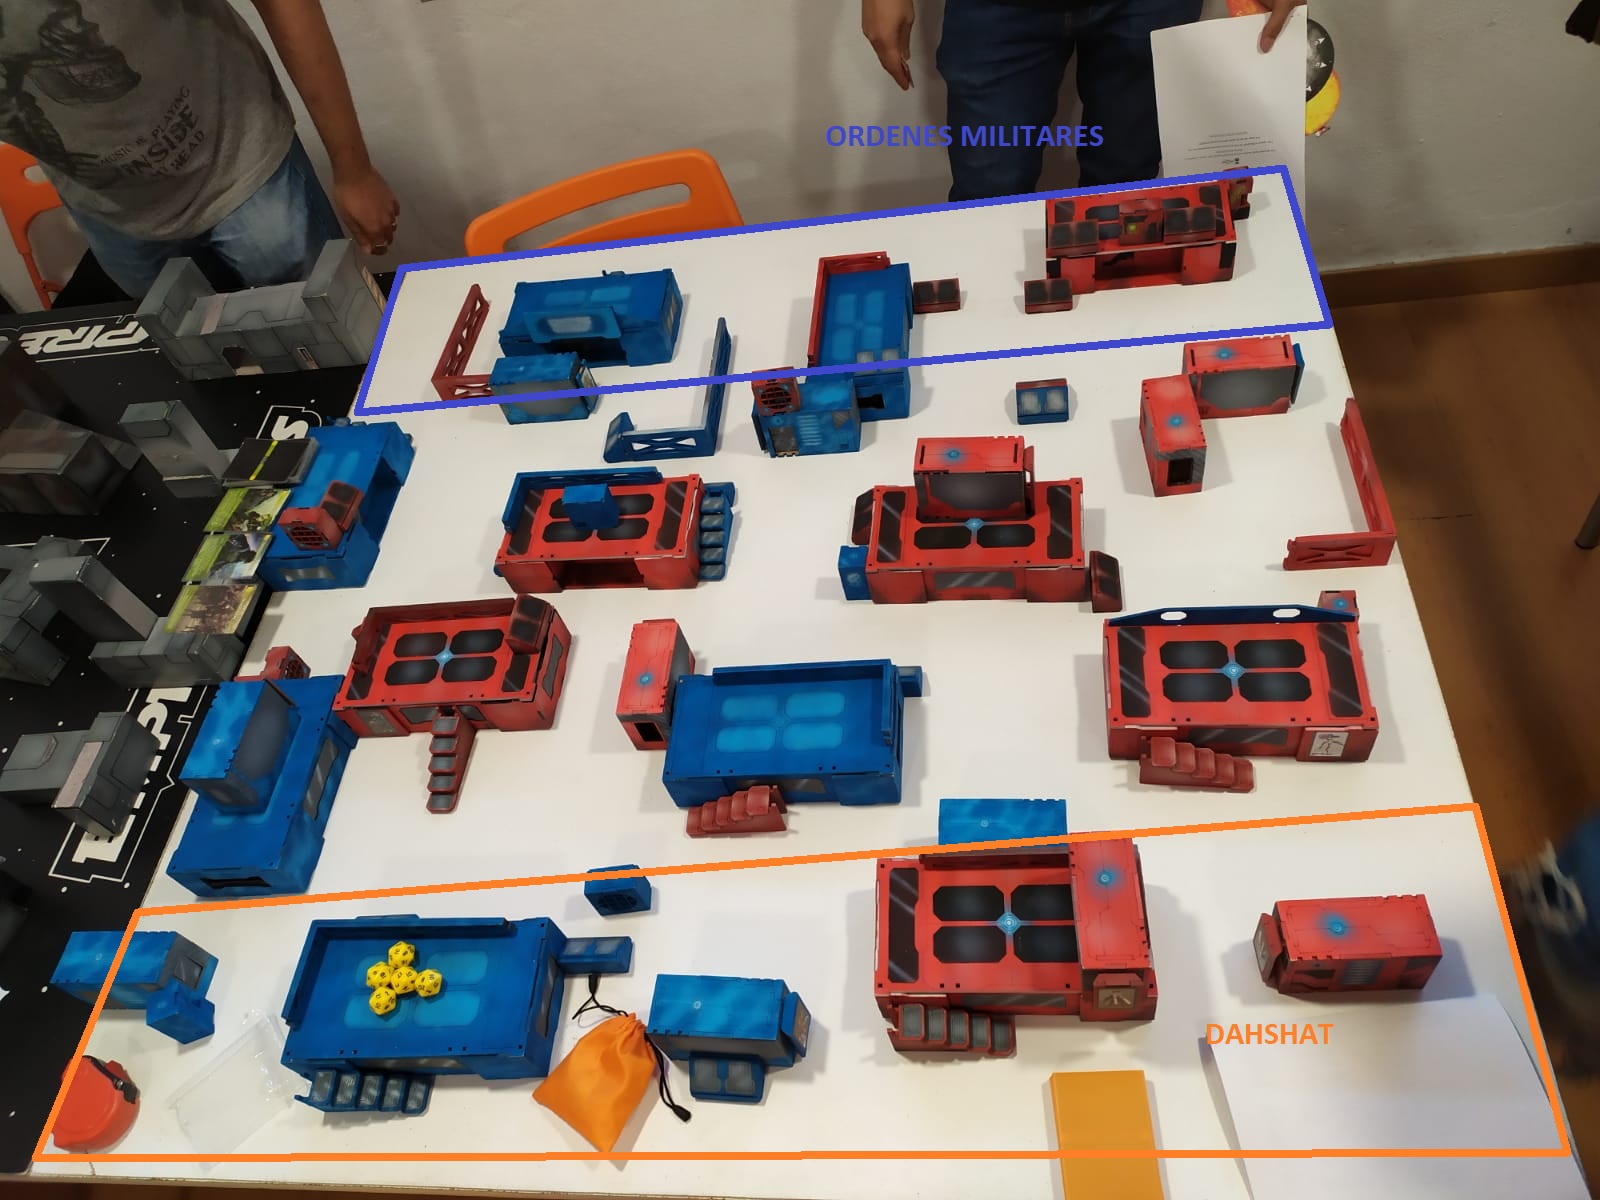
Turn 1 military orders:
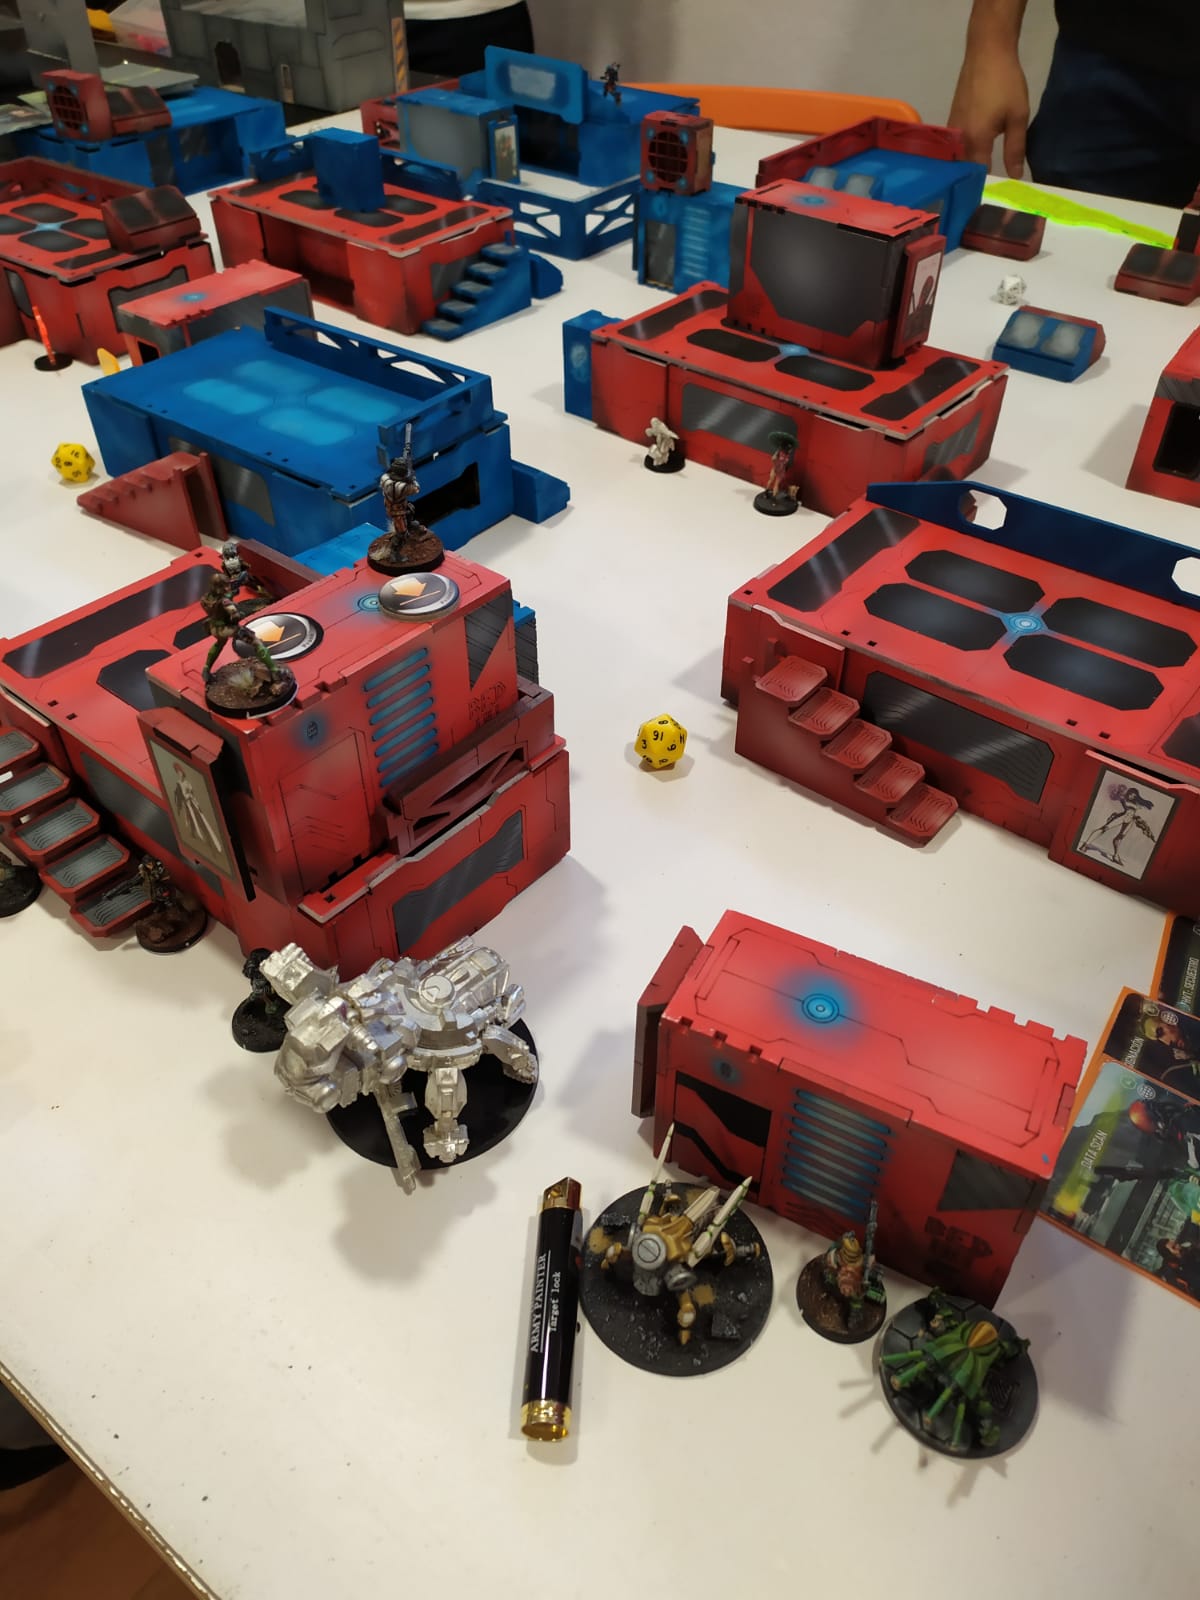
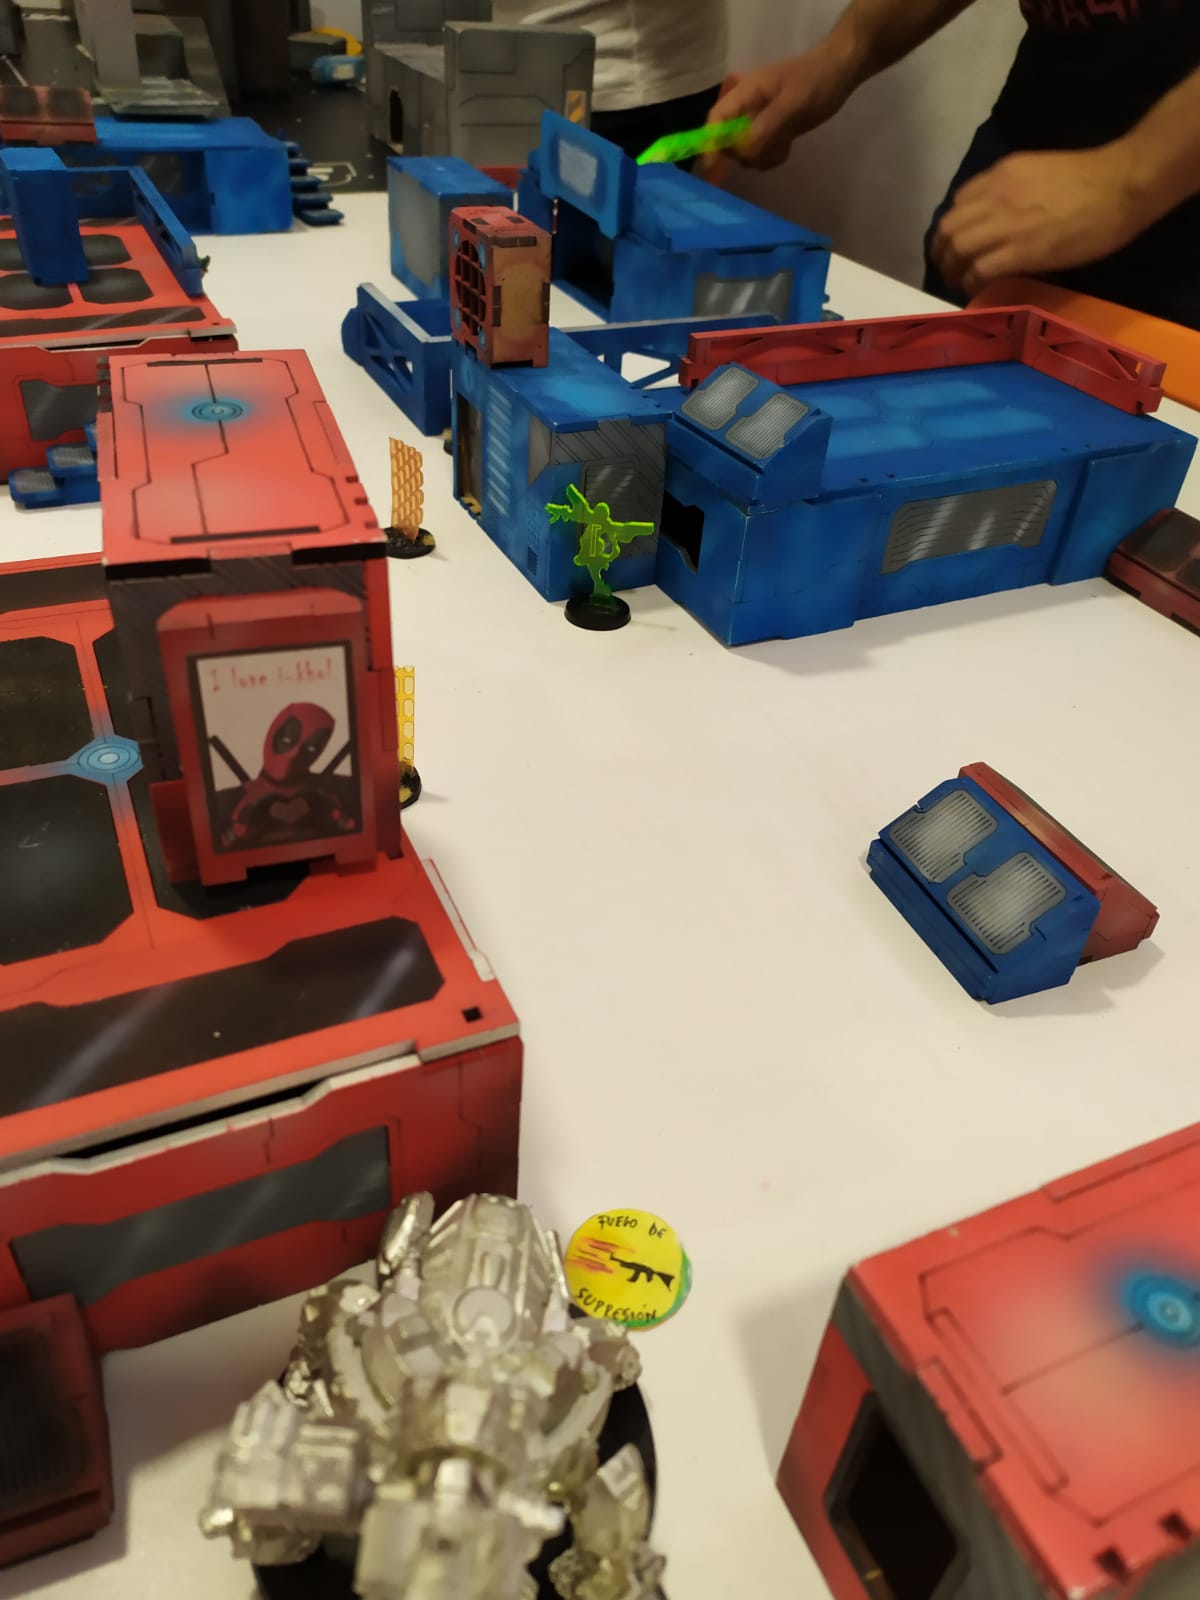
In turn 1 my rival focuses on the core of brawlers and bounty hunters where Father Lucien Sforza goes camouflaged, with a sergeant of spittfire order he shoots at Sforza, who was camouflaged as a clueless bounty hunter, manages to leave him unconscious by not activating his tenacious with the hope of being able to cure him later. However, the Sniper v2 brawlers have more luck and after an intense shooting manages to kill the sergeant in ORA. When trying to restructure his core the heavy rocket sergeant is exposed and also falls by the shots of the sniper brawler.
Turn 1 Dahshat:
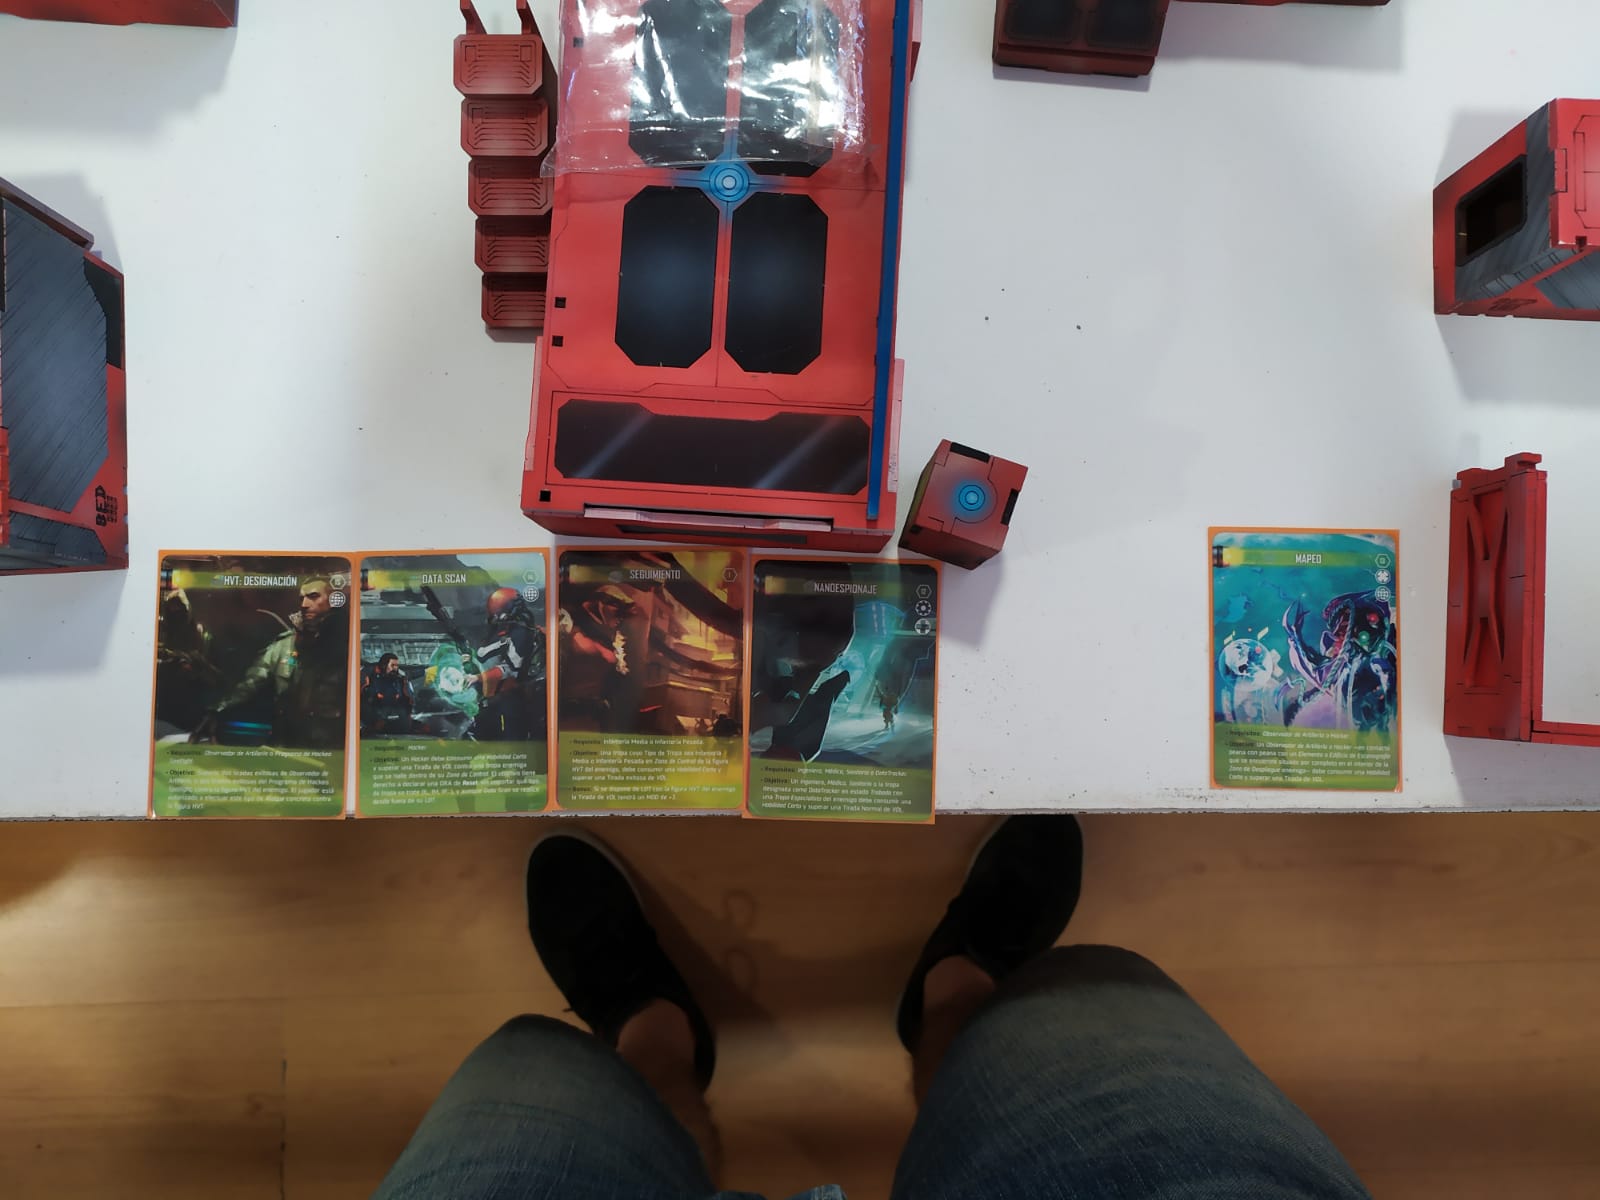
I set out to make goals, on the right side a hunzakut advances until he has shot his civilians and, not without spending 3-4 orders, he manages to do the HVT: designation. The ghulam doctor jumps to try to cure Sforza and falls prey to a sergeant of the order TO sniper. Then the brawler sniper V2 ends with the sergeant, and with the rest of the orders I make the maghariba take positions followed by the dozer.
Turn 2 Military Orders:
Basically he dedicates all his turn to trying to destroy the maghariba in coverage with his hospital HMG, causing only one wound.
Turn 2 Dahshat:
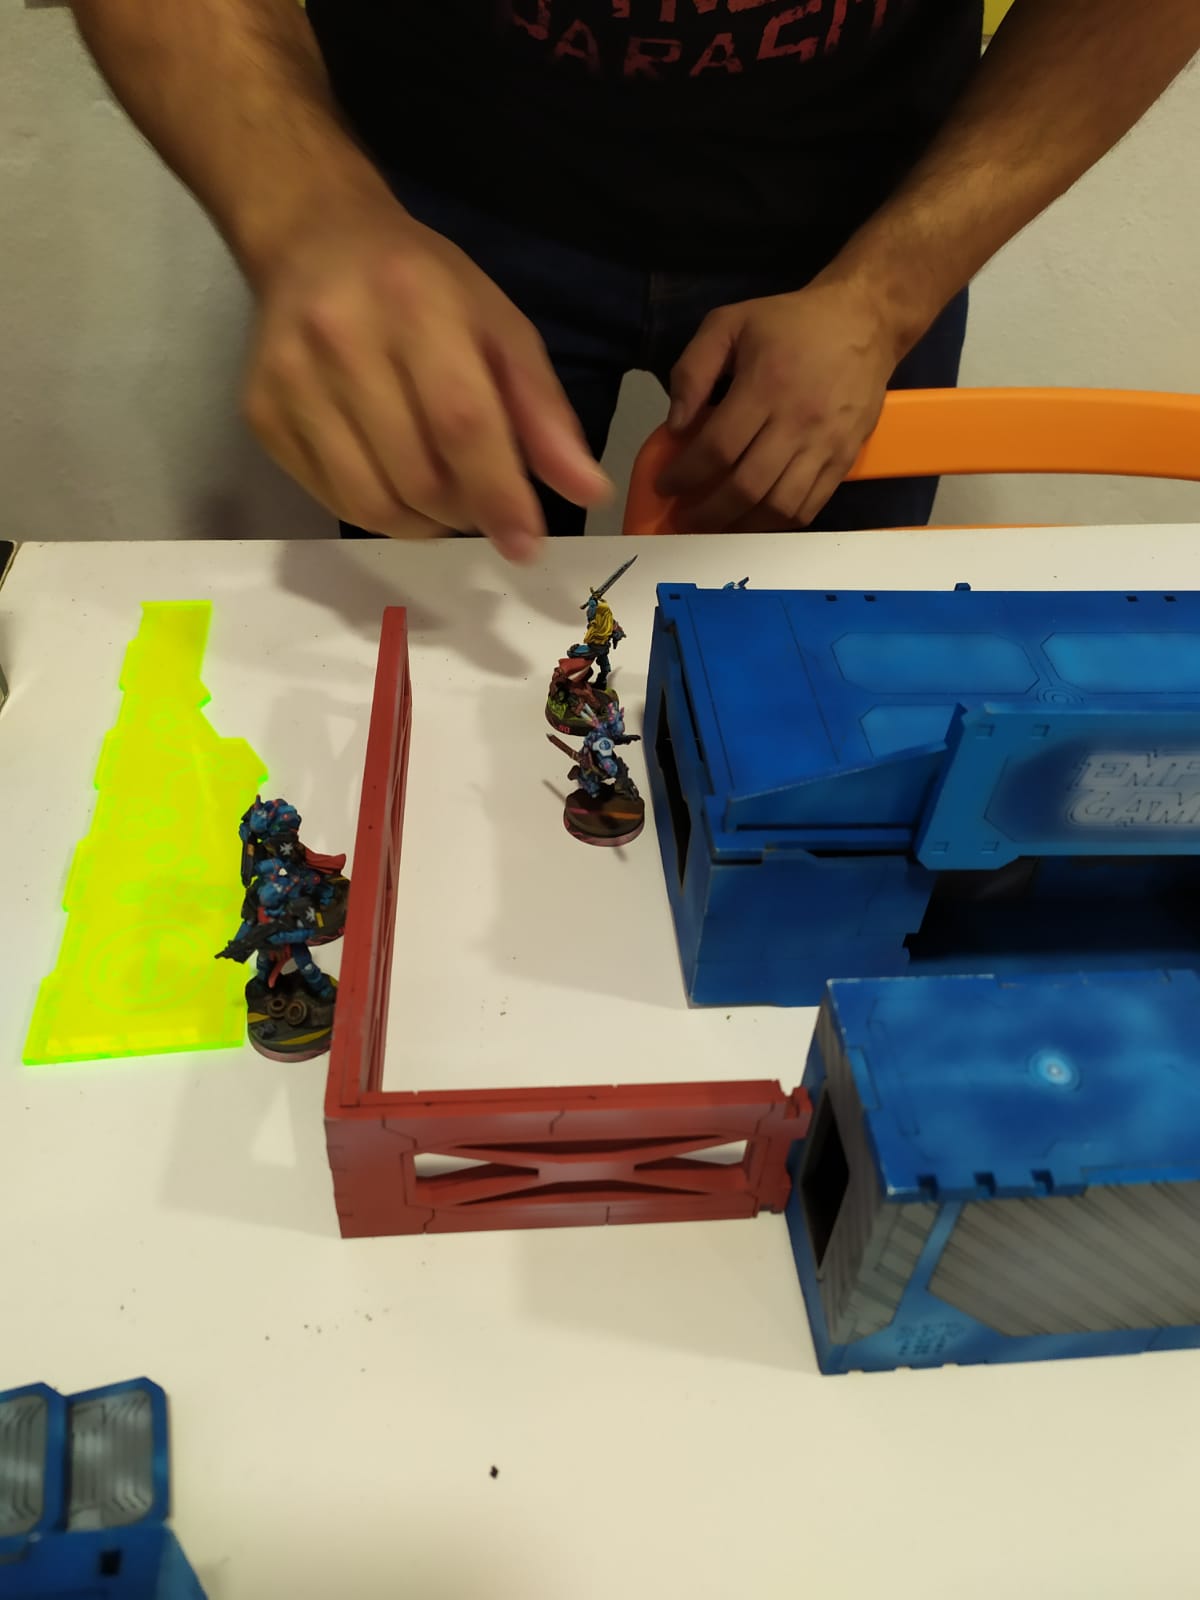
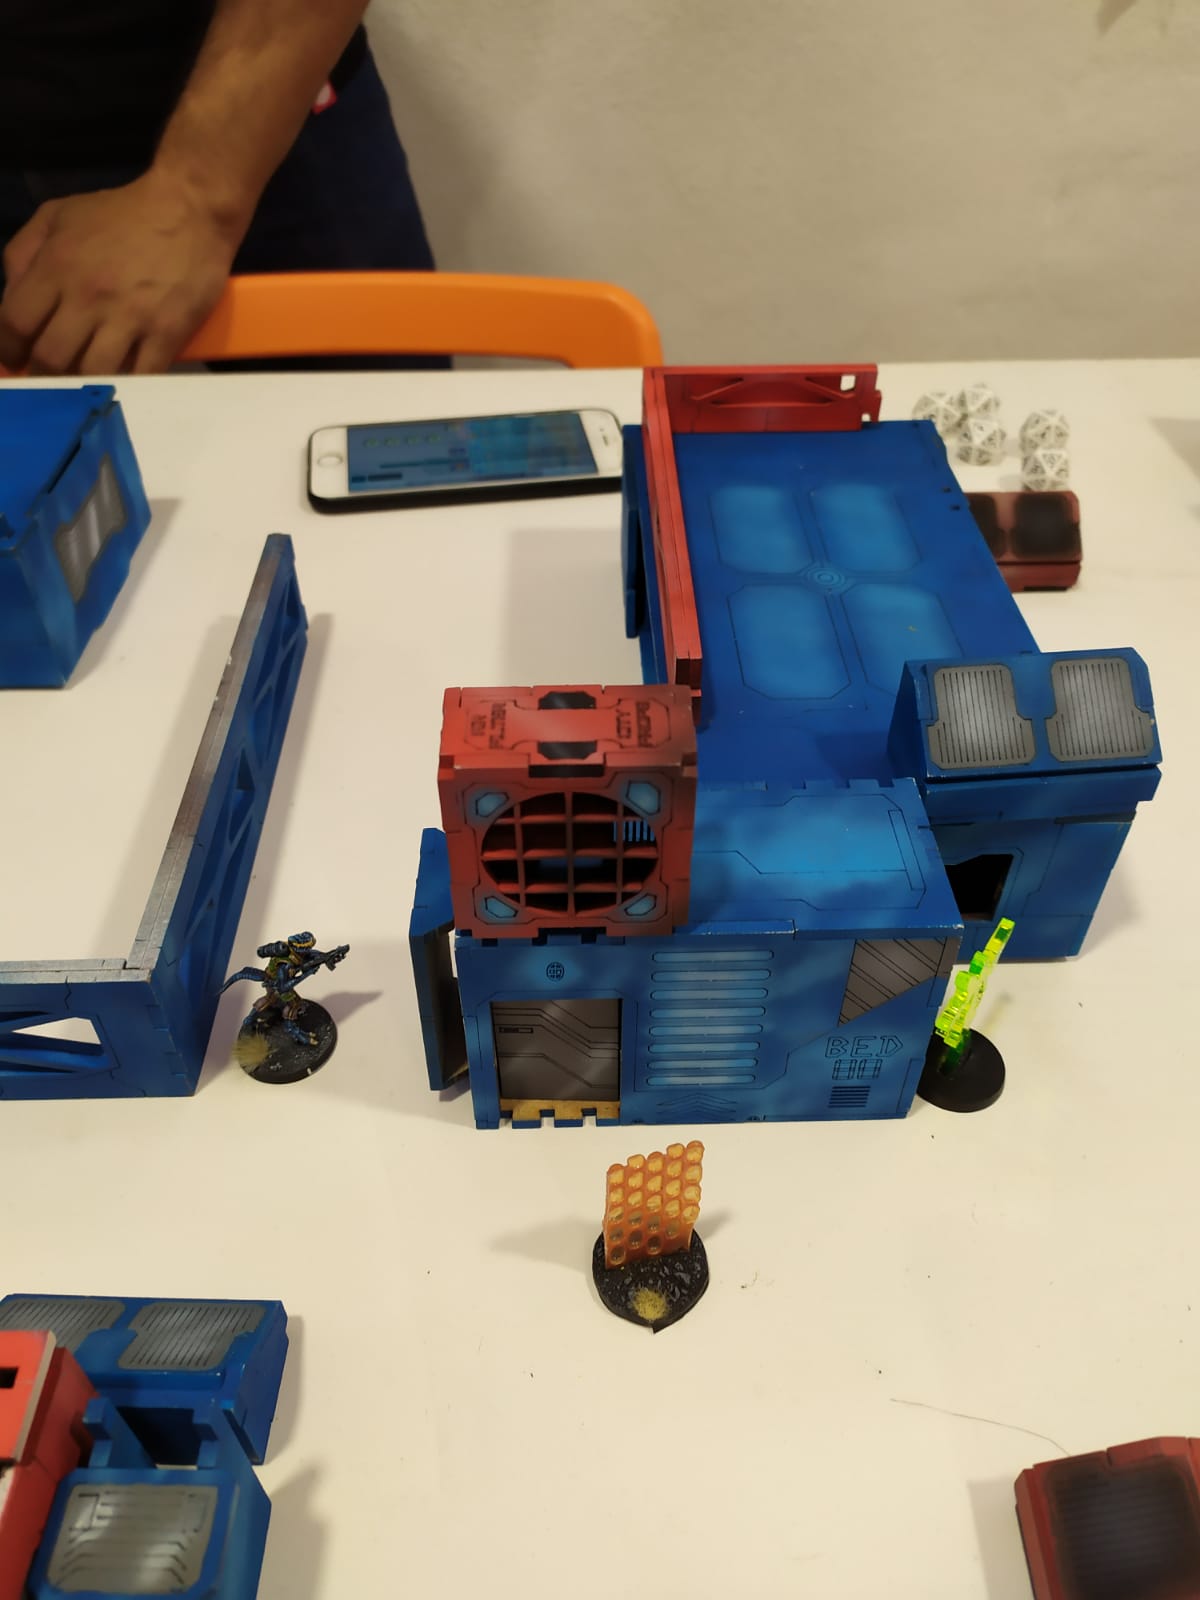
The Zensha moves through the center and performs the objective “data scan” to warcor panoco and “Follow-up” to a nearby HVT. In the process a TO has been revealed next to said warcor. The release leaves both unconscious at the stroke of Chain colt without suffering a wound (that luck!).
Turn 3 Military Orders:
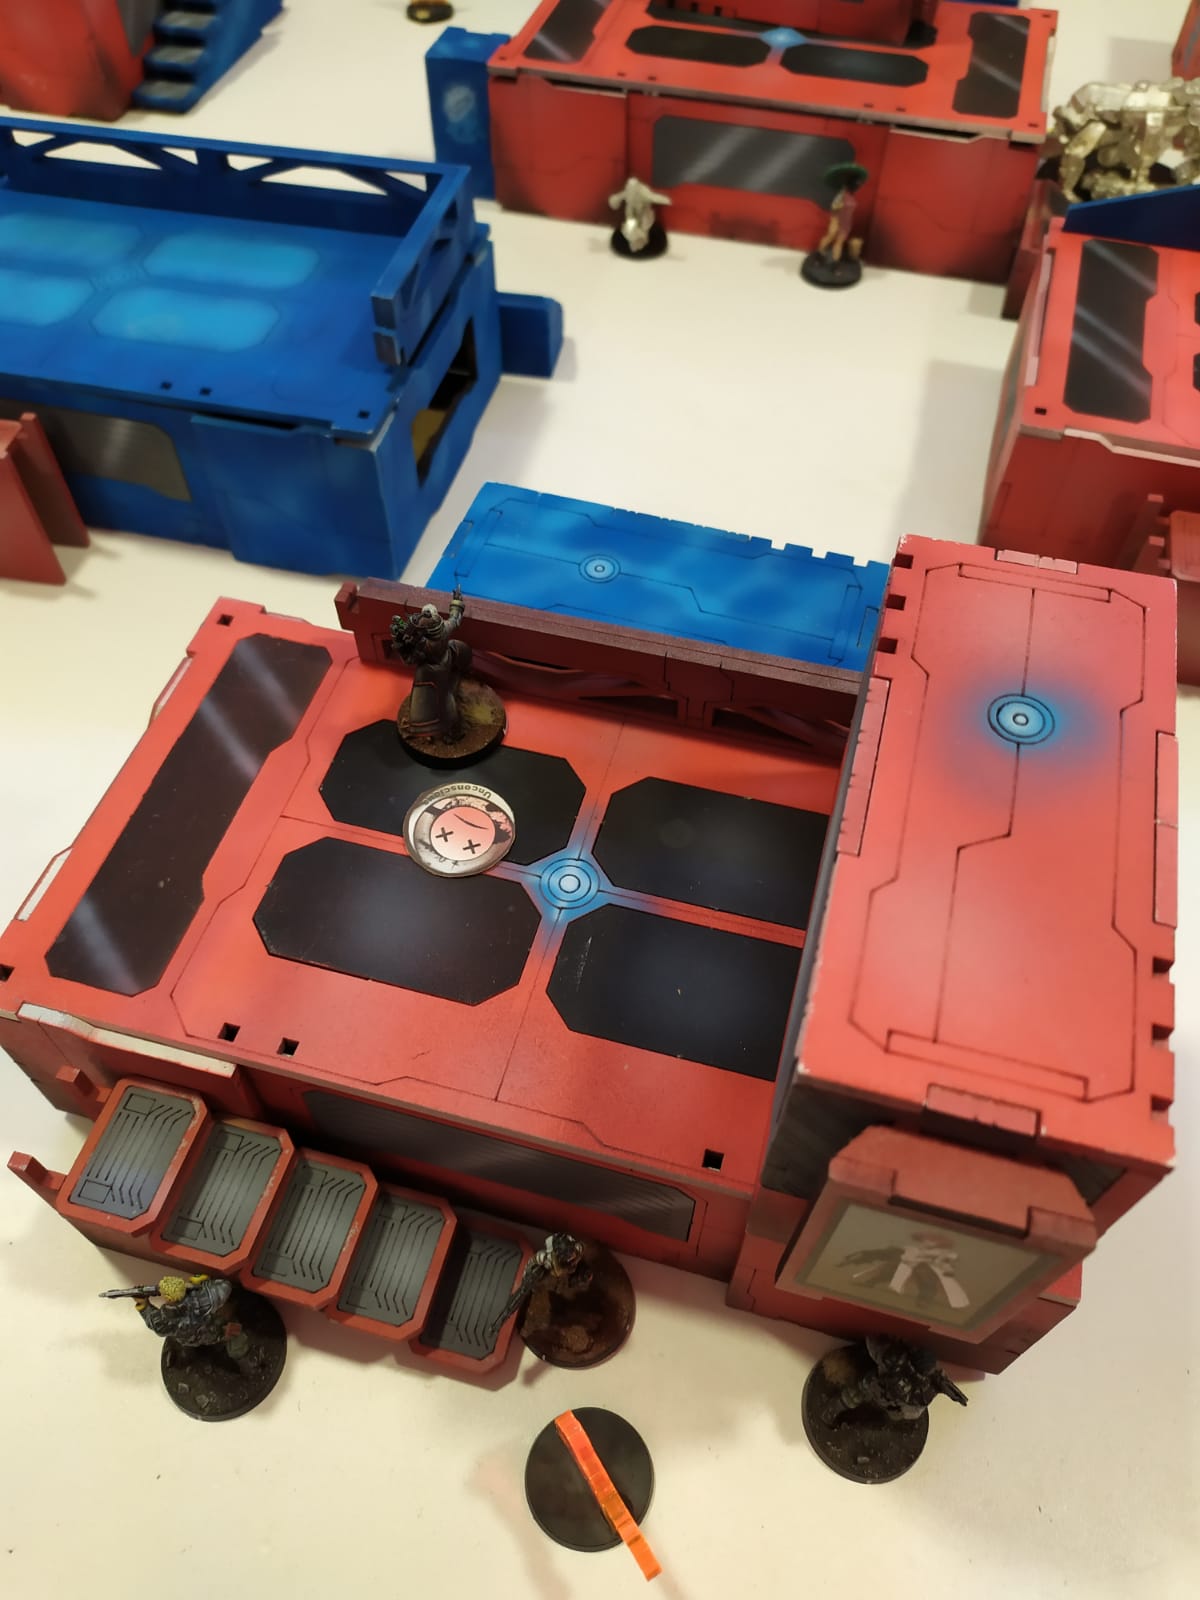
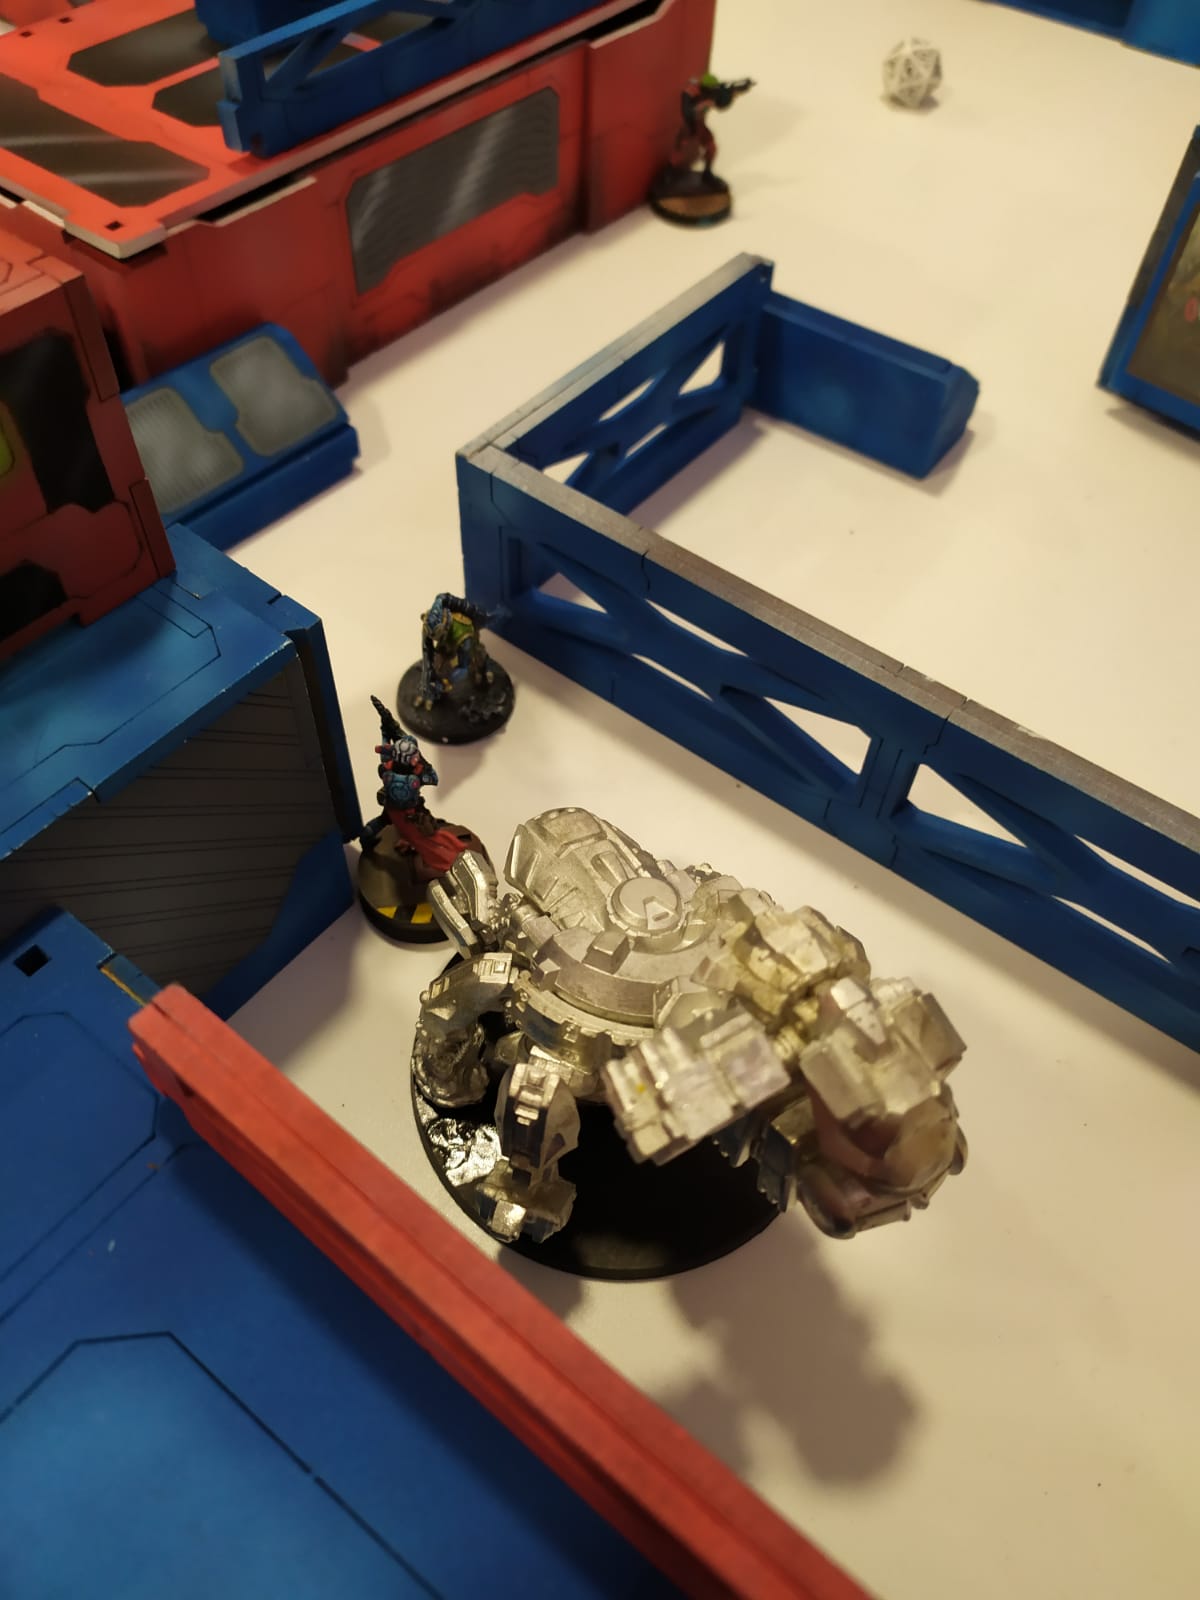
With few troops my rival decides to move forward with the hospitalaries and Juana´s core, and although from a distance the maghariba shot them with explosive ammunition, he manages to carry out the “mapping” mission with his murderous hacker and that Juana only takes a wound.
Turn 3 Dahshat:
The only thing I did in the turn was to move forward with the maghariba to get in touch with the artillery observer TO who had left the liberation unconscious and to realize the “nano-espionage” objective.
—————————————————————————————-
Turno 1 ordenes militares:
En su turno 1 mi rival se centra en el core de brawlers y cazarrecompensas donde va el padre Lucien Sforza camuflado, con un sargento de orden spittfire le dispara a Sforza, que estaba camuflado como una cazarrecompensas despistada, consigue dejarlo inconsciente al no activar yo su tenaz con la esperanza de poder curarlo más tarde. Sin embargo el brawlers Sniper v2 tiene mas suerte y tras un tiroteo intenso consigue matar al sargento en ORA. Al intentar reestructurar su core el sargento lanzacohetes pesado queda expuesto y cae también por los disparos del brawler sniper.
Turno 1 Dahshat:
Me lanzo a hacer objetivos, por el lado derecho una hunzakut avanza hasta tener a tiro a sus civiles y, no sin gastar 3-4 órdenes, consigue hacer el HVT:designación. La médico ghulam salta para intentar curar a Sforza y cae presa de un sargento de orden TO sniper. A continuación el brawler sniper V2 termina con el sargento, y con el resto de órdenes hago tomar posiciones al maghariba seguido por el dozer.
Turno 2 Ordenes militares:
Básicamente dedica todo su turno a intentar destruir al maghariba en cobertura con su hospitalario HMG, haciéndole solo una herida.
Turno 2 Dahshat:
El Zensha avanza por el centro le realiza el objetivo “data scan” al warcor panoco y “Seguimiento” a un HVT que estaba cerca. En el proceso se ha revelado un TO junto a dicho warcor. El liberto deja a ambos inconscientes a golpe de Chain colt sin sufrir ni una herida (esa suerte!).
Turno 3 Ordenes militares:
Ya con pocos efectivos mi rival decide avanzar con el enlace de hospitalarios y Juana, ya aunque desde la distancia el maghariba les disparaba con munición explosiva, consigue realizar la misión “mapeo” con su hacker asesino y que Juana solo se lleve una herida.
Turno 3 Dahshat:
Lo único que hice en el turno fue avanzar con el maghariba hasta entrar en contacto con el TO observador de artillería que había dejado inconsciente el liberto y realizar el objetivo “nanoespionaje”.


Battle Report Author

Recommend Commander For Commendation
Share this battle with friends
ColtWins

a win for the NA2
Outstanding! A win for NA2!
great batrep
always show the players
Thanks for the bilingual report! I’m glad that our campaign is in more than just the English speaking parts of the world! I will try to do translations in mine from here on out.
Thanks! arrrrg Harry´s bar is too tight!
Nice report, seems like a tenacious defense
Great BR and nice photos 😉
Great job, protect your home, brave soldiers!