Fought At Pakngein NBIS, The NB International Spaceport: Traffic Control Offices
1660 days 16 hours 33 minutes ago
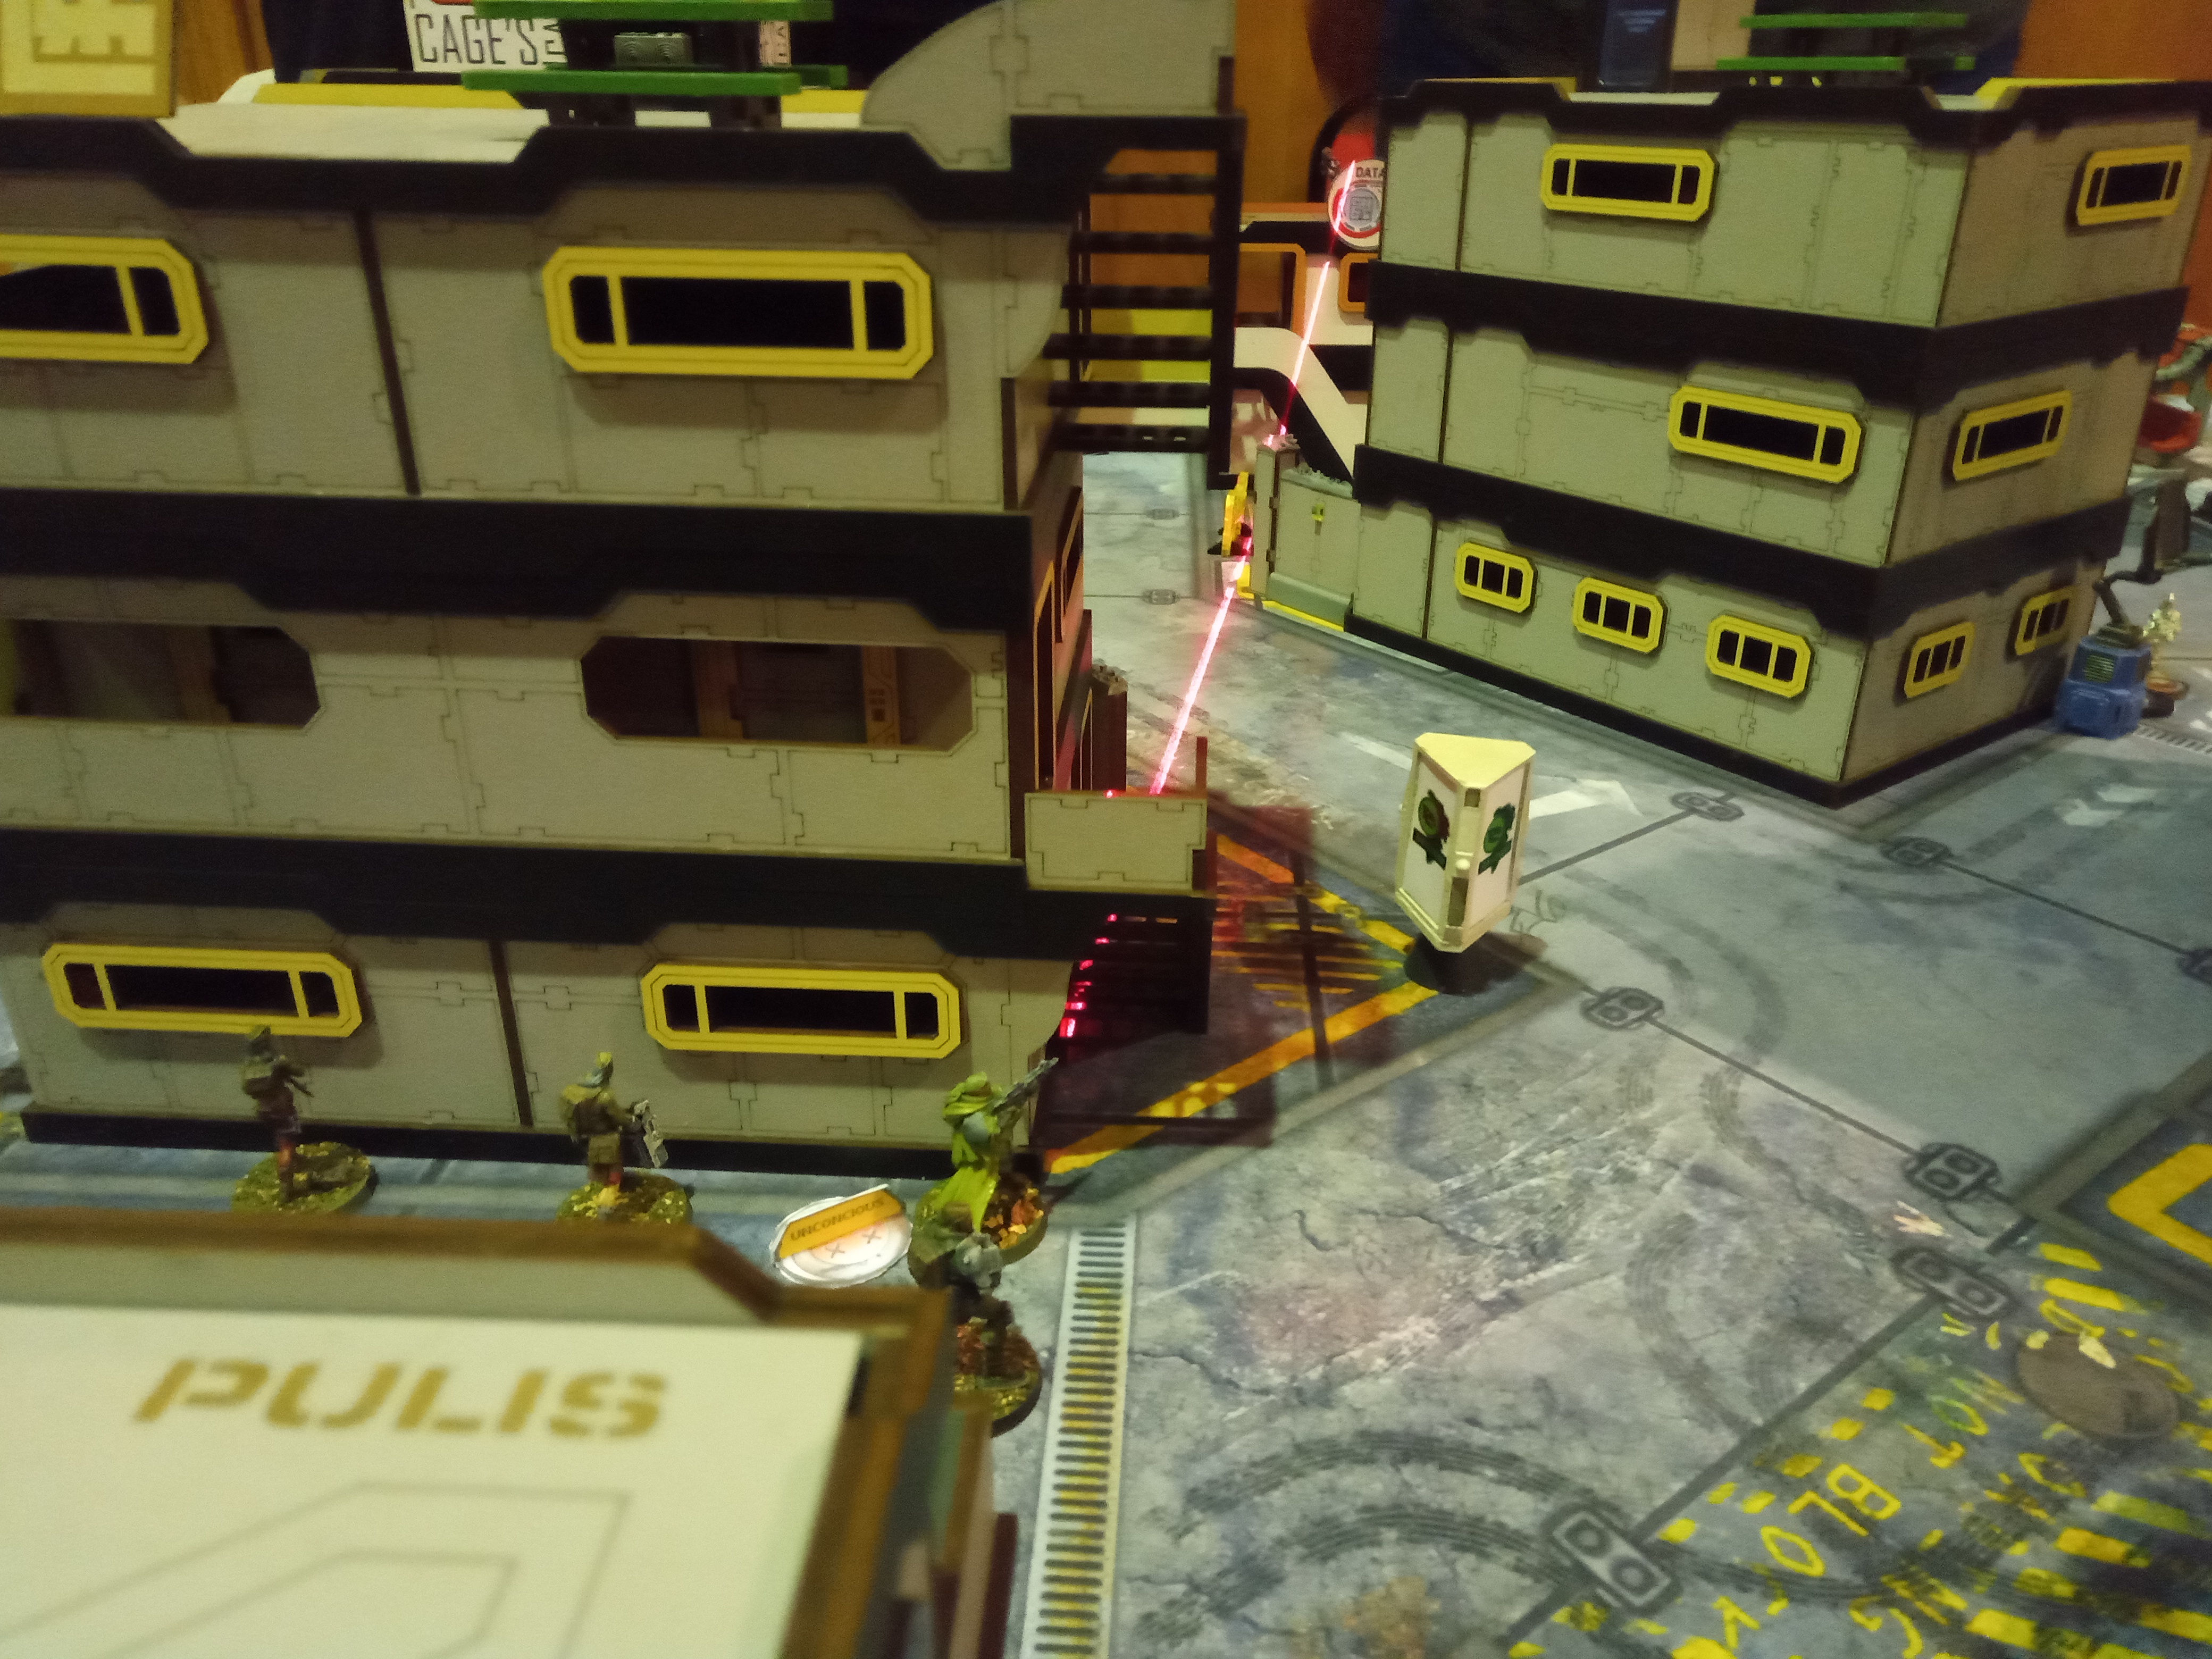
Ikari karaoke
200 POINTS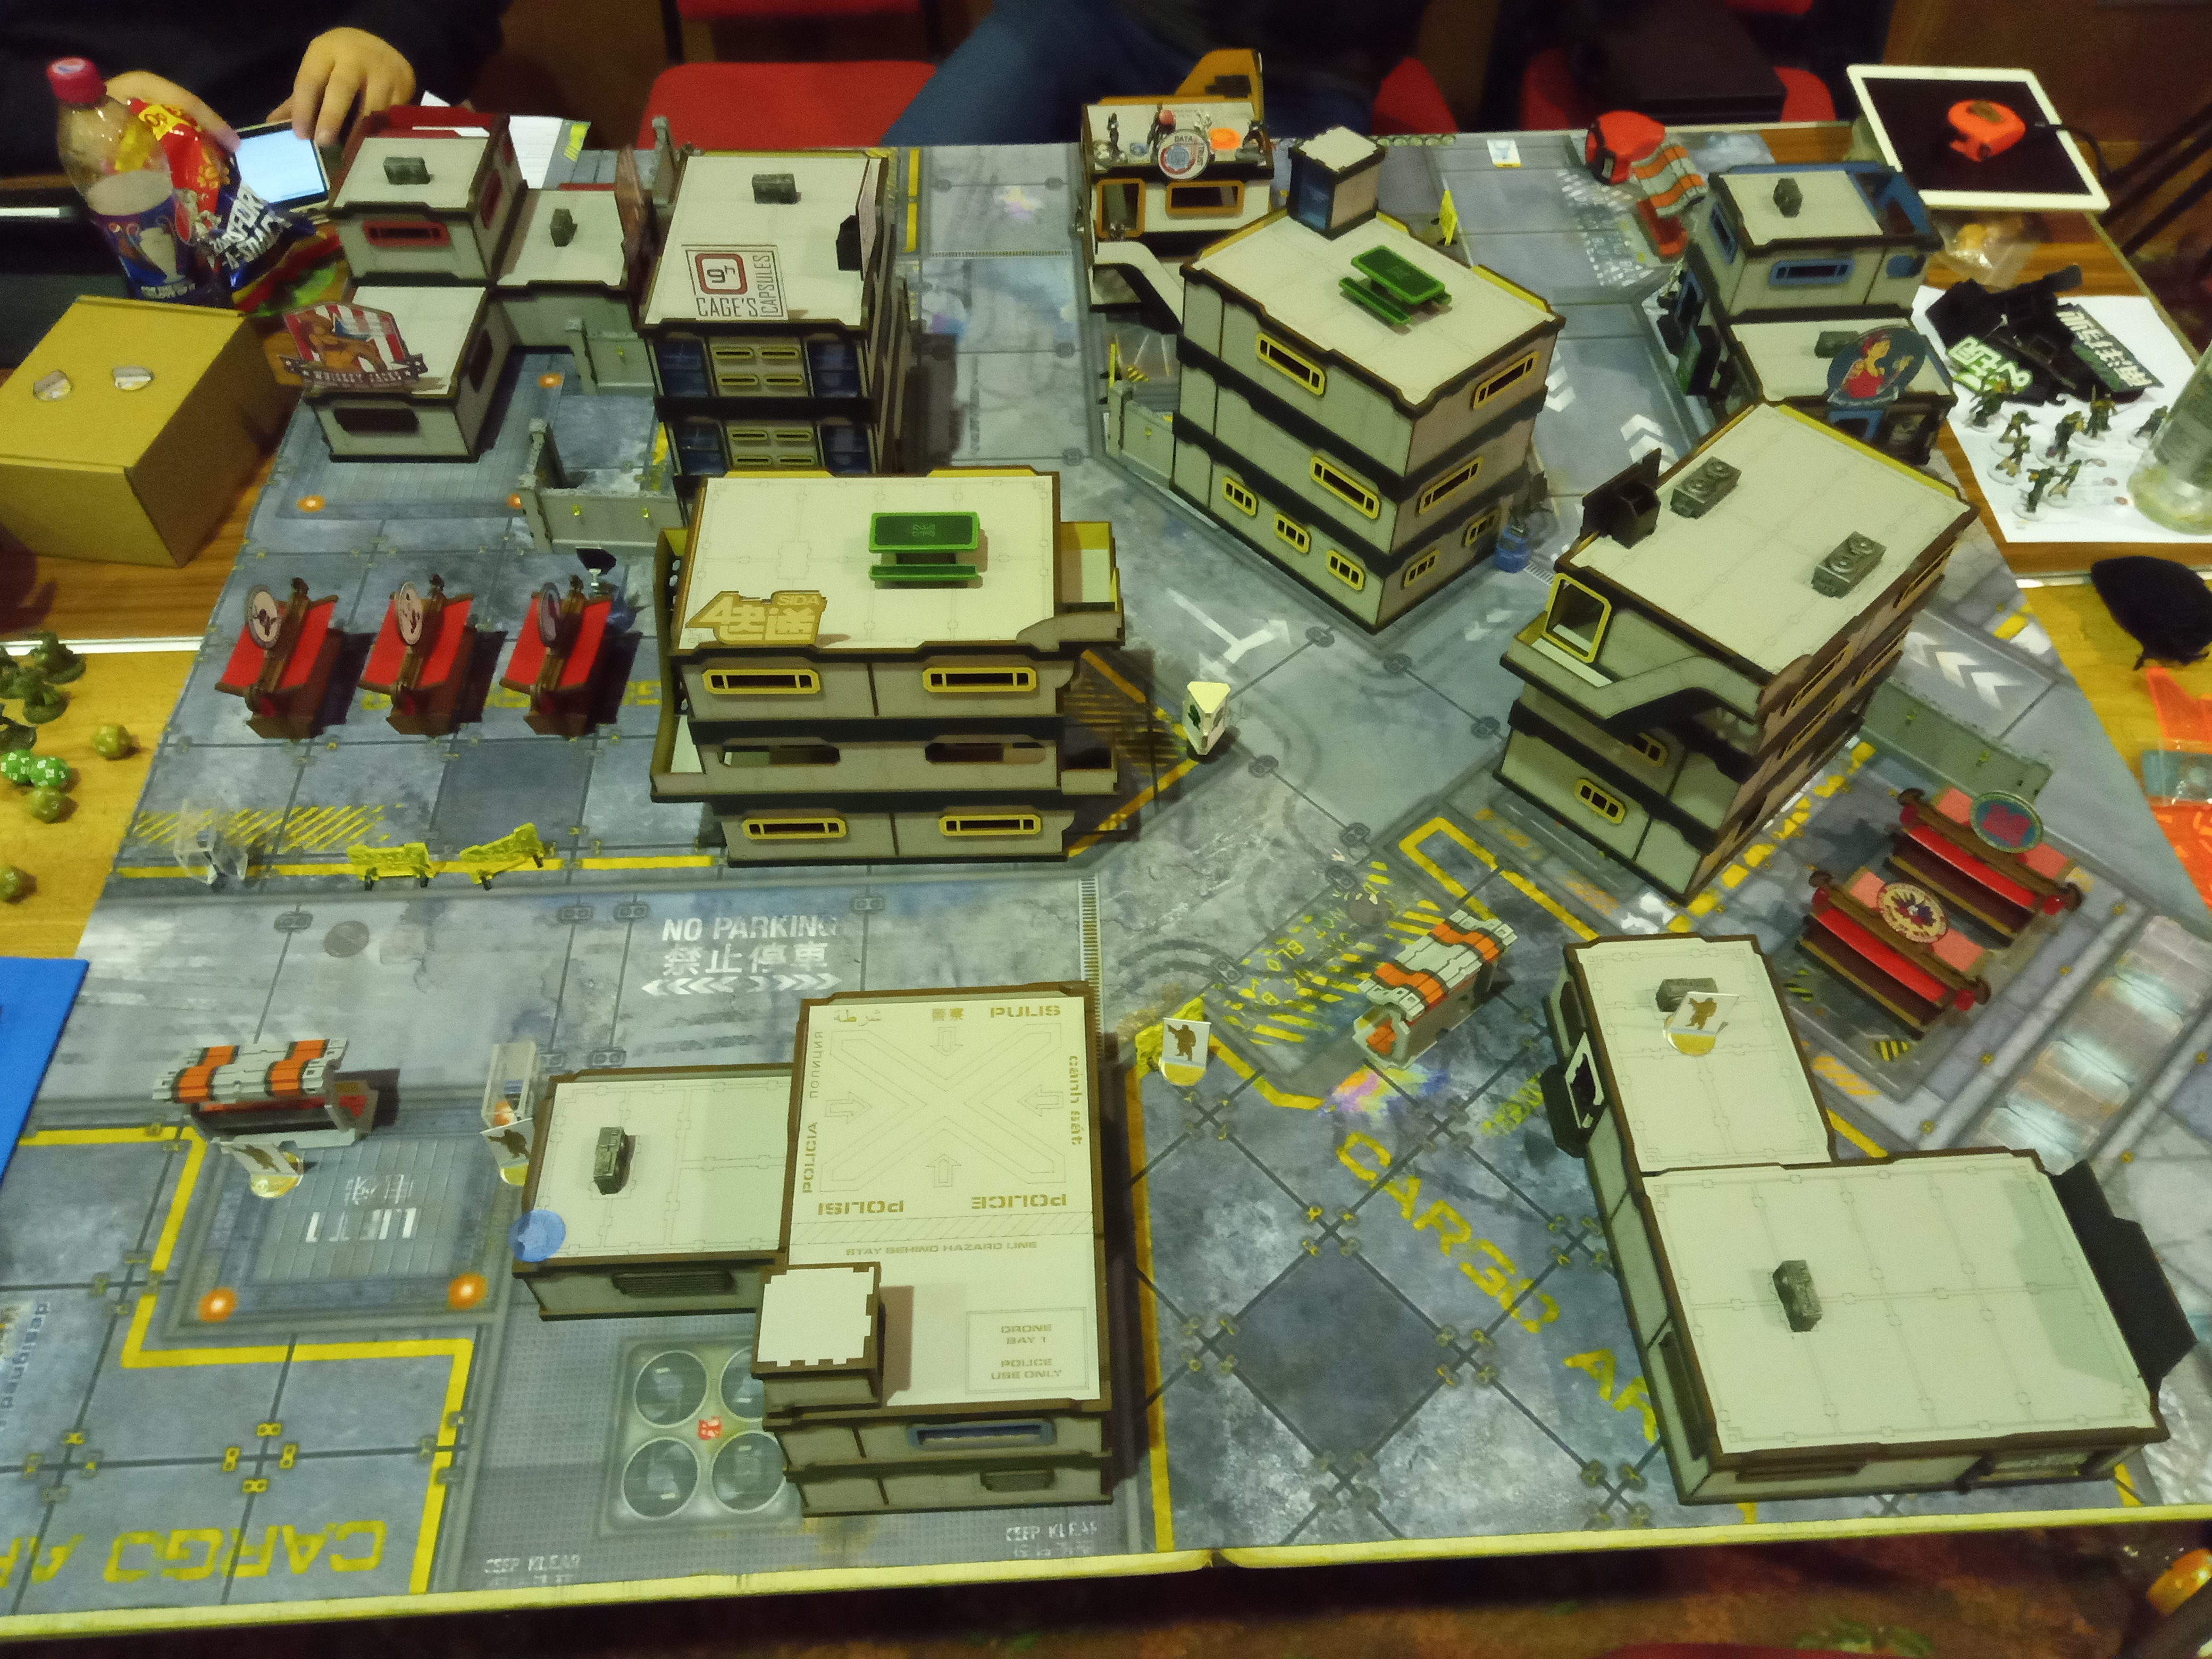
Jamie elected to take the first turn, his Druze duo lobbing nimbus grenades around like they were going out of fashion, confounding the efforts of my Grey HMG trying to kill them.
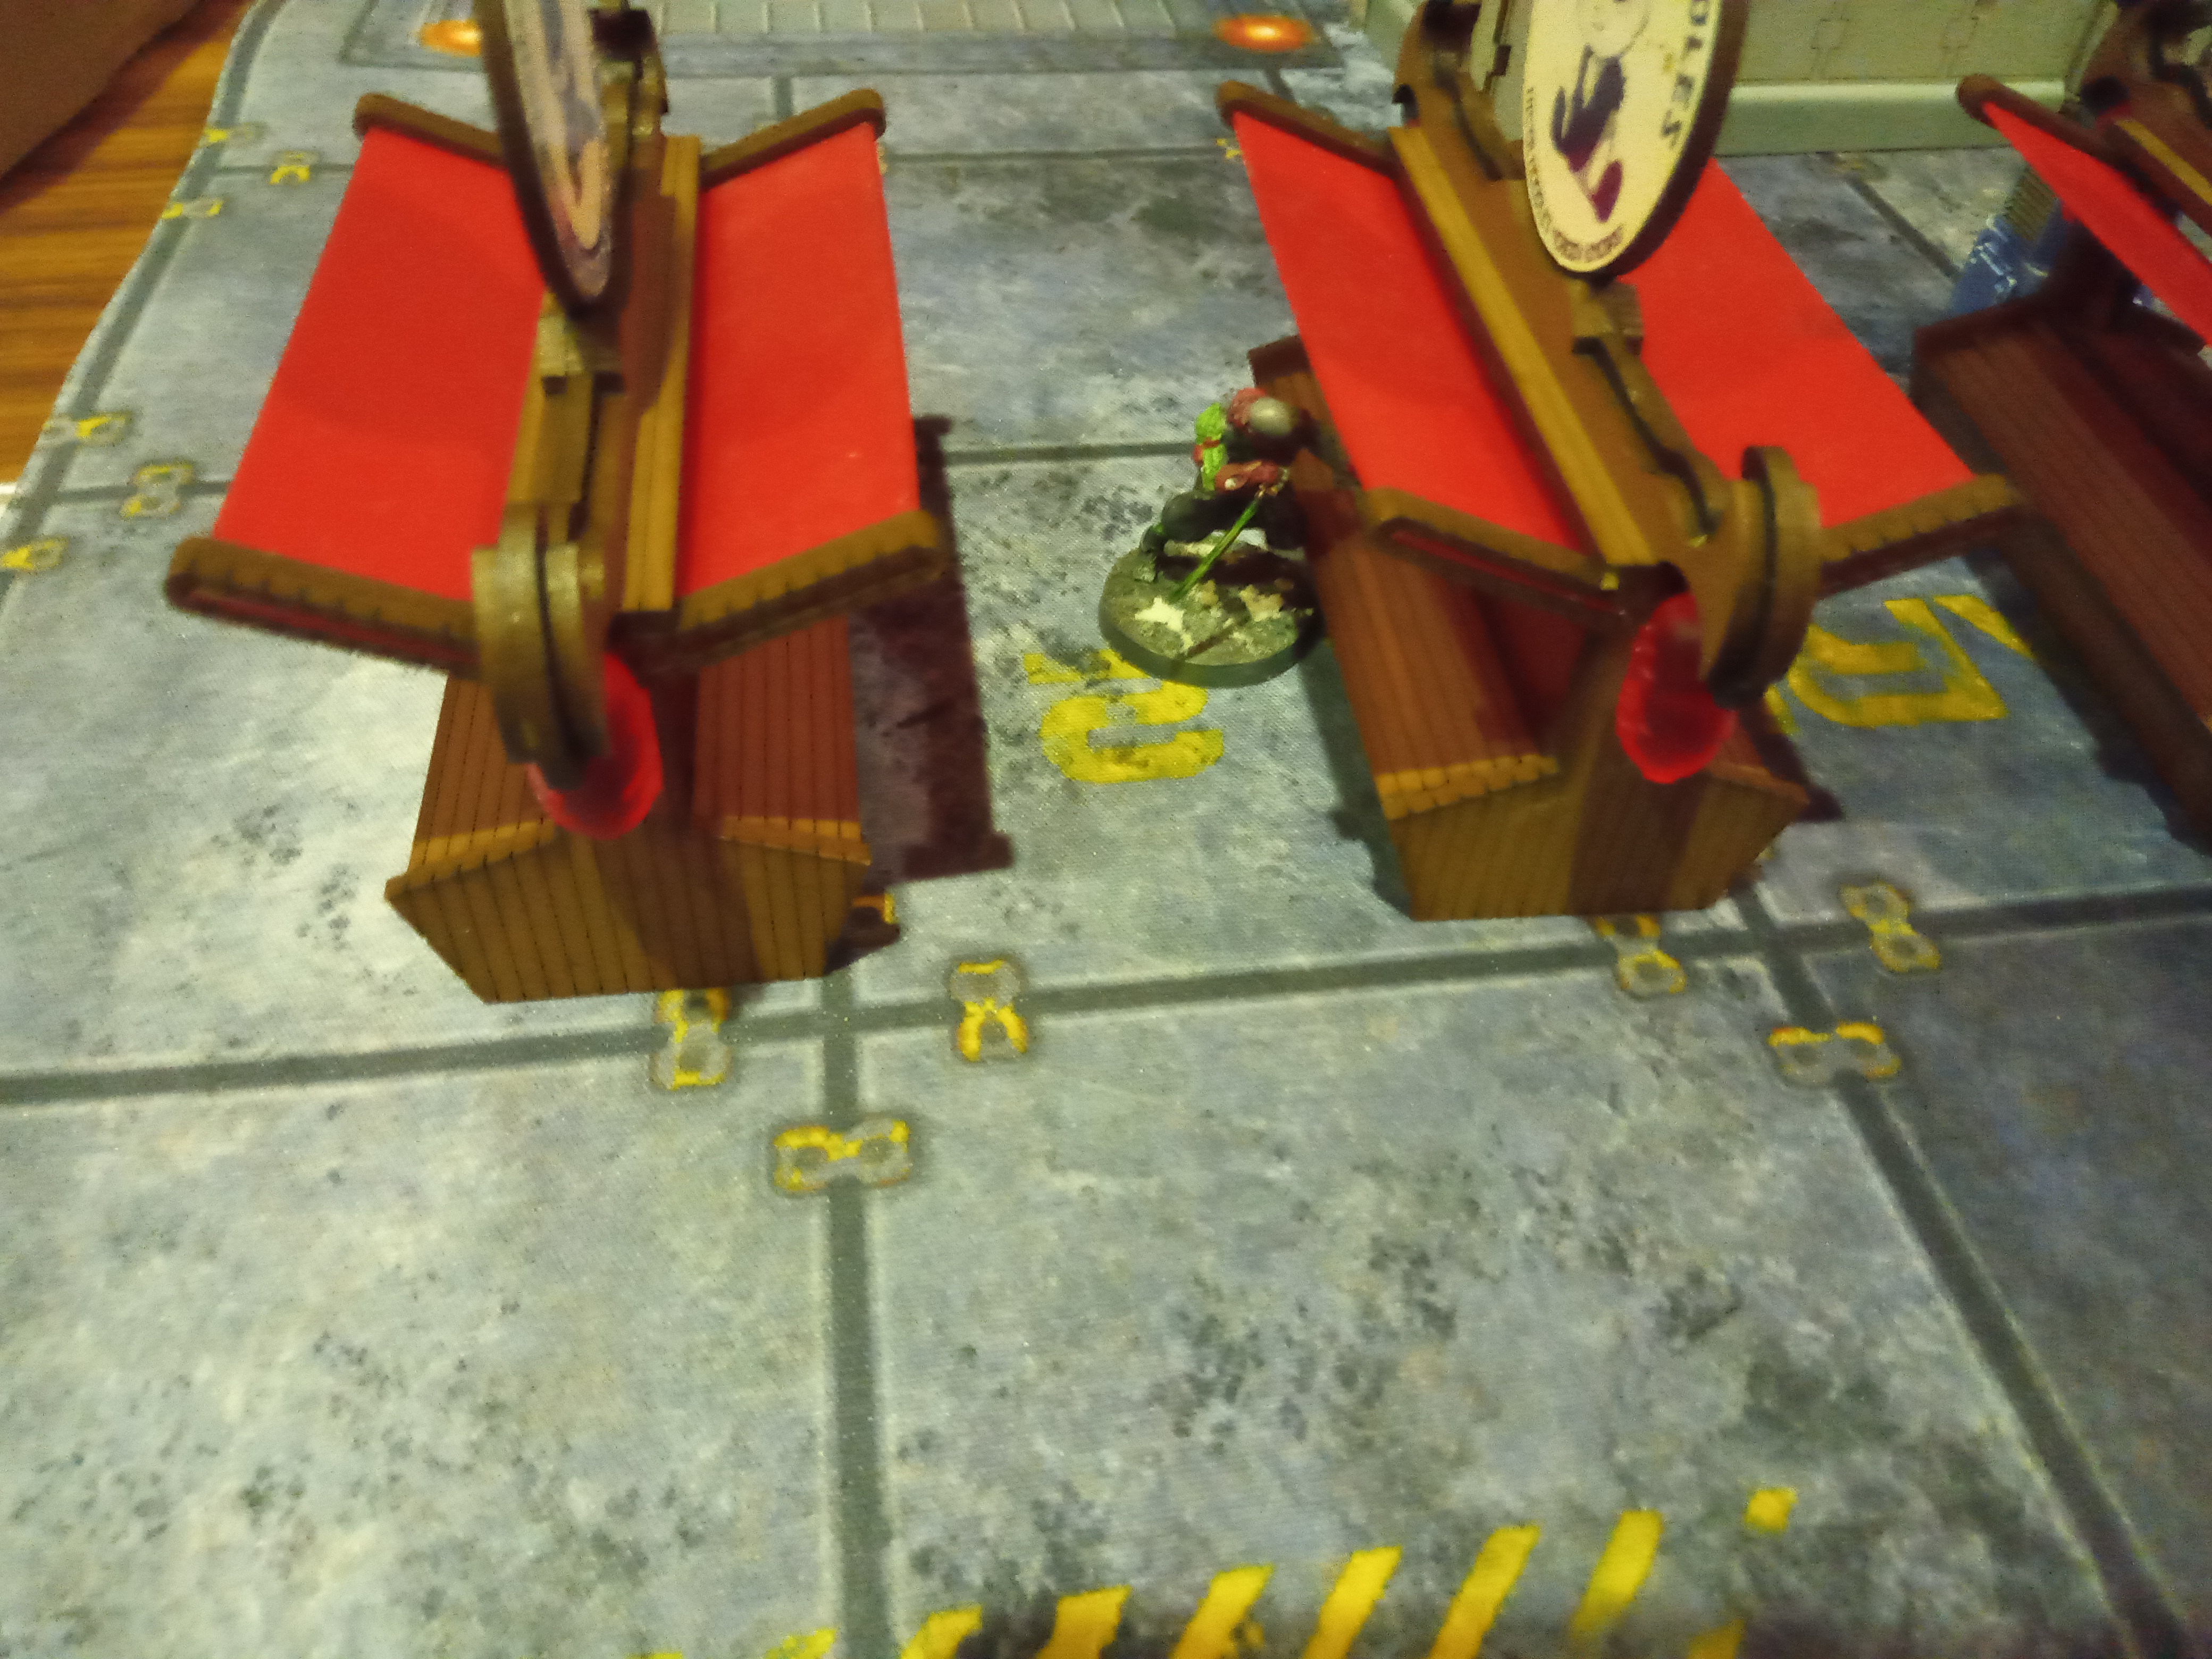
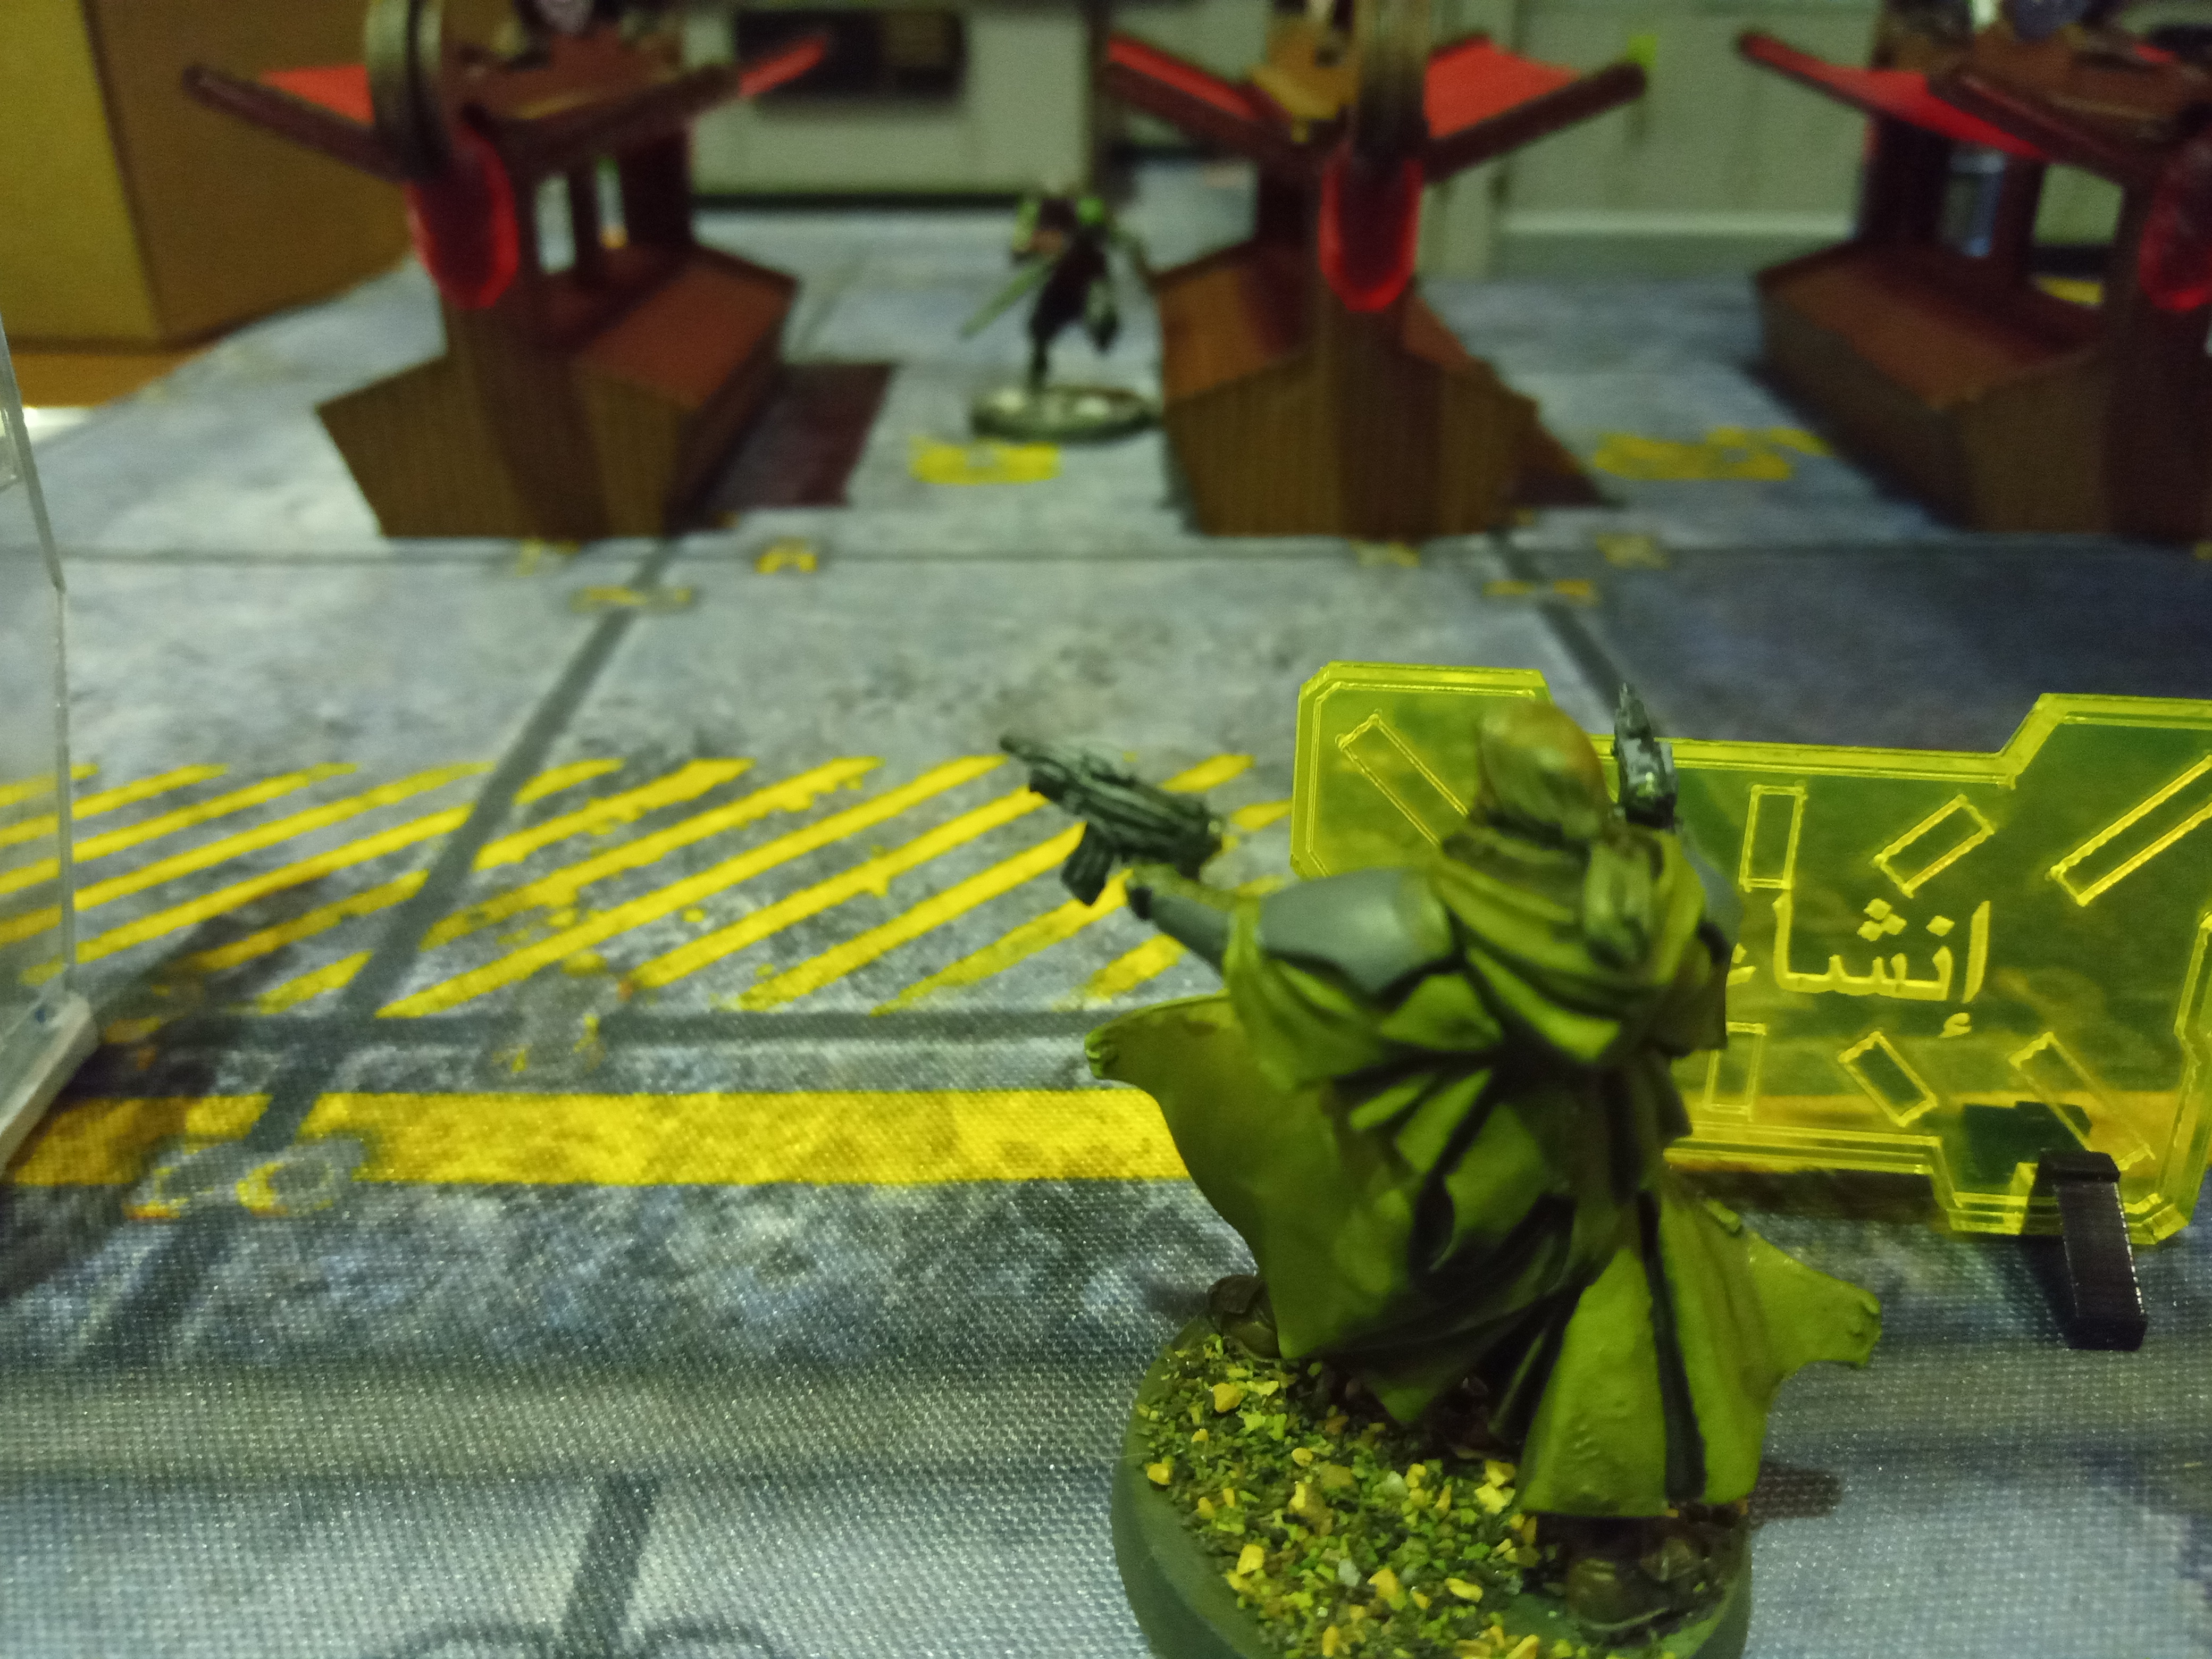
His ninja ran into the range of the volunteers and was discovered on the first roll...
The Brawler rocket launcher got knocked down trying to shoot the Grey, but was brought back by the brawler's Yaozao.
The first thing the Grey did In the active turn was to murder the Brawler, while the Tanko missile launcher decided to knock the grey and a volunteer paramedic unconscious with his ARO.
The Scots guard on the far left sailed a DEP round over the ninja's head, then the other one popped across the road to murder their target with his SMGs.
The second Scots Guard showed his friend how the DEP is supposed to work, turning a brawler into chunky salsa, which turned out to be Jamie's Lieutenant.
The molotok Scots guard had a crack at the Datatracker Keisotsu, wiffing.
The Mormaer LT fired on the Tanko, attracting a hit in anti tank mode. With the massive armour of the Mormaer and cover it would only require 8s to save, so I rolled 5, 6 and 7,meaning that the Mormaer turned into a lot of shrapnel and gore.
The volunteer Paramedic in the building healed the grey while scraping pieces of Mormaer out of his hair...
The grey reformed the link with the 3 conscious volunteers, firing on the Tanko as they moved down the stairs to the road, criting the Tanko but not dropping him.
Ikari turn 2 in loss of Lieutenant started with the Tanko moving forward, using his own impetuous order, his irregular order and the Brawler doctor's command tokened irregular order to get into position. The keisotsu moved around except for the Datatracker, who lay down suppressive fire.
The Druze moved up, firing on the Scots guard molotok and the Grey HMG, knocking the Scots guard down, but not harming the Grey.
Turn two for CHA started with spending two command tokens to make the grey and a paramedic's order regular, allowing the fireteam to gun down the HMG Druze.
The Scots guard marksman rifle fired on the Tanko with his irregular order and the remaining regular order, hitting but not harming the Tanko.
The Submachingun Scots Guard put down suppressive fire.
Ikari's last turn started with the Yaozao taking fire trying to reach the Tanko, before Jamie realised that he couldn't actually do anything until the Tanko was KO'd.
The Tanko engaged the Scots guard marksman rifle, several times, eventually knocking him out, before moving on, taking on the suppressive fire of the SMG Scots Guard, surviving two hits and breaking line of fire.
The last CHA turn started with the SMG Guard using the LT order to move up and fire on Tanko, criting once and killing him with another hit.
The paramedic Volunteer revived the other paramedic Volunteer, then the Grey used the last command token to reform a 5 strong link, before poaring fire on the Datatracker Keisotsu, killing him and then some.

Battle Report Author

Army Lists Used In This Battle
Recommend Commander For Commendation
Share this battle with friends
CazboabWins

Nice win!
Get those mobsters!
Nice work commander! Good report.