Fought At Xaraks Battery: Battery Field
1673 days 17 hours 54 minutes ago
Blue-04 Critical Situation
300 POINTSCaptain Hauser was back at it. More civilians lost in the warzone that the Battery has become. He was tired. His men were tired. The battle drags on. Fighting over this rock. Attacked by a greedy corrupt enemy. It's hard to keep going, but it's what the soldiers of Dawn do. Once more into the breach.
"Captain" "What is it this time Jones?" "Nomads" "Lock and load. Let's do this again."
This is a part of our Daedalus fall campaign so things are a little off as we have both unlocked some additional upgrades.
The objective is to locate and rescue Tohaa from 12 crash coffins scattered around the table. There are 6 Tohaa assistants and 1 Diplomat. The Diplomat is worth a little more than the assistants.
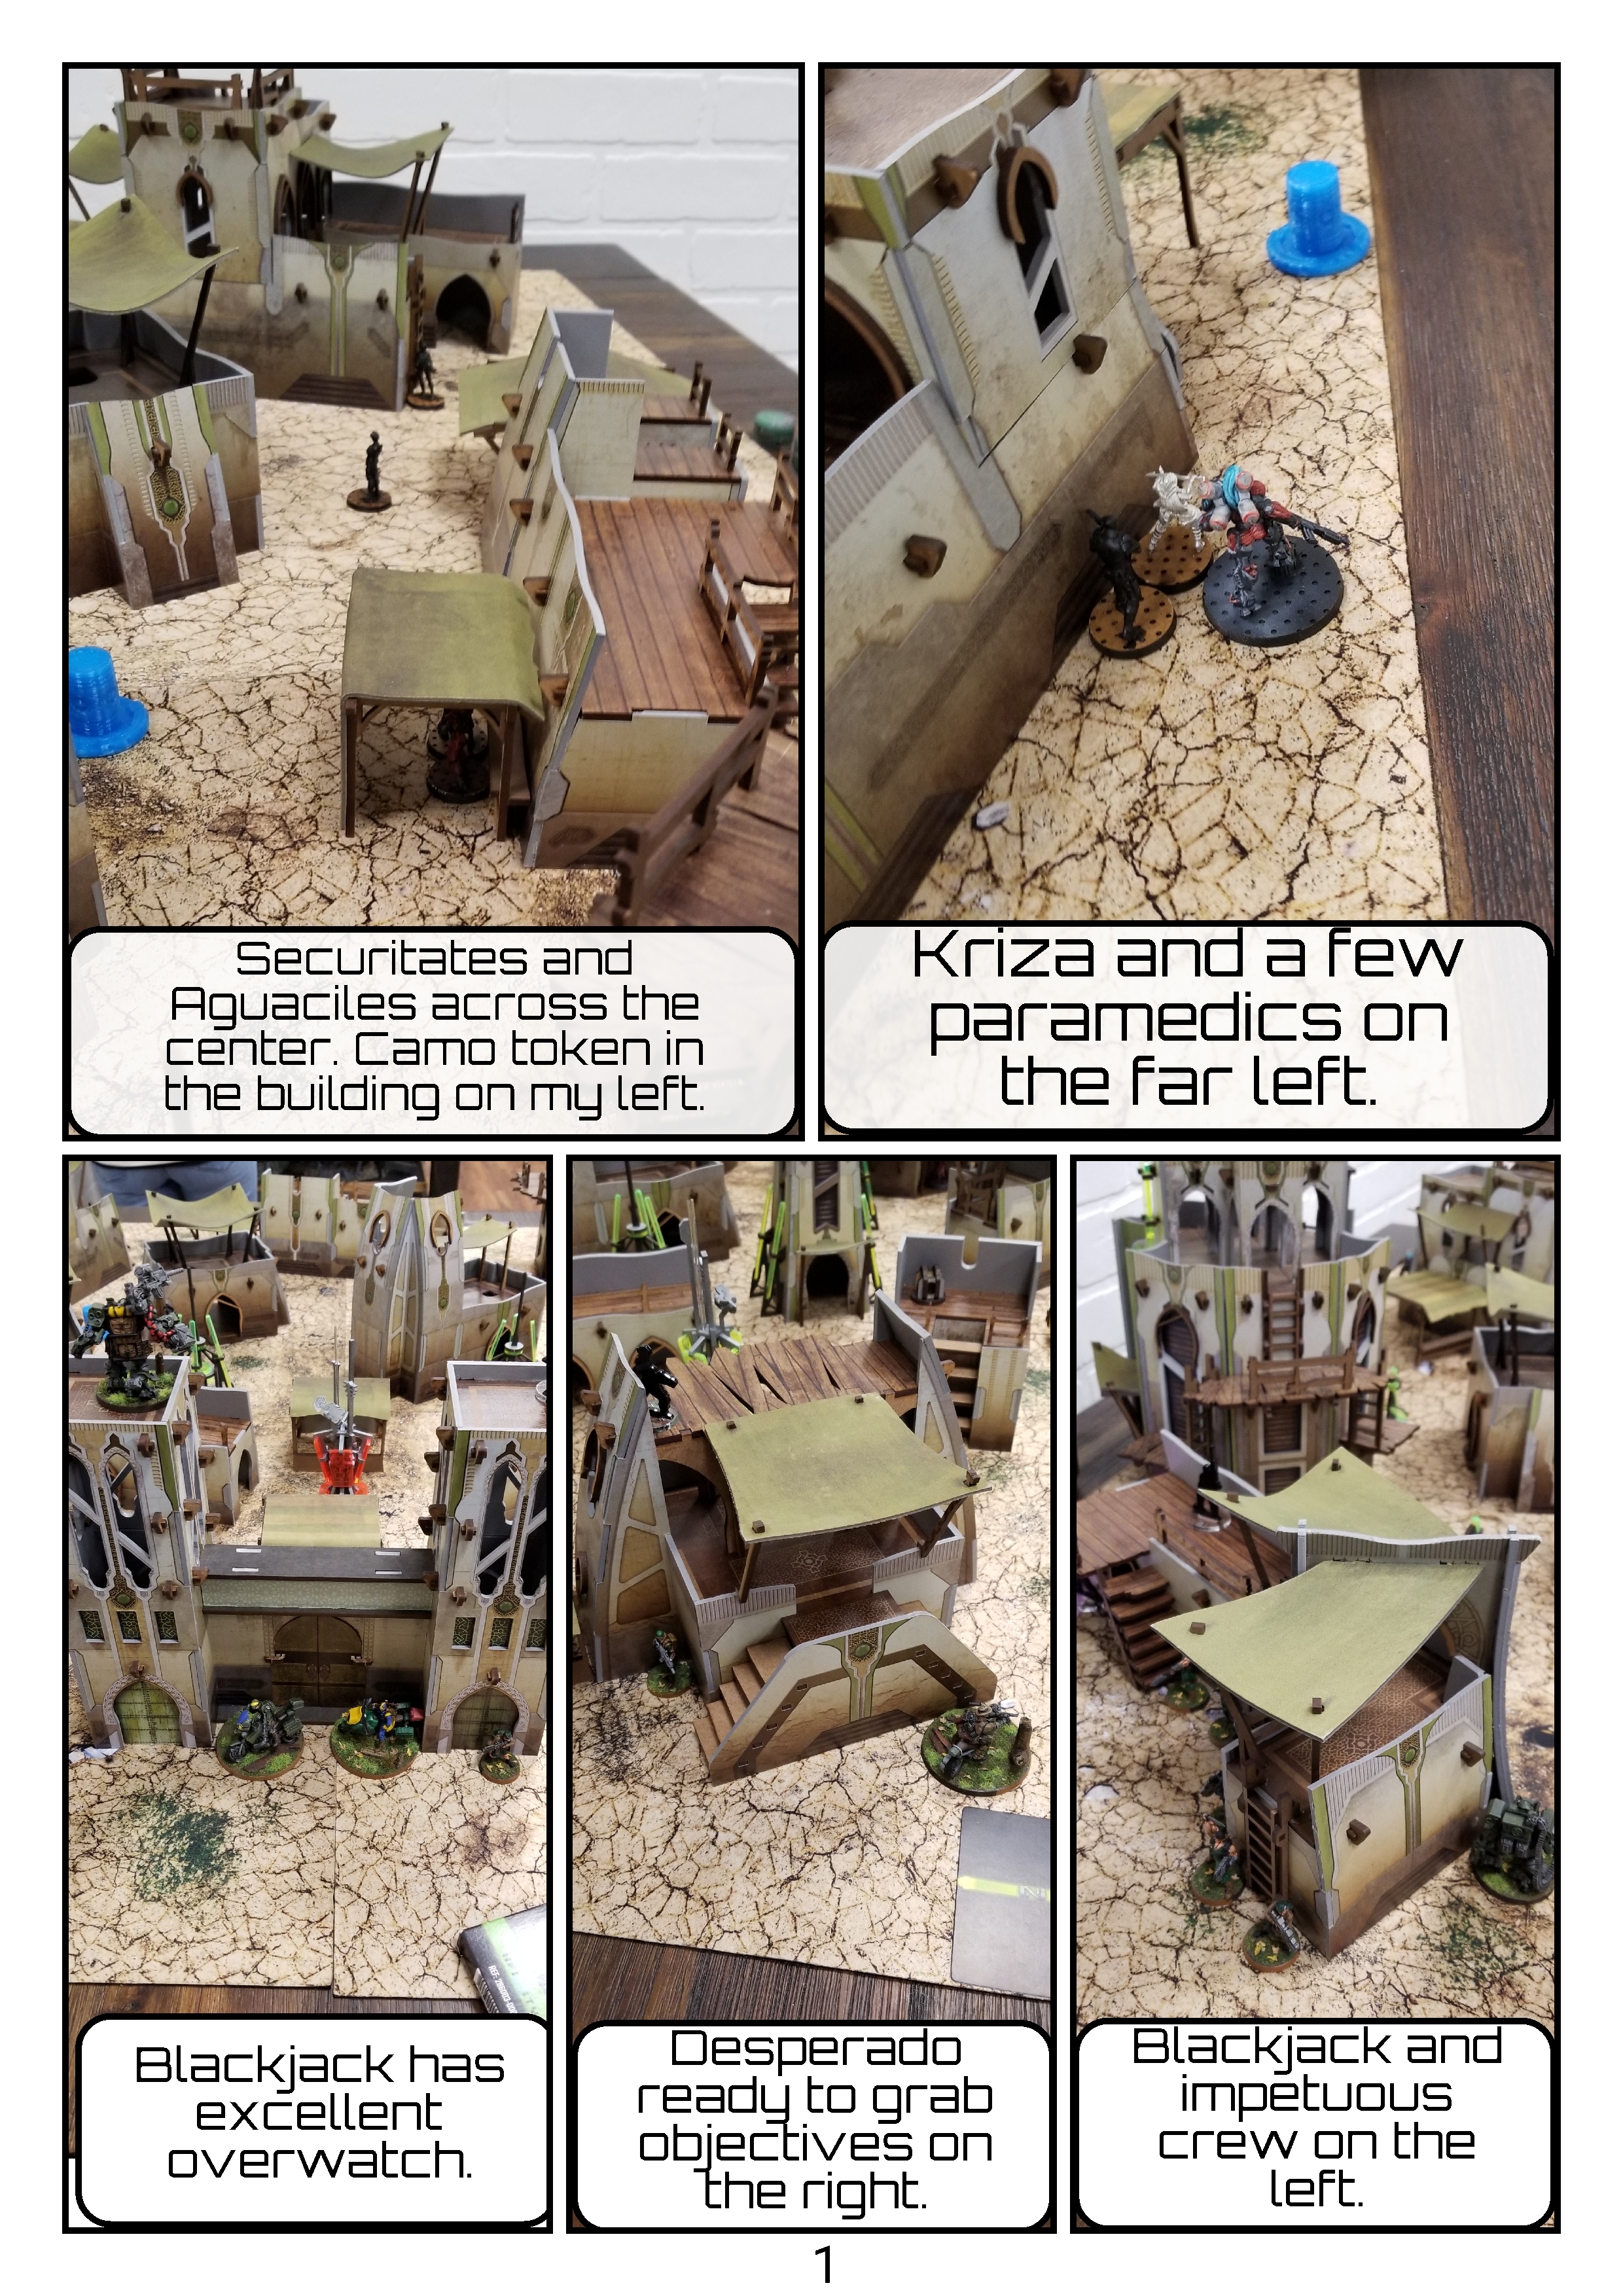
She wins the roll off and chooses to go first. I choose the side with a great position for my BlackJack. Her force is mostly paramedics since they get a bonus to syncing with the targets. Her aggressive pieces consist of a Kriza on my left and a couple camo tokens.... should be easy...
I place my Blackjacks in the center with good sightlines that can counter her Kriza and camo tokens. Flankers on both sides to rush some objectives. 112 and a Maverick in the center to reinforce where necessary.
And it begins....
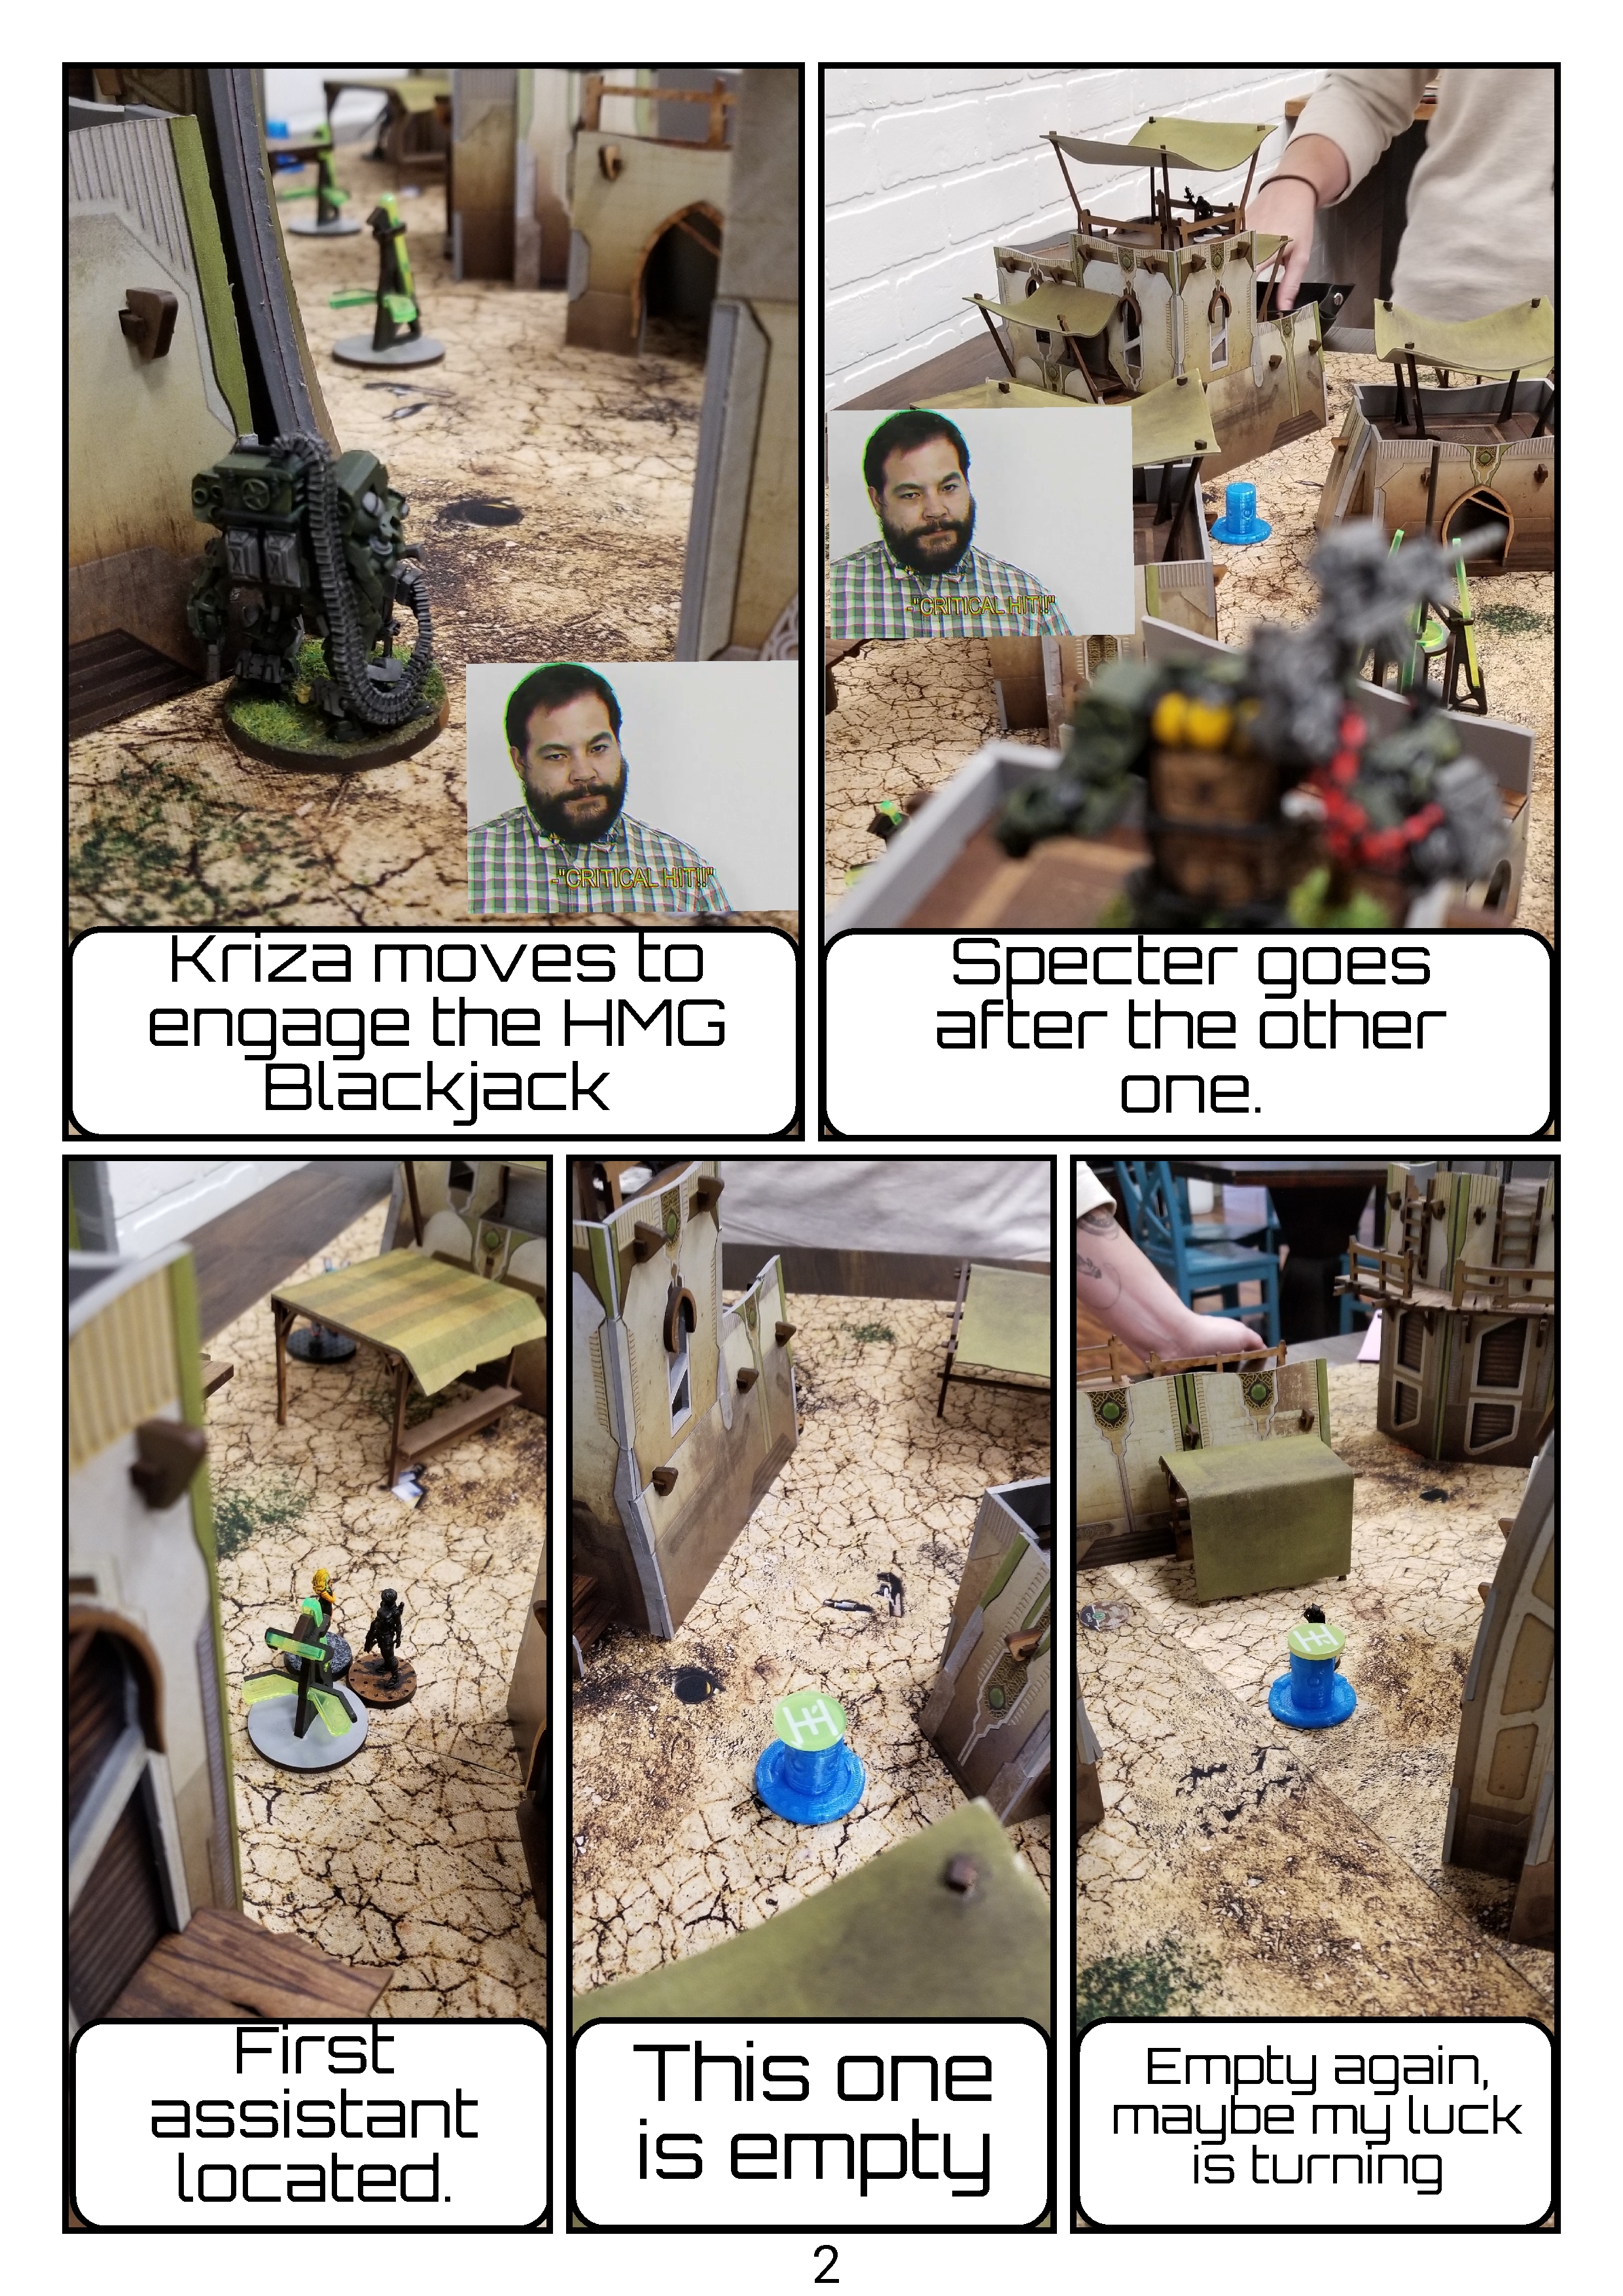
Round one opens with the Kriza moving up to engage the HMG Blackjack. Critcal. That's fine, it happens. I'm battle ravaged. Second order. Critical. OK. It happens. Sniper reveals for a surprise shot at the T2 Blackjack. I fail my roll and take a hit. Ok, Battle ravaged again. Second shot, Critcial. It's fine. The 112 is right there.
The rest of the turn is spent checking crash coffins. One Assistant is found, three coffins are empty, and one explodes killing two troops in base contact with it. Maybe things are turning around. Spoiler, they aren't.
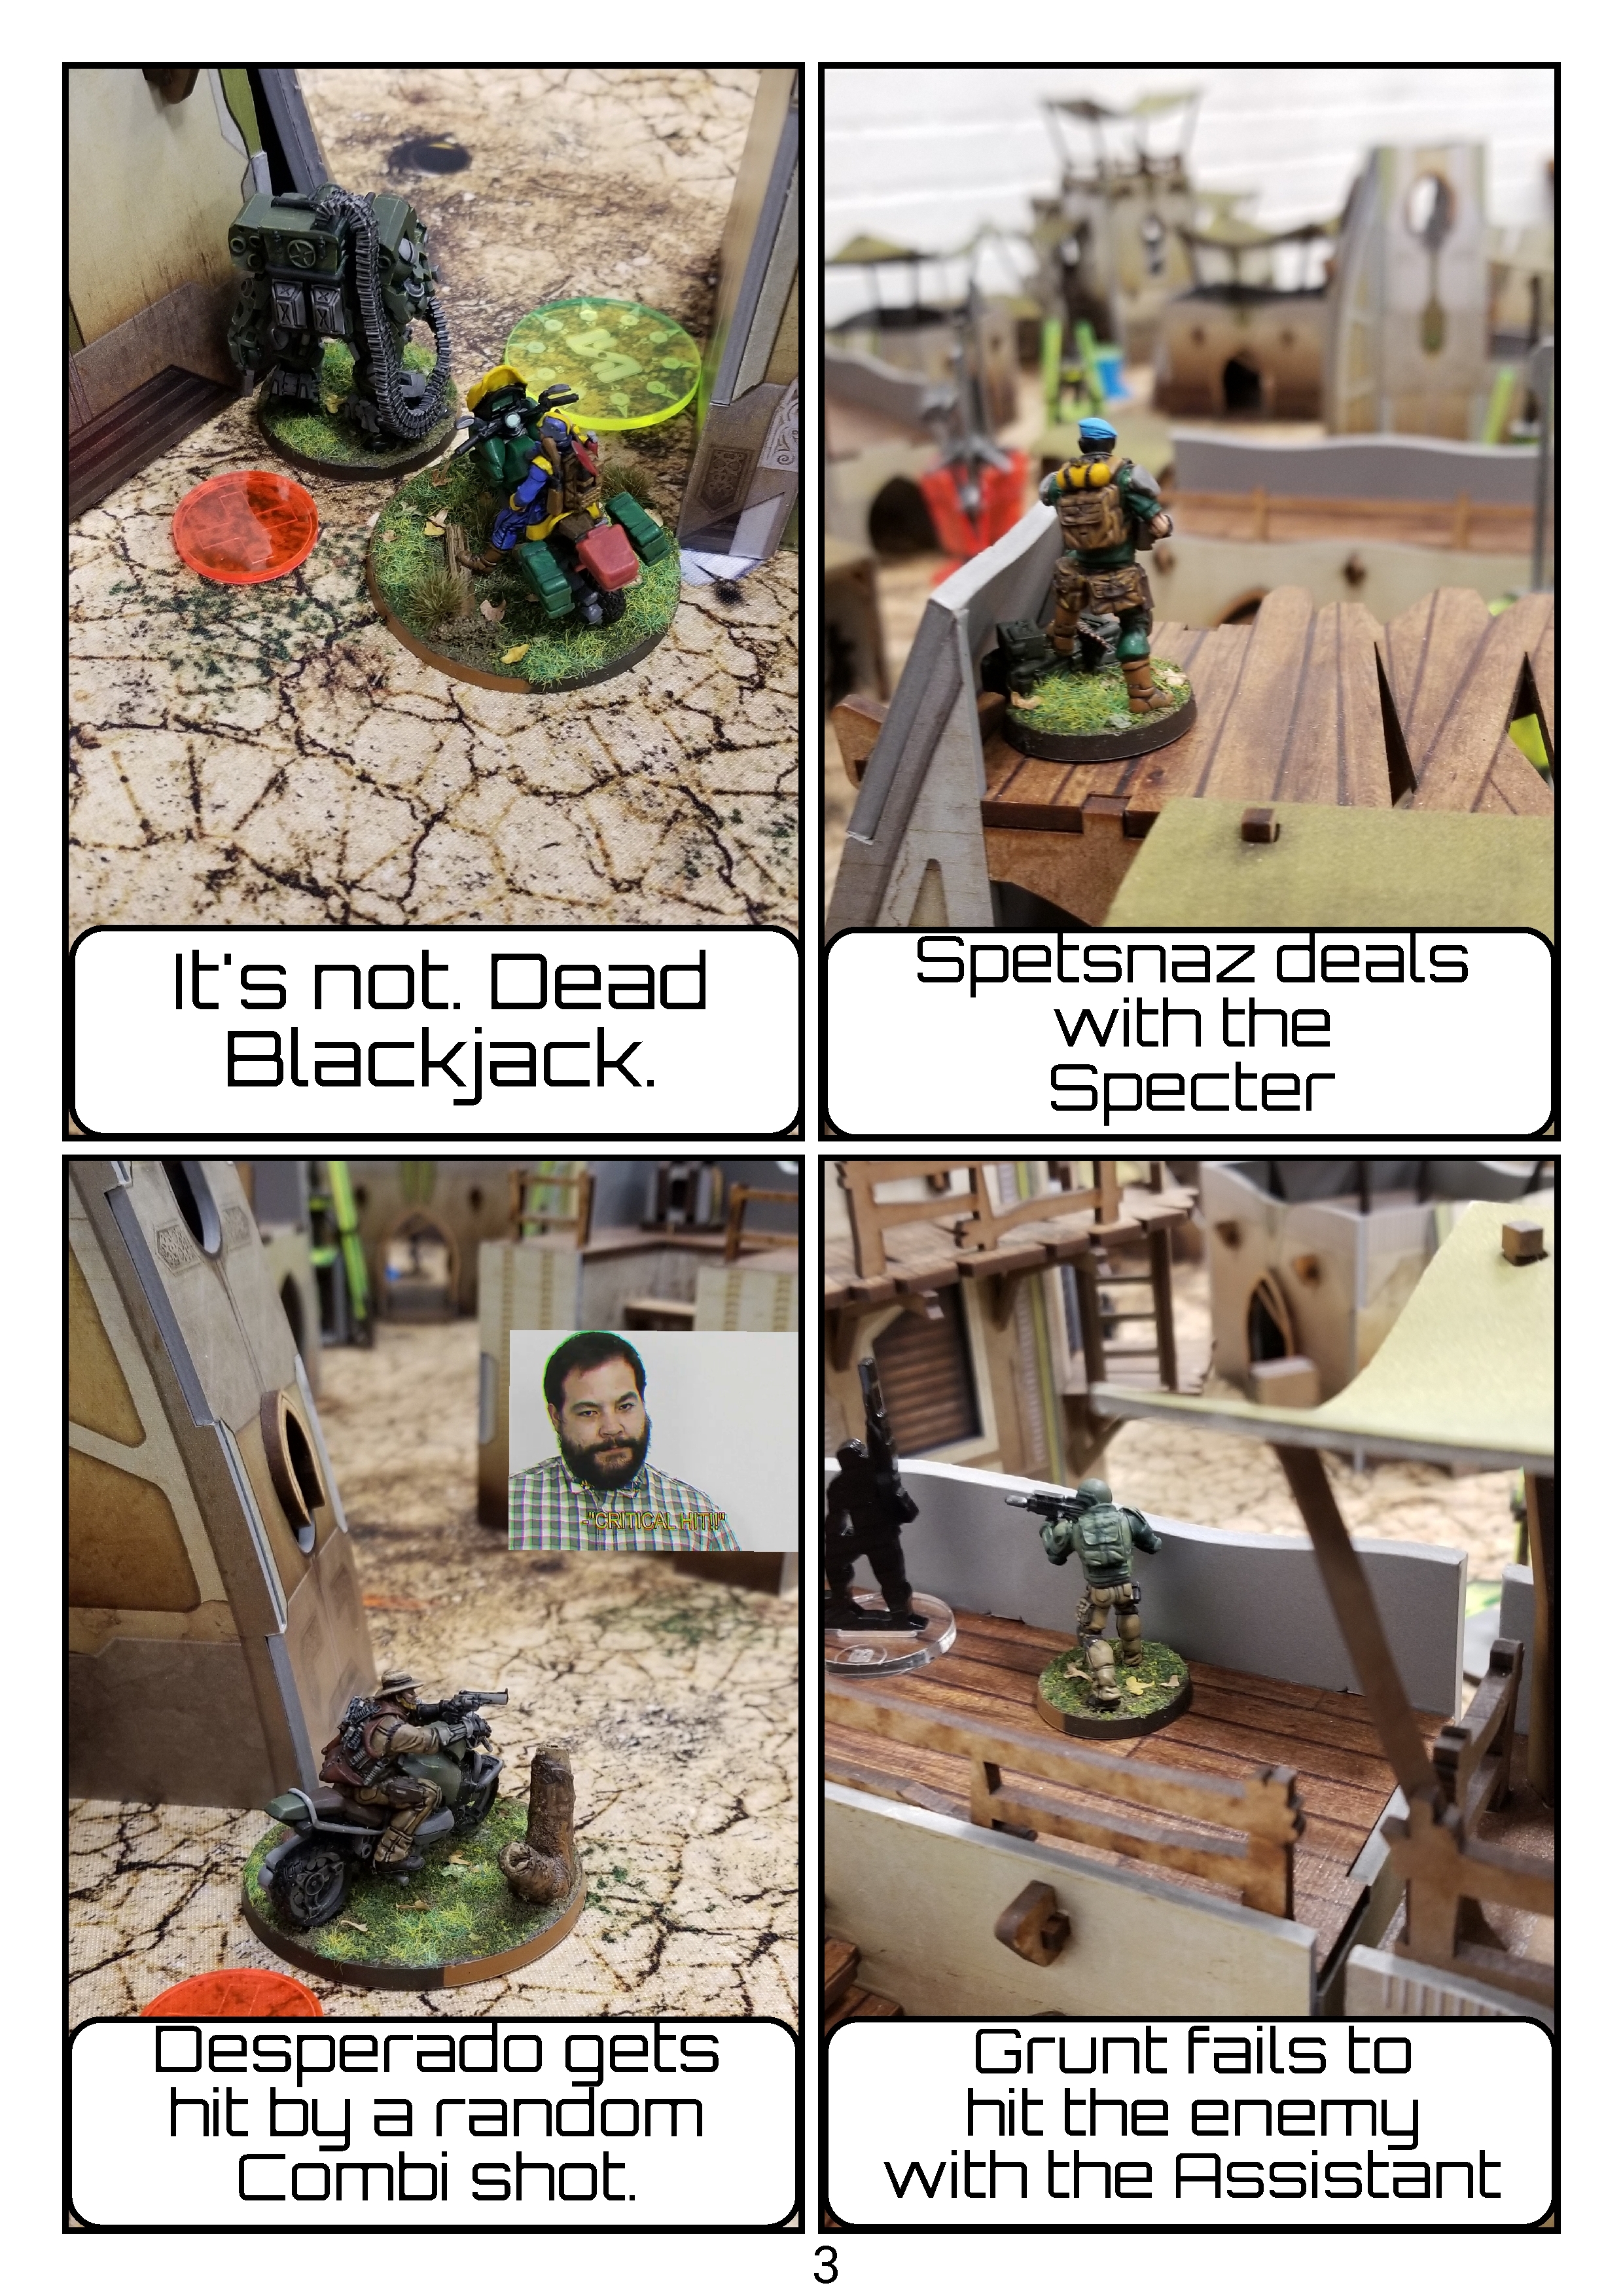
Impetuous squad move forward and drop smoke on the unconscious Blackjack. This allows the 112 to move up and make's sure it's dead. The Spetsnaz opens up and manages to take out the Specter. It takes far too many orders thanks to the Crits, but eventually this frees up a few options.
My desperado moves to grab a crash coffin. A long shot from across the table crits the desperado. The grunt on my left shifts a bit to draw a bead on the nomad escorting the assistant, but fails to inflict any damage.
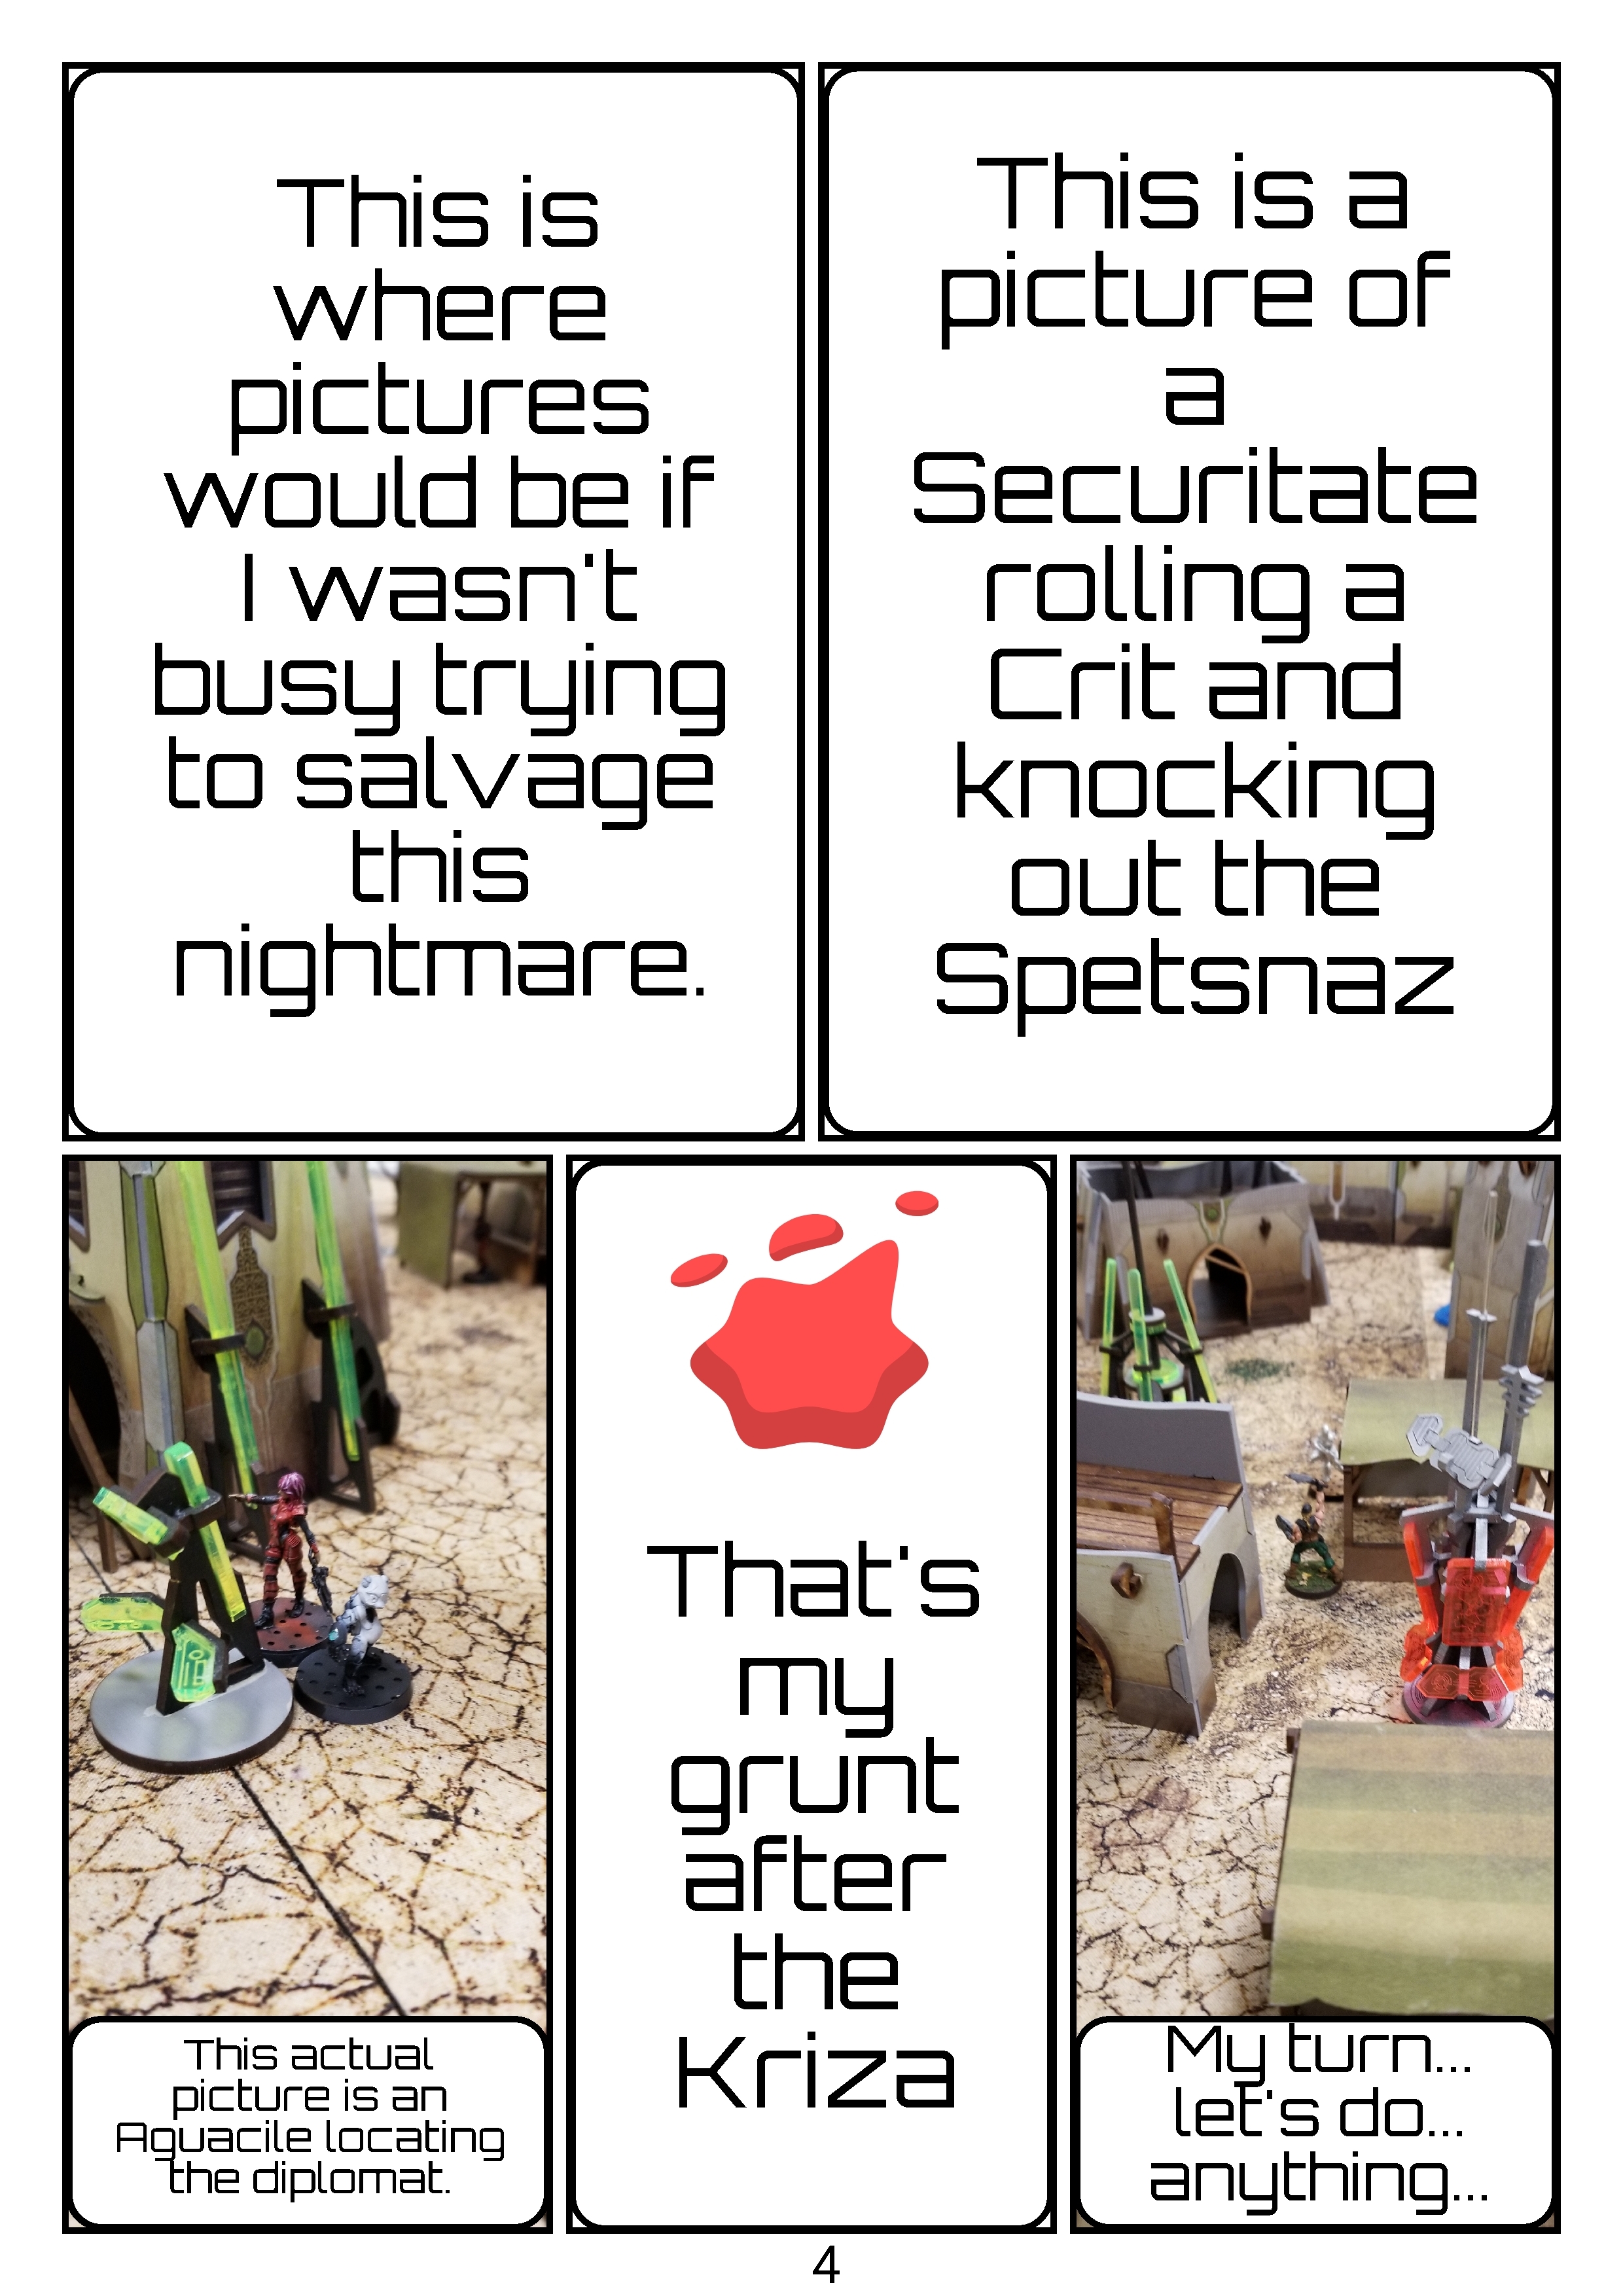
I forgot to take pictures of most of this round as my gameplans are burning down around me. The Kriza moves up and takes out the Grunt allowing the assistant to be escorted away. There's a crit in there somewhere, but I've lost track at this point. A camo token moves up and holds the center.
The Paramedics move about grabbing more coffins. While doing so, one crits the Spetsnaz off the board. They do manage to find the Diplomat, but don't have the orders to move it off the board.
OK, I can salvage this. Dog warrior charges the Kriza. Kriza makes all saves. Dog warrior jumps over the Kriza. Kriza makes the saves but the Secutitate escorting the assistant does go down. As does my Dog Warrior. Irmanihindo rushes the Kriza as well. He manages to inflict a wound before going down. So, that's something.
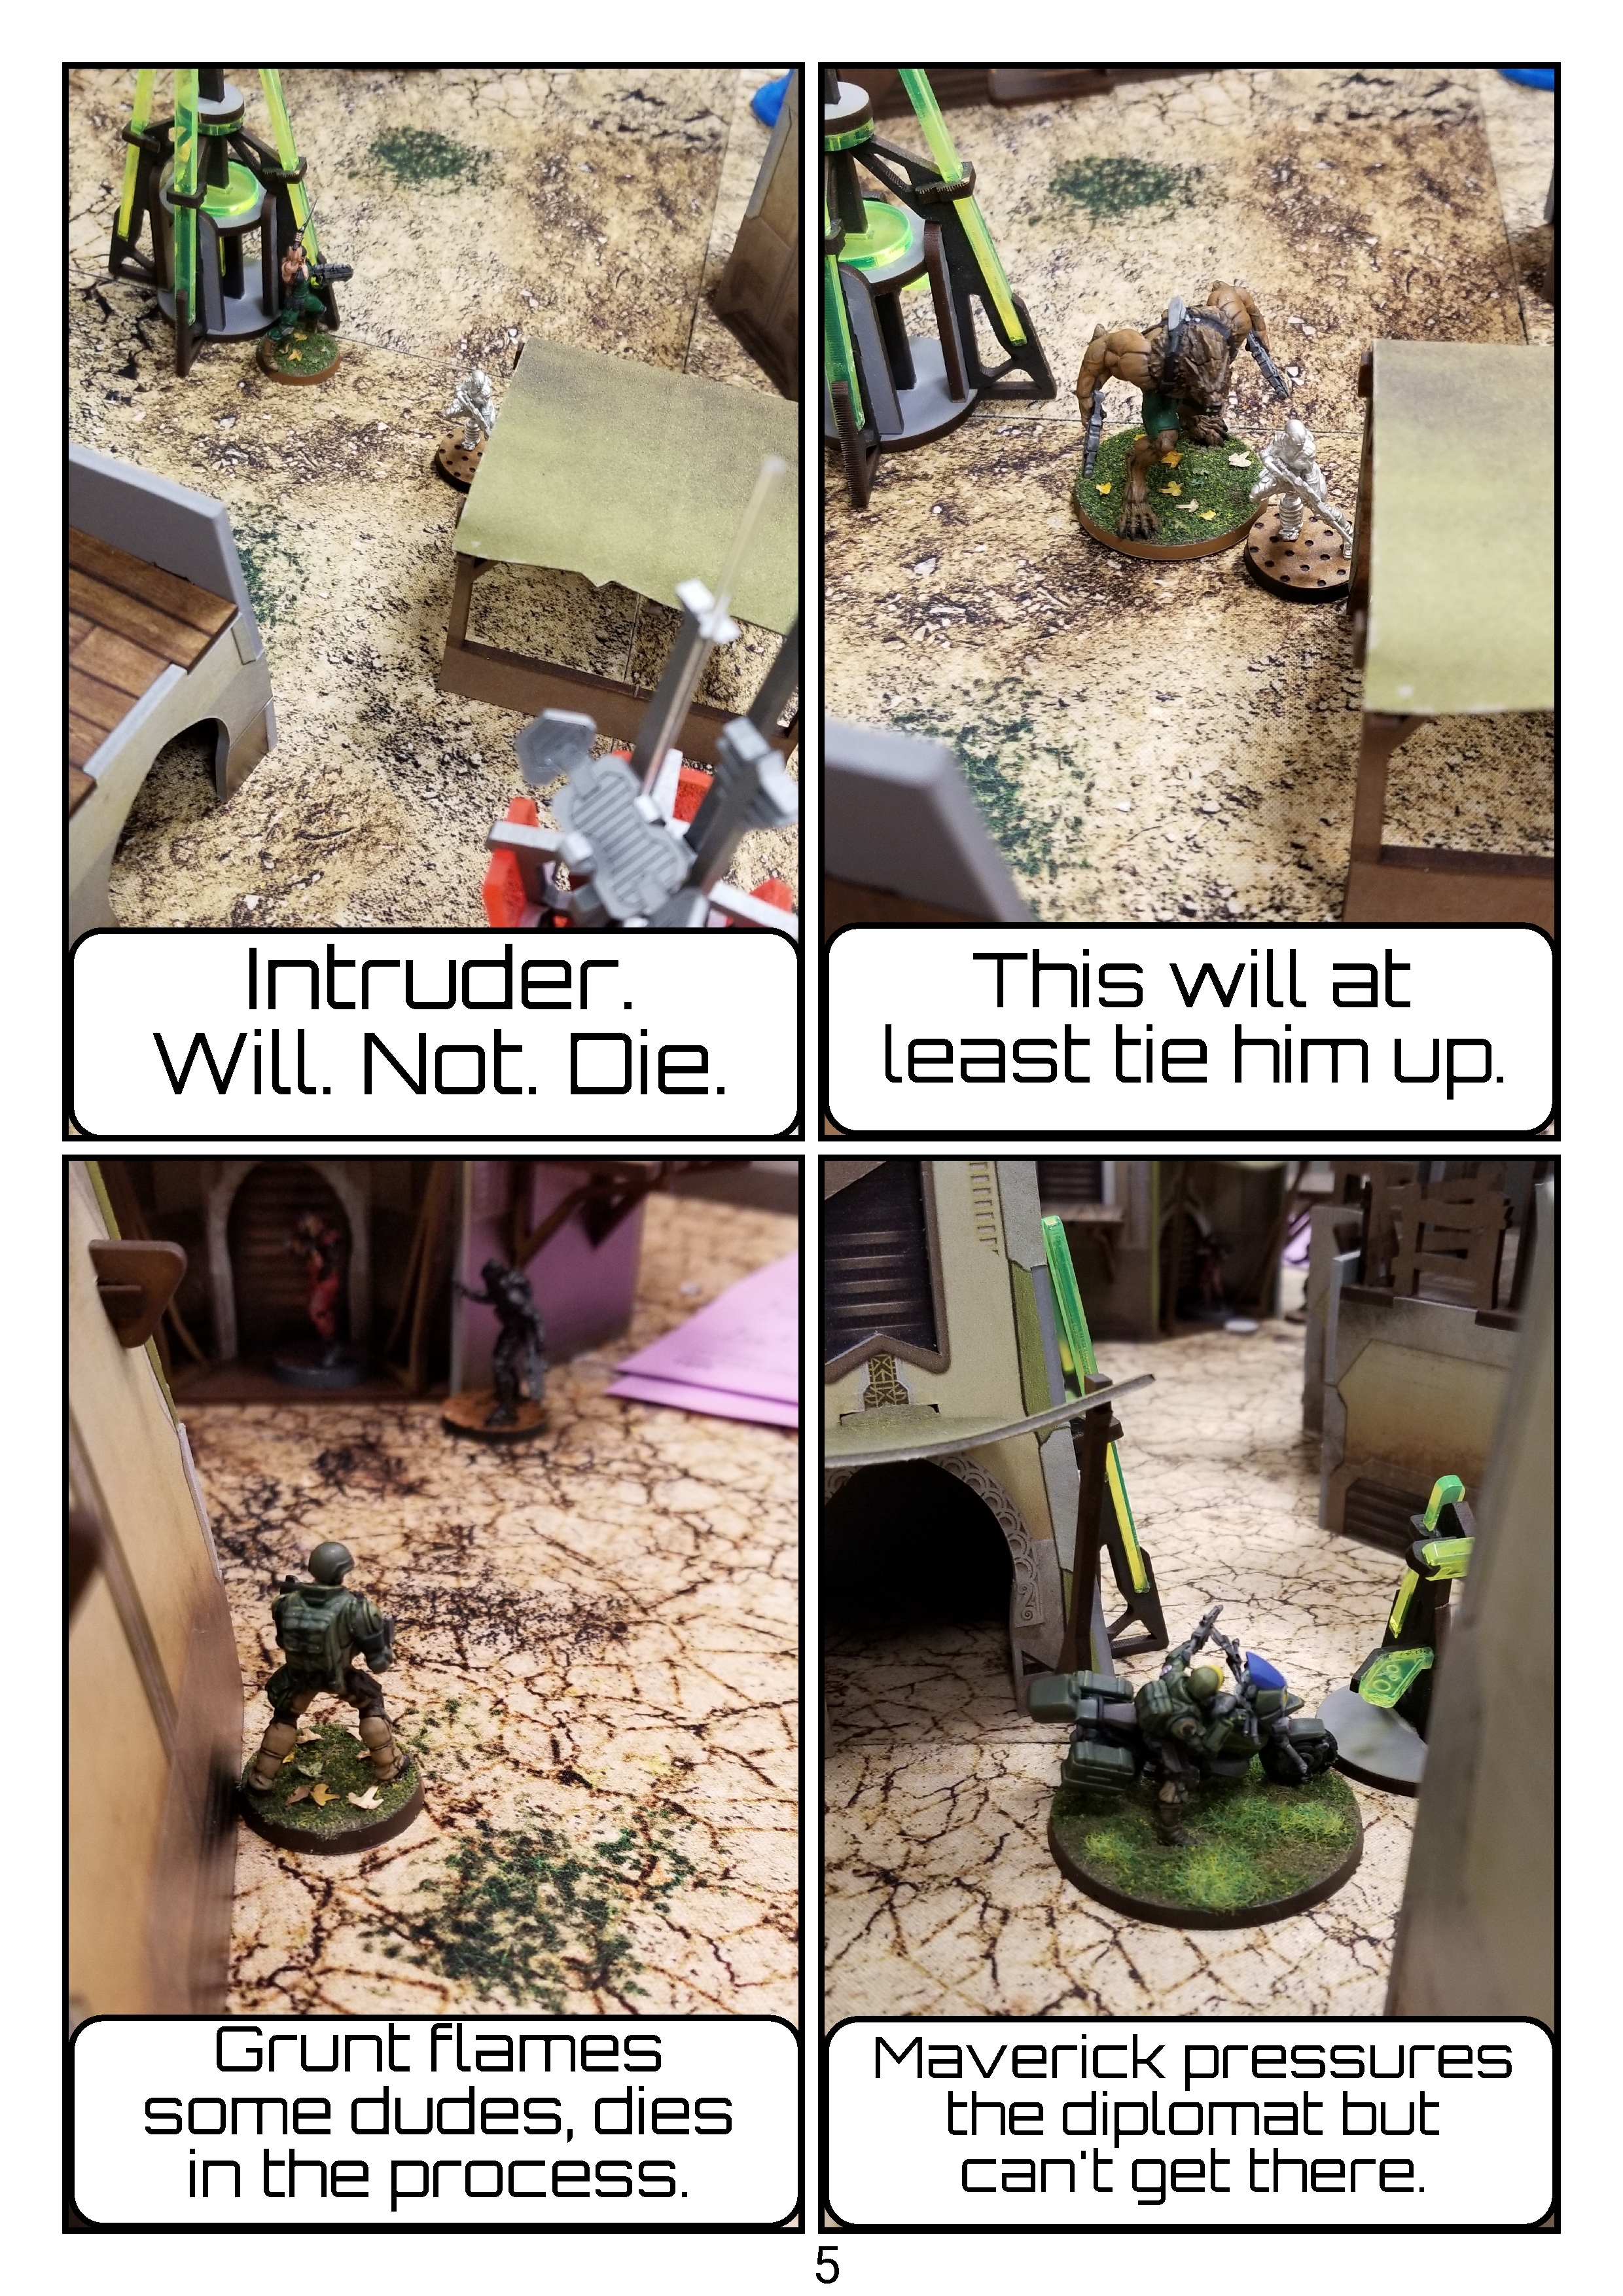
The second dog warrior rushes the Intruder. Who makes his saves. So I try again, and take a wound, but at least the Intruder is tied down now. Hail Mary plan A, 112 rushes out, makes it across the table. The 112 manages to inflict a little damage and gets close to the assistant but goes down.
Hail Mary plan B, Grunt moves up the left flank and closes in on the diplomat. He flames the two troops in position and manages to kill one, but is also taken out.
Hail Mary plan C, Maverick rushes forward. I close in on the diplomat and manage to drop the troop that survived the Grunts flamethrower. Unfortunately I can't make it to the diplomat so I drop into supression. We'll at least make them work for it.
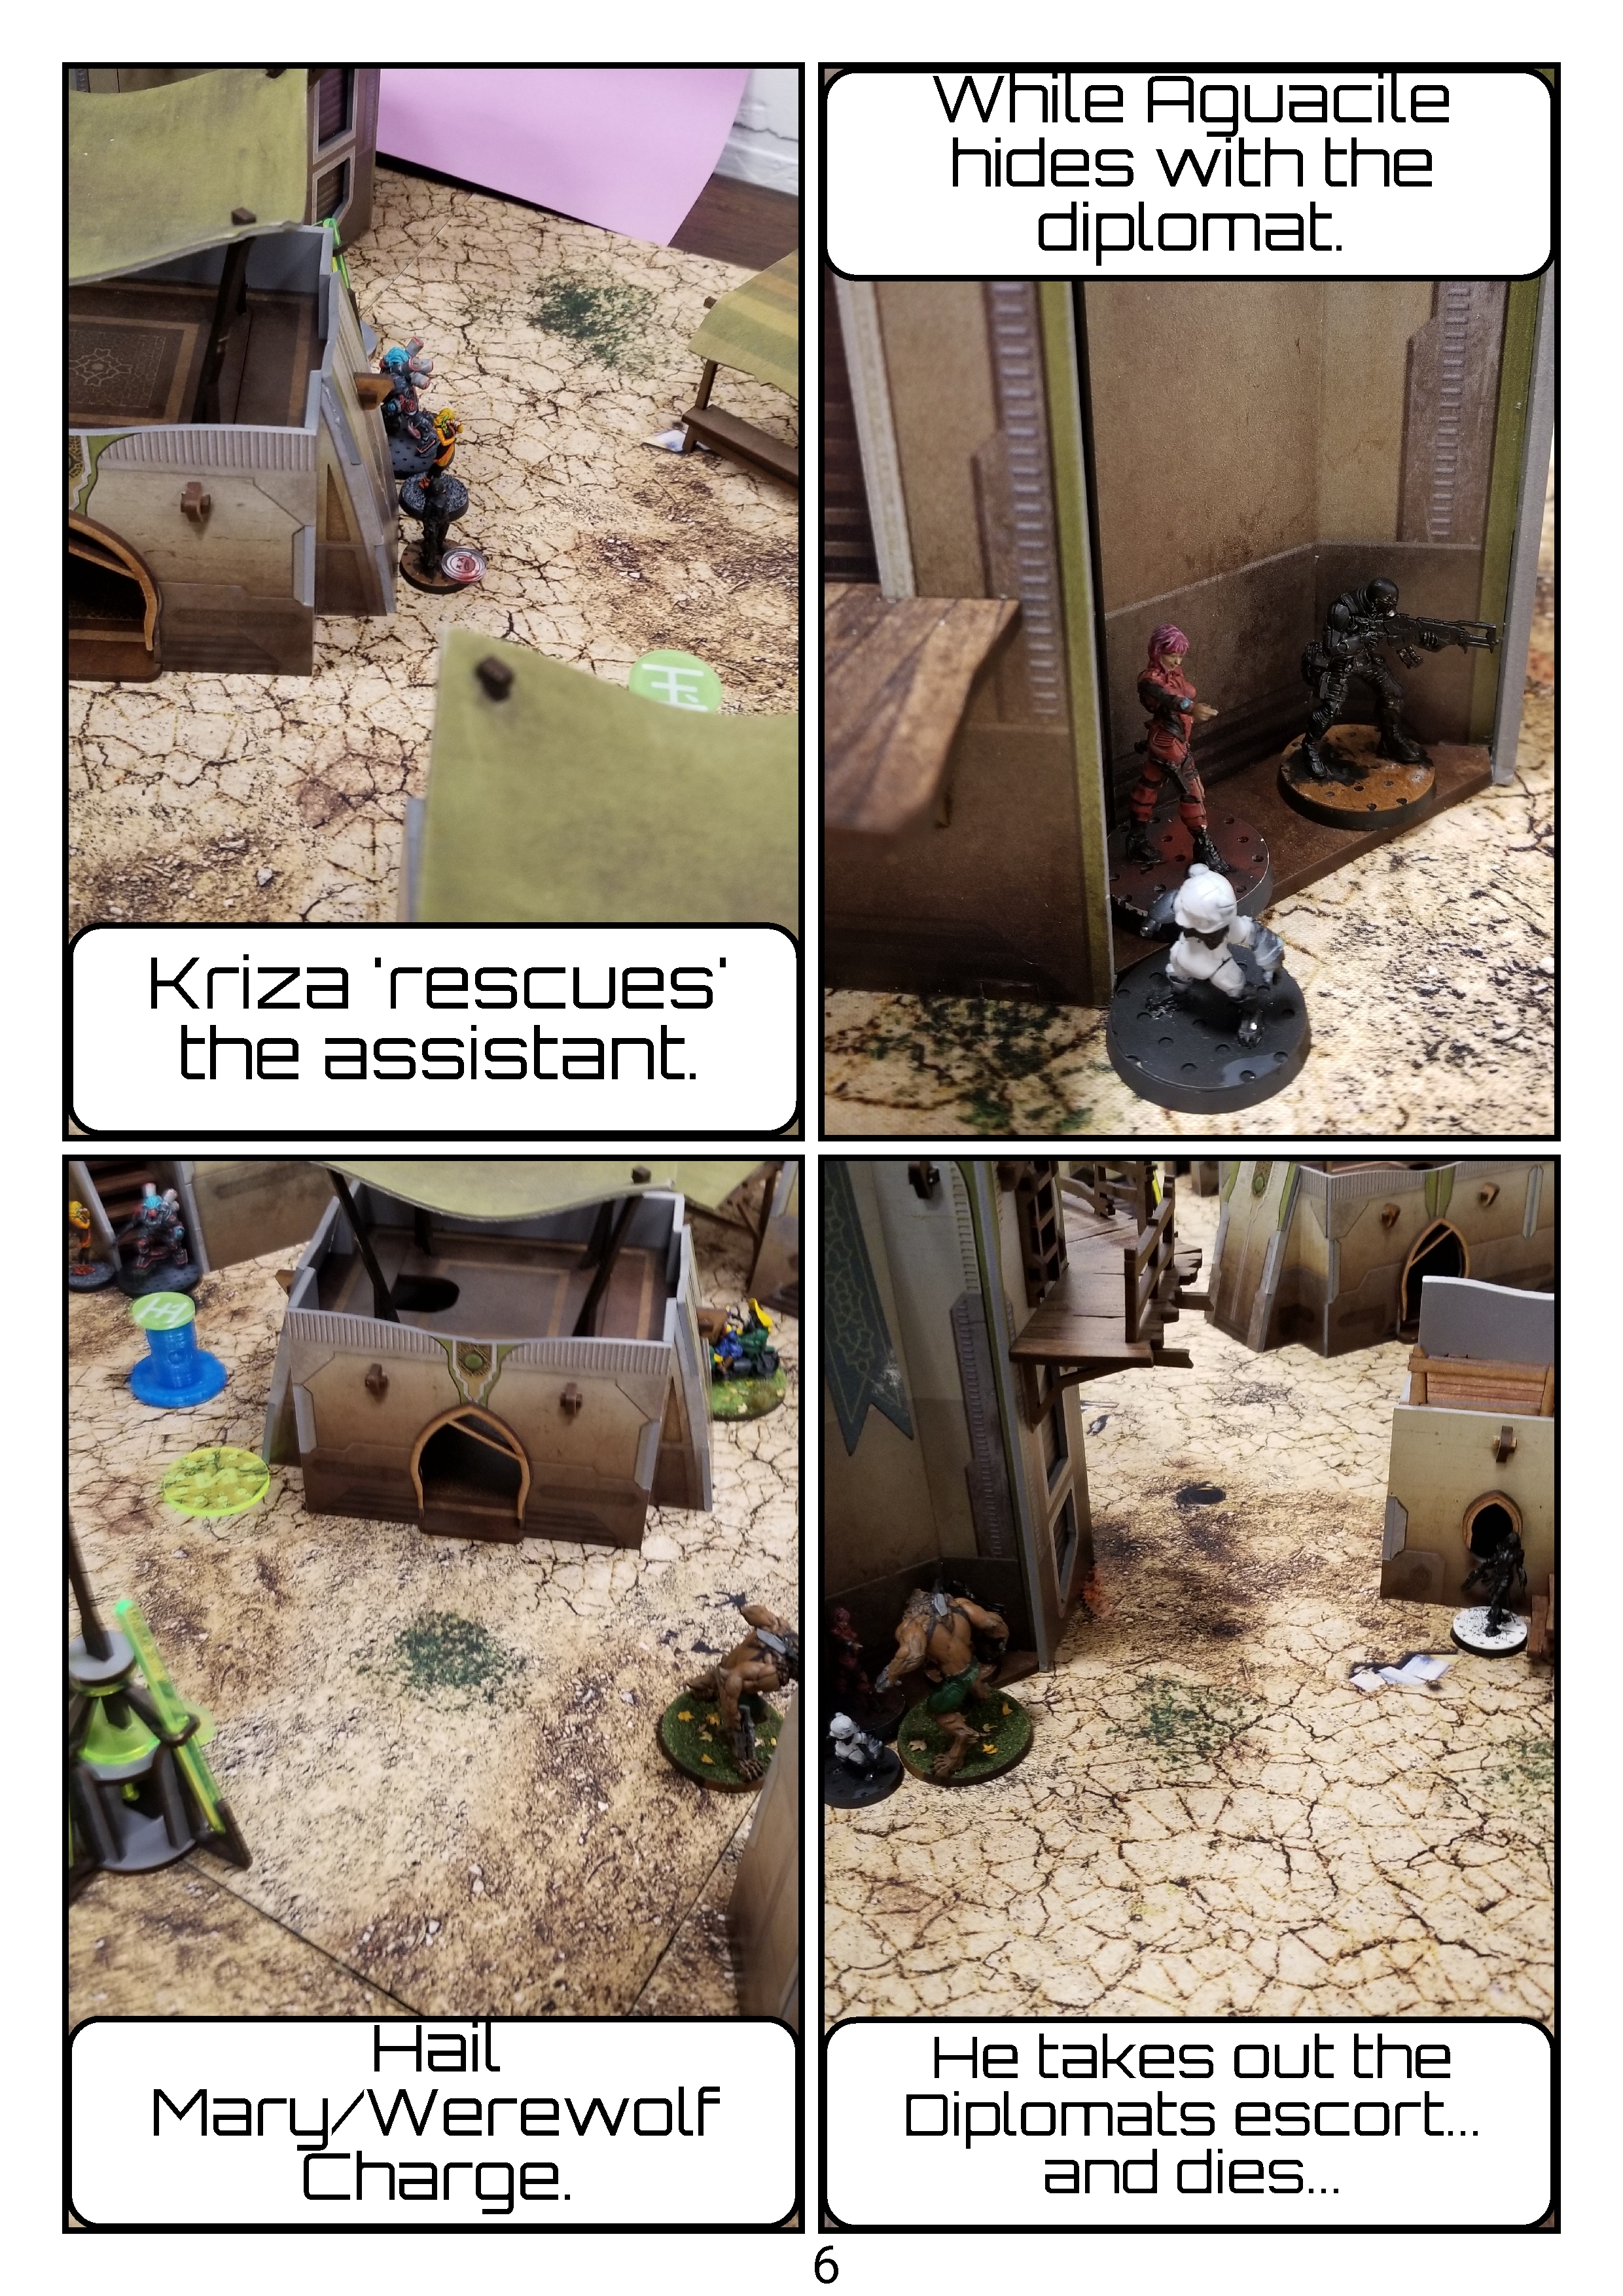
Nomad round 3 is mostly consolidation. Thanks to my Maverick in Surpression Fire it takes some cautious moves to get the diplomat into safety. Then the Kriza 'rescues' the assistant. Not a lot of orders left so that will be all.
Ariadna round 3. Pulling out a win at this point seems impossible, but the Diplomat is worth 2 points and most assistants is worth 2 points. So it looks like a draw is my best option.
Hail Mary Plan D Leveraging the Dog Warrior's impetuous movement I charge. Smoke the heavier fire lanes and leap into the enemies face. Lay down some chain rifles and the Diplomat's escort is dead. Unfortunately, so is the Dog Warrior. Now I have to get to the Diplomat and sync.
Hail Mary Plan C2 Maverick charges. Tanks an ARO and with the last order of the game sync's with the Diplomat. Tie Game.
Okay that was really brutal. Sorry the report could've been a little better but I was really struggling. She hit at least 12 critical's in this game. I think I got two, one of which was negated by her crit.
Good game though.


Awesome job commander!
I laughed. I cried. I rated 10/10.
what a great report, sorry for the draw
Points are points commander, thank you for your service!
nice report … good job 🙂