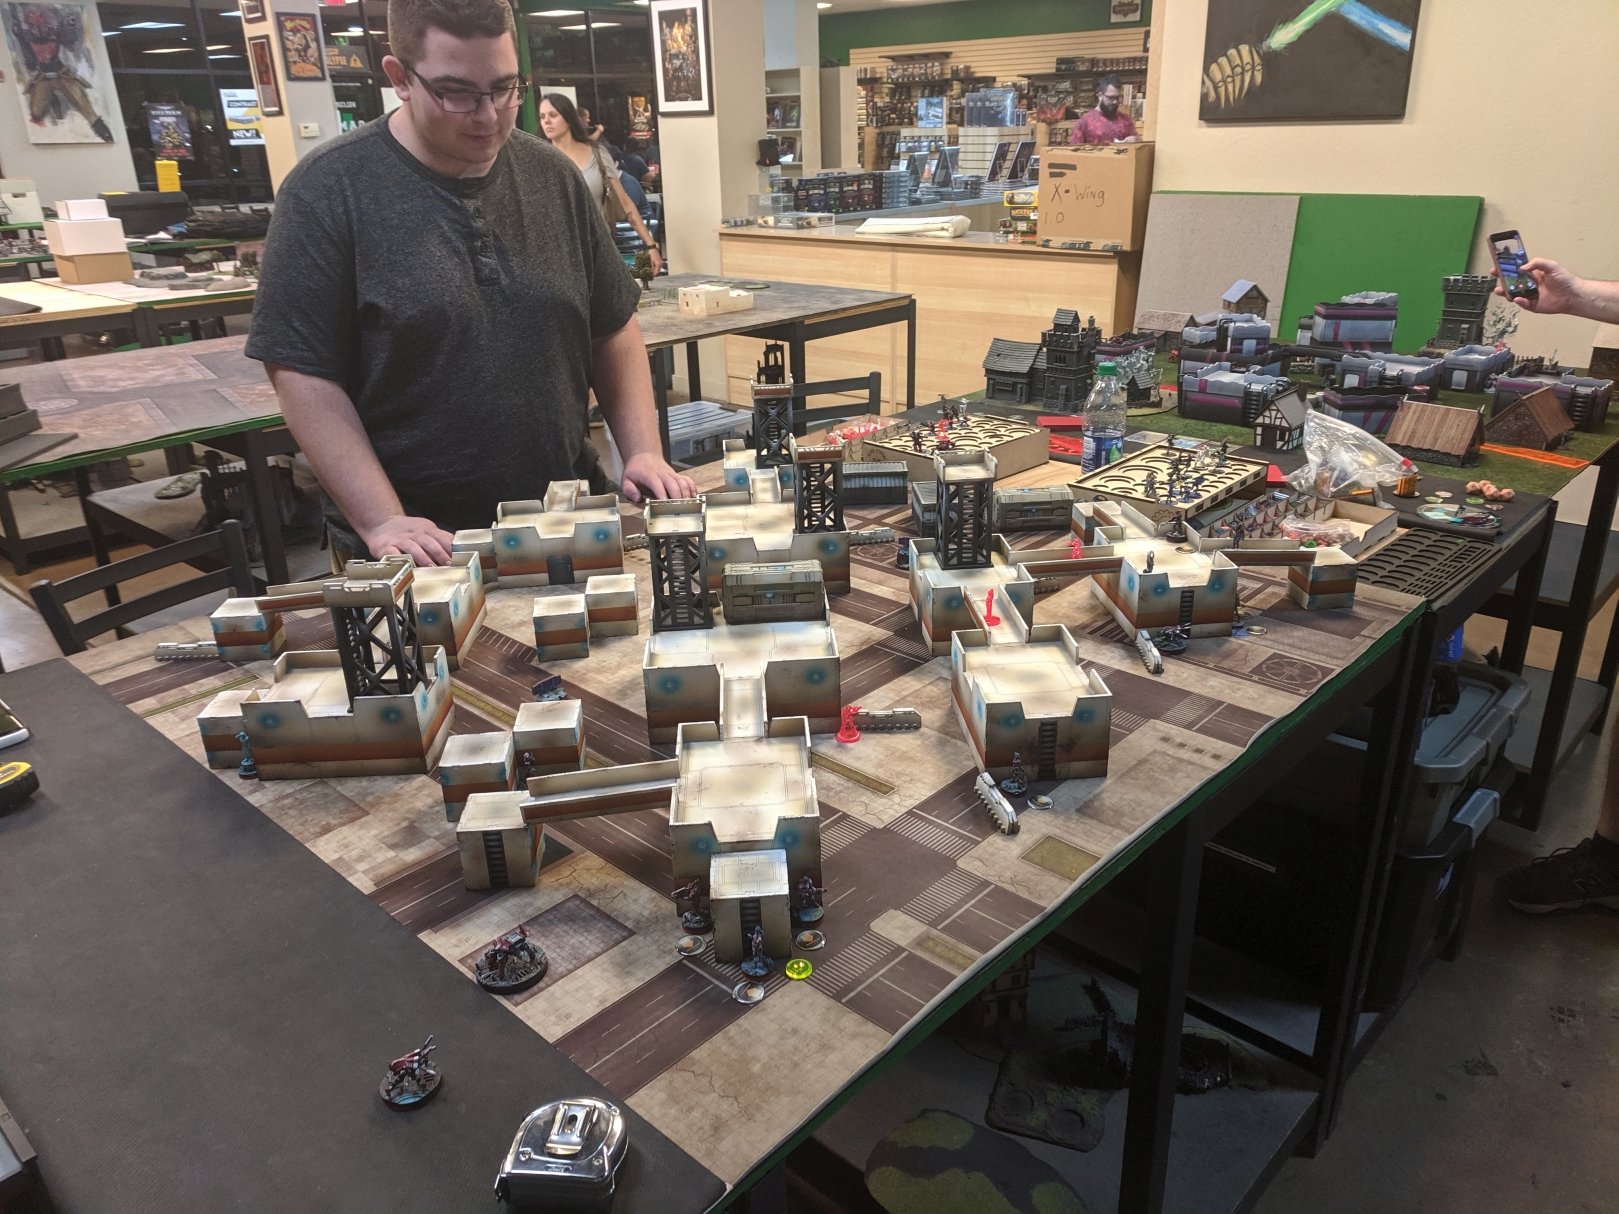
Fought At Liberty Cargo Logistics Center: Cross-Docking & Storage Area
1680 days 23 hours 25 minutes ago
Session 4: Bounty Hunted
300 POINTS
Hey, by the way, did you know everyone just wants to play the same 3 missions forever and no one wants to play any cool missions because a tournament and a Dire States event is coming up? I'm so excited for October 14th when we can finally play one of the cool narrative missions! Until then I'm more than willing to help my Games U buds work out some list practice and have some fun doing it!
This game is against my ever-humble opponent, Matt, who is relatively new to the game and gearing up for his first big tournament in a few weeks. To that end, I was sure I was going to play against a list I helped him build earlier in the week-- and I was hoping he would get some of the criticism I had for MO doing Limited Insertion here. We rolled off for initiative, me rolling a single-digit number-- but him failing. I chose to go first, and he chose deployment-- He put me on the side of the board without a tower within 12"-- smart to deny that to Varuna, but I have a lot of ways to work against that tower if the parts in my list work in tandem.
Let the Measured Countering begin!
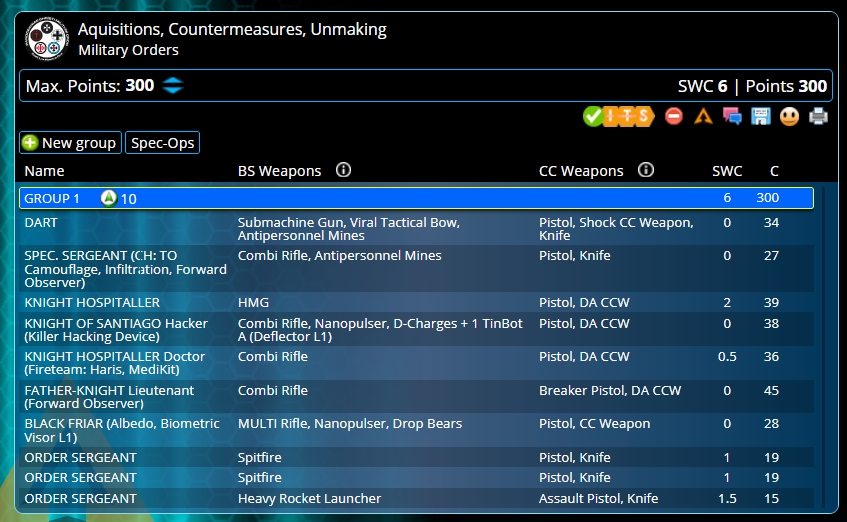
Matt's list is one that I'm interested in if solely for the fact that it's not the Hospitaller link I've seen so many times before (and originally played MO for, specifically!). The five-man link of the Father-Knight, Black Friar and three Order Sergeants is very interesting. Add in the TOFOOS and he has a good link capable of a few different classifieds-- I just need to make it difficult for him to spread out to get all of them.
Humorously, the one thing I'm most worried about, Dart, won't be as much of a problem due to the exclusion zone down the center. The other thing I'm worried about-- the Hospitaller HMG-- could throw a wrench in my plans, so I'm interested in getting rid of it ASAP.
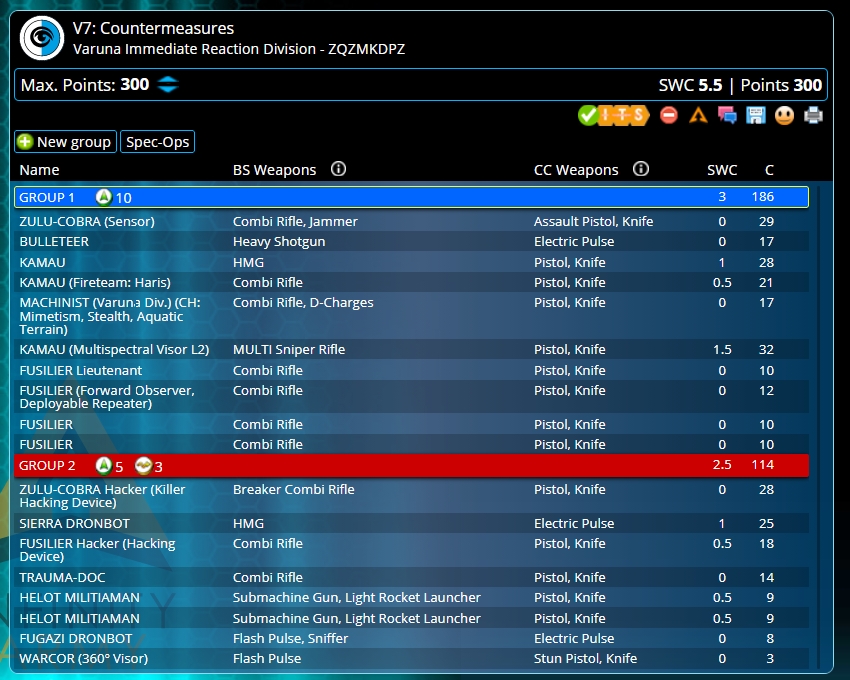
I'll copy what I said about this list last time: "As you can see here, this list has a little bit of everything. A linked Kamau HMG and Kamau sniper for busting down the big targets, a ZC KHD and a ZC Sensor/Jammer for classifieds, a Bulleteer, a machinist, a Trauma Doc, a TR Bot and a regular Fusi Hacker to give it Marksmanship... as well as an FO Fusi if I need to make a late-game play for something!"
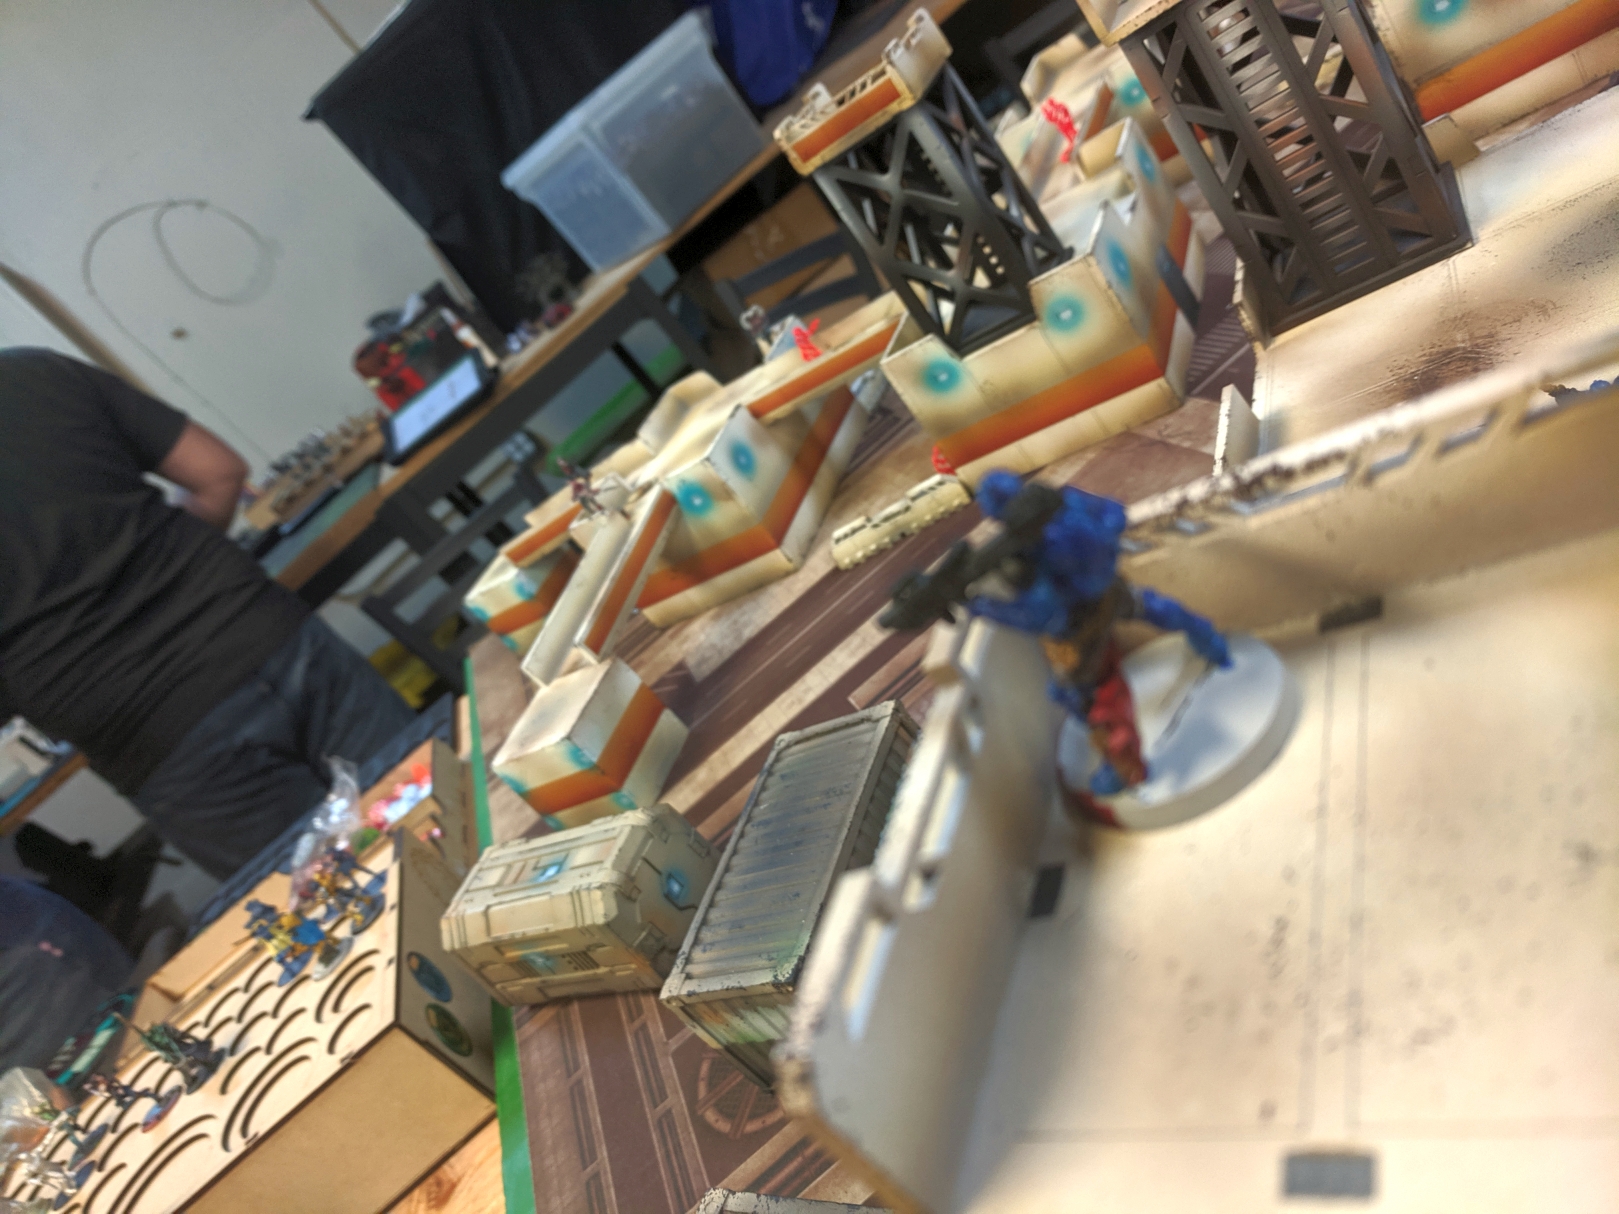
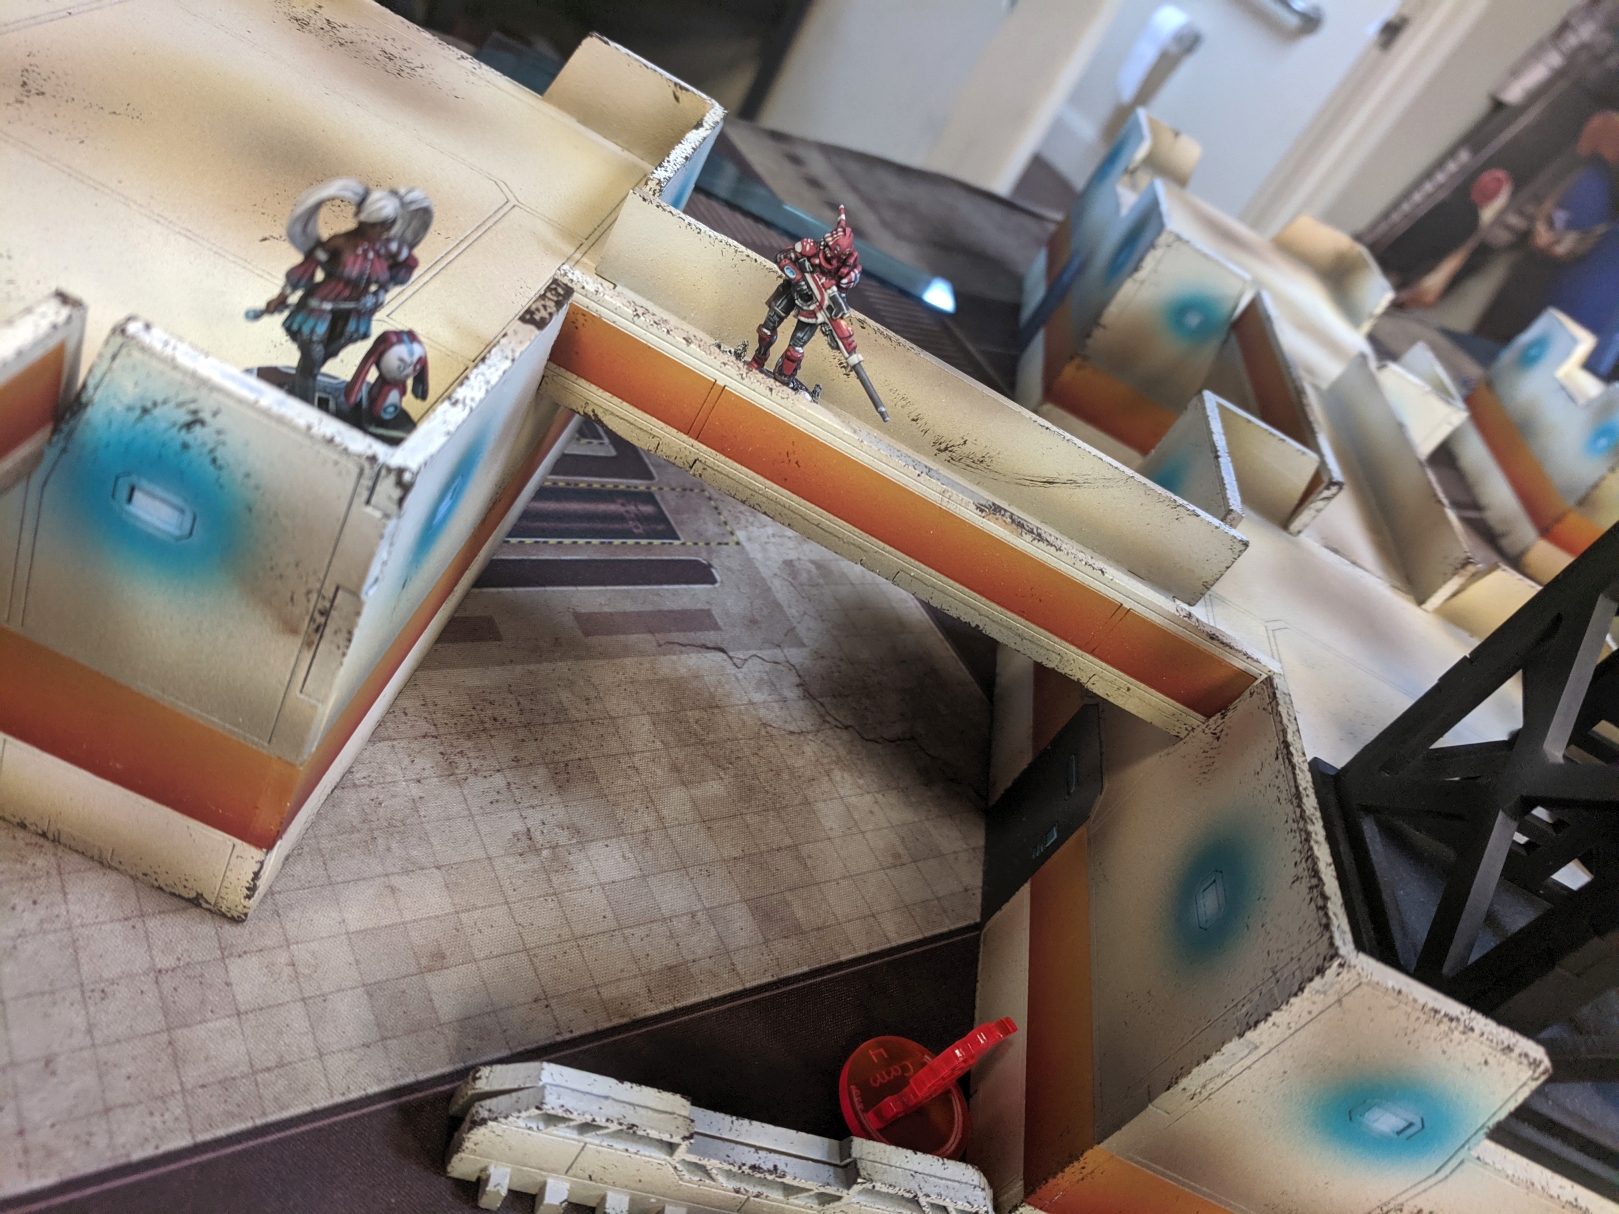
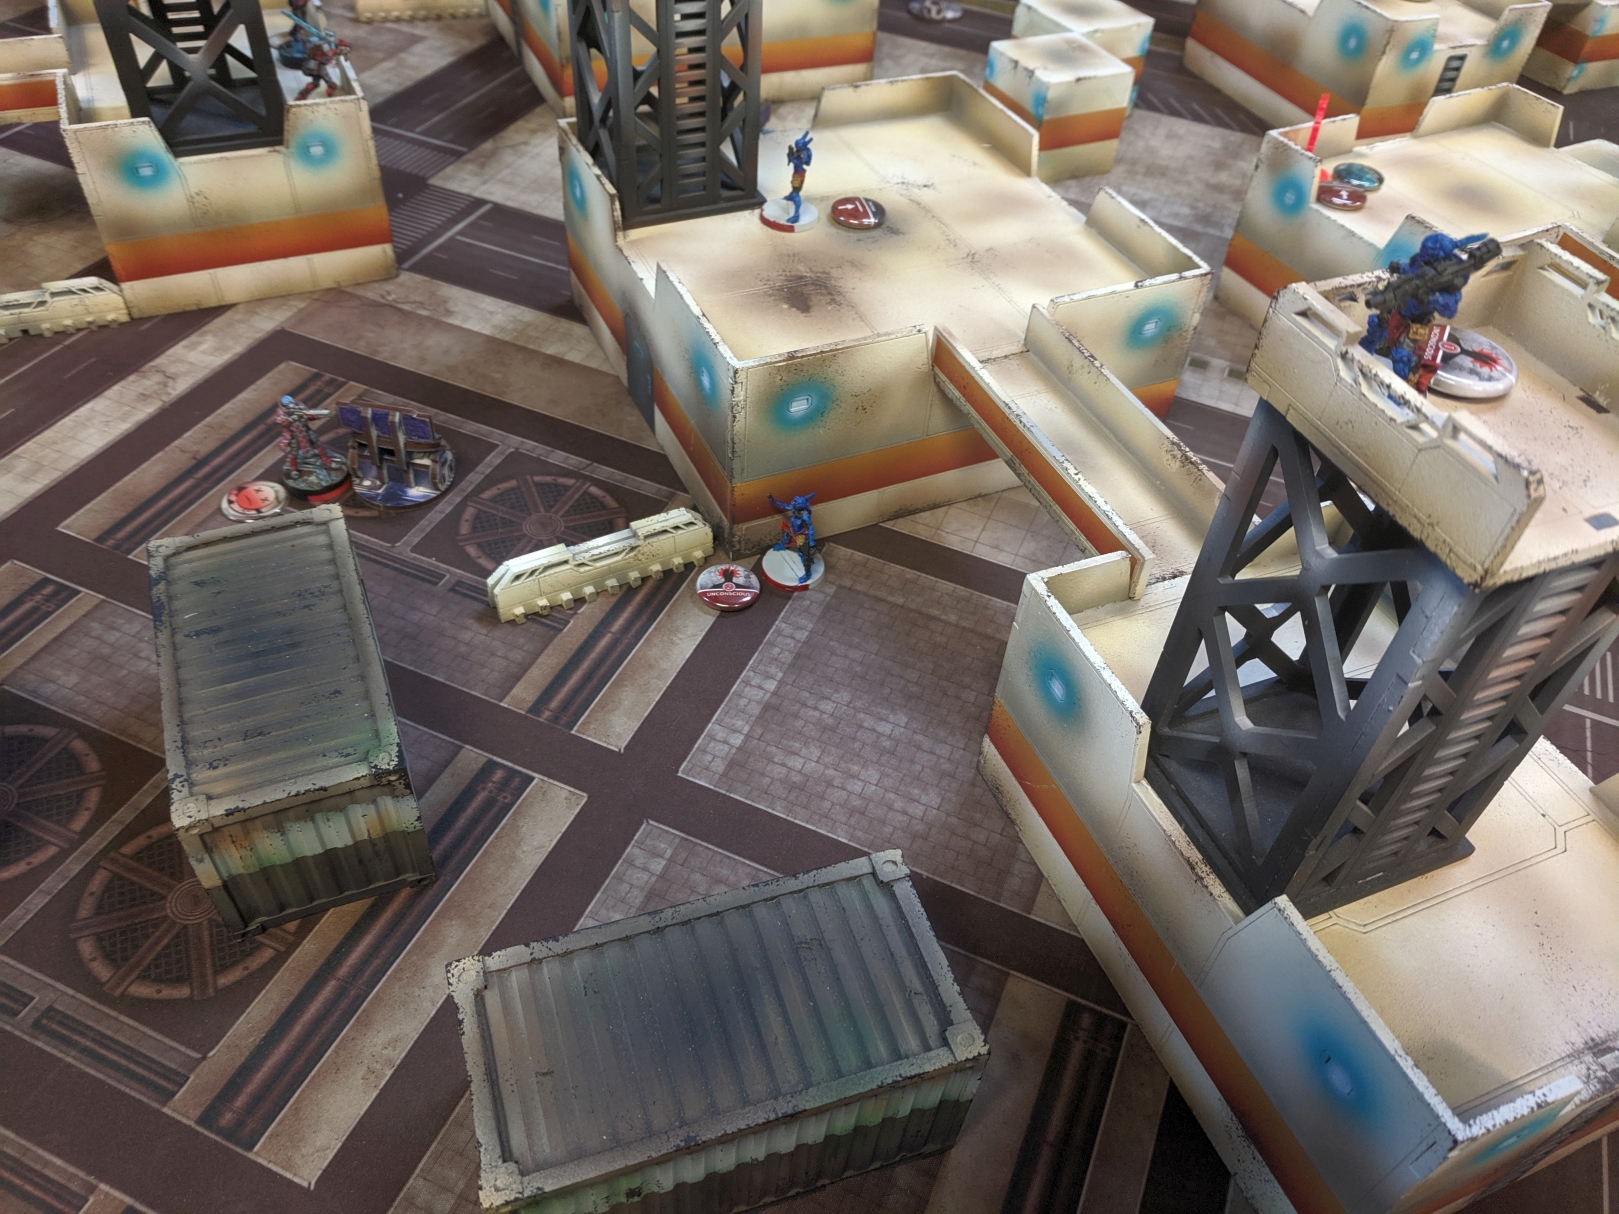
With the table open now, my Kamau Sniper is no longer an active-turn piece and I can find a Fort Kickass to claim. The Sierra is my held, plunking it down either next to the Fugazi or next to the Fusi hacker depending on my needs, and then the helots can take the extensive bridge system on my side of the board, and the tower there, and take a good commanding presence over the table as long as they don't drop their Limited Camouflage.
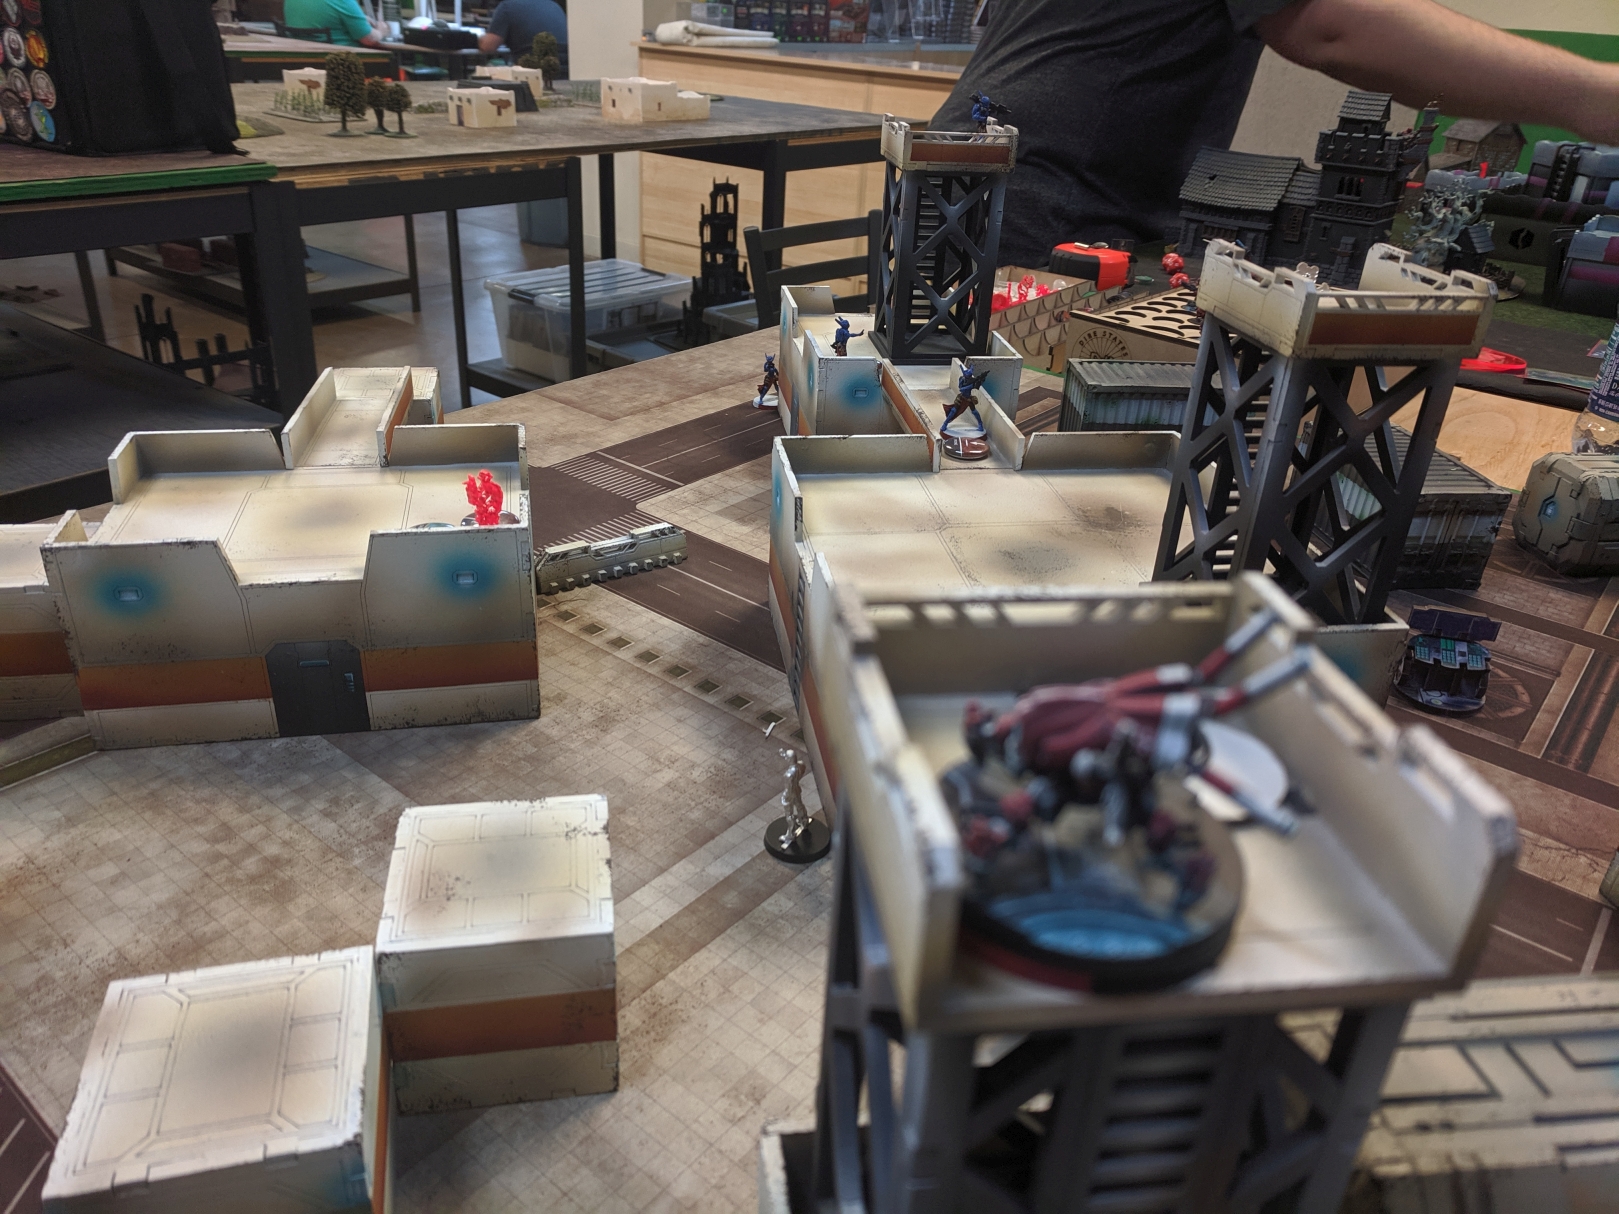
I set up my Kamau HMG and his Haris buddies on the far, far flank, ready to run down it and complete some objectives...
Or they would-- if Matt didn't put his Order Sergeant link on that tower, giving the HRL a commanding view of the entire board-- including my prone Kamau MSR and several camo tokens! He further pins down the link with the Hospitaller Haris, electing to have the HMG standing and staring down the sniper-- and my Kamau HMG!

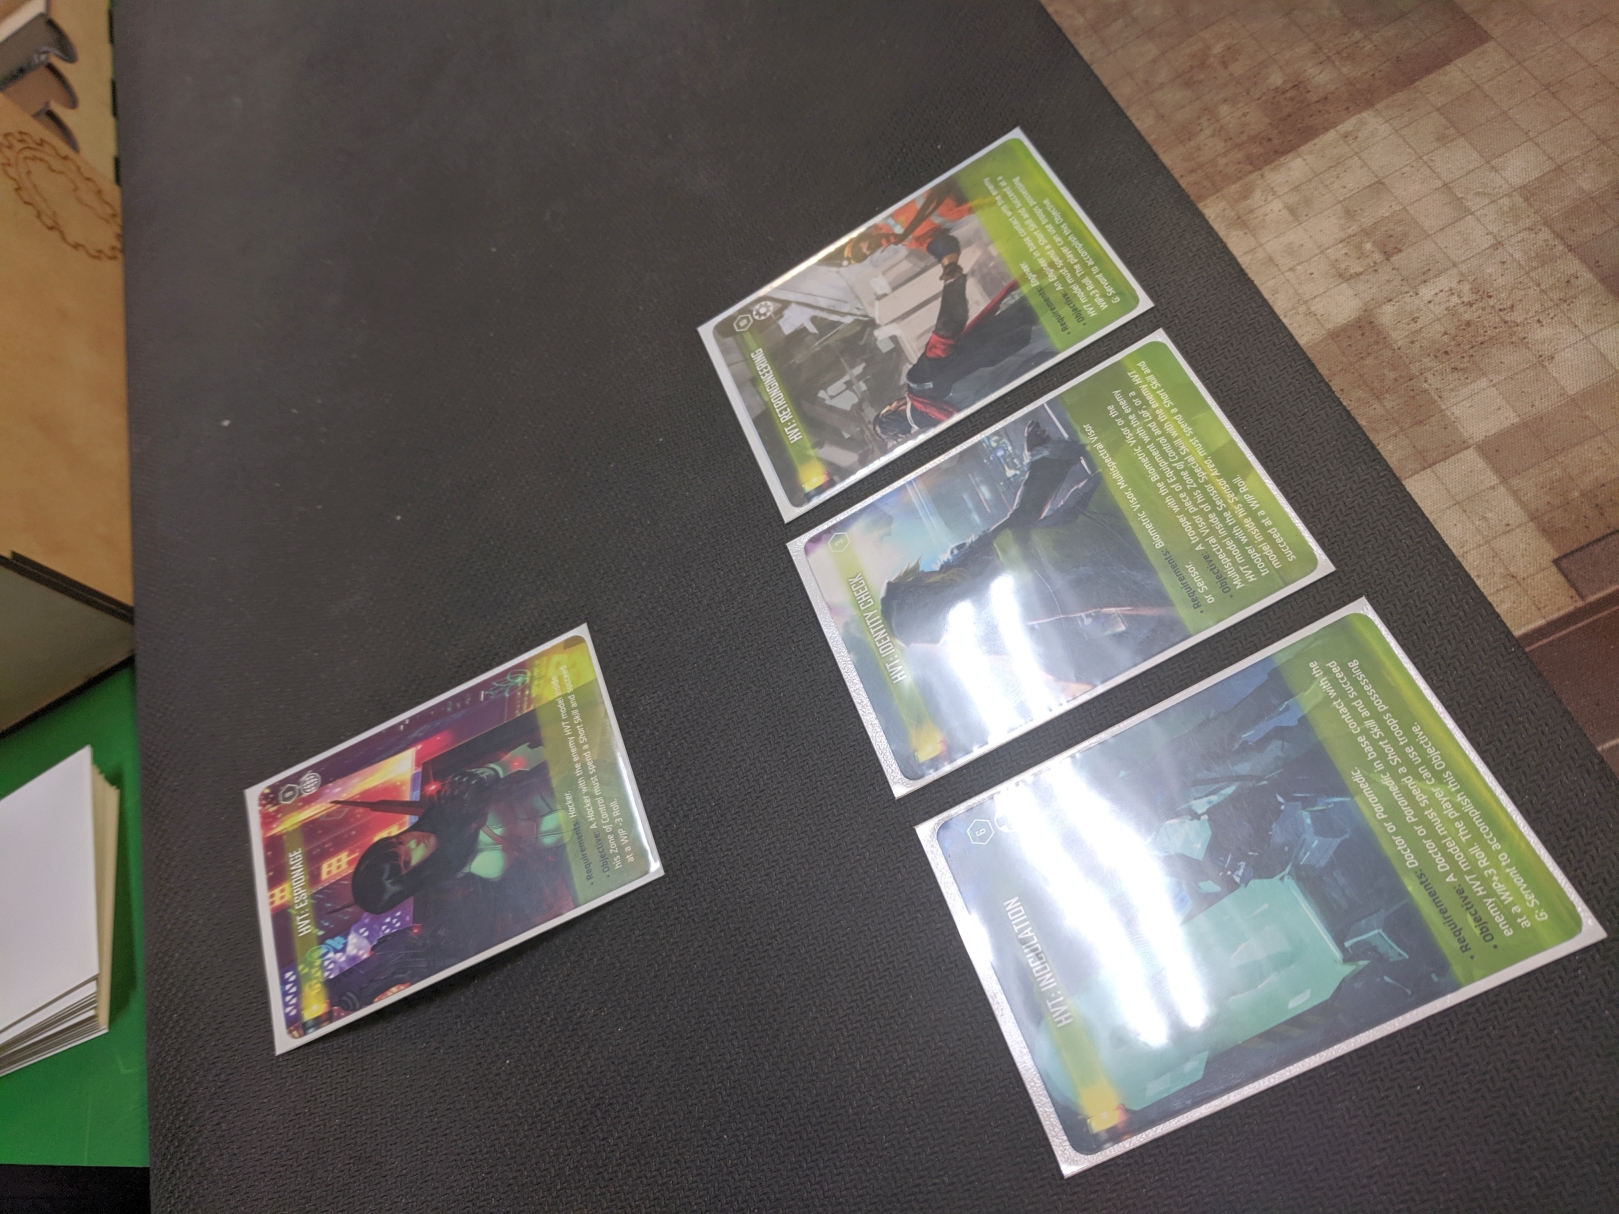
The first three cards are HVT: Inoculation, HVT: Espionage and HVT: Retroengineering. Matt has a Santiago Hacker already in ZoC of one of my HVTs, so I ditch Espionage right away and pull HVT: Identity Check.
Well... my ZC Sensor/Jammer on the far left flank can get up to and into LoF of the HVT, but only if a few of these moves go good. First order of business: the Kamau HMG steps up and into the Hospitaller HMG's LoF and throws the gauntlet. 5 dice on 13 versus 2 dice on 11s and the Kamau ends up critting and hitting the Hospitaller 4 times-- completely killing the Hospitaller HMG. He dies less than two inches away from his Hospitaller Doctor, too, which is tragic-- if he passed one more ARM roll this would've been a much different game.
I check my lines of fire and everything else-- if I want to get my ZC Sensor/Jammer up to the HVT for Identity Check right now, I need to clear his ARO out completely. My Kamau MSV2 MSR idles from the ground in front of the Order Sergeant HRL and challenges him to a shoot out.
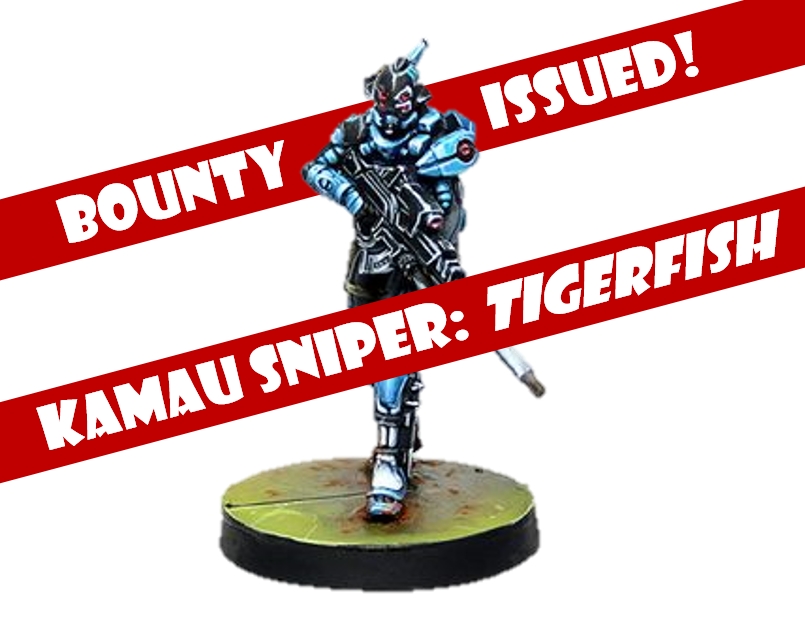
A pair of hits from Tigerfish puts the Order Sergeant on the ground, unconscious, and the link without a 5th member.
The ZC Sensor/Jammer slides right up to the center line, through the LoF of the Santiago. I want him to Discover me so I can shoot him, I really do, but he holds, so I make it out of LoF and behind a console. The ZC gets LoF to the HVT and rolls for Identity Check, and I'm expecting this to take forever-- but it doesn't, and the ZC scores it first try!
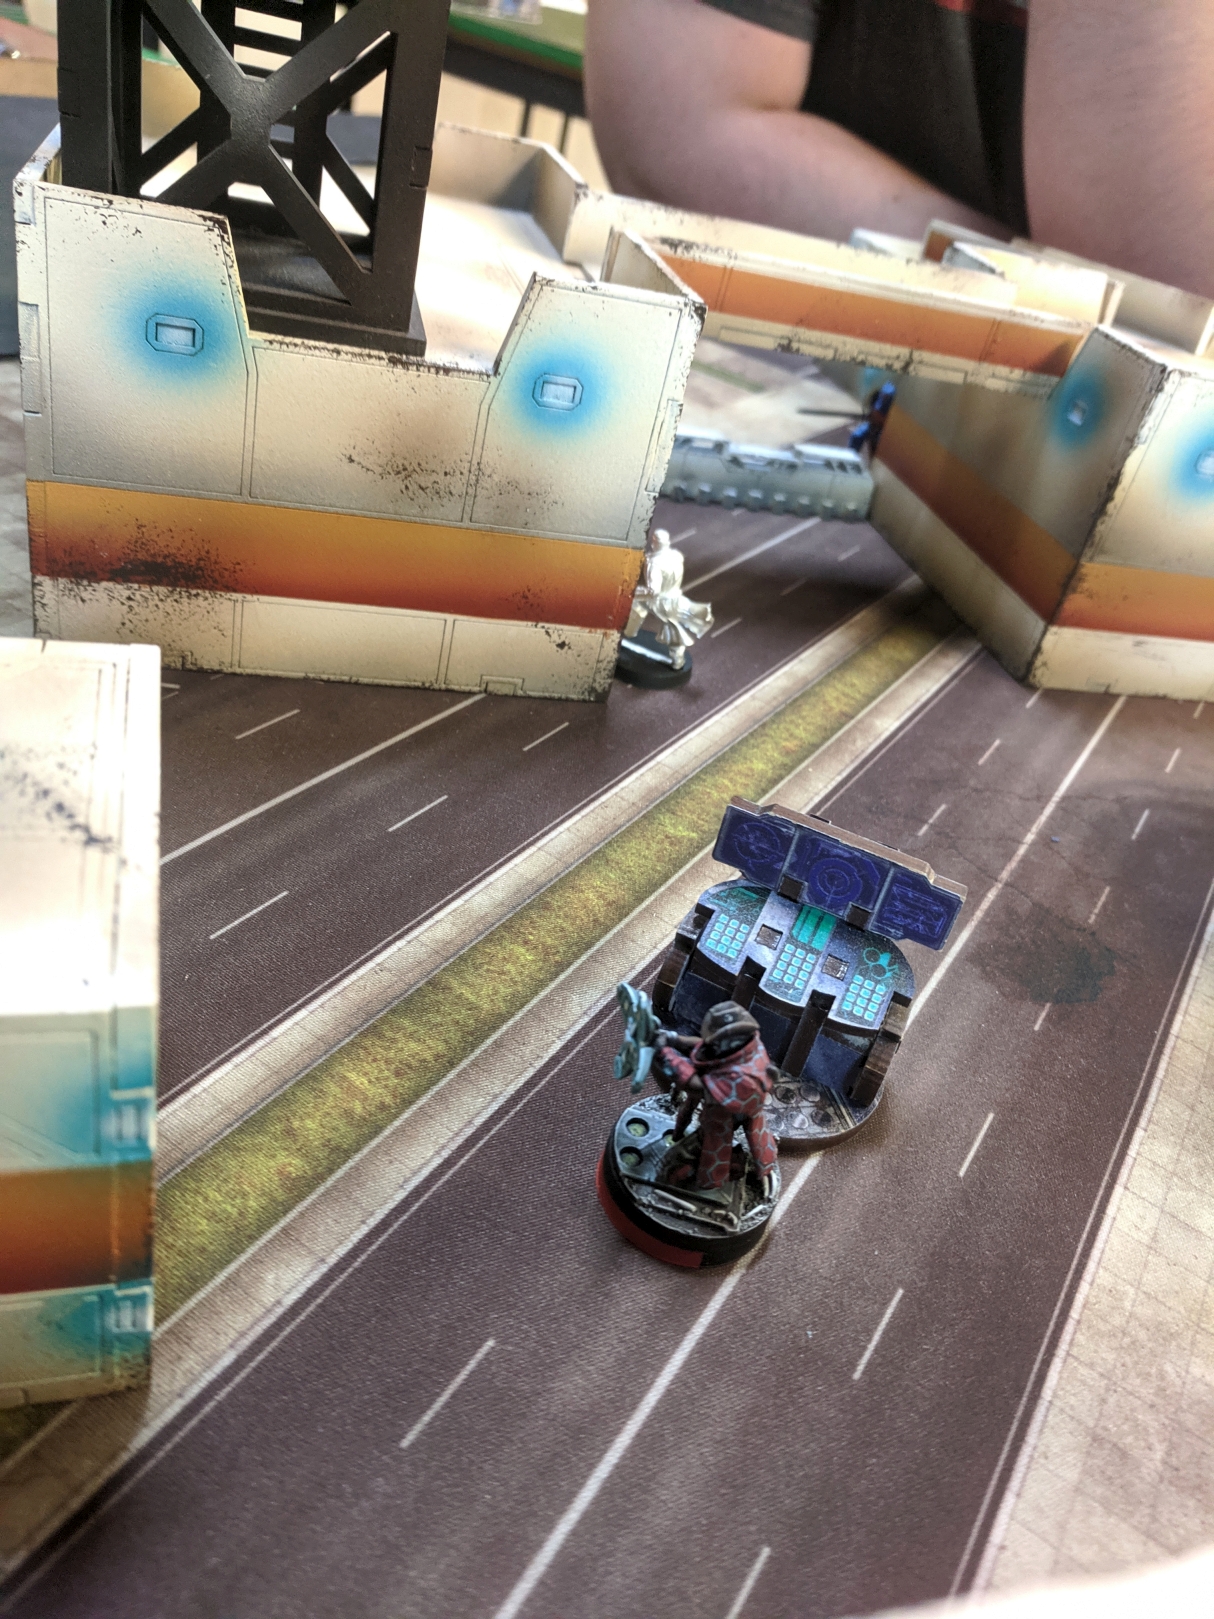 One of the things I do with my minis is reward them with cool paint details when they go out of their way to be amazing and do the impossible. This ZC Sensor/Jammer once killed an unwounded Achilles with a single burst of Suppression Fire, so he took his unit patch and put it on his hat, an Akubra, which is also what I call him!.
We replace the card with Net Undermine. Uhhh...
My ZC Sensor/Jammer re-camos and zigs out towards the other side of the board, through the Santiago's LoF, who holds again-- and I wish I could assault pistol him for free, but I move around the corner. Another order and the ZC rolls WIP to Net Undermine-- and makes it easily, scoring me a second card.
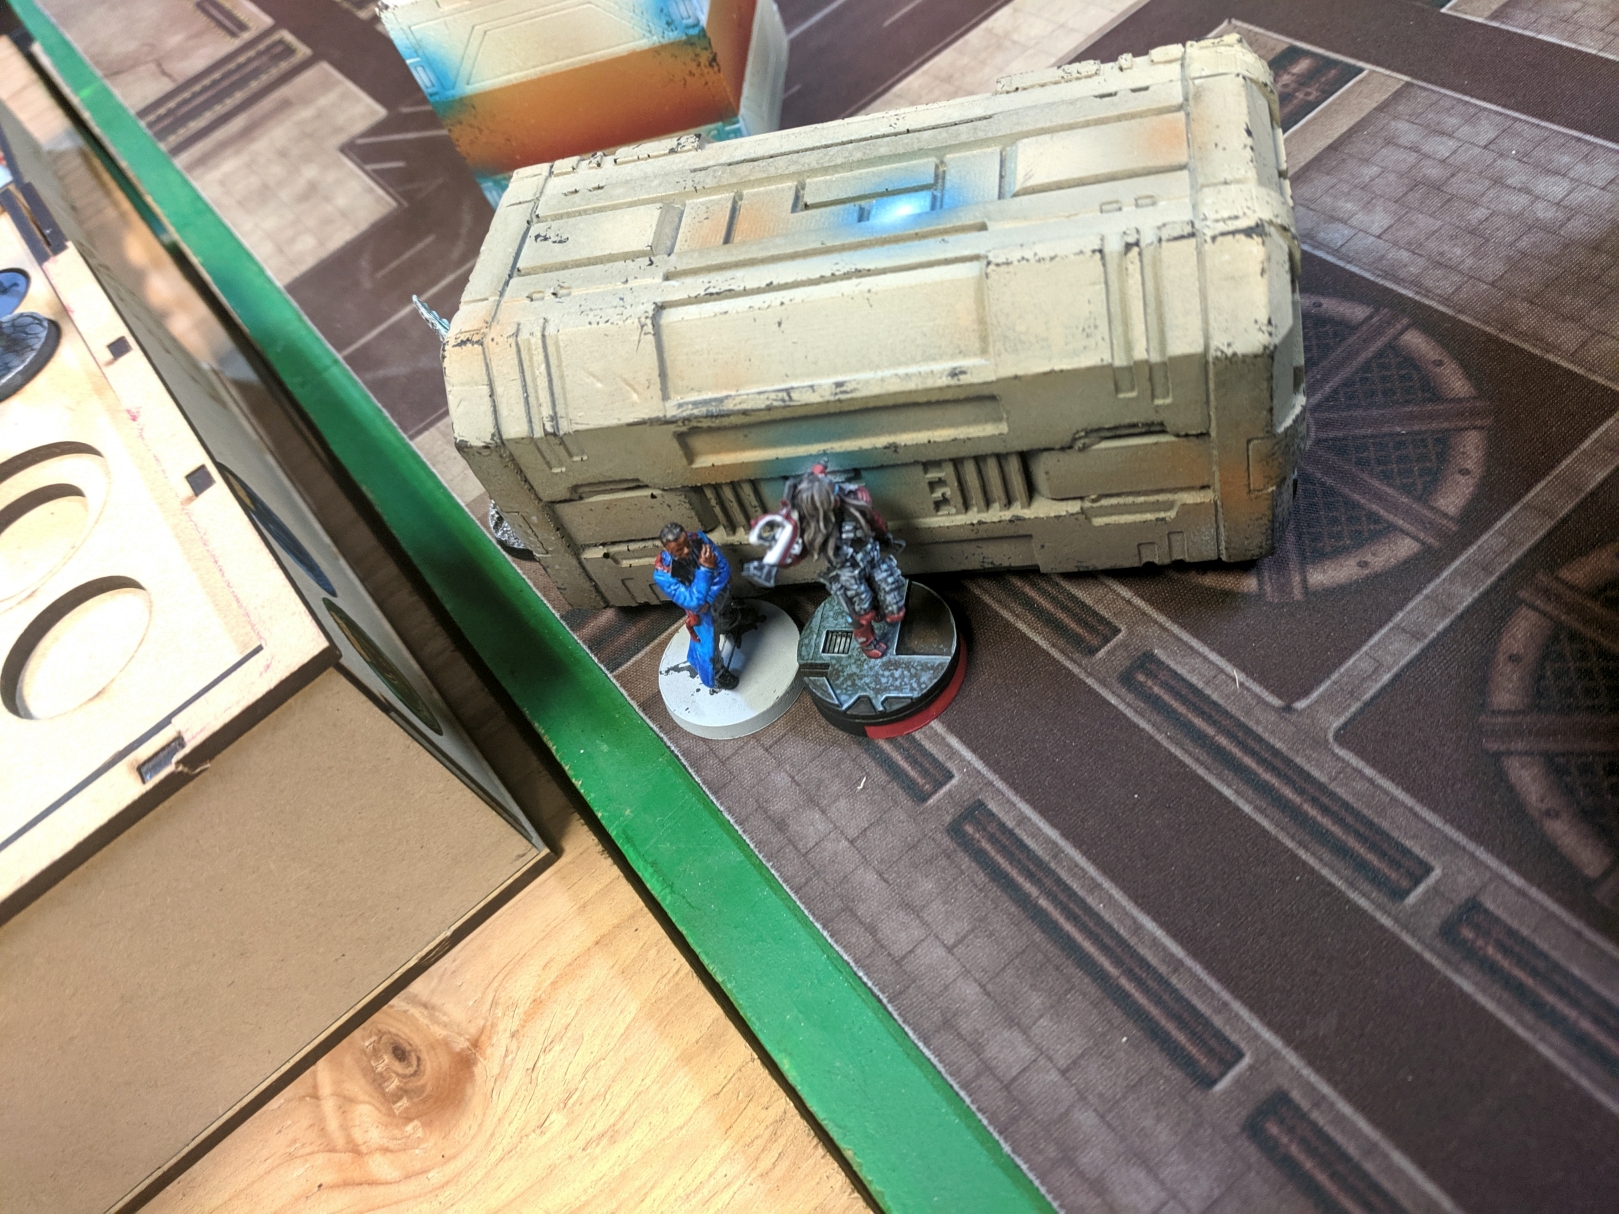
We replace it with Mapping. Now I'm not going to score that but my Trauma Doc can get HVT: Inoculation right now-- it only takes her 4 out of the 5 orders in the pool to get there and roll, and I'm more than willing to try again. She leaps, climbs, bounds and makes it over to Matt's HVT and rolls to Inoculate-- scoring a third successful WIP roll in a row.
Wow-- who could imagine rolling with a 60-65% chance of success could ever be this consistently successful?
The replacement card is Follow Up-- not what I wanted to see considering the Santiago is in ZoC of my HVT over there. I plunk my ZC Sensor/Jammer beside it to try to jam him if he does anything, and with no other options, I move my Helots and Sierra up to defend my HVTs as best as I can. I want to shut off avenues of egress to Dart to prevent her from moving up.
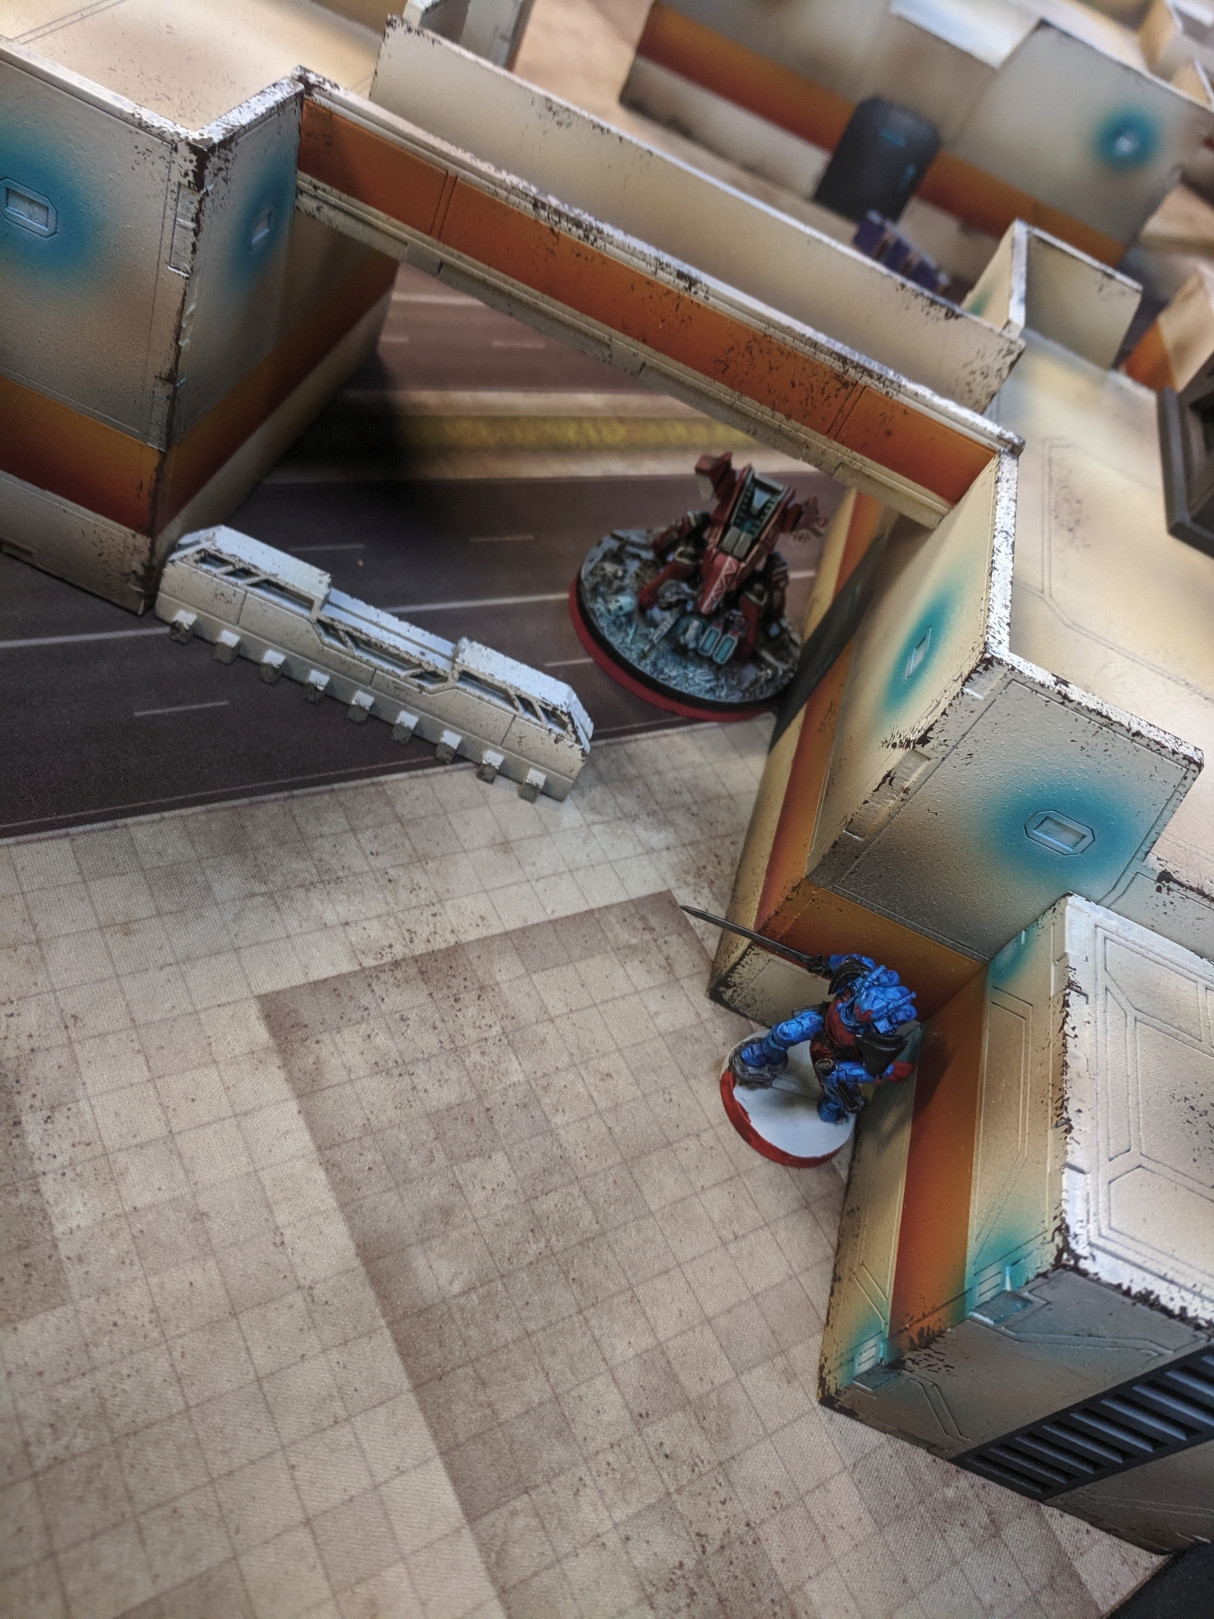
Matt's turn starts off with him chucking HVT: Retroengineering to prevent my Machinist haris from rushing the board, but replacing it with Mapping-- not an ideal card since Matt only has one FO in his DZ and no hackers that aren't KHDs. He gets Dart moving through the LoF of both Helots and the Sierra, and a bevy of discovers (and a hold from the TR bot) results in absolutely nothing except revealing both of them-- something I'm not worried about with both of his heavy guns down.
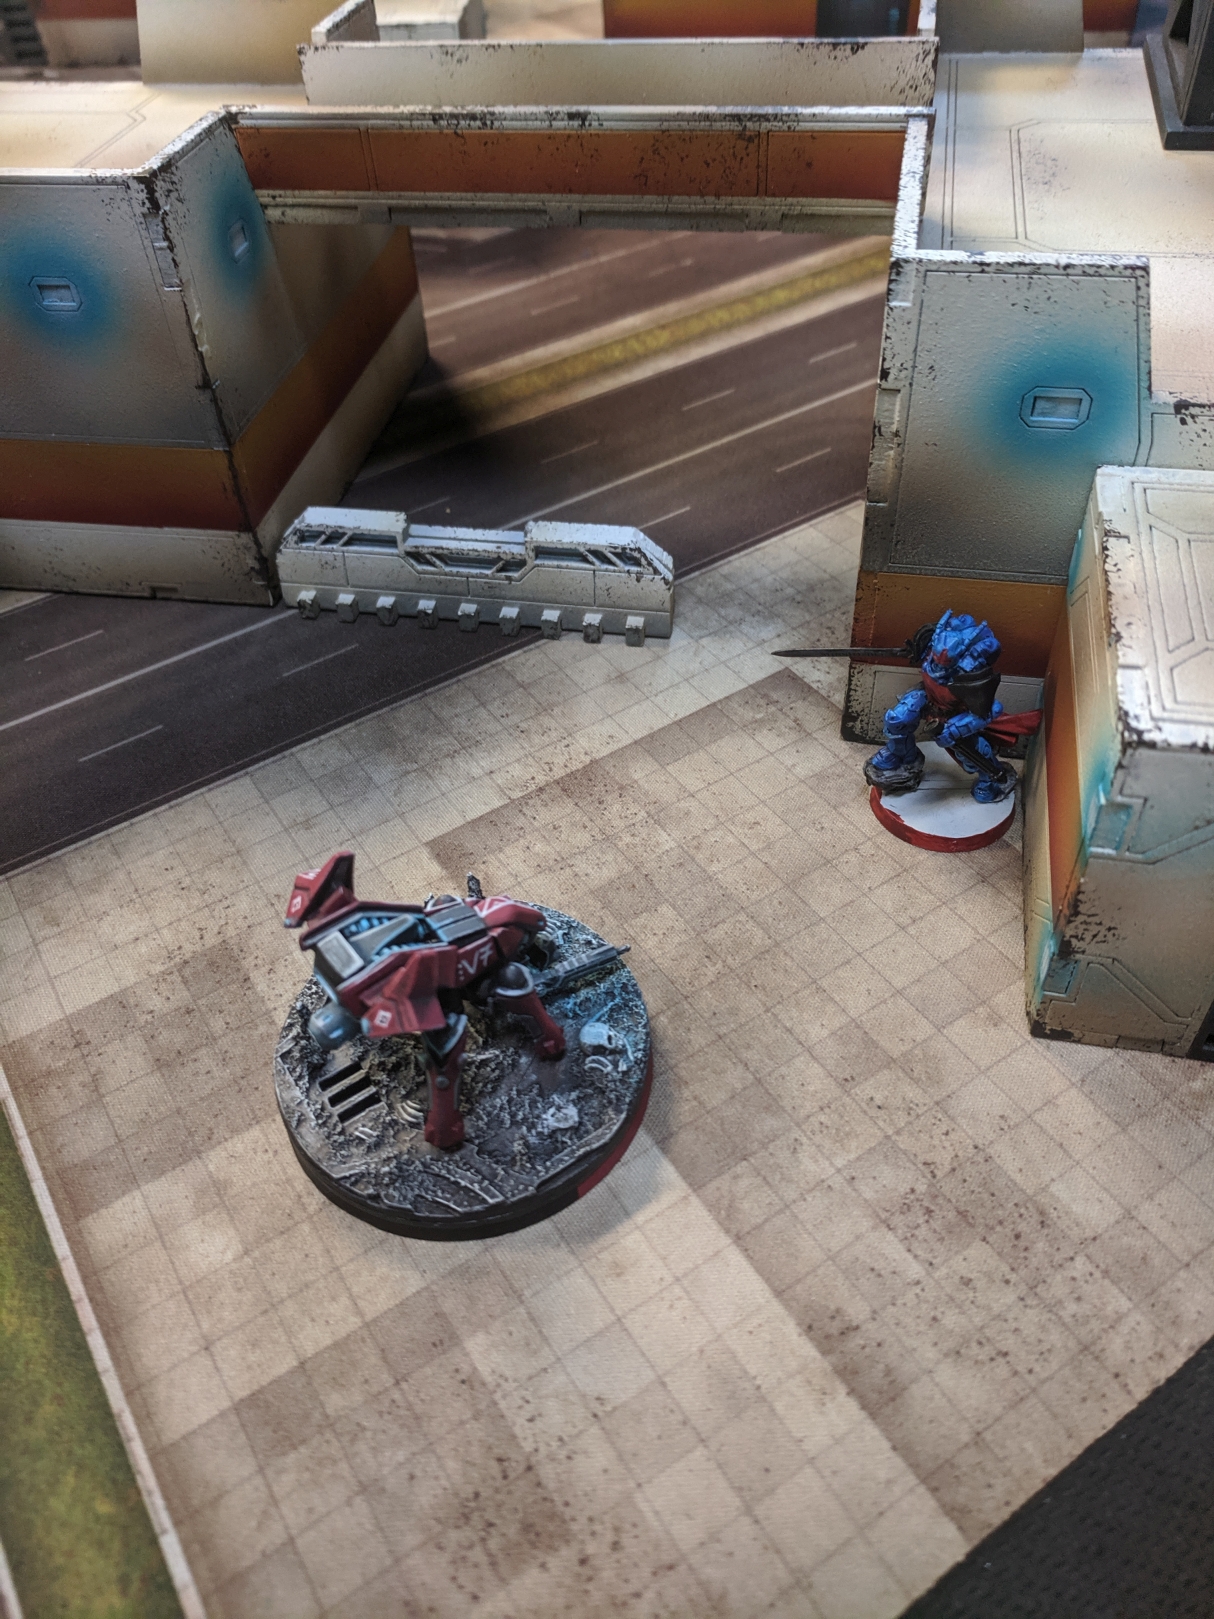
Dart slides up into LoF of the Zulu Cobra and declares SMG, and the Zulu Cobra jams back-- but it's just short, a 12 on a roll needing 10 thanks to Surprise Shot. See-- if the Helots had nailed those stupid Discovers... ! The ZC eats shock ammo and dies-- unfortunate!
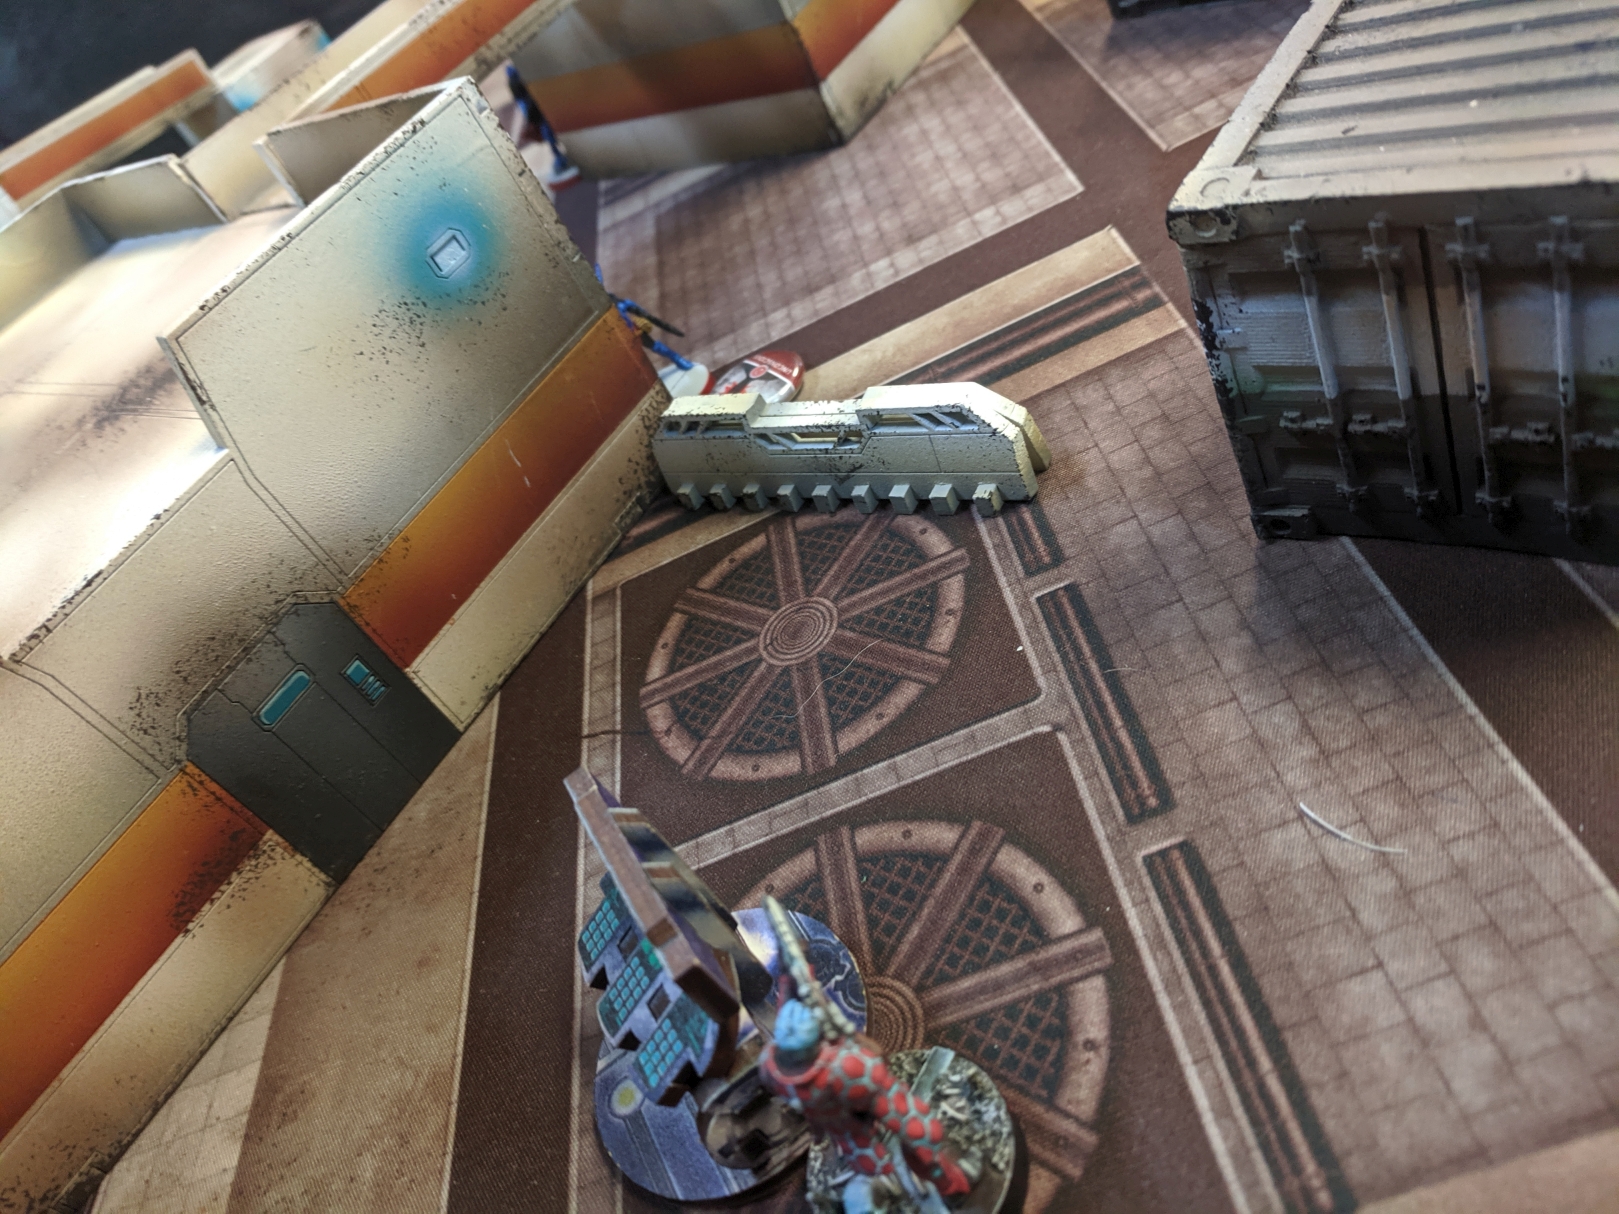
Dart sidles up along the wall to see my Bulleteer. She really wants to get to my Kamau HMG and neutralize him, but the Bulleteer has other plans, successfully dodging out of LoF around a corner to force Dart to engage both of them if she wants to see one of them.
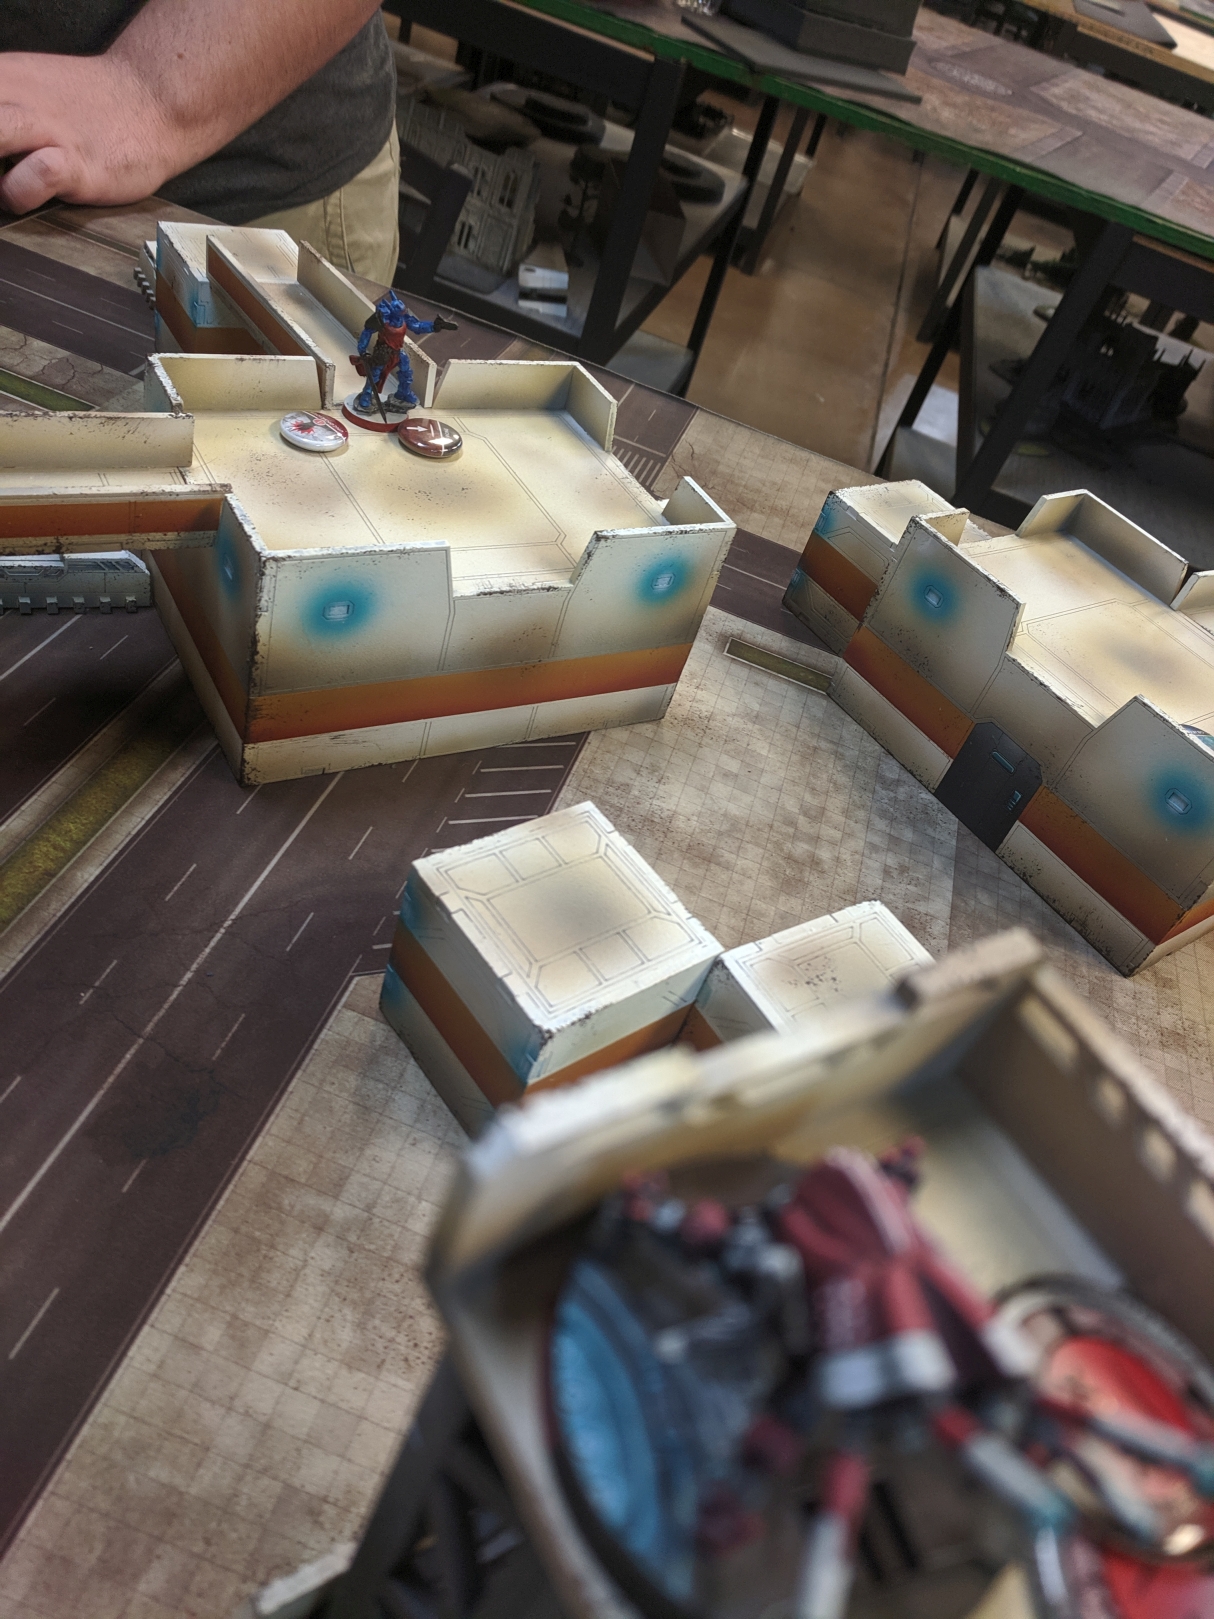
 Do you ever think that Helots get nervous that the other Helots they are talking to are just decoys? These guys definitely were so nervous they revealed themselves out of anxiety
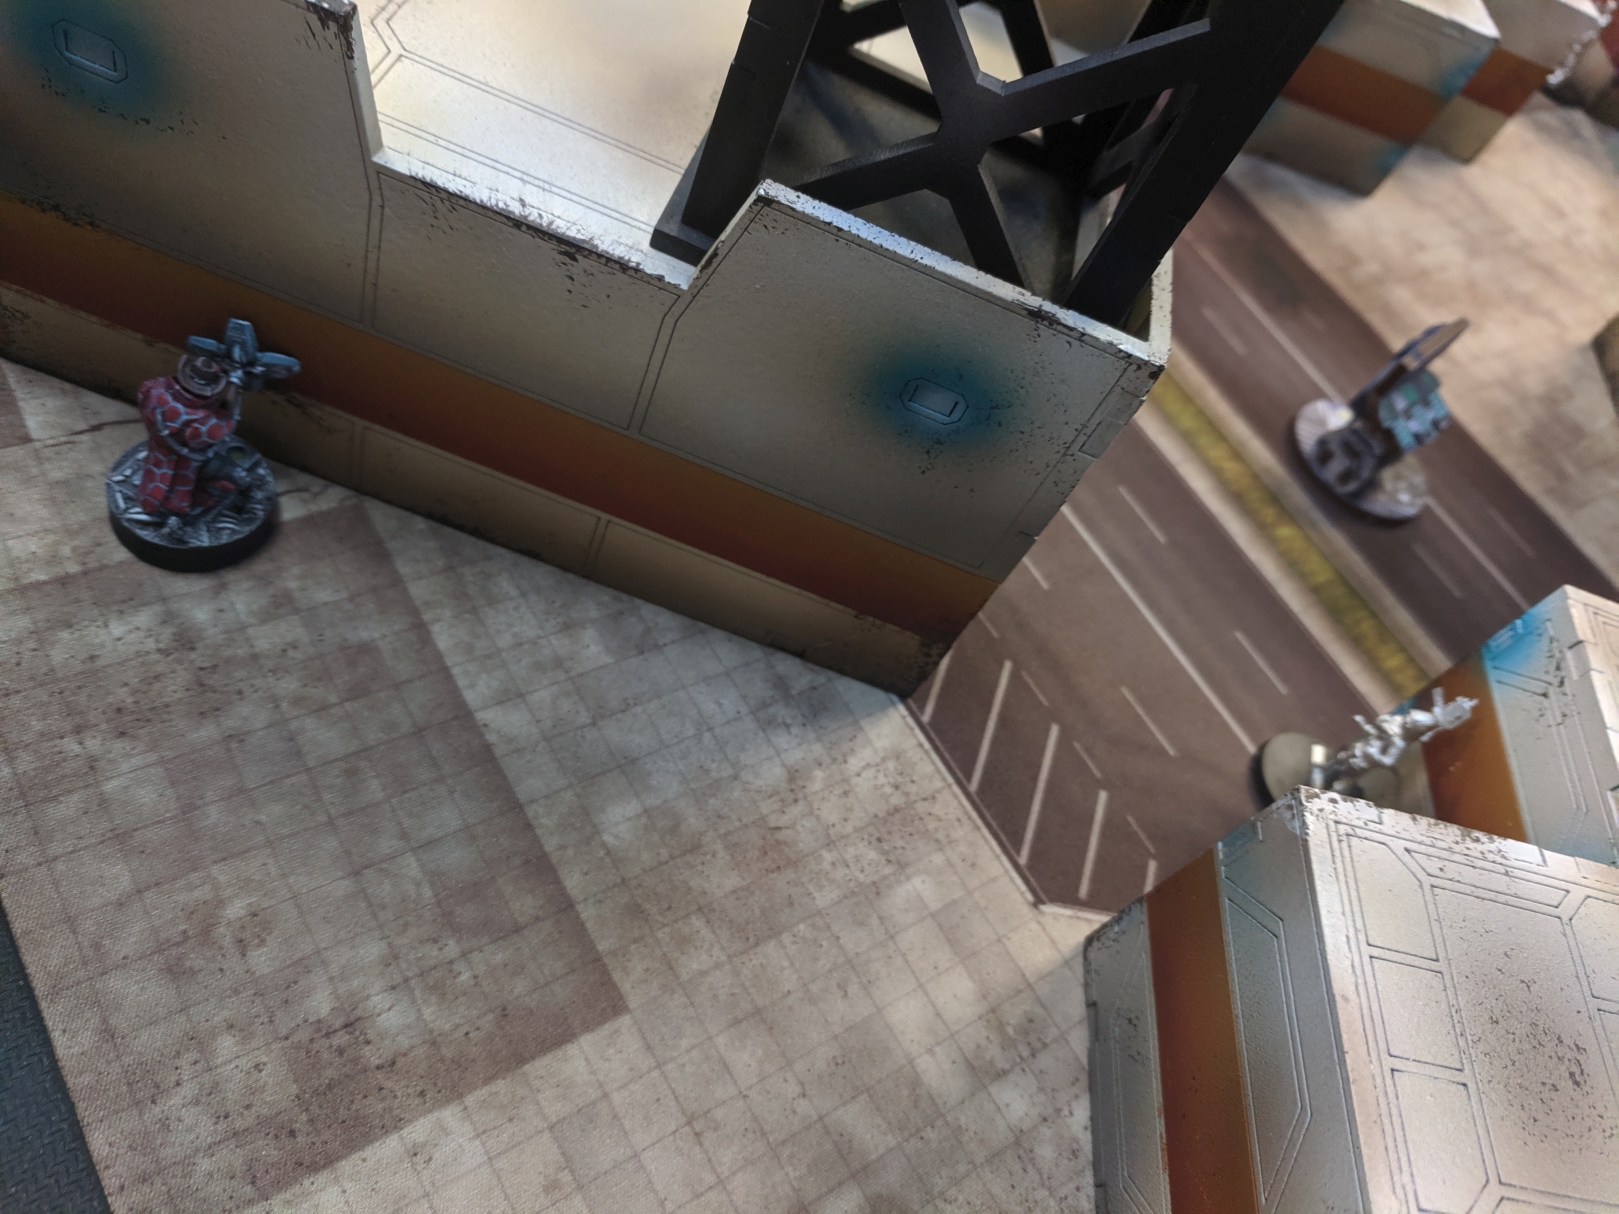
The Santiago slides up into my holographic Angus's DMs and nails Follow Up on the first roll, but now that HVT is removed. Dart settles in for the next turn as I begin to work to deal with her and the next set of problems-- including trying to score more cards to secure my lead!
One thing we messed up here was we misread "score in same Order" as the same round, so Dart gets Identity Check on the nearby HVT, bringing it up to 3 to 2 in my favor. We replace it with Experimental Drug, so now the Doctor is on the hitlist too...
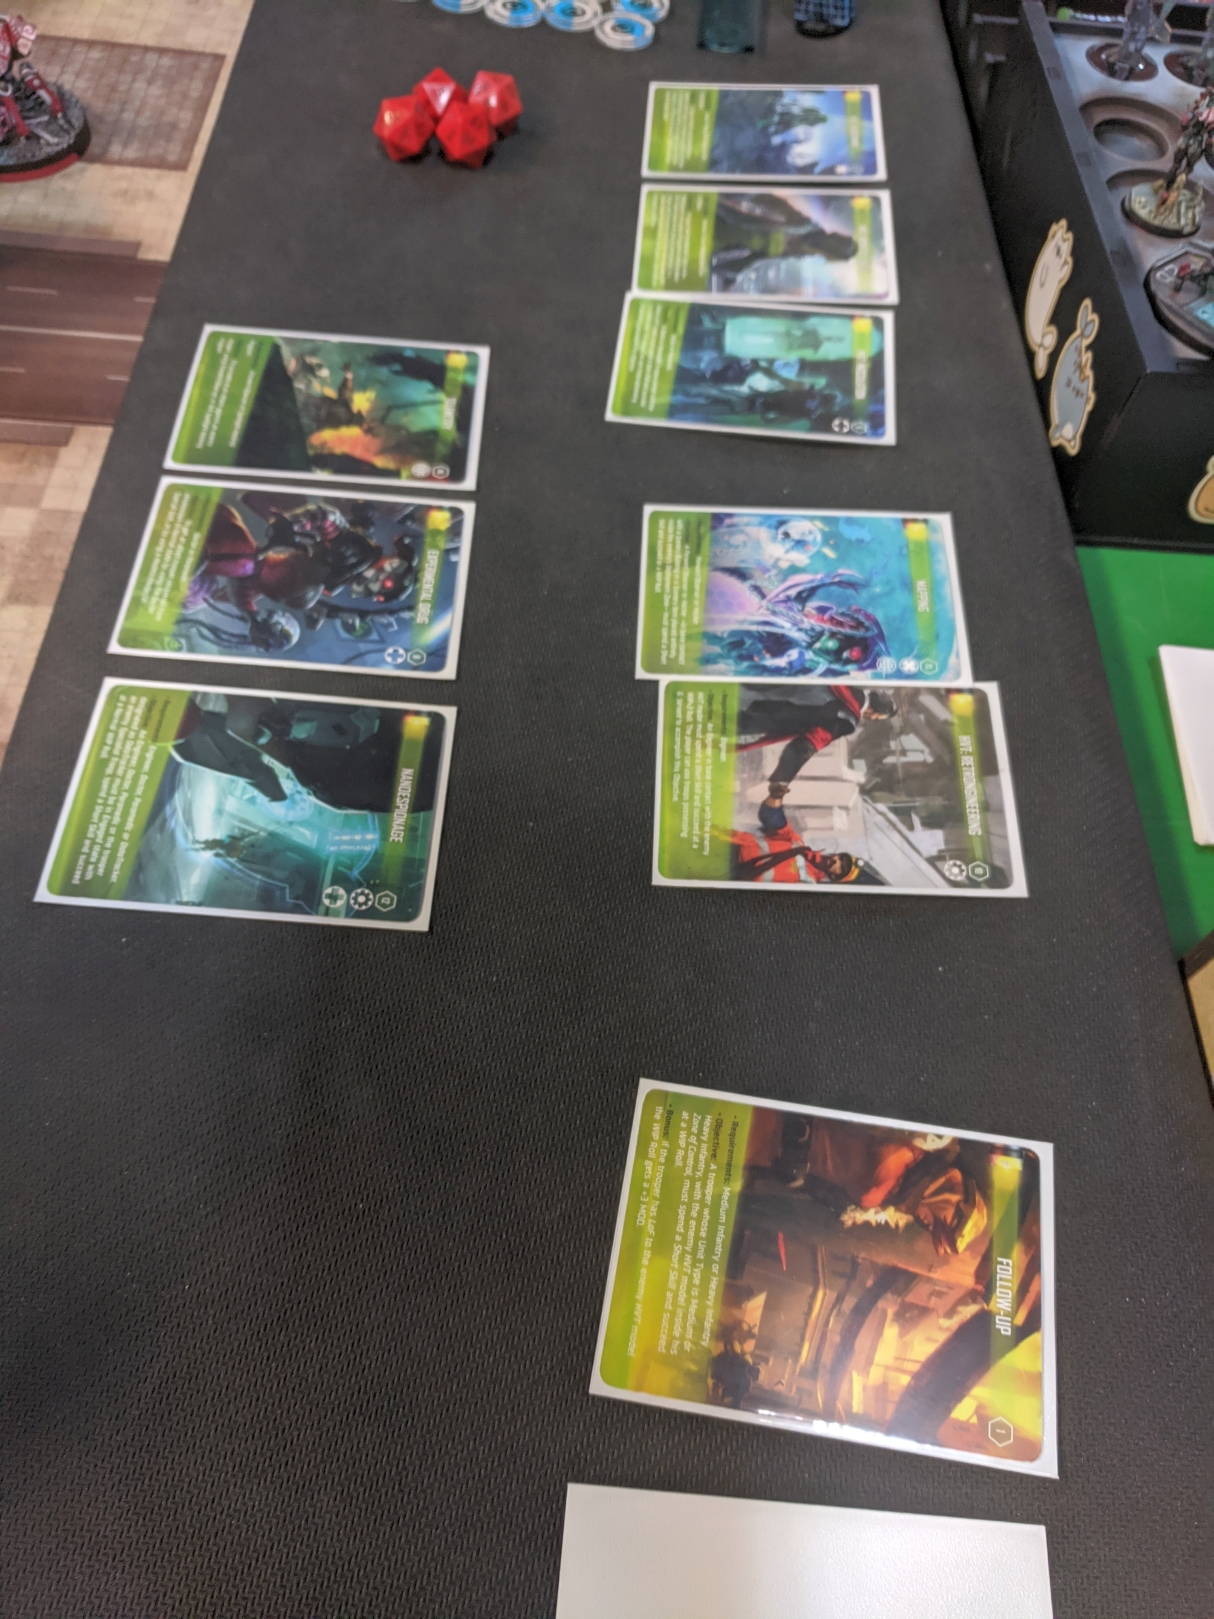
I chuck Mapping because while it's tough for Matt to get it, getting my Fusi hacker past his everything right now is not going to happen. We're left with the above-- Experimental Drug, Nanoespionage and Telemetry. It feels bad but I can't really do any of these reliably, so I'm just going to kill Matt's specialists so neither can he.
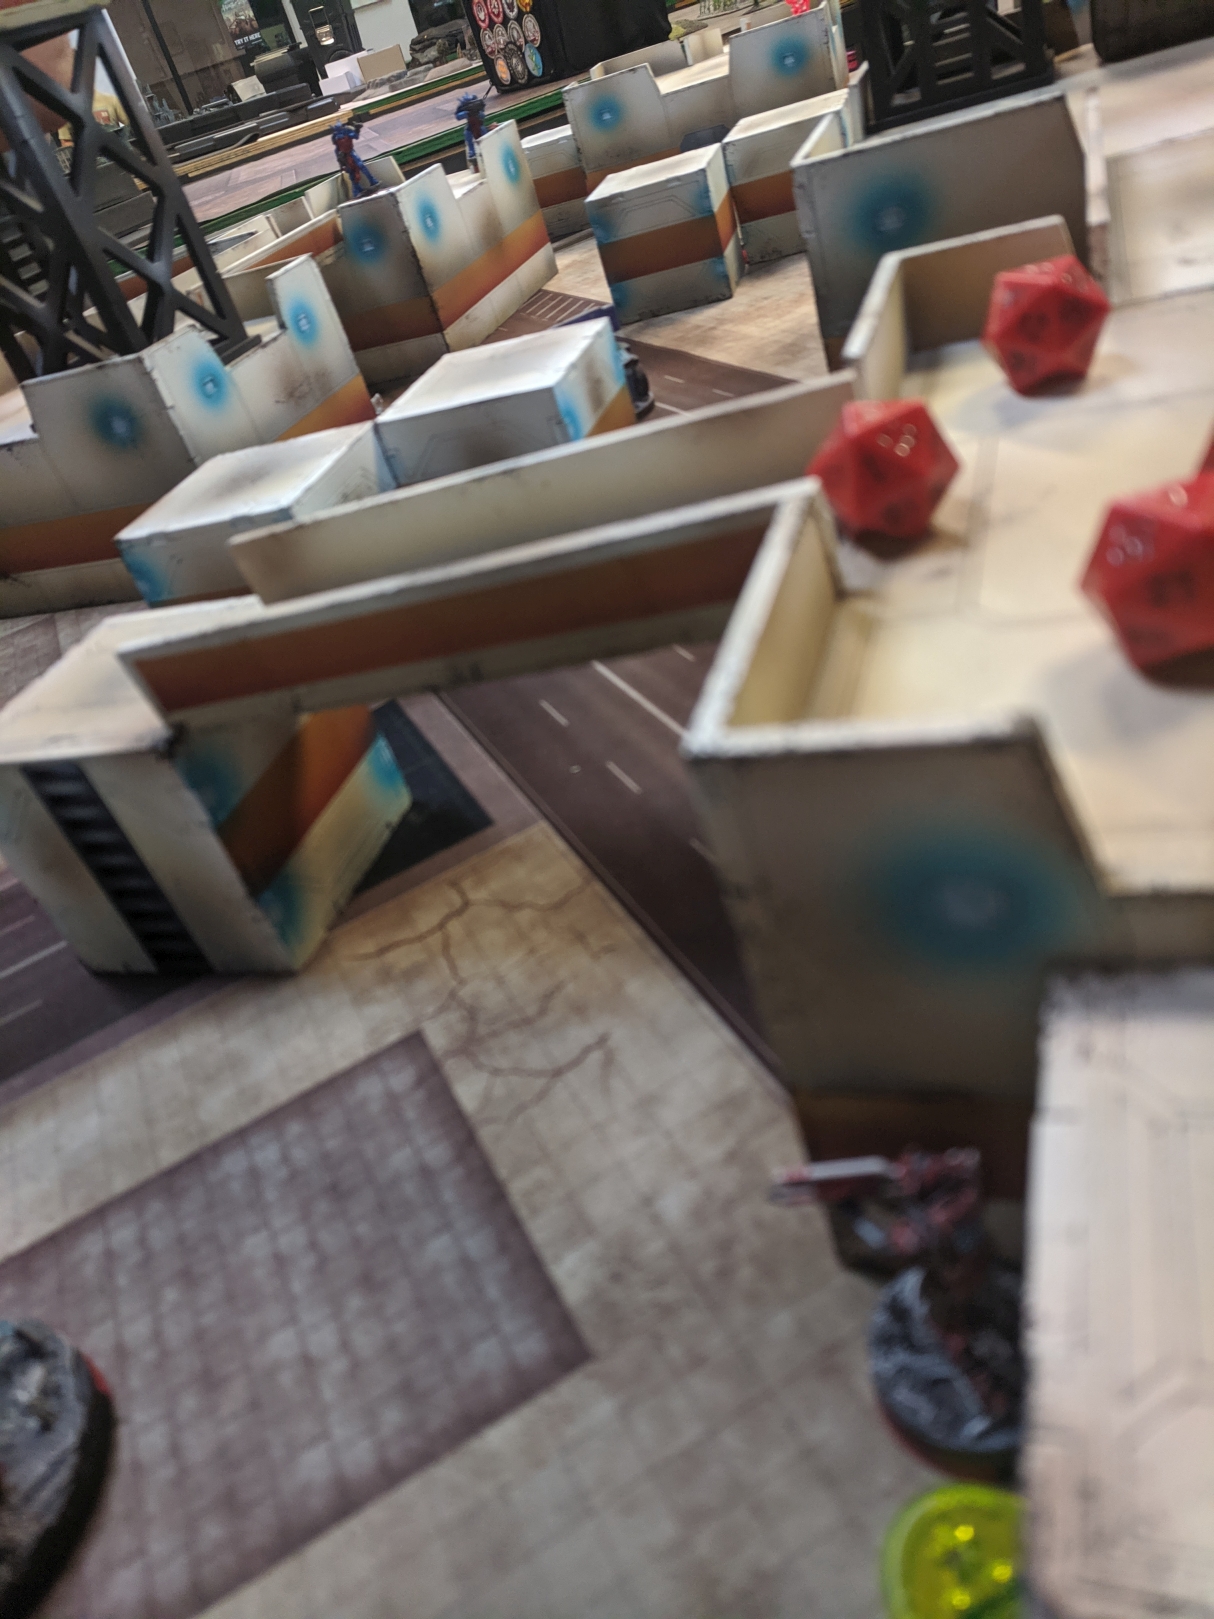
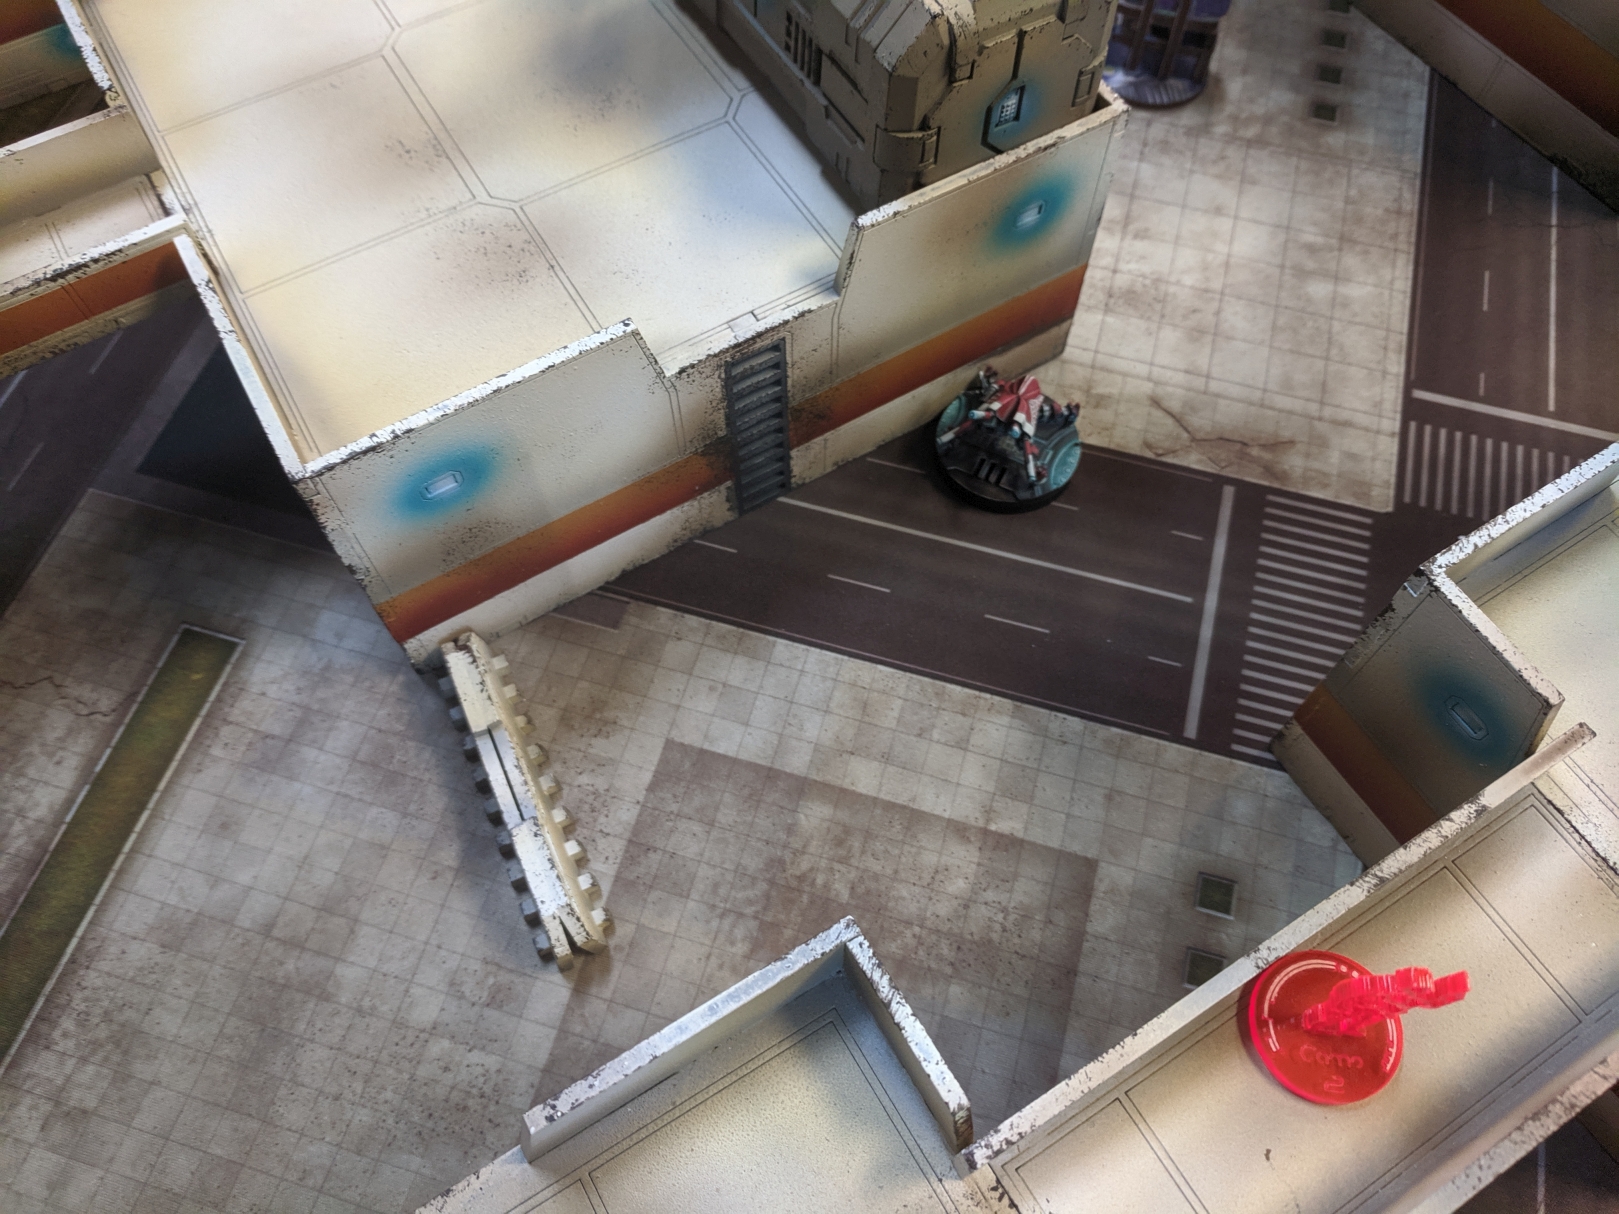
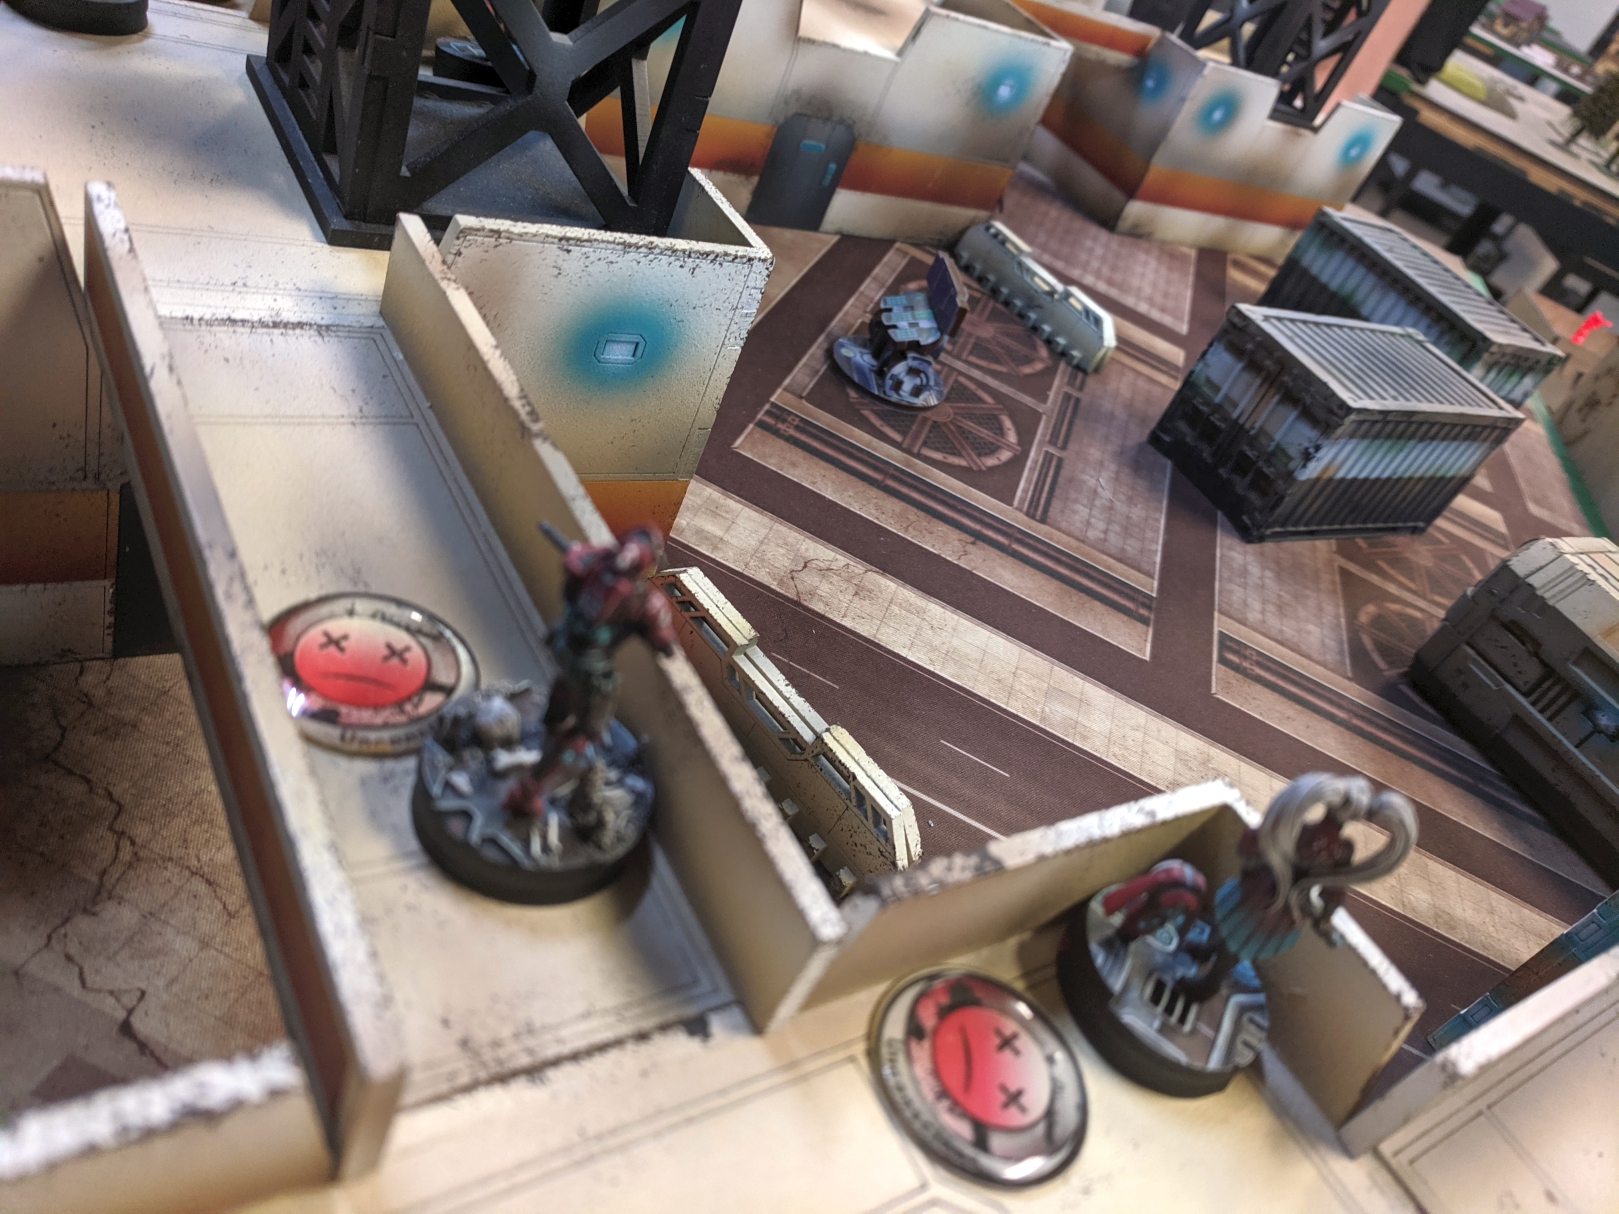
First: Dart. Matt didn't see this, but he left Dart wide open for my Kamau MSR down an incredibly narrow corridor on the table. Dart is shocked, but can see the Kamau, and declares Dodge-- not good enough versus the Kamau's 19s, and Dart dies!
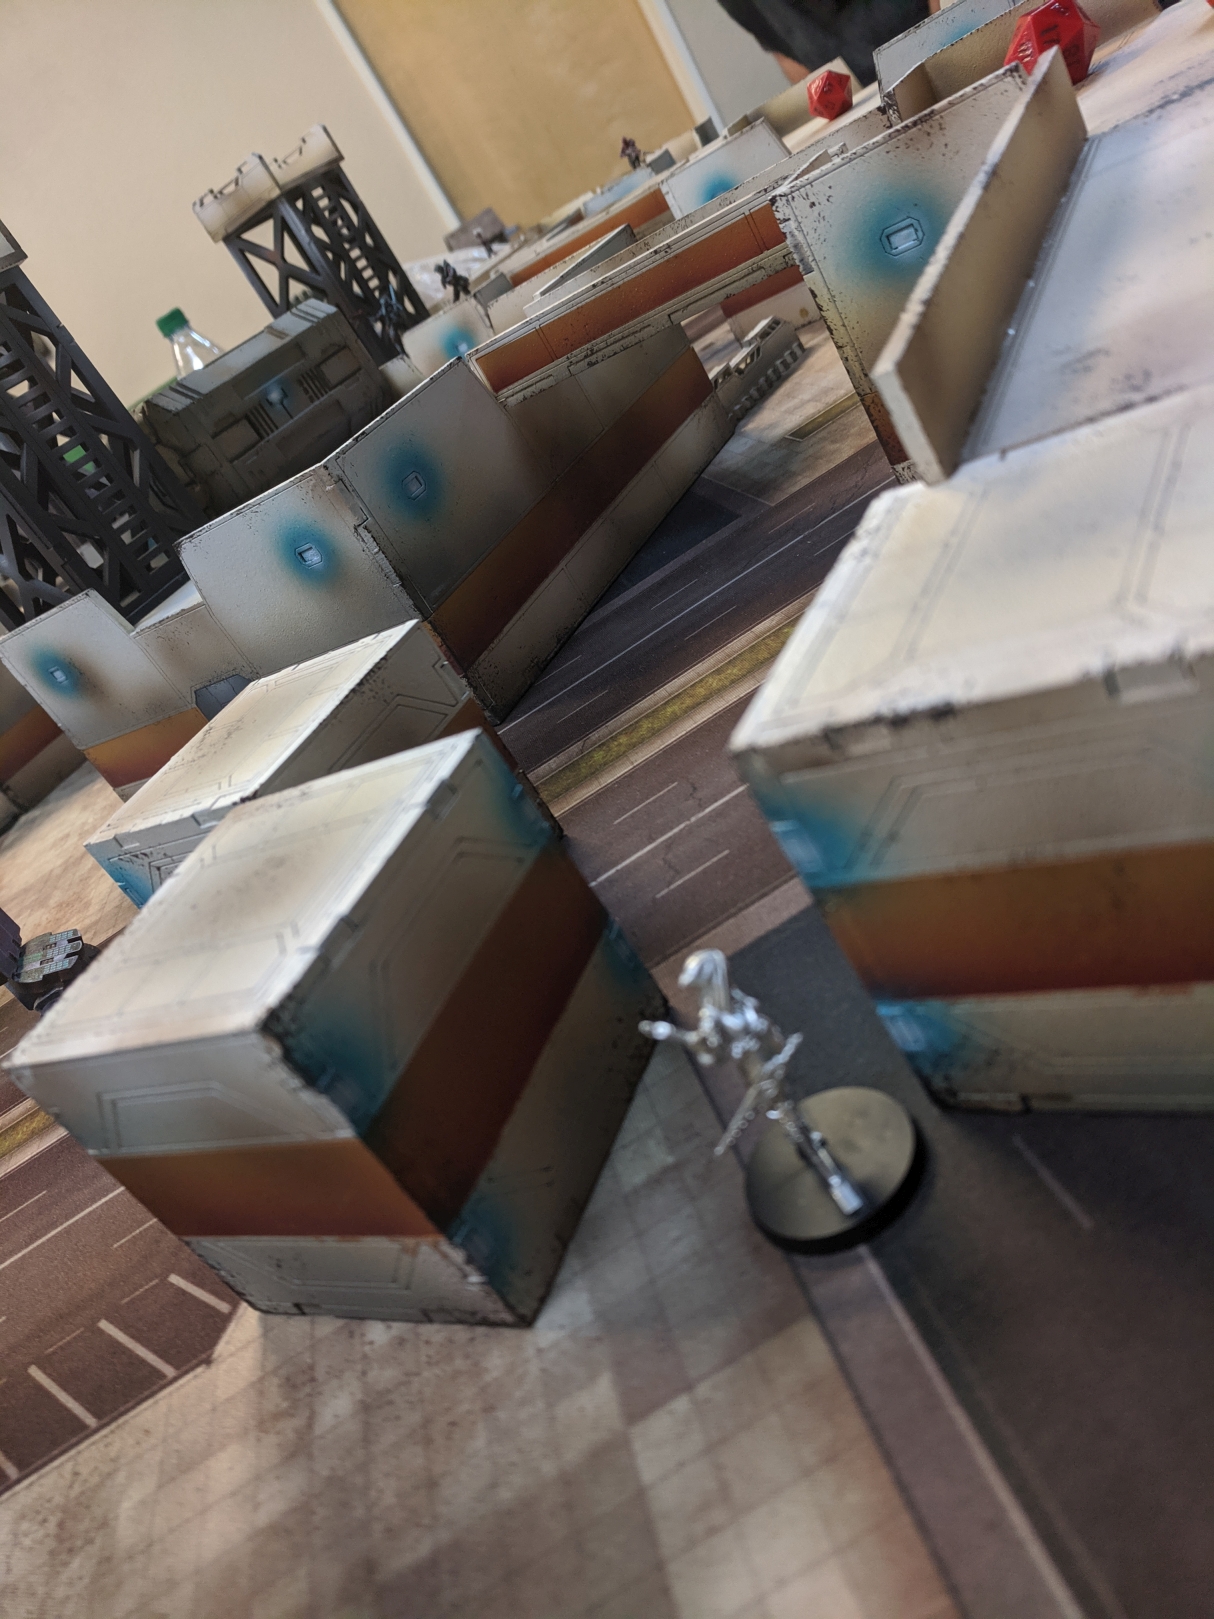 You can make out the faint image of the Kamau in the distance-- or if you can't, blame the mimetism.
With Dart down, I send in the Bulleteer to get the KHD. Two orders gets me there-- and shot at by an Order Sergeant Spitfire, but we're at 47 inches, so the -6 from that and the -6 from the ODD puts them on an automatic failure.
The Bulleteer edges up on the Santiago to say hi-- and the Santiago tries to dodge, not wanting to take Cover and ODD penalties. He's hit once, and makes ARM...
We go again-- and the Bulleteer hits him twice, and he makes ARM twice...
Impatient and almost out of orders, the Bulleteer rushes out of cover to catch the Santiago out of cover, choosing AP mode for his shots. The Santiago dodge-engages, and the Bulleteer hits him twice, and he fails ARM once, taking his first wound.
I just go for it at this point, rushing away to under the bridge near the Doctor. The Santiago dodge-engages again, but now the Bulleteer's shotgun is actually loaded with bullets instead of confetti and the Santiago takes a second wound, going unconscious.
I want to shoot his unconscious body-- but I'm out of orders and I've basically handed my opponent Experimental Drug.
Good thing I have a TR Bot right there...
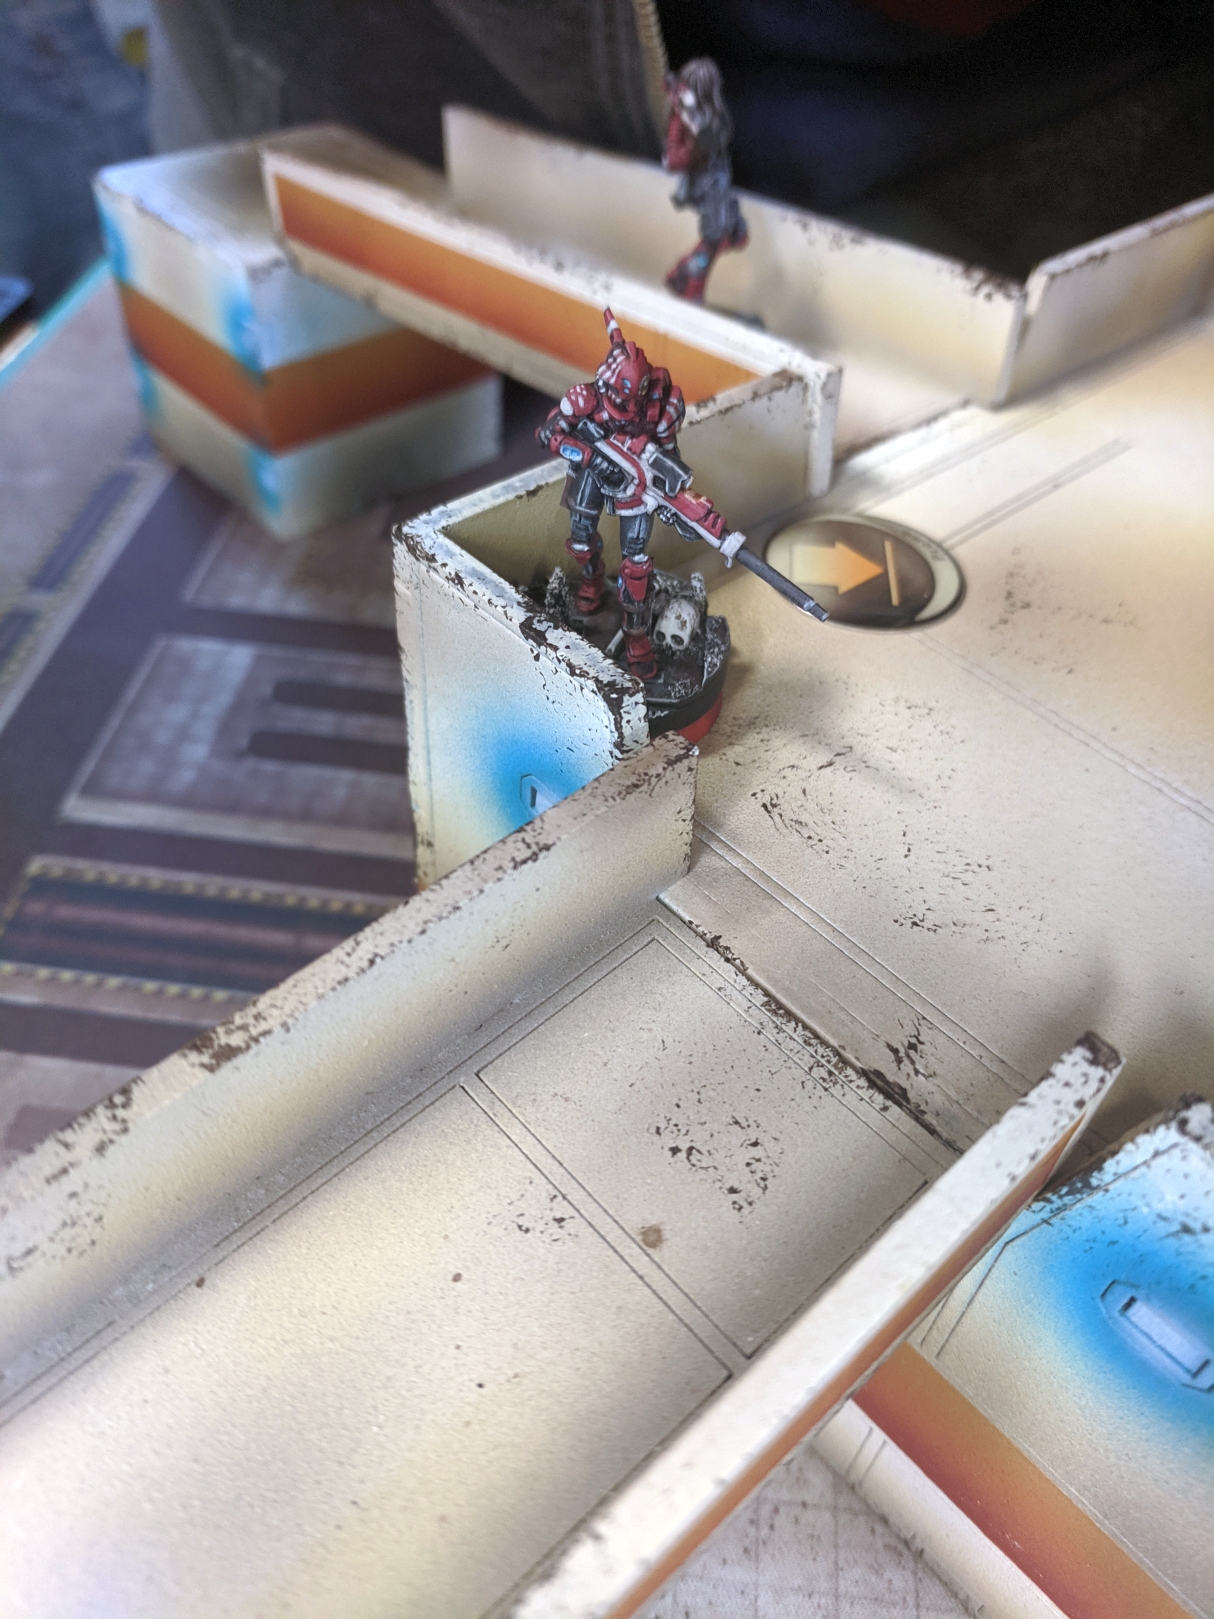
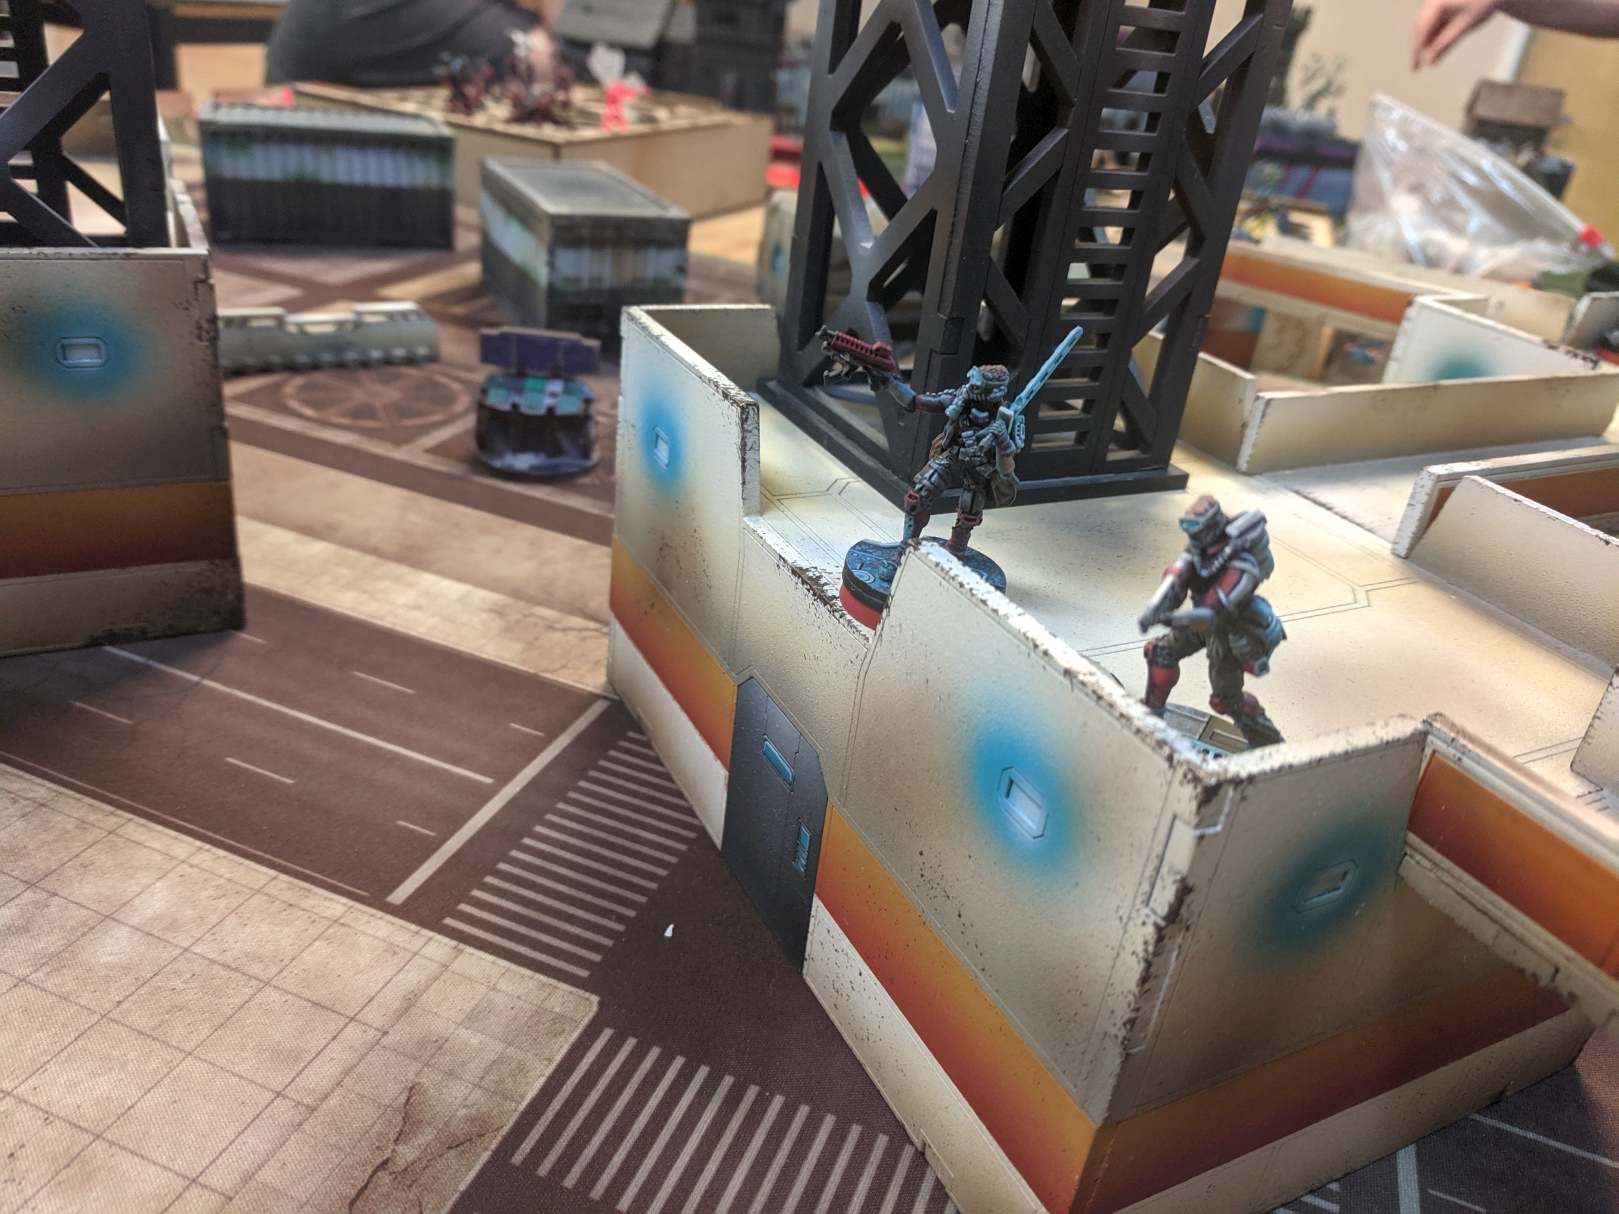
My Sierra gets Marksmanship L2 and chases up the tower to find the Hospitaller Doctor unprotected. He puts all 4 shots into the Doctor, who dodges, and cancels most of them--but not enough to avoid taking 1 wound. He fails Guts out of my LoF-- and I have to make a hard decision!
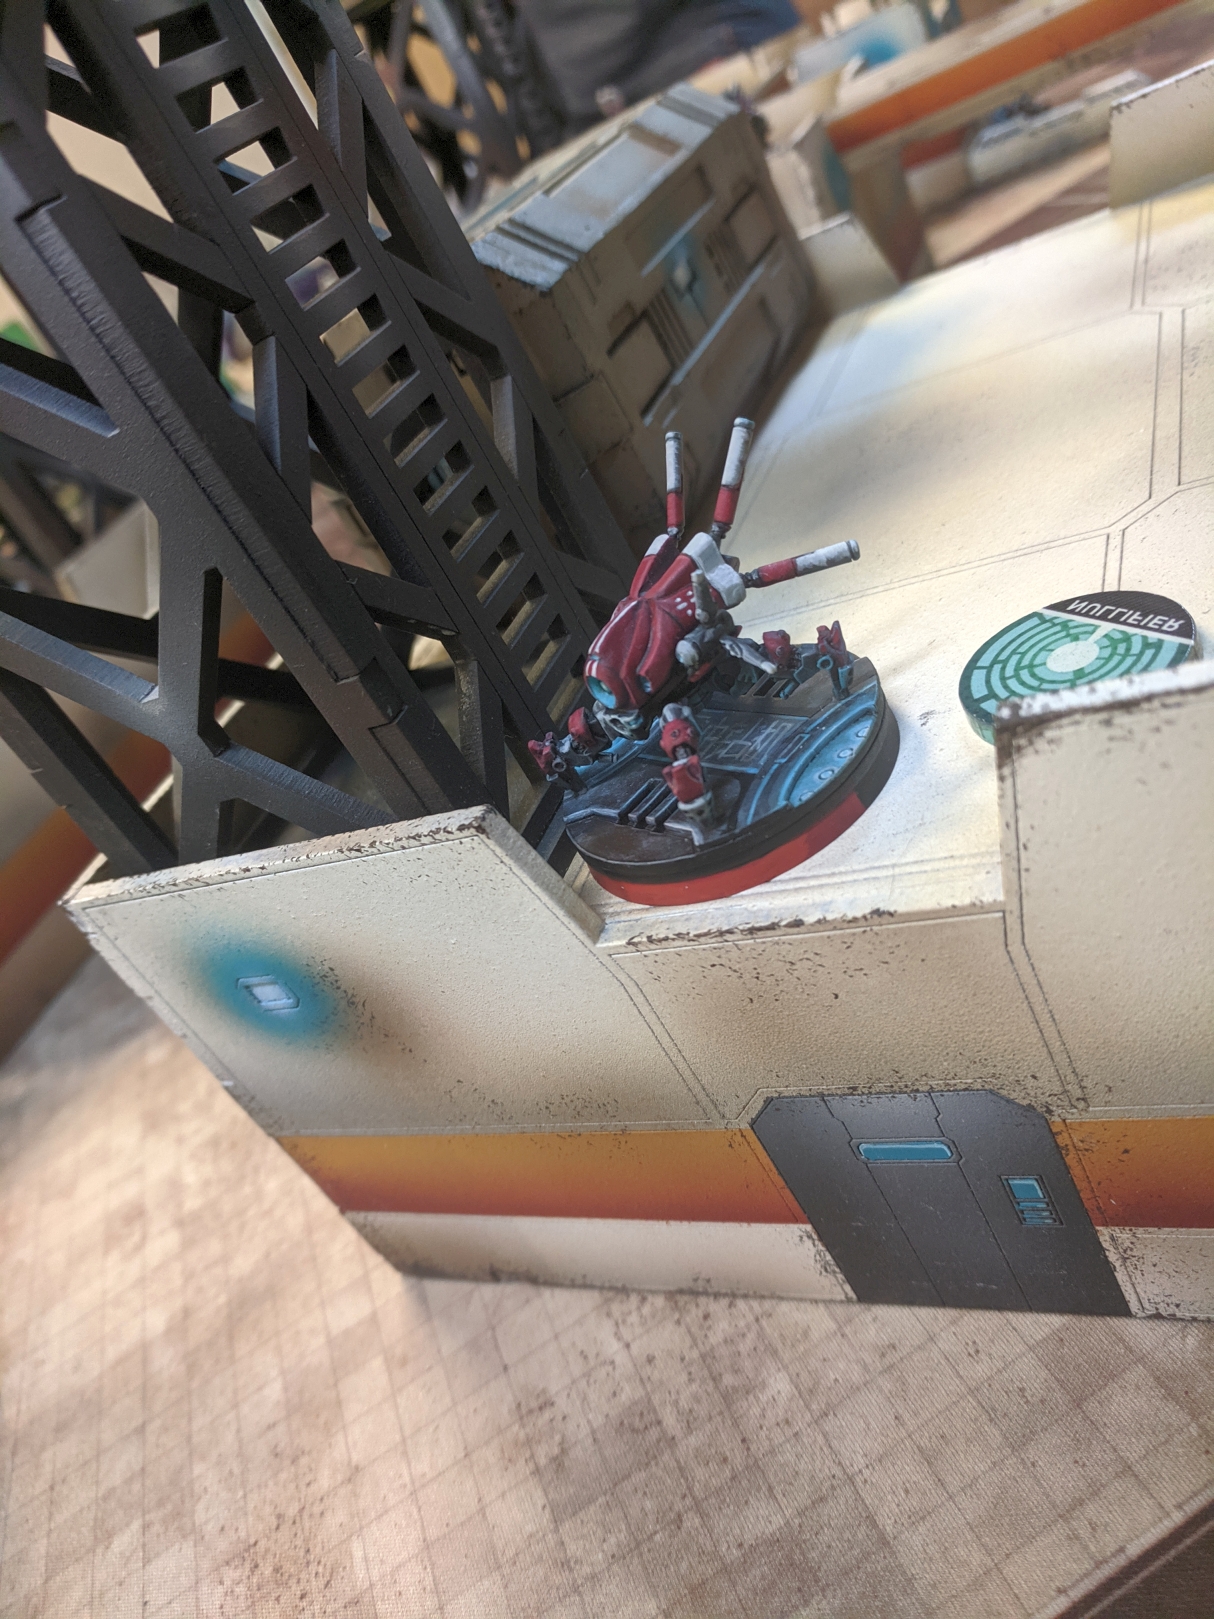 A common misconception is that Sierra dronbots are named after the military alphabet. They're actually named for Sierra Leonard, Seleszt, who is an absolute butcher of men. Fun fact for the day!
I rush the Sierra Dronbot up the tower and into the LoF of the Doctor again. It's also in the LoF of Matt's entire link team. The Doctor dodges, but the entire link shoots, and so the Sierra puts all 4 shots into the Doctor because he can't guarantee his survival without cover.
All 4 shots hit, and the Doctor takes 1 wound out of the 4 of them! Meanwhile, the entire Link team shoots the Sierra, hitting 6 times-- but miraculously, the Sierra only takes 2 wounds... and is in relative reach if I draw Test Run, which is a bonus, right?
That closes out my turn, save for some maneuvering-- I expect Matt's link to come for me in the night soon to try to score some cards.
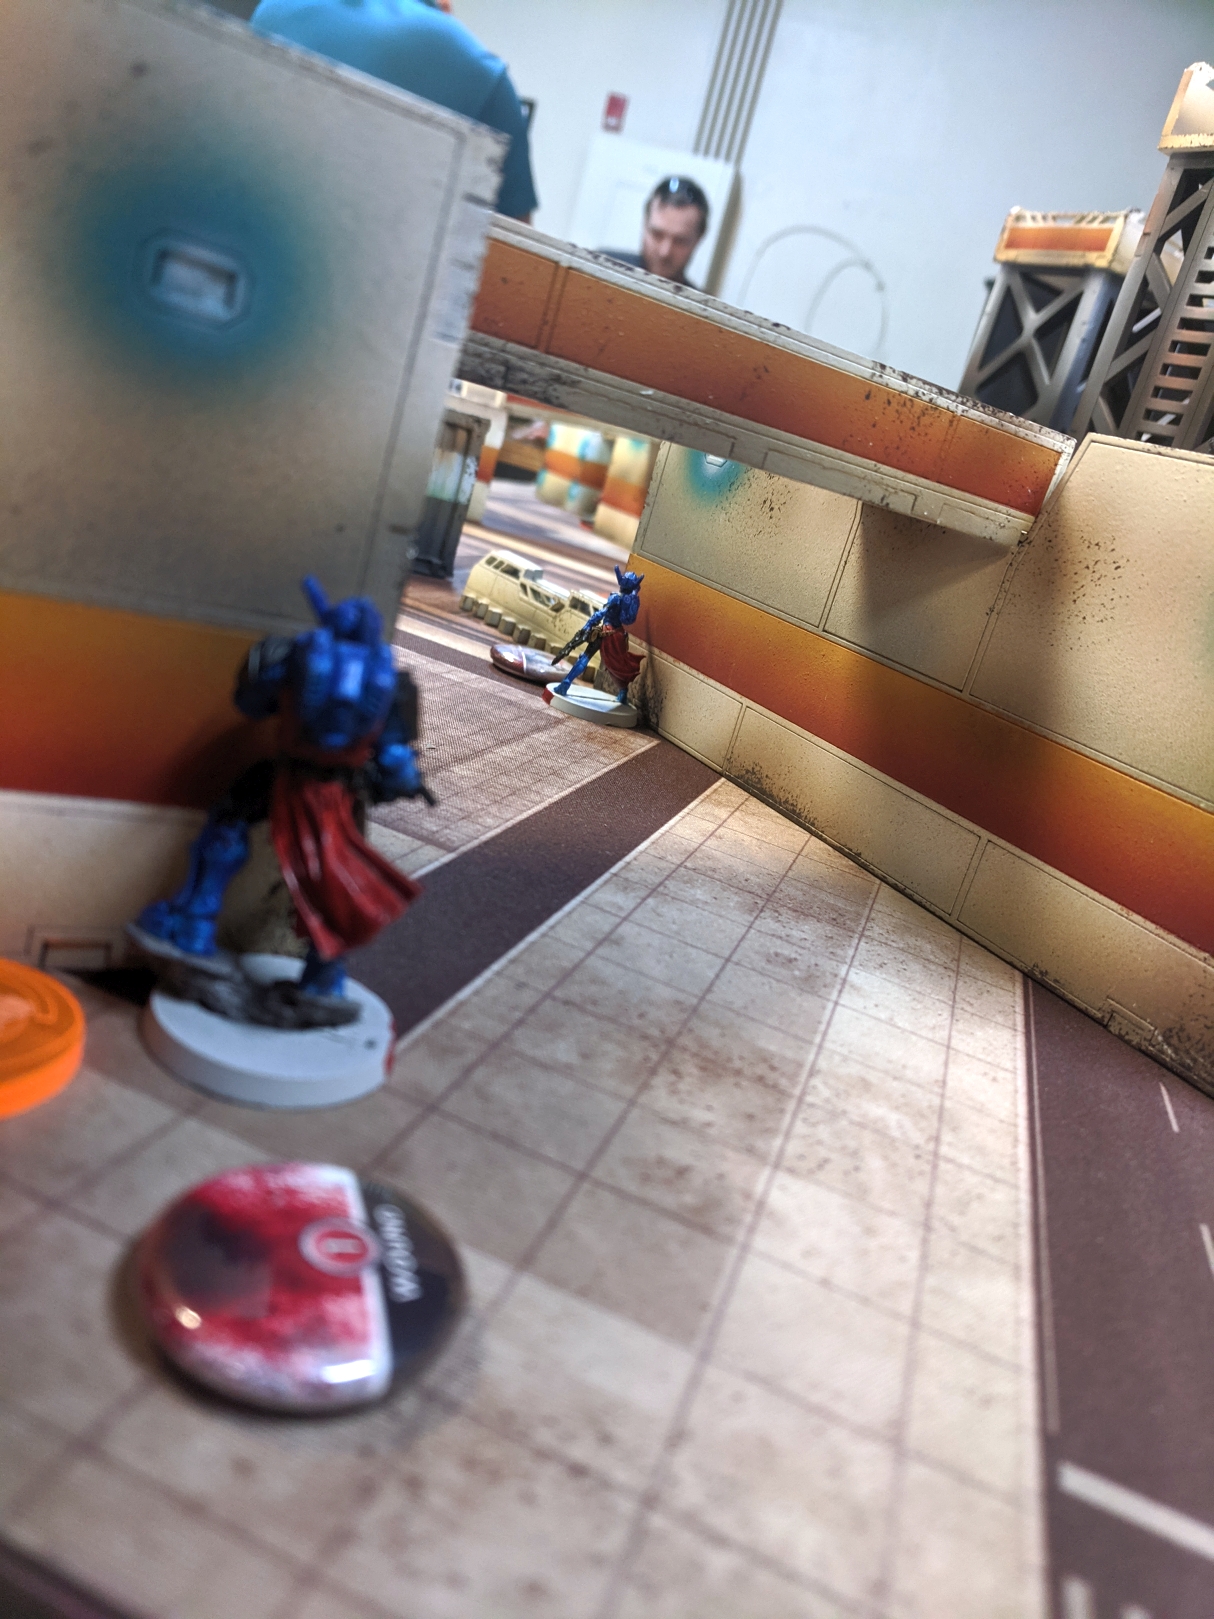
Matt discards a card and reveals Telemetry-- and his Father Knight FO is his DataTracker, which means he can tie up the game for a win here if he gets a good series of rolls! He steps up to the plate with his Order Sergeant Spitfire to see just my WarCor-- and swiftly deletes her, despite her best flash pulse.
In the next order, the Black Friar stands up in front of the two Helots and the Kamau MSR. I see what he's trying to do now-- that's a TOFOOS and if the Helots go down he can Telemetry them, that's smart. The Friar splits 3 ways, and her jack-of-all-trades approach fails her with 5 failed rolls! The Kamau MSR domes her, the two Helots both land both rockets and even the Trauma Doc gets in on the action, dealing a wound with her Combi-- the Black Friar disappears!
Things go fast-- the link moves, moves, and then the Spitfire stands in front of my Kamau MSR-- and I roll bad, a 4 and a 20, and the Spitfire brings her unconscious!
Unfortunately with his order pool bled so badly, Matt only has the six orders in the pool, and his turn is over-- but with Telemetry there, I know he can score one, and Nanoespionage with a 2 W specialist means likely two. My only choice, to be honest, is to not try to remove Telemetry-- it's the one that'll get him into more gunfights with my neurocinetics guys.
I pull Nanoespionage and it's replaced by Extreme Prejudice. Oh, heck yeah!
My Bulleteer steps on the Santiago's neck, scoring me a card, and we replace it with Data Scan, so my Fusi spends 3 orders trying to scan a corpse and fails every time. There's the PanO WIP I remember.
The real quest now is to do 3 things: Kill his Father Knight so he has to come in with the TOFOOS who may or may not be successful, get someone in the midfield in Suppression Fire and to bring up my Kamau MSR for two reasons: to hold the line, and to avoid having that bounty cashed in!
My ZC KHD who has been chilling next to my deployment the whole game moves up and surprise shots the Order Sergeant Spitfire, bringing her unconscious with Breaker Combi fire.
The ZC KHD spends three orders shooting the Father Knight in his good band, cover, camo, and failing to do wounds-- hitting him over and over, trying to force him to fail Guts so I can get my Trauma Doc back to my DZ unscathed, but the Father Knight won't budge, won't fail WIP and won't take wounds. I run out of orders I can spend in the 2nd group, leaving 4 for my Trauma Doc to try to bring Tigerfish back with.
Desperate, I burn four orders in my main pool shooting the Father Knight with a Fusilier in bad range. The shots don't connect save for one-- and he passes ARM again, tries to Guts away and fails, and I'm left with that to contend with in the final round.
My Trauma Doc rushes up back to where she was, shooting at the Father Knight along the way. They miss eachother-- and the Trauma doc runs to the Kamau's side, rolling WIP to bring her up. A spent command token and two failures later... and the person to collect the bounty on my Sniper's head is my own Trauma Doc.
No one kills me like I kill me!
Luckily, the Father Knight misses his shot, and now it's Matt's turn.
The way we were playing things-- scoring objectives on the same round-- means that Matt can get both Telemetry and Extreme Prejudice if he spends his 3 orders and his lieutenant order right. He spends the first order and shoots-- two on the ZC KHD, one on the Trauma Doc and one on the Fusilier. His goal is to drop the ZC KHD, move up, Telemetry, then move up and Coup de Grace!
He lands two hits against the ZC, knocking it unconscious-- so his plan is super viable. His next shot hits the Trauma Doc with a 4 over her 3, and the Trauma Doc goes down too!
Unfortunately, it's not to be. Matt gets a low number to hit the Fusilier, so I need a 4 5 or 6-- and crit the Father Knight on a 6, dropping him.
With no other options and 2 orders for 2 models remaining who can't score OP, Matt calls the game.
In the end, it's a 8 to 2 victory-- me with 4 cards, him with 2, 45 vp to 200-something. A game well-fought-- and easy when you don't play by the rules like you should...
Remember: You refresh cards at the end of the round, not when you complete them, and you can't score the same cards unless you do it in the same order (like two people getting Predator off a single berserking model killing their target while being killed).
If we would have played that, this game would have felt a lot closer-- and it would've probably been way less in my favor.
But that's what practice games are for, right?

Battle Report Author

Army Lists Used In This Battle
Recommend Commander For Commendation
Share this battle with friends
Kazavon V7Wins

I think that sometimes we all feel like an anxiety helot. Congrats on the win!
Well done report!
Wow this is a quality report!
Counter Neasures is probably my most favoured mission these days…so much fun.
lovely bakuning table 😀
Great army, great photos, great table, great report!
Congratulations with that “Great” combo! 😀